
Protect your glasses in style with this Free Crochet Eyeglass Case Pattern designed for practicality and charm using simple stitches.
I still remember misplacing my glasses every time I set them down, or worse, finding scratches on the lenses. That's when I thought, "Why not crochet a cute little case to keep them safe?" And it turned out to be the perfect solution! This crochet eyeglass case pattern isn't just practical-it's stylish, soft, and brings a handmade charm to an everyday item. The beauty of this pattern lies in its simplicity, with clean lines and just the right amount of texture. You can use any color combination to match your style, from elegant neutrals like beige or gray to vibrant and playful hues such as teal, lavender, or coral.
Modern Crochet Eyewear Case Pattern Perfect for Beginners
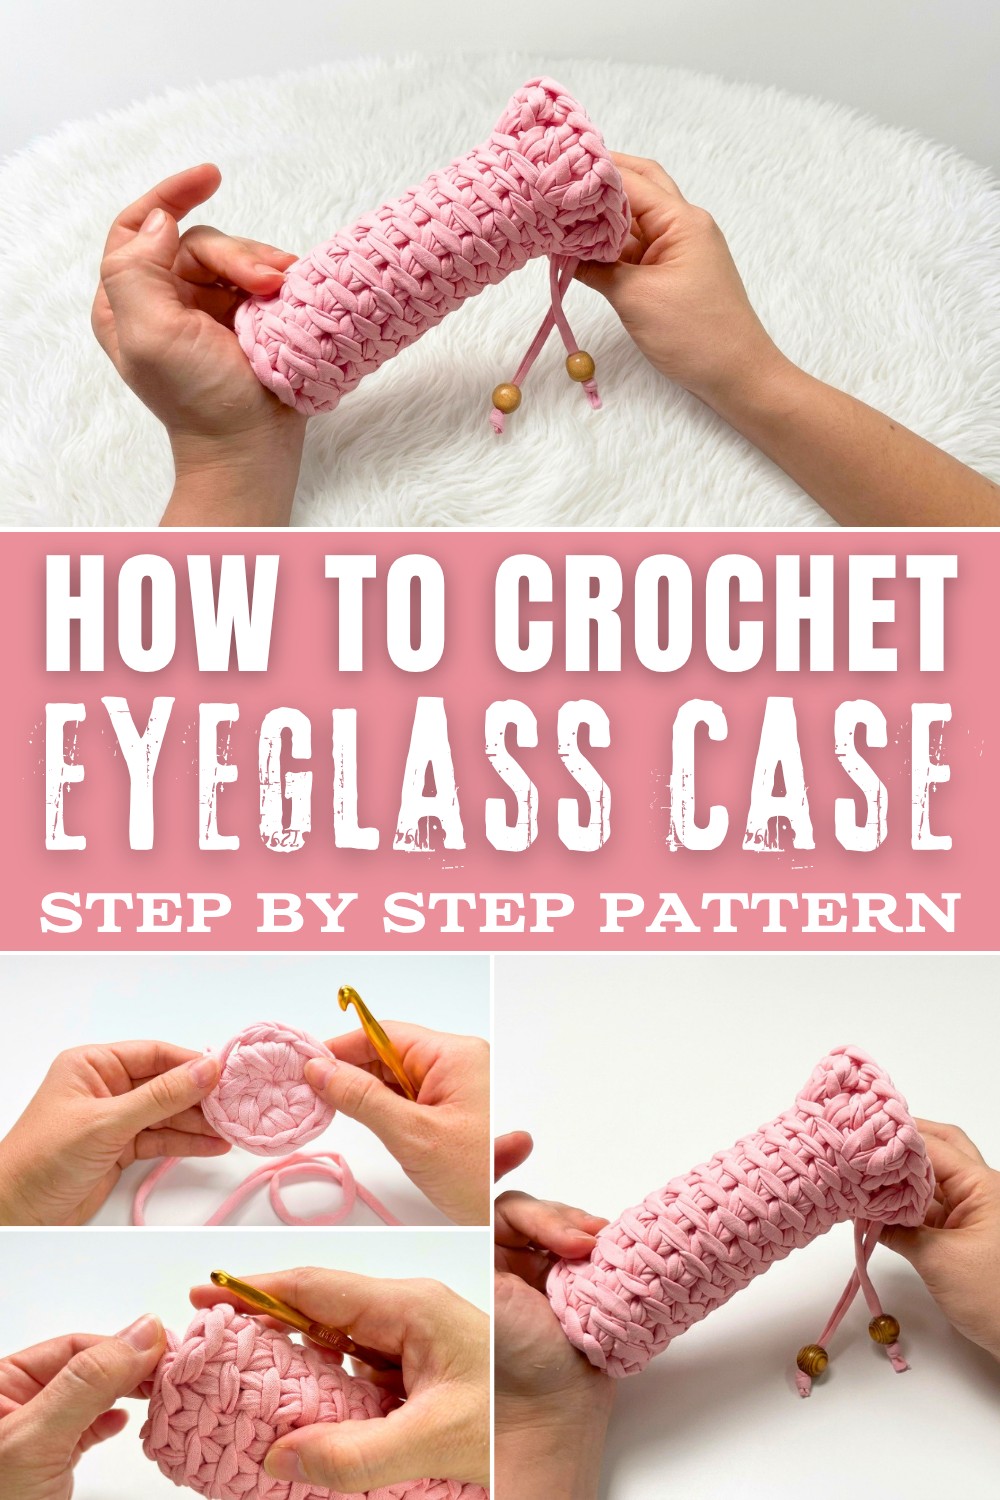
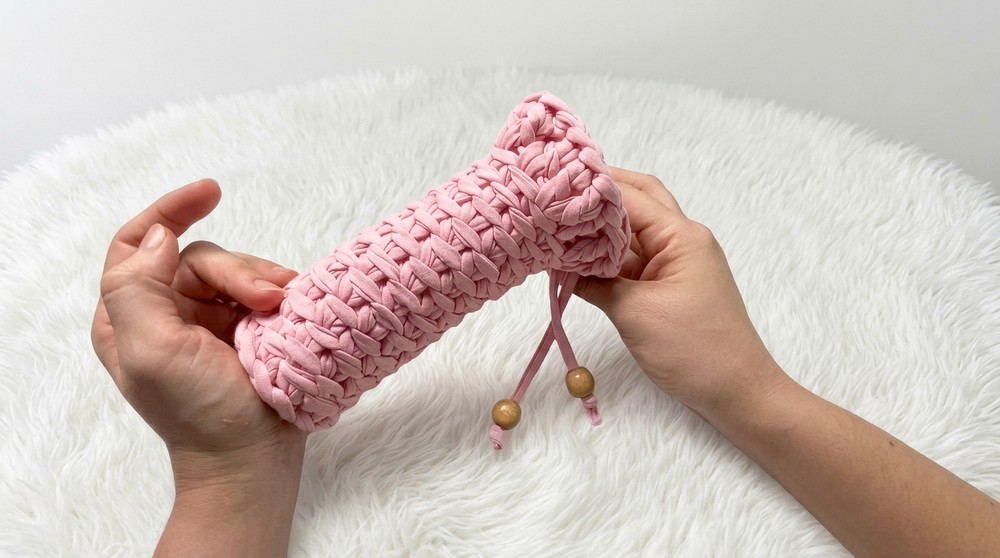
This pattern uses basic crochet stitches like single crochet (SC) and half double crochet (HDC), making it super beginner-friendly while creating a sturdy yet flexible fabric that hugs your glasses perfectly. As you work through the pattern, you'll see how easily these stitches come together to shape a practical and thoughtfully designed piece.
What You'll Learn and What You Can Make
By following this fun project, you'll learn:
- How to crochet in the round to achieve a seamless finish.
- How to make a slip-stitch border for a polished look.
- How to customize patterns for cases, pouches, or even coin purses.
With this skill set, you can experiment with:
- Sunglass pouches in trendy patterns.
- Phone or gadget covers with unique textures.
- Fun and colorful pencil or makeup cases.
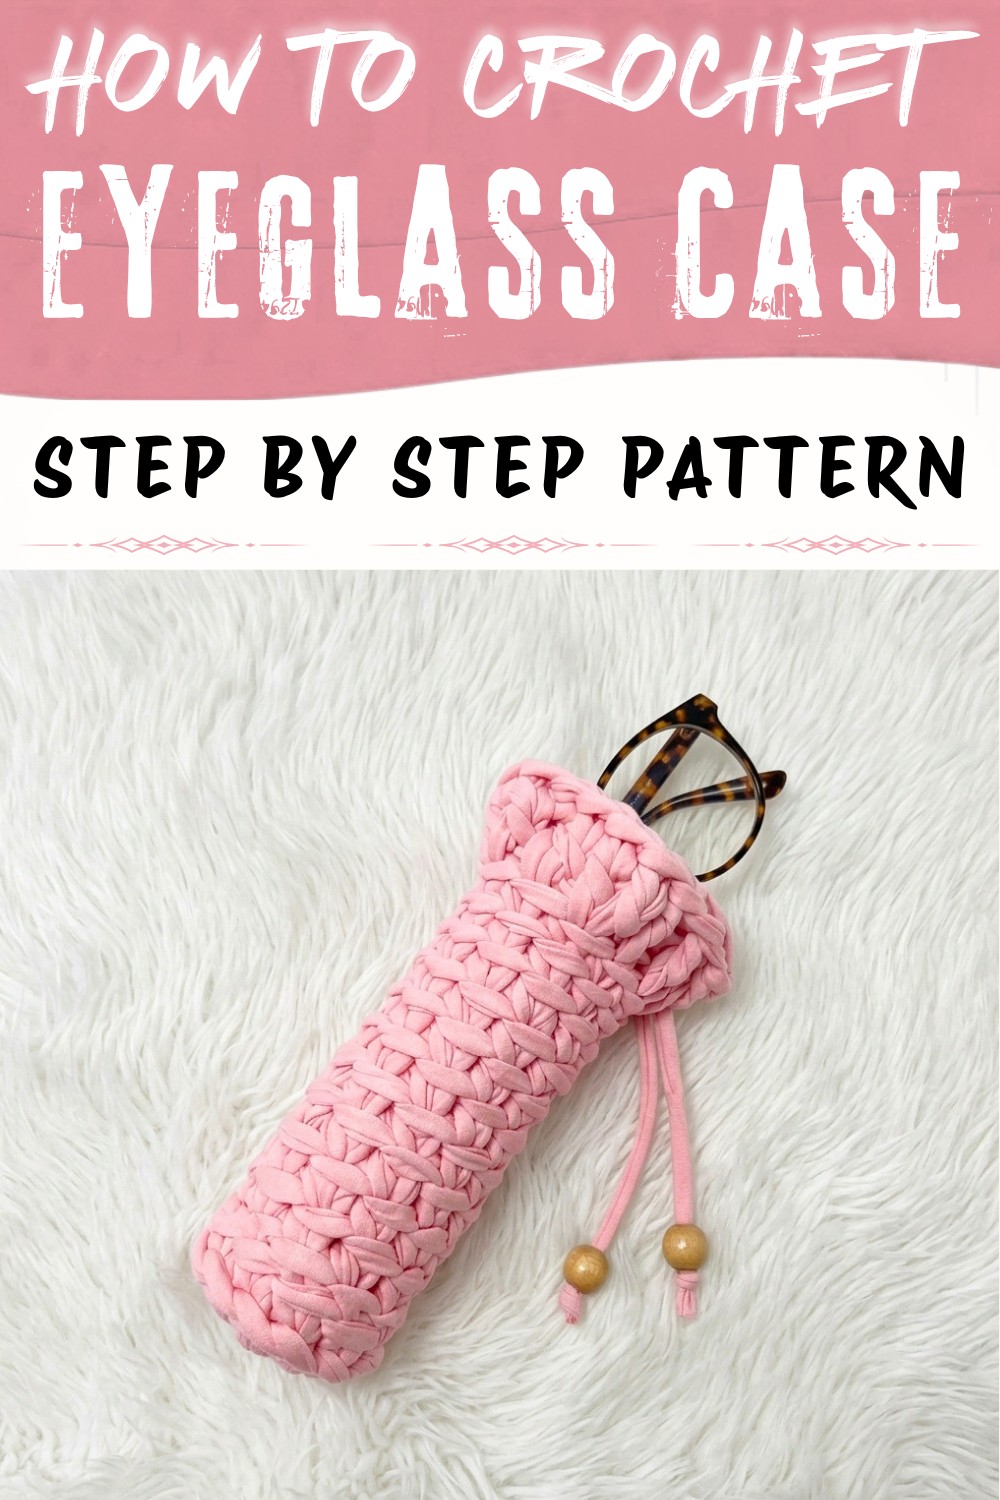
Joker Stitch Eyeglass Case - Step-by-Step Pattern
Materials
- Mesh Yarn: 30 mm (Carmen brand or similar "malha"/t-shirt yarn in pink color)
- Crochet Hook: 7 mm
- Tapestry Needle: Smaller than 4.5 mm (for finishing)
- Scissors
- Optional: Decorative beads & store label tags
Finished Size
- Sample fits eyeglasses up to approx. 16 cm long.
Easily adjustable for different glasses - instructions for adaptation below.
Special Techniques
- Magic Circle start (for round base)
- Centered Single Crochet (needle always inserted in the center of the stitch for a neat, knit-like texture)
- Star Drawstring Closure
Pattern Instructions
Step 1: Make the Base (Magic Circle)
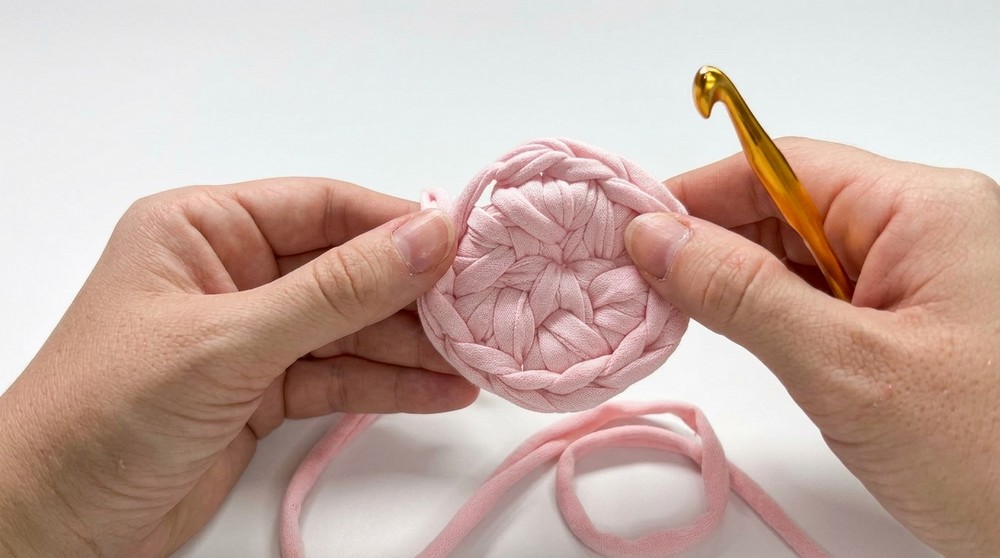
- Create a Magic Circle.
- inside the loop, Crochet 6 loose single crochets (sc). Do not tighten the loop too much.
- Pull the yarn tail to close the center.
- Slip stitch into the first single crochet to close the round.
Simple Explanation:
Start with a magic ring, and do 6 single crochets inside. Pull the tail to close, then slip stitch to finish the base circle.
At this point, you are setting up a round foundation for your case. Keep your stitches loose so you can work into them easily for the next round.
When you start this eyeglass case, there's a sense of excitement and curiosity. Creating the magic circle and watching the very first stitches come together feels a bit like watching something come to life from nothing, just as Juliana warmly greets her viewers and encourages everyone to try, even if they're beginners. The initial rows lay the foundation, and you quickly see the base of your case take shape, giving you confidence that the project will be both fun and achievable.
Step 2: Increase Round for Base
- Work 2 centered single crochets (sc) into each stitch around (total: 12 sc).
- Insert hook directly into the middle ("V" of the stitch) for "centered" effect.
- Slip stitch to the first single crochet to join.
Simple Explanation:
Work two single crochets into every base stitch, always poking your hook right in the center of the stitch.
Now your circle is growing; this round makes a thick base so the case will be sturdy.
Step 3: Optional Size Adjustment
- For larger glasses: Repeat another increase round (1 sc, 2 sc in next stitch, around), or size up as needed.
Simple Explanation:
If your glasses are bigger, just do more increasing rounds until your circle is the right size.
Step 4: Finish Base and Secure
- Weave tail end from magic circle through stitches using the tapestry needle, weaving inside the base so it is neat and sturdy.
Simple Explanation:
Hide the tail from the base inside the stitches, keeping your work tidy.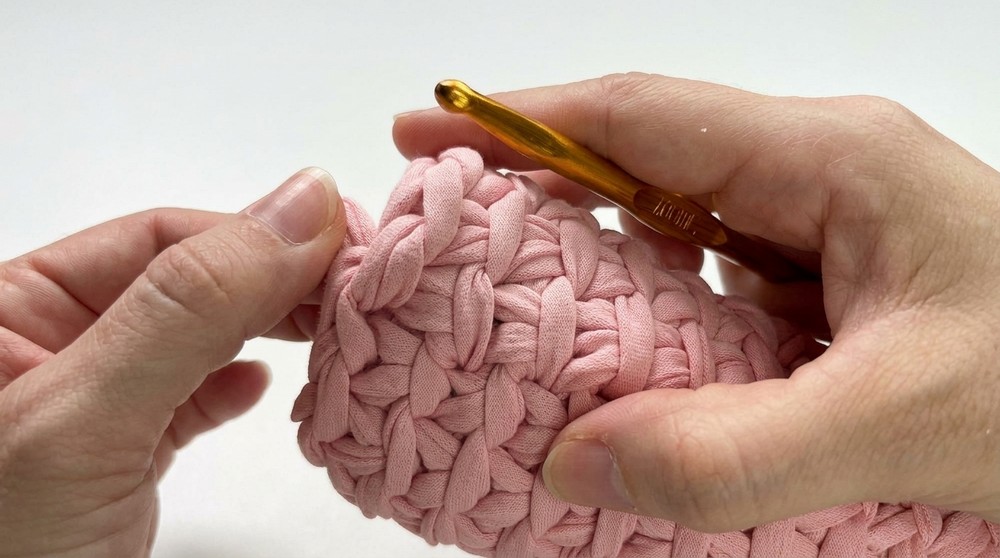
Reaching the middle means you're building up the body of the eyeglass case with smooth, repetitive rounds. This is the relaxing and meditative part of the process, much like Juliana patiently works round after round in her video, explaining the importance of keeping your stitches even and not too tight. Here, you might pause, measure your progress, or even try sliding your glasses in to check the fit. The fabric begins to look neat and "knit-like" thanks to those centered single crochets, and you'll feel steadily closer to your goal with every completed round.
PROJECT MILESTONE!
You have finished the base. Now we start working up the sides of the eyeglass case, forming the 'body' using the Joker stitch. (Feeling accomplished? Great job so far!)
Step 5: Build the Sides (Climbing the Case)
- Pick any stitch on the base edge. Insert hook into the top loop (ring) of any stitch.
- Work 1 centered single crochet (sc) into each stitch around, forming the first round of the sides.
- At round's end, slip stitch to the first sc to join.
Explanation:
Start working single crochets into every stitch's top loop on the edge, this is where you build the 'tube' of your case.
Step 6: Continue Building the Body (Joker Stitch)
- Repeat rounds of centered single crochet (sc), always placing your hook in the center of each stitch (through both front and back "legs" of the V, not just the top loops).
- Continue for as many rounds as needed, until your case measures about 16 cm in length, or enough to safely fit your glasses.
Simple Explanation:
Just keep working those centered single crochets, round and round, until the sides are tall enough for your glasses.
PROJECT MILESTONE!
The body of the case is done once it's deep enough for your glasses. Time to prepare the ruffled, star-shaped closure for that "Joker" flair!
Step 7: Ruffle Top & Closure Preparation
- At the top edge, work 1 slip stitch to join the final side round.
- Chain 3 (counts as your first double crochet).
- In each stitch around the top, work 2 double crochets (dc) into each stitch (this creates the ruffle and forms the closure).
- Slip stitch to the 3rd chain of the beginning to join the round.
Simple Explanation:
Now crochet 2 double crochets in each stitch, making a wavy, ruffled top. This will be used to close your case.
Step 8: Finishing the Star Closure
- Weave the yarn end downwards (not in the ruffle).
- You should see 5 points stick out and 5 indentations in, like a star or flower shape.
- Insert your tapestry needle through each of the 5 internal points, threading your yarn to gather them.
- Pull to cinch the top closed neatly in a star/flower shape.
- Secure by weaving in the ends.
Simple Explanation:
Thread your yarn through the lower points of the ruffle, pulling to create a star or flower-like closure. Hide your yarn ends inside for a neat look.
Step 9: Optional - Add Beads & Tags
- Tie a knot at the end of your closure string (the 2 ends sticking out of the star).
- Add decorative beads and secure with another knot-trim the excess.
- Attach your store tag or custom label as desired.
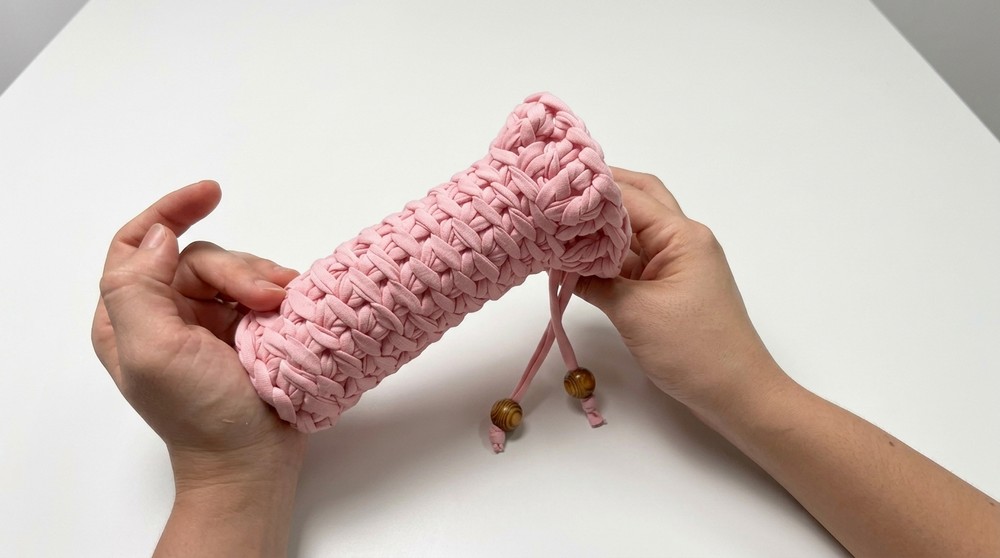
Simple Explanation:
You can add beads or a tag to the closure ends for decoration. Just tie a knot, slide on the bead, and finish with another knot.
PROJECT MILESTONE!
Your Joker Stitch eyeglass case is complete! The closure should look like a magical star/flower, and your glasses are safe and sound inside.
As you approach the top edge, there's renewed excitement for the final touch-the ruffle and magical star closure. Just like in the video, you transition to double crochets, giving the upper edge a decorative, Joker-like flair. The unique way you sew the points together pulls everything into a stunning star or flower shape, delighting you with both the sturdy closure and the stylish finish. Adding beads or a tag as Juliana suggests is the perfect personalized finale. Holding the finished case, you'll feel proud of your handiwork, ready to use or gift.
CUSTOMIZATION IDEAS
- Make a larger or smaller base for sunglasses or reading glasses.
- Change the yarn color for a personalized look.
- Add many ruffle rounds for an even more dramatic Joker style.
- Embellish with charms or keyrings.
- Use as a small clutch, phone case, or bottle holder by altering height and ruffle style.
Conclusion & Remarks on the Final Look
Your finished eyeglass case should have a knitted, structured look thanks to the centered single crochet, with a dramatic ruffled (or "Joker's Collar") top that cinches securely using a star-shaped closure. Your glasses will not slip out, and the case looks as beautiful on the outside as the inside. With personalization, this pattern makes a heartfelt gift or a practical everyday accessory.