
Redefine festive flair with a unique crochet duck-shaped egg pouch pattern that combines delightful design with practical functionality.
When I first decided to try making a fun and cute crochet accessory, I came across a project that was both adorable and functional. a duck-shaped egg pouch. Creating a small bag with a whimsical duck character instantly caught my attention, and the Free Duck Shaped Egg Pouch Pattern turned out to be exactly what I needed. This project isn't just a simple pouch; it's a creative bag shaped like a fat, yellow duck, making it much more delightful than an ordinary oval pouch you might find elsewhere. If you're searching for a unique crochet egg bag or quirky duck bag, this pattern is a wonderful way to bring a playful character into your everyday accessories.
Free Crochet Duck Shaped Egg Pouch Pattern with Stepwise Guide
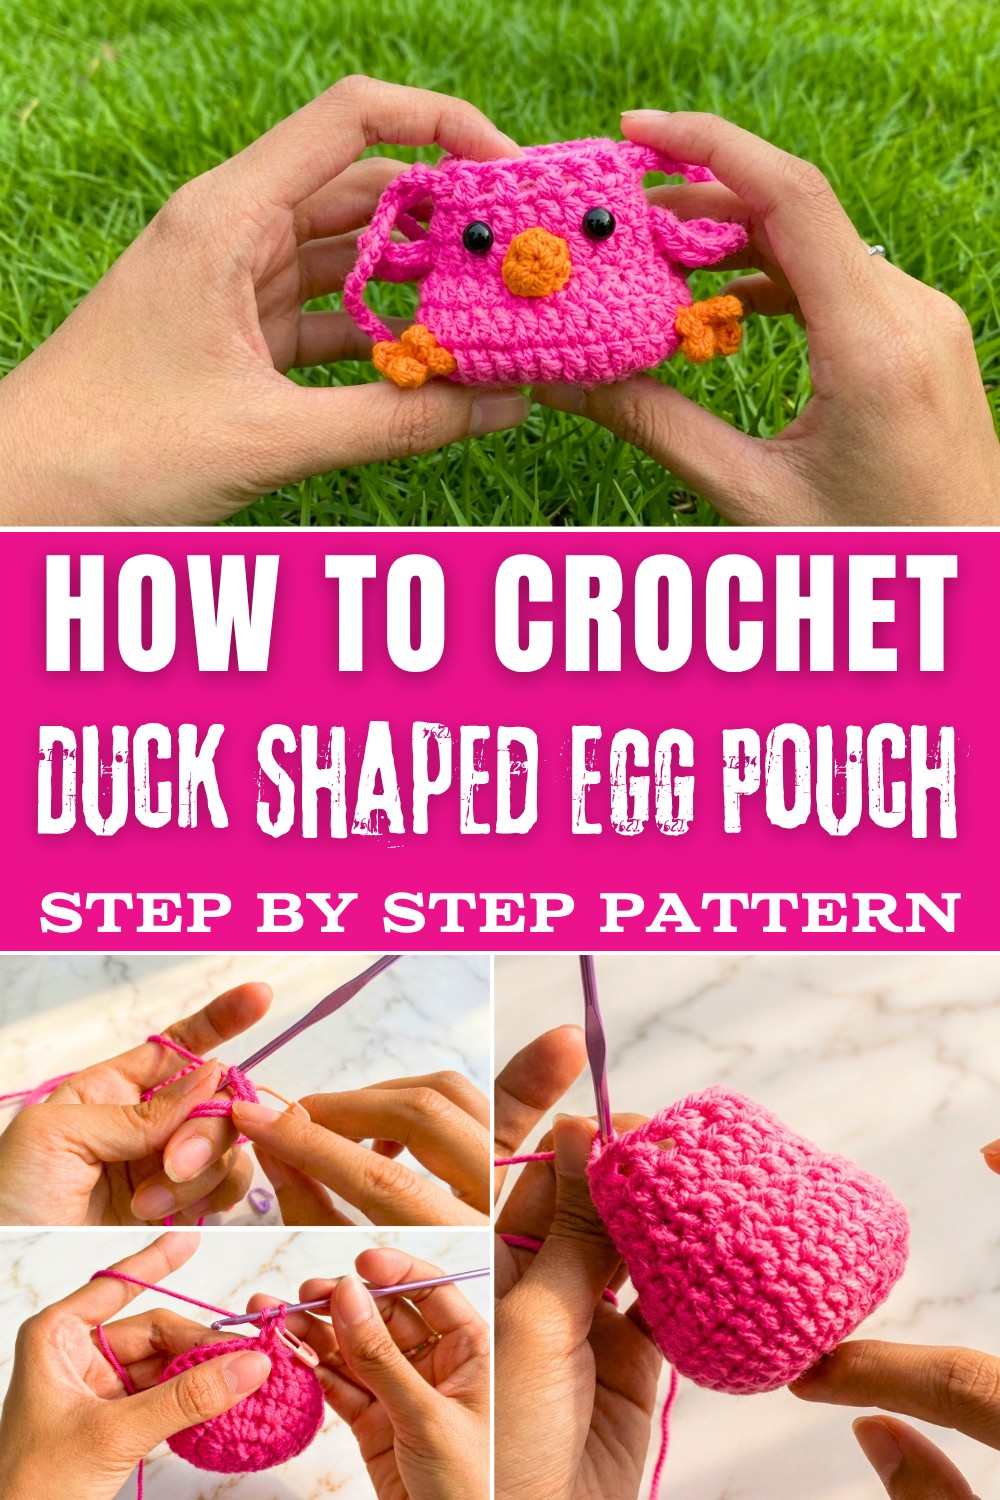
The charm of this project lies in its standout design and chubby, soft appearance. The pouch features a bright yellow body, a cute orange beak and legs, and adorable wings attached to the sides. It's complemented by a pair of large cartoon eyes, giving it a charming personality. The finished pouch has a rounded, plump shape with a removable strap, allowing you to carry it like a little purse or attach it to a school bag. The texture is smooth and plush, created with classic crochet stitches that give the bag a cozy, hand-crocheted feel.
Special Techniques & Important Remarks
- Mark your rounds! Use a scrap yarn or locking stitch marker to mark your first/last stitch.
- Make sure all pieces are securely fastened for durability.
- Adjust strap/handle length to suit preference or wearer's height.
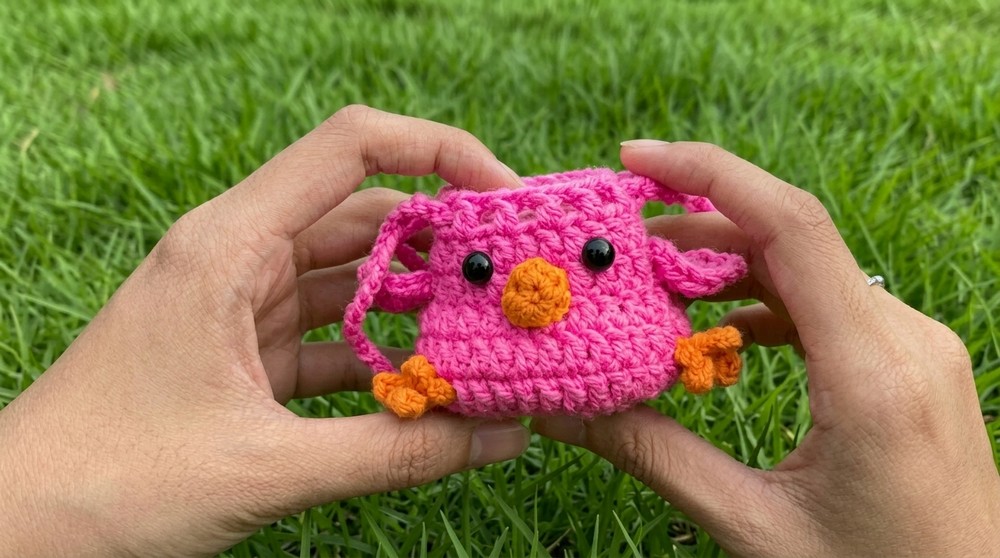
The construction involves working magic circles, single crochet stitches, increases, and clever shaping to bring each part of the duck to life, body, beak, wings, and legs. Assembly is completed with a bit of sewing and glueing for features such as the eyes and mouth. The project is ideal for crocheters with basic knowledge, but the clear segmenting of rounds and marking tips make it accessible for beginners eager to practice technique and have fun with amigurumi elements.
Practical and cute, this pouch is perfect for storing small items, gifting to children, or using as a unique collectible. It makes a cheerful statement piece that's as functional as it is decorative. If you enjoy creative, playful crochet projects and want to add something joyful to your handmade collection, this duck-shaped pouch is a fantastic fit no matter your skill level. Step in, and let your next project waddle its way into your heart.
How This Project Grows Your Skills
- Practice crochet in the round, increasing, and decreasing for basic 3D shapes.
- Learn to shape and attach decorative features.
- Gain confidence assembling a working (and adorable) accessory.
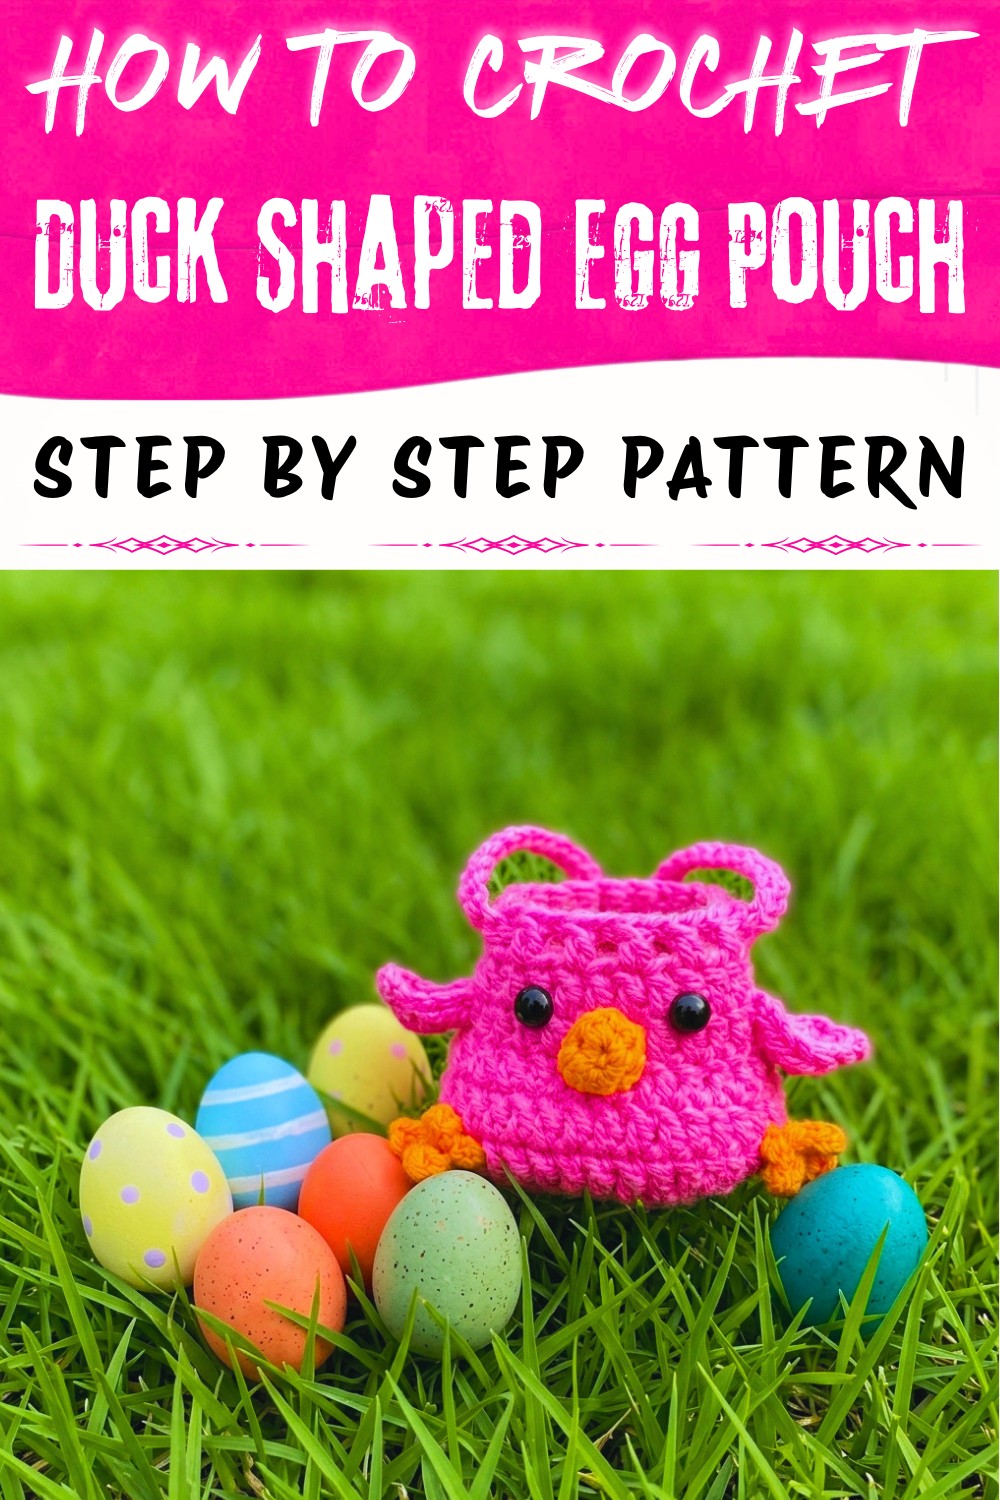
Duck Egg Bag crochet amigurumi patterm
Materials Needed
- Yarn:
- Bright pink (for body, wings, strap)
- Orange (for beak and feet)
- Crochet Hook: 3.0 mm
- Needle: for joining and weaving in ends
- Stitch marker: to track the first/last stitch of each round
- Safety eyes, animal eye stickers, or black yarn for embroidery
- Scissors
- Optional: Crochet glue for additional security on details
Tip: Any DK/light-worsted weight acrylic or cotton yarn works well for this project.
Finished Size
- Bag body: Approximately 11-14 cm wide; size slightly varies by yarn brand and user's gauge
- Strap length: Adjustable (see instructions; 30-40 cm recommended for a child's crossbody bag)
Skill Level
- Confident beginners and up
- Techniques covered:
- Magic ring/circle
- Crocheting in the round
- Simple increases & decreases
- Working in rows/rounds for limb shapes
- Attaching 3D features and a functional strap
PART 1: Duck Bag Body
Round 1 (Base)
- Make a magic ring.
- Work 12 single crochets (sc) into the ring.
- Join with a slip stitch to your first sc.
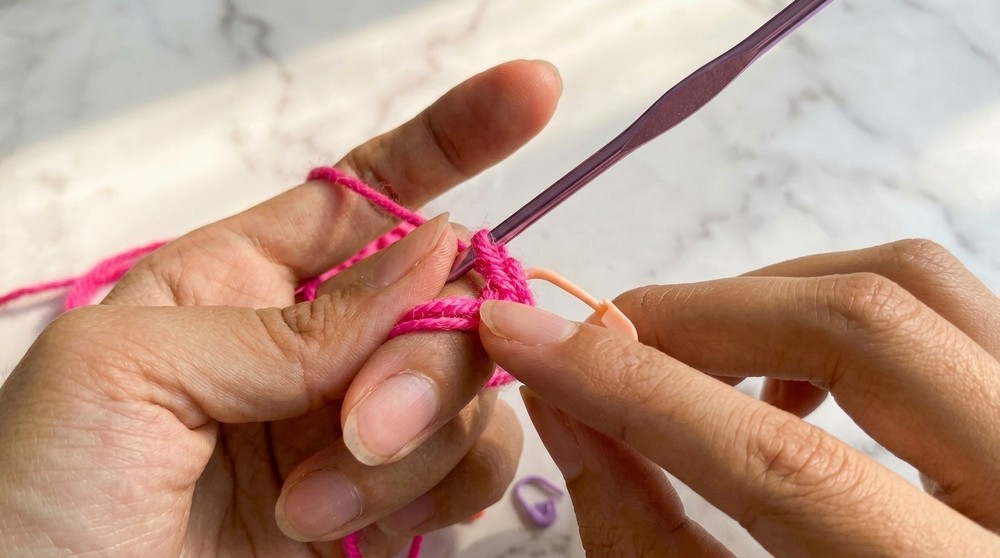
Simplified: Make a loop, then crochet 12 sc into it. Pull tight and join. This forms the "egg" base.
Round 2
- [2 sc in each stitch around] (increase in every stitch)
- (24 sc at end of round)
You'll double each stitch from previous round.
Tip: Place a marker at your first and last stitch this and every round.
Round 3
- [1 sc in next stitch, 2 sc in next] repeat around
- (36 sc at end)
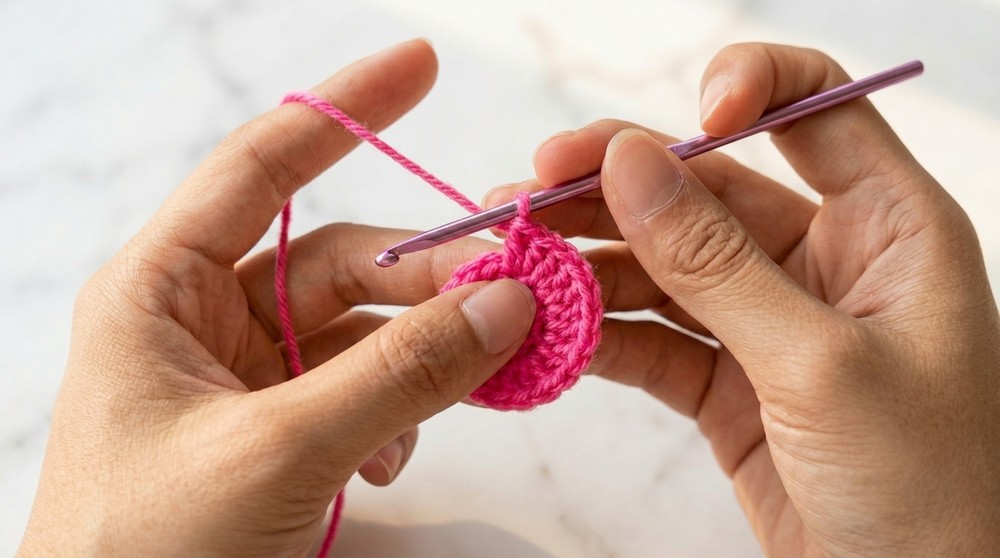
Do one regular sc, then two in the next stitch; alternate the pattern all around.
Rounds 4-5
- [1 sc in each stitch around]
- (36 sc per round)
Just do one sc in every stitch, two rounds total. This starts to build the bag's depth and height.
Round 6 (Decrease round)
- [1 sc in next stitch, sc2tog (decrease)] repeat around
- (24 sc at end)
Work a single crochet, then decrease: insert hook, yarn over, pull up a loop, repeat in next stitch, yarn over, draw through all (sc2tog).
Rounds 7-8
- [1 sc in each stitch around]
- (24 sc per round)
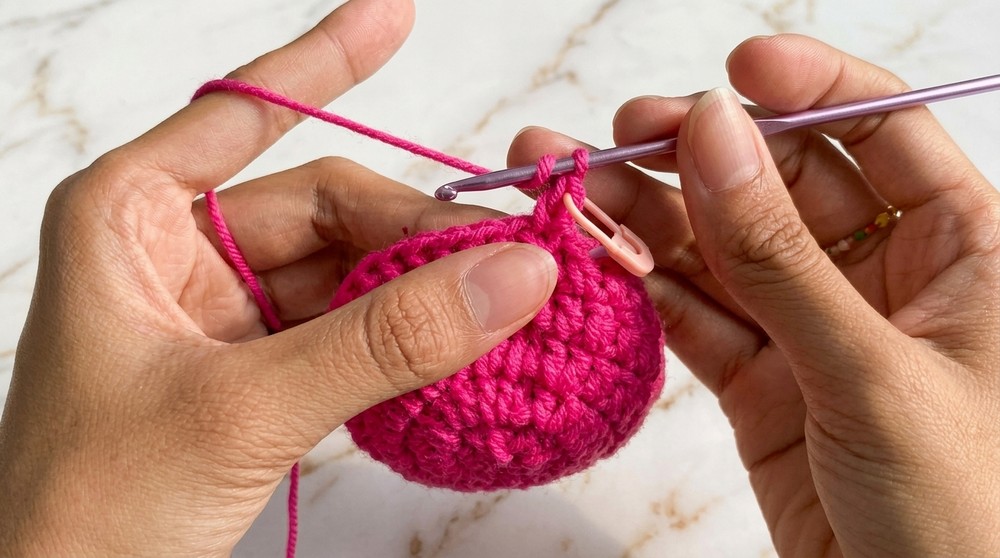
Continue working evenly around; your bag begins to narrow again.
Round 9 (Creating the rim and strap holes)
- [Chain 4, skip next stitch, sc in following stitch] repeat around
You'll form chain spaces (little "windows") for threading the bag's strap through. Keep checking so you make a boxy/elliptical bag opening.
After completing the last sc, join with a slip stitch, fasten off, and weave in all ends.
End of Main Body!
You now have a plump, egg-shaped bag base. Start assembly or embellishment, or make a second identical side if you want a lined or double-layer bag.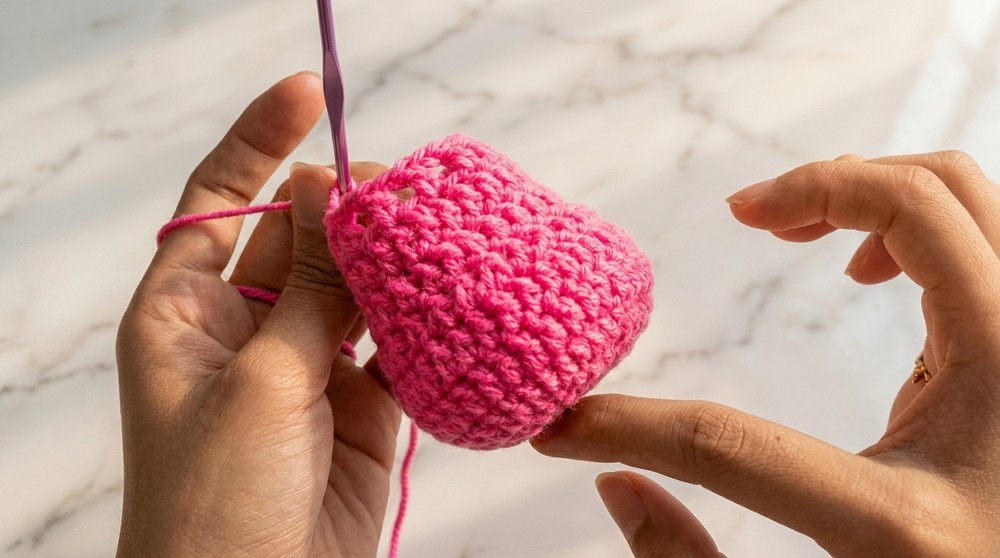
PART 2: Duck's Features
WINGS (make 2)
- Make a slip knot and chain 7.
- Starting in 2nd chain from hook:
- sc in first ch
- hdc in next ch
- hdc in next ch
- hdc in next ch
- sc in next ch
(You will skip a chain at the far end-turn and work back along the opposite side of the chain for symmetry!)
- At tip, work 3 sc into the last ch to round the tip.
- Continue on the opposite side:
- sc, hdc, hdc, hdc, sc
Fasten off and weave in ends. Make another for the second wing.
These are slightly curved wings; sew them to the bag sides for a flapping effect.
BEAK
- With orange yarn, make a magic ring.
- 6 sc in ring, join with slip stitch.
- Fasten off, leaving a yarn tail for sewing.
Simple - a little round flat beak! Attach at the top central front below eyes.
FEET (Make 2)
- With orange yarn, ch 4.
- sc in 2nd ch from hook, sc in next 2 ch (three sc). Turn.
- For each toe:
- ch 3, turn, slip stitch in 2nd ch and next ch. Fasten off.
- Repeat for three toes from edge of the same ch-4 row.
- Leave tail for sewing.
Sew feet at base of bag, peeking out from underneath for a playful walk!
PART 3: Assembly
- Sew wings to both bag sides symmetrically.
- Attach beak in desired spot, centered below where you'll put eyes.
- Attach feet at the bottom.
- Add safety eyes, animal eye stickers, or embroider eyes with black yarn just above the beak.
Gluing eyes/stickers is fine for decorative use. Sew/embroider if the bag will endure rough wear/kids.
PART 4: Shoulder Strap
- Using bright pink yarn, create a slip knot.
- Chain 30-40 (or desired length for crossbody or hand carry).
- Fasten off, leaving ends for sewing.
- Sew each end of the chain securely to the left and right sides of the bag's rim, directly across from each other.
- Weave in ends for a clean finish.
Try the strap on for size before sewing both ends to ensure the desired length!
Customization Ideas
- Make a white egg base and add colored "yolk" or spots!
- Personalize the eyes with felt patches or different expressions.
- Crochet a smaller version as a coin pouch or keychain.
- Embroider a name or motif for a custom gift.
Who Is This Pattern For?
- Beginners ready for the next step (simple increases/decreases, working in the round).
- Anyone seeking a cute, quick make for a child's gift, Easter, or quirky bag.
- Crafters wanting to personalize their crochet work.
Special Tips
- Mark round starts for consistent counting and a symmetrical bag.
- Adjust feature placement to your liking-every duck is unique!
- Sew features on securely for durability.
- For larger bags, use chunkier yarn and a larger hook.