
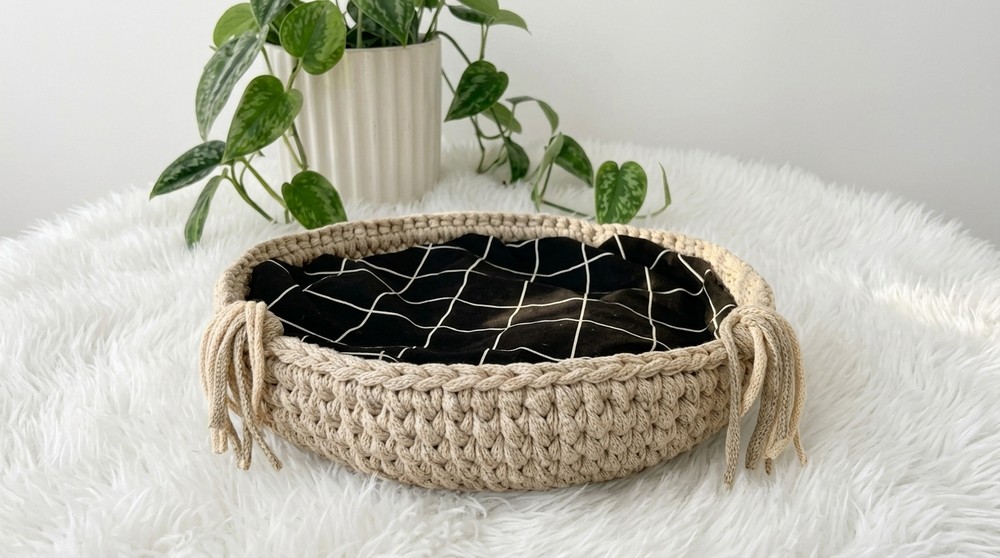
Treat your pet to ultimate comfort with this Free Crochet Pet Bed Pattern, a perfect mix of style, coziness, and handmade simplicity.
Creating something special for your furry friend adds a touch of warmth and personality to any home, and this crochet pet bed pattern is the perfect project to pamper pets with comfort and style. The finished product stands out with a blend of soft textures and cozy design, while its charming circular shape makes it both functional and visually appealing. Experimenting with color combinations opens endless possibilities-neutral shades like beige paired with cheerful accents such as teal, pink, or yellow can make the pet bed blend with any home decor or pop as a centerpiece.
Irresistibly Free Crochet Pet Bed Pattern to Try Today

This beginner-friendly pattern showcases simple stitches like single crochet (SC) and half-double crochet (HDC), making it accessible for crocheters just starting out. Working in the round, the bed develops a plush and sturdy texture, perfect for supporting playful paws or sleepy stretches. These foundational stitches are versatile and adaptable, often used to crochet matching baskets, decorative mats, or stylish rugs that provide continuity to the space.
Step-by-step instructions teach helpful techniques like increasing stitches to form a circular base, maintaining structural edges, and adjusting sizes to perfectly suit pets of all breeds-from cats to larger dogs. Beyond the joy of making an adorable bed, the pattern equips crocheters with versatile skills that can be applied creatively in other projects.
Skills Learned and Creative Possibilities:
- How to combine colors to achieve personalized and eye-catching designs.
- Techniques for increasing stitches in the round to shape circular items.
- Mastery of SC and HDC stitches to create a variety of textured patterns.
- Crochet additional items like baskets, storage bowls, and placemats, using techniques learned from this project.
This crochet pet bed pattern combines practicality with charm, creating a thoughtful gift for beloved pets. Perfect for beginners, it's a chance to enhance skills while adding homemade goodness to any pet-owner's life!
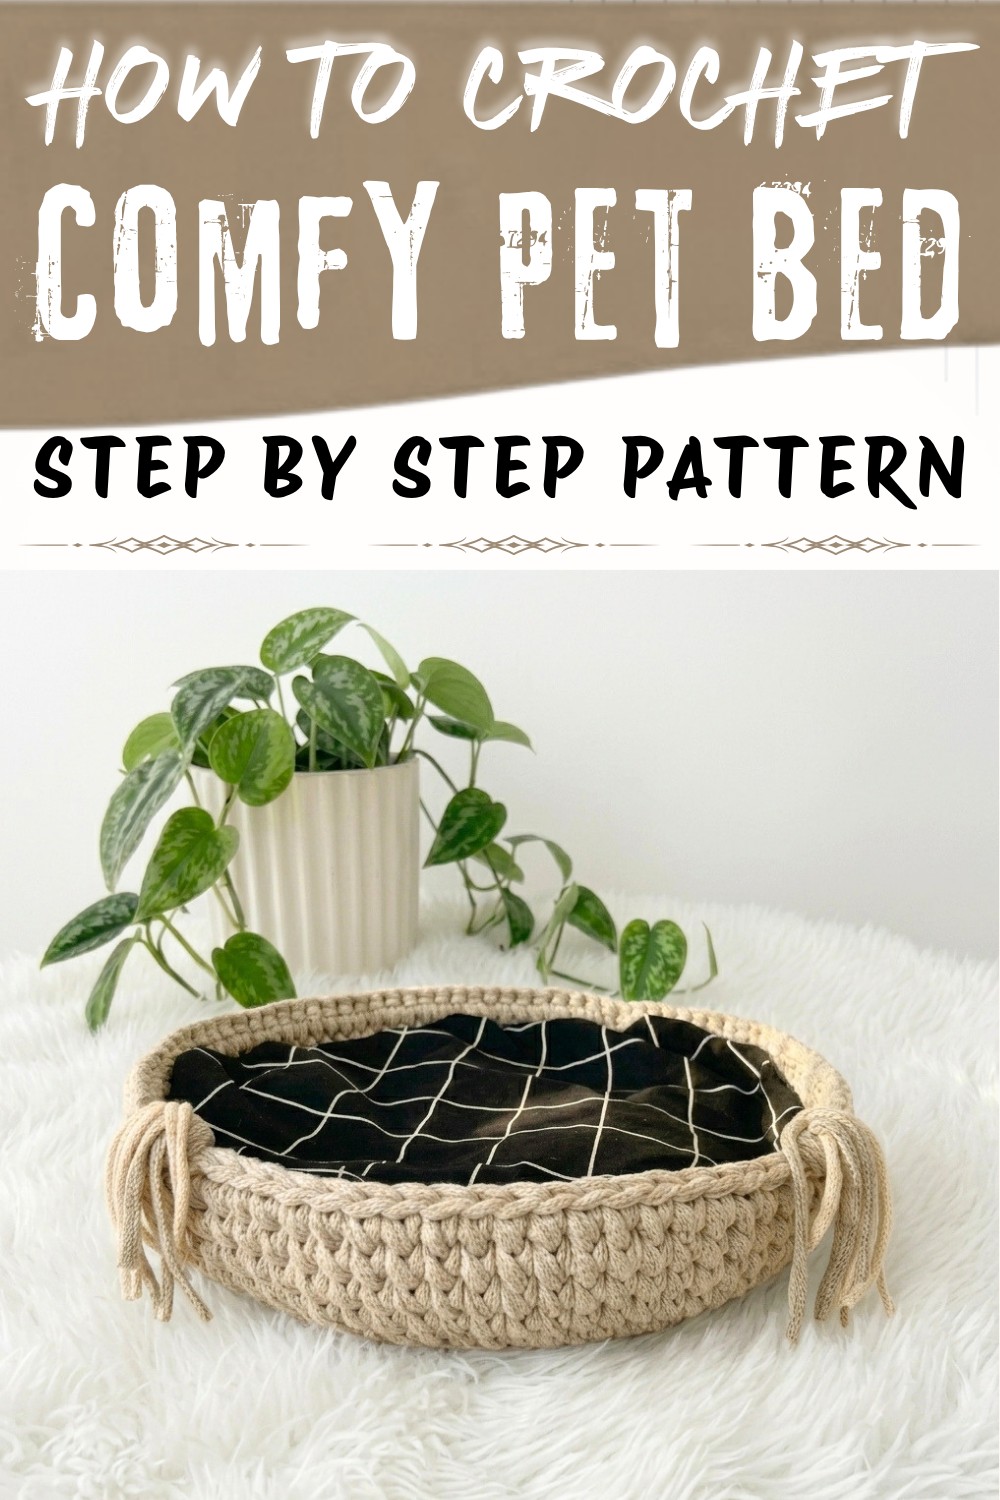
Why This Pet Bed Works So Well
This pattern focuses on comfort, warmth, and ease of use:
- Soft and supportive - Thick yarn and simple stitches create a cushy, padded base.
- Raised sides - Help your pet feel secure and give them something to lean against.
- Washable - Using the right yarn means you can toss it in the washing machine.
- Fully customizable - Change the size, height, and colors to fit your pet and your home.
It's the kind of item that quietly becomes a favorite spot in the house-both for your pet and for you to look at.
Materials & Tools
Here's what you'll need to make the pet bed:
- Yarn
- Super bulky or chunky weight yarn of beige color
- Fiber:
- Acrylic for easy washing
- Cotton blend for a slightly cooler feel
- Hook size
- 8 mm (L) hook for firm, dense fabric
- You can go up to 9-10 mm if your hands are tight or you want a softer feel
- Tapestry needle - For weaving in yarn ends.
- Scissors - For trimming yarn.
- Measuring tape - To check size as you go.
Stitch Guide (Beginner Friendly)
You'll only need a few simple techniques. If you're new, practice these first:
- Chain (ch) - The starting line of many projects.
- Slip knot - How you attach yarn to your hook to begin.
- Single crochet (sc) - Short, dense stitch; used for a sturdy base and sides.
- Slip stitch (sl st) - Very short stitch used for joining rounds and edging.
- Increase (inc) - Two single crochets in the same stitch, to make the circle grow.
All of these are commonly used in beginner patterns, and once you get into a rhythm, they start to feel very natural and relaxing.
Special Techniques
- Crocheting through MDF requires a sturdy hook and moderate hand strength; insert hook gently to avoid chipping the MDF.
- Double Yarn: Holding two strands together is helpful with thin, stretchy t-shirt yarn-makes the sides sturdier.
- Finishing the First Round: When joining, always pull threads up and weave excess ends for a neat finish.
Finished Size
- Diameter: Approx. 35-38 cm (14-15")
- Height: 6-8 cm (2.5-3.25")
- Fits: Most kittens, small cats, or toy-sized dogs.
Crochet Pet Bed with MDF Base Instructions
Step 1: Prepare the Base
- Use a pre-drilled MDF board: If using a base with no holes, drill holes evenly around the edge before starting.
- Wipe MDF to remove dust before working.
Step 2: Attach Yarn to MDF Base
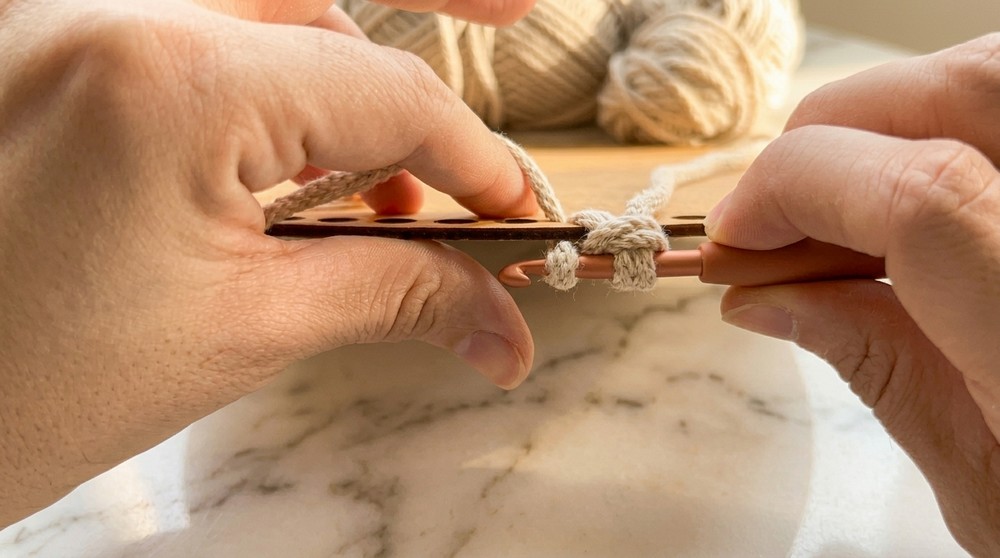
- Start with a slip knot. Insert your hook from top to bottom through any hole along the edge.
- Pull up a loop and chain 1 to secure.
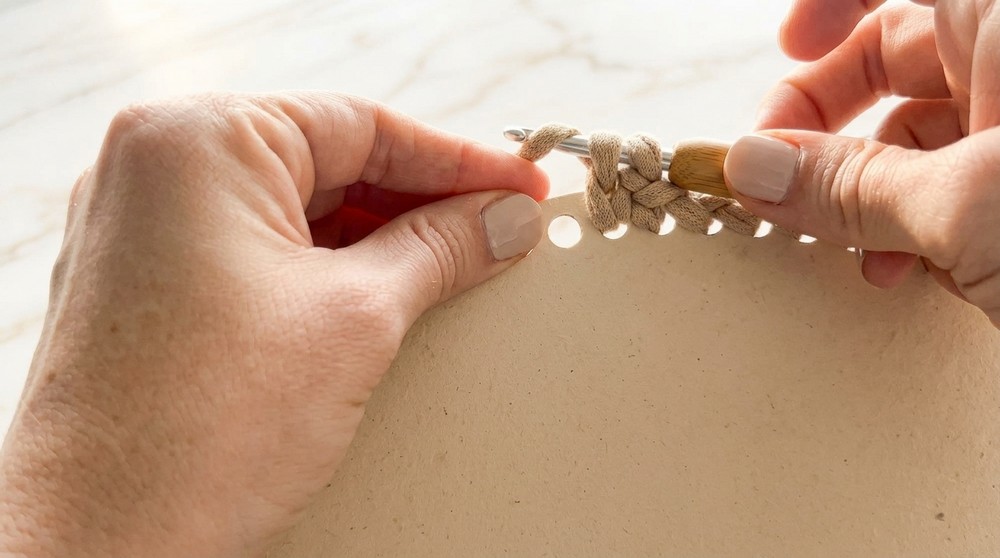
- Continue around the base:
- Insert your hook through the next hole, yarn over, and pull up a loop; yo, pull through to make a single crochet (sc).
- Repeat sc into each hole around the base, crocheting directly into the MDF holes.
TIP: If your yarn is thin, use two strands held together for a sturdier wall. This may require a larger hook or gentle tension.
- Join round with a slip stitch to the first sc.
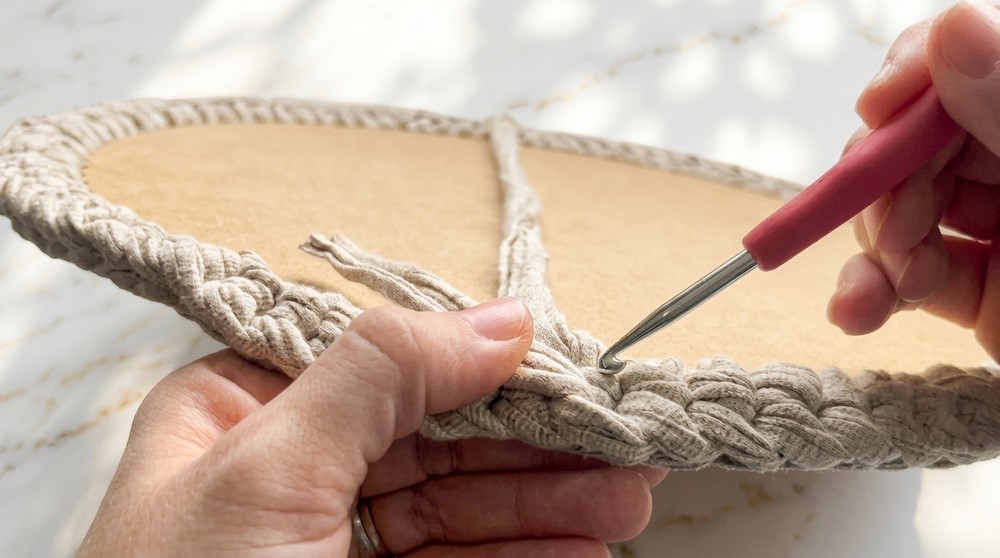
Step 3: Build the Bed Walls
- Work in continuous rounds (use a stitch marker if needed):
- For Round 1:
- Insert hook under both the "leg" of the stitch and the ring behind it (i.e., under two loops for strength).
- sc in each stitch around.

- For Round 1:
- Continue upward:
- Repeat sc in each stitch for 5-6 more rounds (for a wall approx. 6-8 cm high), moving your stitch marker up each round.
- Keep your tension consistent for even sides. If your yarn is very stretchy, work a little tighter for firmer walls.
Step 4: Finishing
- After reaching desired wall height:
- Finish with a slip stitch round for a clean edge (sl st in each st around).
- Cut yarn, leaving a 6-8" tail.
- With your yarn needle, weave in the end securely inside the wall.
- If desired, switch to a contrasting color for the final round for a decorative lip.
Step 5: Add Pom-Poms (Optional Play Feature)
- Make 1-2 large pom-poms using yarn (main or contrasting color).
- Attach securely: Fold the thread of the pom-pom in half and pass half through a stitch just inside the wall, then thread ends through the pom-pom center and tie securely. Alternatively, thread pom-pom threads through an inside wall stitch and knot.
- Trim pom-poms to desired length. Be sure threads are tight so pets can't pull the pom-poms loose.

Step 6: Soft Inner Pillow (Optional)
- Use a pre-made pillow, small pet cushion, or pillowcase to line the bottom and increase comfort.
- Choose a cover/fabric that matches your decor or cats preference (fleece, cotton, flannel, etc.).
Tips and Customization Ideas
- Base Options: If MDF is not available, crochet your own base with t-shirt yarn using a tight sc circle of the same diameter.
- Height Customization: Adjust the number of sc rounds for taller or shorter bed walls.
- Colors: Coordinate with your home or pet's accessories. Add stripes, color blocks, or surface crochet designs.
- Stability: Ensure the wall isn't too floppy-double-stranding yarn or using a firmer t-shirt yarn helps.
- Play Elements: Attach more or fewer pom-poms, or add hanging ribbons (secured well) for extra entertainment.
- Portability: The bed is light and can be easily moved or washed if you use a removable fabric liner.
Important Remarks
- Make sure all embellishments, pom-poms, and parts are very securely attached for your pet's safety.
- Consider using a removable, washable pillow insert for easy cleaning.
- With this technique, you can easily adjust size and color for multiple pets or as thoughtful handmade gifts!