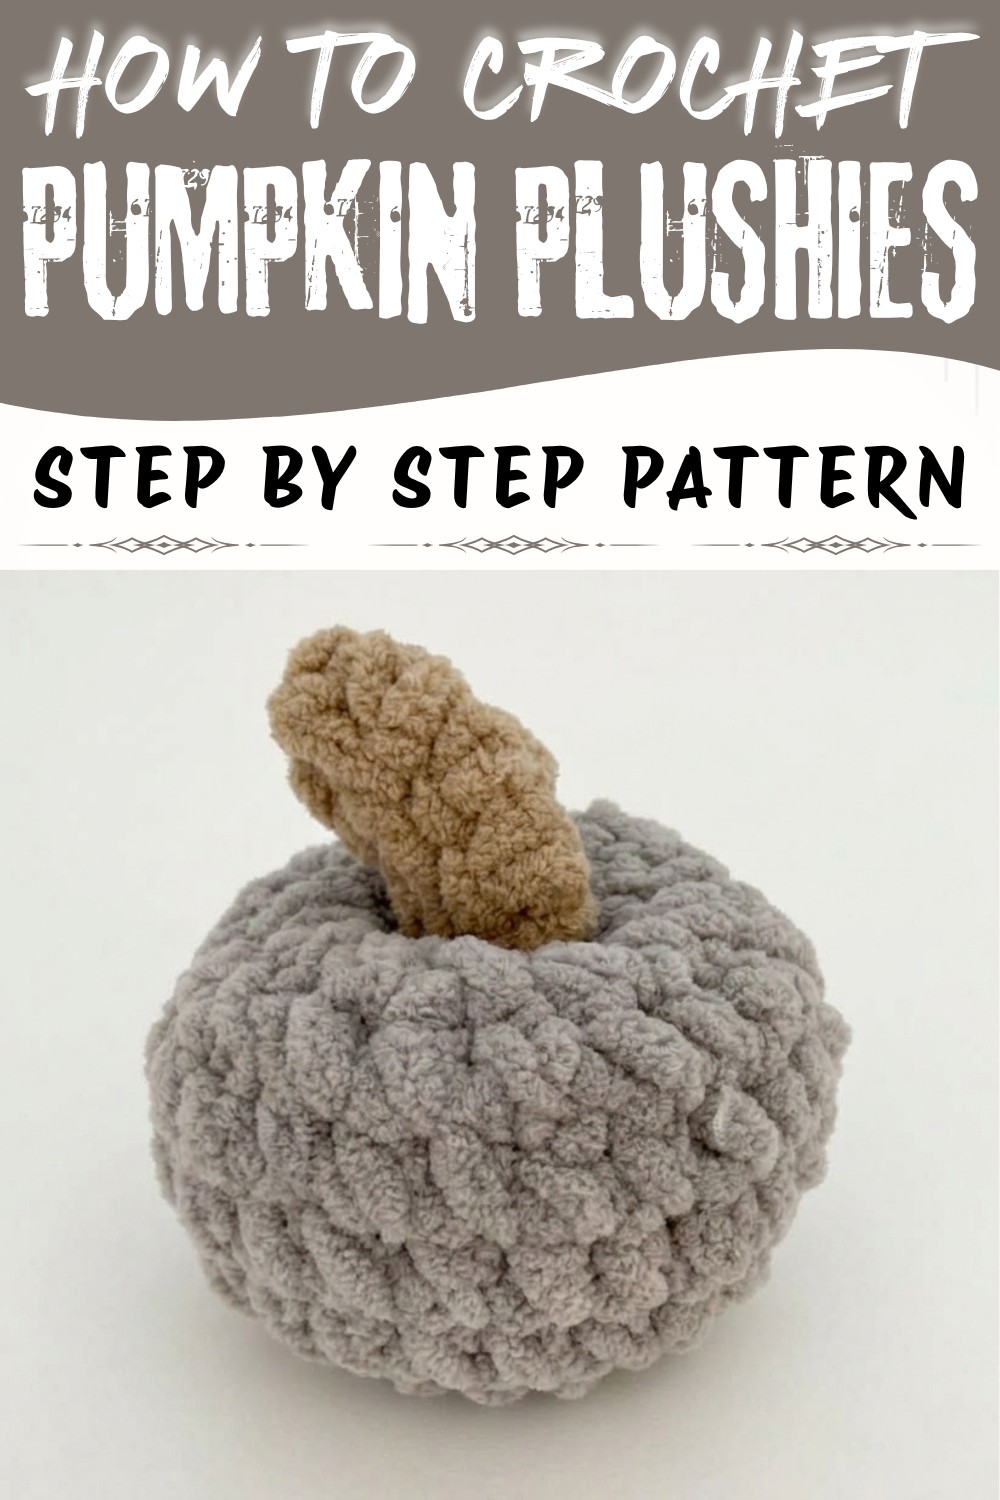
Set a cozy autumn mood with this Crochet Pumpkin Plushies Free Pattern, featuring soft, squishy shapes for seasonal display.
Bring a touch of autumnal charm into your home with the delightful crochet pumpkin plushies featured in a tutorial by Make, Do & Craft - Crochet. This project beautifully combines whimsy and coziness, creating soft, adorable pumpkins that are perfect for fall décor or as charming gifts. Whether you're looking to brighten up your living space or add a seasonal touch to a child's playroom, these plushies offer a stylish yet comforting presence.
Cozy Crochet Pumpkin Plushies Free Pattern to Decorate Your Room
The Crochet Pumpkin Plushies Pattern shines as an ideal project for the fall season, blending perfectly with Halloween and Thanksgiving themes. Their compact size and plush nature make them versatile-they can be nestled on shelves, arranged as table centerpieces, or paired beautifully with rustic autumn wreaths and candles. These pumpkins are not just decorative but exude a handmade warmth that suits cozy evenings by the fire or festive gatherings.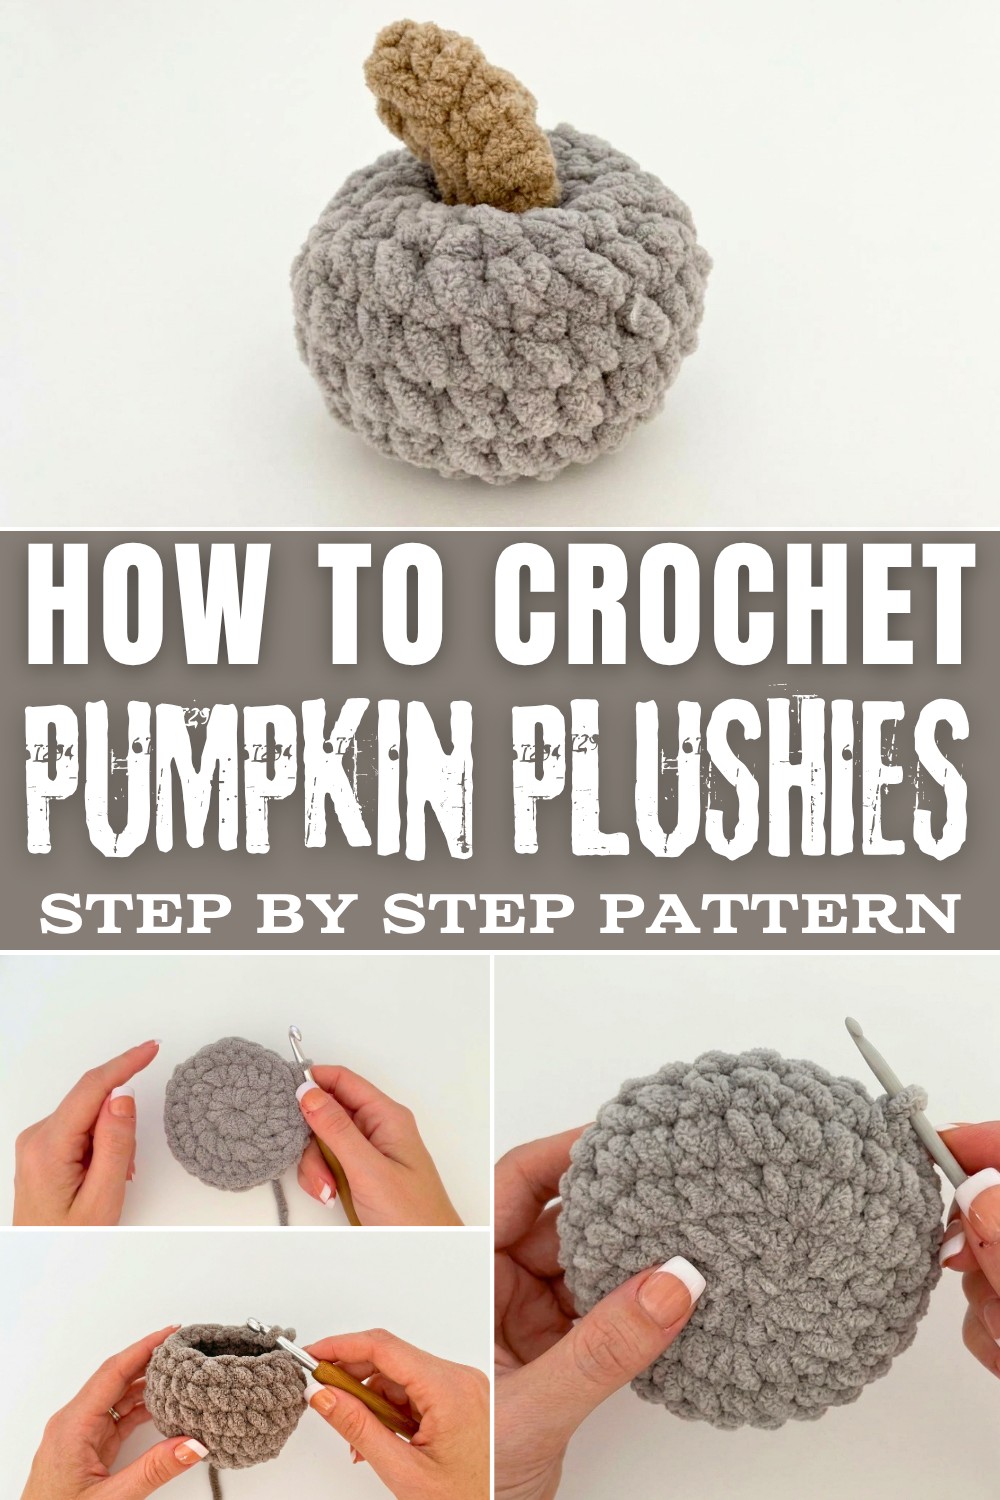
When it comes to texture, these plushies exhibit a wonderfully soft and inviting feel that invites touch and adds depth to any display. The design features gentle ridges mimicking the real grooves of a pumpkin, achieved through skillful stitch work that adds dimension without being bulky. A small, sturdy stem tops each plushie, giving it an authentic silhouette and an extra layer of charm.
The subtle color variations and thoughtful shaping make this pattern stand out, elevating simple yarn into seasonal treasures. If you're eager to learn techniques that bring such delightful detail and texture to life, this Crochet Pumpkin Plushies Pattern offers a rewarding and fun journey. Dive into the full tutorial and unlock your creativity this fall.
Lovely Crochet Pumpkin Plushies Free Pattern
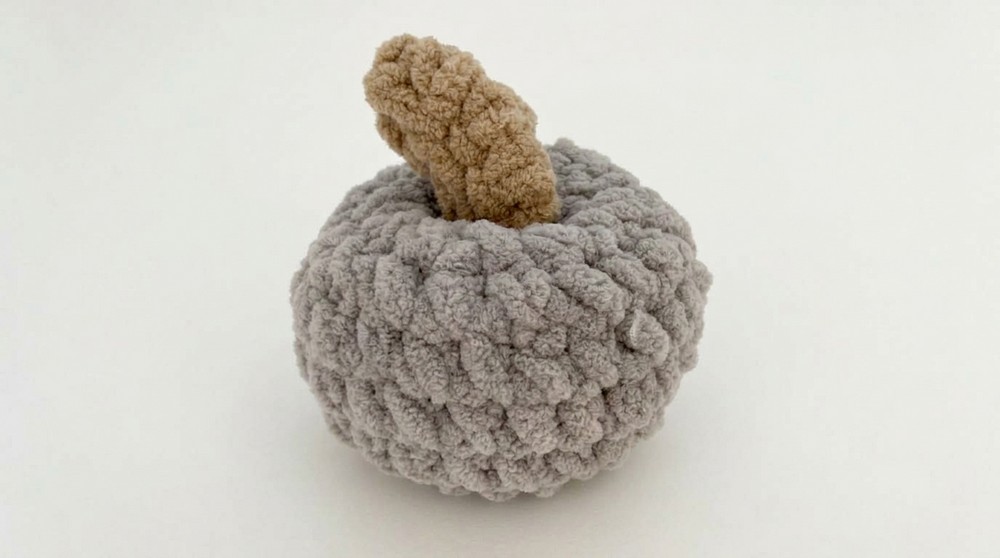
Plush pumpkins featuring super bulky yarn provide a comforting touch to seasonal decor and make charming additions to soft toy collections. With this method, the pumpkin is built in continuous rounds rather than working flat, eliminating the need for ribbing or back loop stitches frequently seen in other pumpkin designs. Using plush yarn, which is also known as chenille, blanket, or super chunky yarn, ensures a soft and inviting finish. The instructions below demonstrate a medium size, guiding you through each step, from forming the body with invisible decreases and seamless shaping, to constructing a sturdy stalk and anchoring it securely. This approach delivers a cohesive form without visible stuffing and stands as a rewarding project for those seeking a straightforward, tactile design.
Quick Overview of Pattern
- Body is worked in continuous rounds with no slip stitch joins, eliminating ribbing.
- Rounds feature systematic increases and invisible decreases to achieve spherical shaping.
- Medium firmness is required when stuffing; shaping includes a center dip.
- Stalk is created separately with basic rectangular construction, then joined and shaped.
- All ends are securely anchored and hidden for tidy finishing.
Notes
- For best results, use a crochet hook one or two sizes smaller than recommended for your yarn to avoid gaps in stitches.
- Stitch markers are essential for beginners to maintain accurate round counts in plush yarn.
- Invisible decreases and slip stitch decreases minimize bulk and conceal stuffing.
- When shaping, avoid pulling too tightly on inner yarn strands to prevent snapping; use hands to compress.
- Written pattern adapts well to both smaller and larger pumpkin sizes as desired.
Skill Level
- Beginner-Friendly: Techniques used include single crochet, invisible decrease, slip stitch, basic sewing/assembly.
Materials
- Super bulky / super chunky plush yarn
- (Chenille, plush, or blanket yarn)
- 8 mm crochet hook
- (Go one or two sizes down from yarn label for best results)
- Yarn needle for sewing and shaping
- Scissors
- Stitch markers
- (Strongly recommended for beginners)
- Toy stuffing / polyester fiberfill
Measurements / Sizing
- Medium pumpkin measures approximately 10-13 cm (4-5 inches) across when lightly stuffed.
- Small and large variations can be achieved by adapting stitch counts.
- The stalk adds approximately 2-3 cm (1 inch) height.
Gauge (and Stitch Pattern if applicable)
- Gauge is not strictly required; aim for dense, firm stitches to prevent stuffing showing through.
- Typical single crochet gauge: 6 stitches = 5 cm (2 inches) in the round using super bulky yarn and 8 mm hook.
Stitch Abbreviations
- MR: Magic Ring
- ch: Chain
- sc: Single Crochet
- inc: Increase (2 sc in one stitch)
- dec: Invisible Decrease (see below)
- sl st: Slip Stitch
- st(s): Stitch(es)
Special Stitches
- Invisible Decrease (inv dec): Insert hook under front loops only of next 2 stitches, yarn over or under, pull through both front loops, yarn over or under, pull through remaining loops.
- Slip Stitch Decrease: Insert hook through both loops, pull up loop, pull through second loop without yarning over again.
The Crochet Pattern (Step-by-Step)
Pumpkin Body
- Magic Ring & Round 1
- Form a magic ring.
- Work 12 sc into the ring. (You may yarn under or yarn over.)
- Do not slip stitch to join; continue in a spiral. Place the first stitch marker in first sc.
- Round 2
- (Inc in first stitch, sc in next stitch) × 6 repeats around.
- Total: 18 sc
- Round 3
- (Inc in first stitch, sc in next two stitches) × 6 repeats around.
- Total: 24 sc
- Rounds 4, 5, and 6
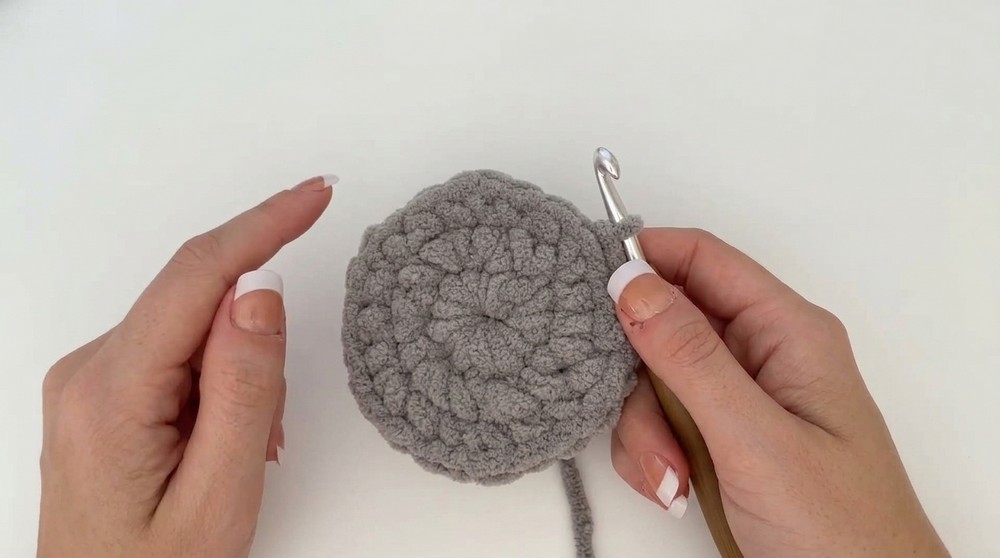
- Work 1 sc in each stitch for three consecutive rounds.
- Total: 24 sc per round
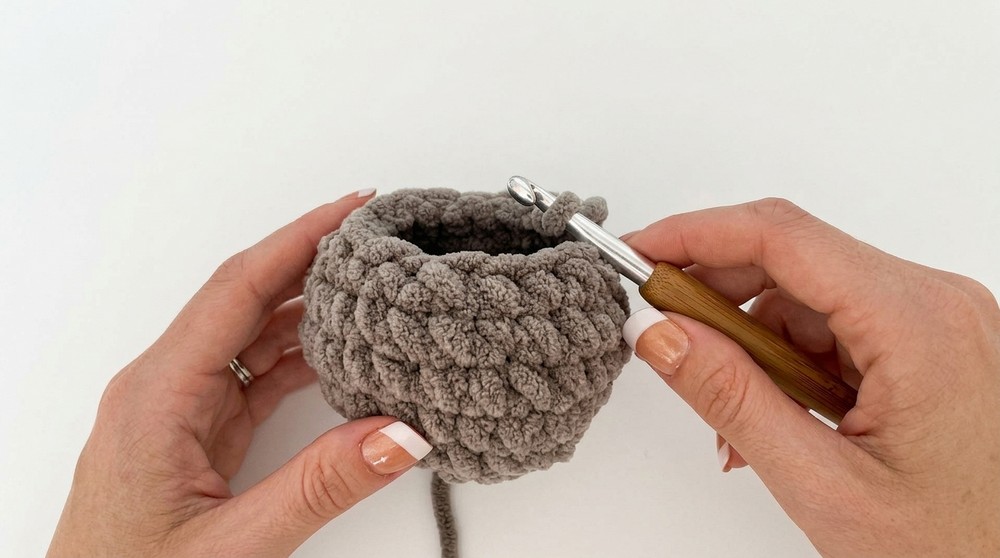
- The work begins to resemble a bowl or rounded cup.
- Round 7 (Decreases)
- Begin with an invisible decrease in the first stitch.
- Work sc in each of the next 2 stitches.
- Repeat (inv dec, sc, sc) × 6 around.
- Total: 18 sc
- Round 8
- (Inv dec, sc) × 6
- Total: 12 sc
Stuffing the Pumpkin
- Pull up an extra-long loop to avoid stitches unraveling.
- Stuff pumpkin with medium-to-firm consistency; stuffing must be firm enough for shaping, but not so tight that stitches stretch or stuffing is visible.
Closing the Body
- Work 6 slip stitch decreases (insert hook through both loops, pull up a loop, pull straight through).
- Final count: 6 stitches
- Cut a long tail, thread it onto your needle.
- Close the top hole: Weave the needle under the top loop of alternating stitches, gently pull tail to seal.
Shaping the Pumpkin
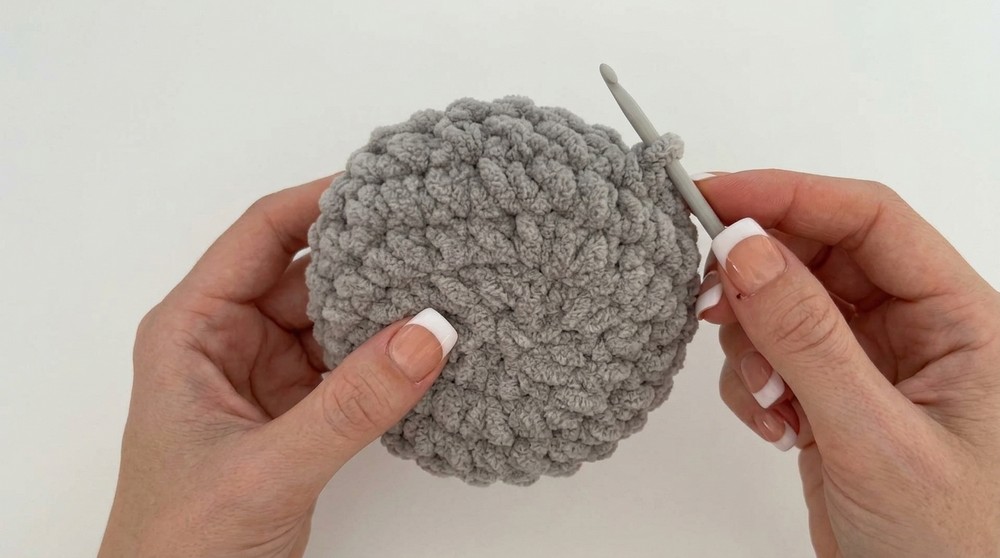
- Center Dip:
- Feed the long tail needle straight through the center of the pumpkin's body, exiting at the bottom center.
- Compressing:
- Instead of pulling tightly (avoid breaking yarn), use your other hand to press the pumpkin's center, forming a distinct dip. Remove slack via the bottom.
- Anchoring:
- Feed tail back up through the pumpkin, exiting slightly off-center. Catch a stitch or two as anchor for the dip.
- Securing:
- With the yarn tail, thread through a loop, form a knot, and pull tight. Repeat another time for extra security. Feed tail back down to pumpkin's bottom.
Making the Stalk
- Row 1: Ch 5. Starting in second chain from hook, work 4 sc (one in each chain). Ch 1, turn.
- Row 2: 4 sc across. (Do not ch 1 at end.)
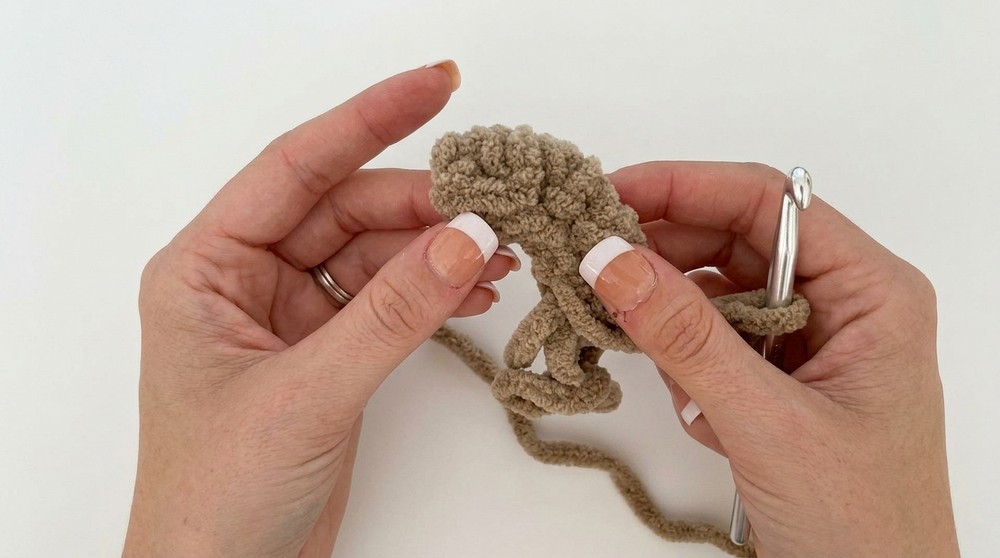
- Forming the stalk: Fold these rows lengthwise. Slip stitch across top loops of each sc to close into a tube, leaving the starting tail.
Attaching the Stalk
- Pull up a long working loop on the stalk tail and thread onto needle.
- Insert needle into dead center of pumpkin top, exit through center of the bottom.
- Pull down gently until stalk sits flush atop pumpkin.
- Securing the Stalk:
- Feed yarn back up through pumpkin, exit slightly off-center, catch a stitch near stalk's base for anchoring.
- Thread working tail through base of the stalk for added security.
- Final Knots & Trimming:
- Tie starting tail and working tail together in a tight double knot.
- Feed both tails down through the center of pumpkin.
- Trim ends short, push into pumpkin body to conceal.
Assembly & Finished Size
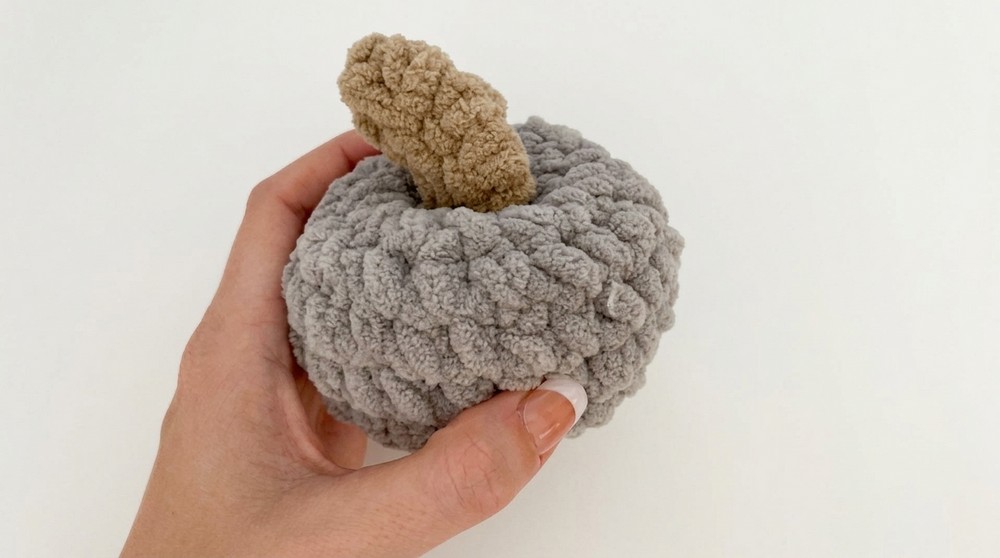
- Medium pumpkin: Measures 10-13 cm wide, approximately 2-3 cm stalk height.
- Ends are hidden for a clean, tidy appearance; stuffing remains fully concealed.
- A divot is formed on the top using tail shaping for a realistic finish.
Conclusion and Ending Words
This plush pumpkin project offers a tactile and inviting addition to any collection, utilizing super bulky yarn for a soft yet sturdy result. The design's continuous rounds, invisible decreases, and thoughtful stuffing build a smooth, seamless shape that holds its form well. Individual segments are straightforward, with the stalk requiring only simple slip stitch closure before secure attachment. Anchor knots and tailored shaping ensure longevity, while the use of stitch markers and dense stitches guarantees accuracy and minimal bulk. With practice, further size adaptations and color changes become easily achievable, allowing for creative variations and personalized touches. Through methodical steps and mindful attention to tension, this pattern yields a cozy, decorative pumpkin that holds up beautifully for seasonal use or gifting.