
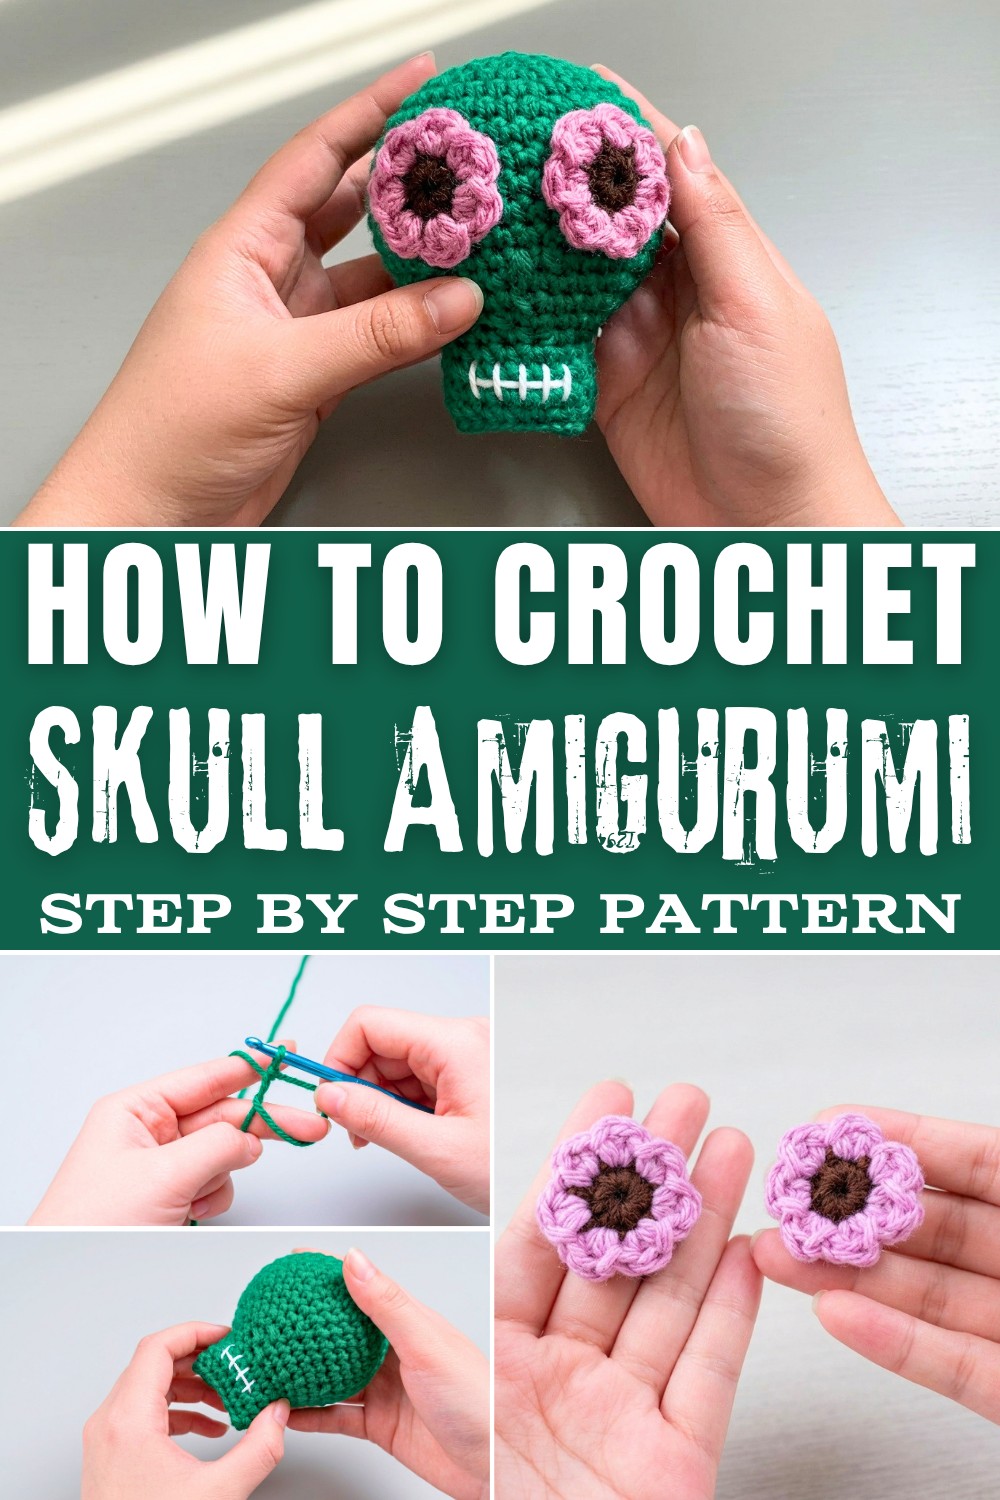
Try the Free Crochet Skull Amigurumi Pattern for an easy and fun way to make cute Halloween decorations or gifts everyone will enjoy.
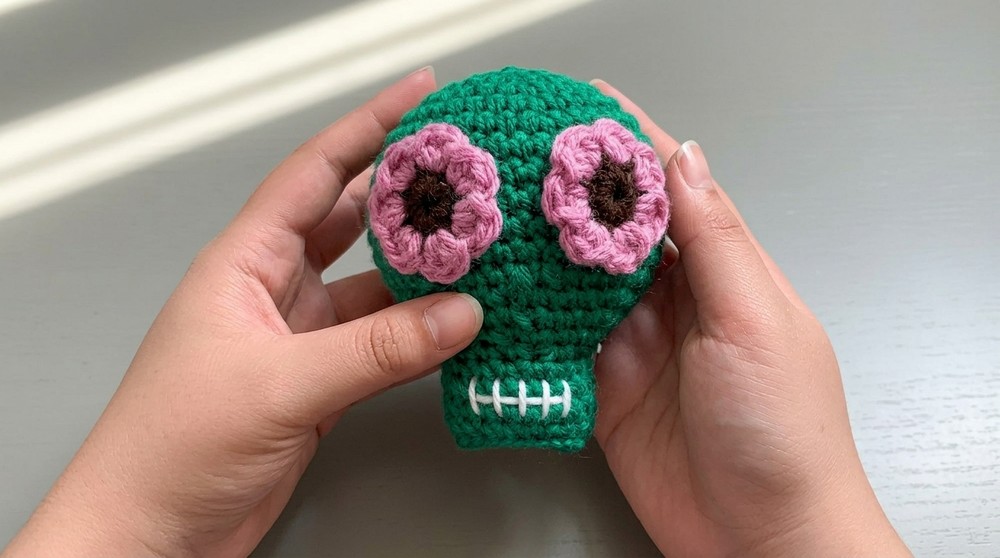
Who would have thought that something as spooky as a skull could also look incredibly adorable? This crochet skull pattern is a perfect blend of charm and creativity, making it a delightful addition to your Halloween décor, gifts, or stress-relieving toys. Made with soft, round shapes and designed to be squeezable, this pattern feels personal and purposeful. The mix of vibrant colors-such as yellow, pink, and Emerald-make each piece stand out beautifully, and you can even mix and match yarns to reflect your own style. The pattern uses beginner-friendly stitches like the magic circle, single crochet, increases, and decreases, giving you a chance to build foundational skills while exploring creative options like floral eyes or felt accents.
Quick and Simple Crochet Skull Amigurumi Pattern Free Guide
More Creations from This Pattern
The versatile stitches and assembly steps in this pattern mean you can customize endlessly. Here are some ideas:
- Keychains: Shrink the pattern with thinner yarn and a smaller hook to create cute accessories.
- Stress Balls: Add extra stuffing for a squishy and fun stress-reliever.
- Holiday Themes: Customize the skull with festive colors for Day of the Dead or other cultural celebrations.
- Hanging Décor: Attach yarn loops and use it as a unique ornament for parties or home décor.
Materials
- Yarn:
- Base color (e.g., Emerald) - Weight of 4 (medium).
- Petal color for eyes (e.g., pink).
- Contrast color for flower centers (e.g., brown).
- Hook Size:
- 5.0mm crochet hook (main skull).
- 4.5mm crochet hook (flower eyes).
- Notions:
- Scissors.
- Tapestry needle (for sewing).
- Stitch marker (useful for tracking rounds).
- Embroidery thread (for mouth detail).
- Hot glue gun or crafting glue (for attaching felt pieces securely).
- Polyfill stuffing.
Gauge
- Gauge for main skull: 10 single crochet (sc) x 10 rows = 2 x 2 inches (5 x 5 cm).
- Gauge is not critical, but consistent tension will result in better shaping and a finished size close to the stated dimensions.
What You'll Learn
This pattern is a treasure chest of skills. You'll master the magic circle for a seamless start and learn to shape amigurumi through single crochet increases and decreases. Working with tighter stitches for features like eyes and decorative shapes will build your precision. Plus, you'll learn how to assemble and sew parts securely, giving you confidence to tackle more advanced amigurumi projects in the future.
Pattern Instruction
Skull Base
- Start:
- Create a slip knot .

- Chain 22 (ch 22) for the starting foundation chain.
- Create a slip knot .
- Round 1:
- Begin in the second chain from the hook and work 20 single crochet (sc).
- Work 3 single crochet (sc) in the last chain to round off the corner.
- Flip to the opposite side of the foundation chain and work 19 single crochet (sc) along the unworked loops.
- Finish with 2 single crochet (sc) into the last chain. Slip stitch to join the round.
Total stitches: 44 stitches.
- Round 2:
- Chain 1. Work 2 sc into the first stitch (increase).
- Follow with 1 sc in the next 19 stitches.
- Work 2 sc into the next 3 stitches (increase).
- Follow with 1 sc in the next 19 stitches.
- Work 2 sc into the last 2 stitches.
- Slip stitch to finish the round.
Total stitches: 50 stitches.
- Round 3 (Back Loop Only):
- Chain 2, then work 1 double crochet (dc) into each stitch around, using the back loop only (BLO) for added texture .
- Slip stitch to join the round.
- Rounds 4-5:
- Chain 2, work 1 dc into each stitch around (50 dc total for each round) .
- Slip stitch to join. Once finished, cut the yarn and weave in the ends.
Shaping Rounds (Increasing and Decreasing)
- Round 6:
- Begin with 1 decrease using an invisible decrease technique (front loops only).
- Work 1 sc into the next 14 stitches.
- Repeat the decrease and sc sequence.
Round Total: 32 sc.
- Round 7:
- Start with a decrease over the first two stitches.
- Work 1 sc into the next 15 stitches, and repeat the sequence.
Round Total: 34 sc.
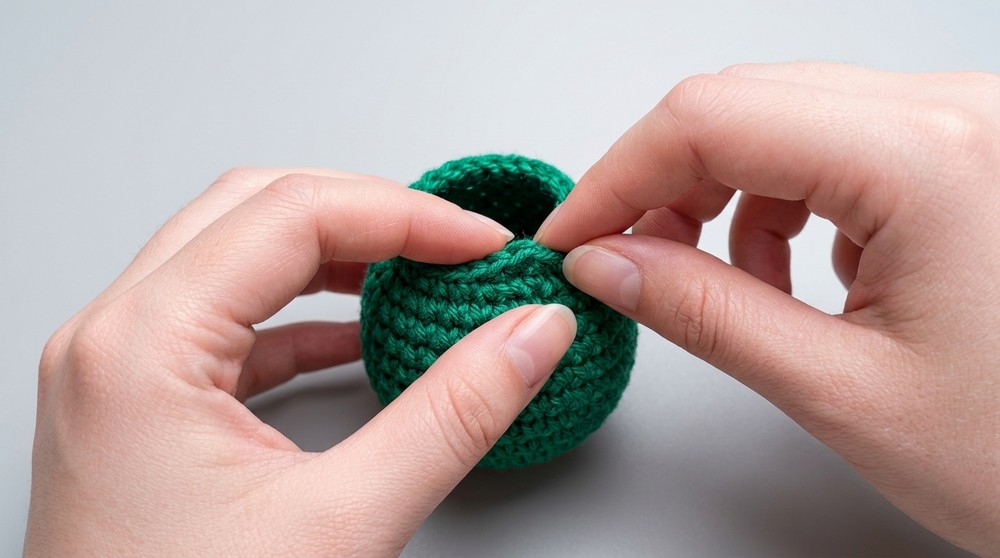
- Round 8:
- Final increasing round: Perform an increase at the first stitch (2 sc into the same stitch).
- Work 1 sc into the next 16 stitches, repeat sequence.
Round Total: 36 sc.
- Rounds 9-12 (Easy Rounds):
- Work 1 sc into each stitch around for four rounds.
- These rounds build length; maintain 36 stitches per round.
Decreasing Rounds (Final Shaping)
- Round 13:
- Decrease: Single crochet in the first four stitches, then decrease across the next two stitches (invisible decrease using front loops only).
- Repeat pattern.
Round Total: 30 sc.
- Round 15:
- Begin with a regular decrease over two stitches.
- Work 1 sc into the next seven stitches, repeat sequence.
Round Total: 24 sc.
- Stuff and Close:
- Fill the skull with polyfill stuffing, ensuring a firm yet squishy feel.
- Stitch the opening closed using the sewing needle.
Facial Features
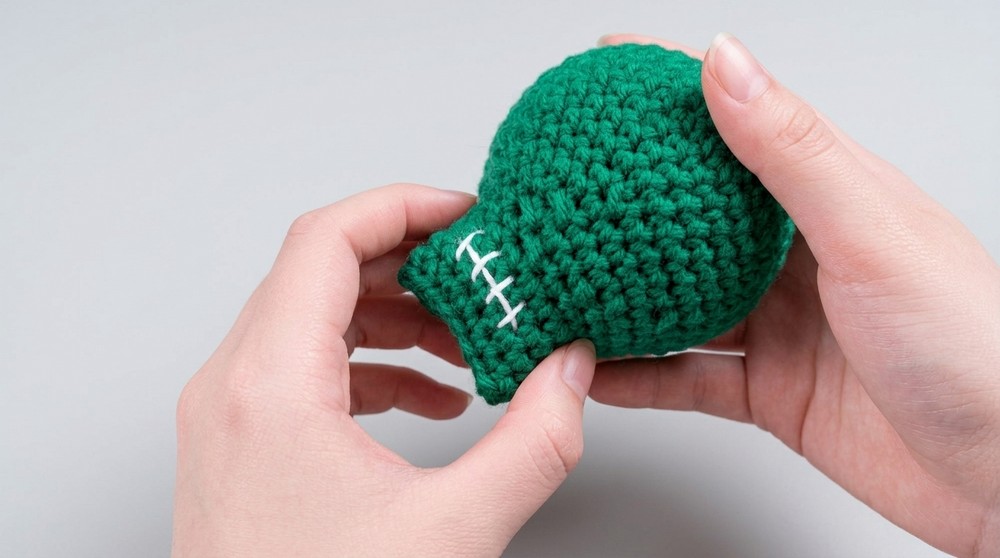
- Mouth:
- Use white embroidery thread if designing a stitched mouth.
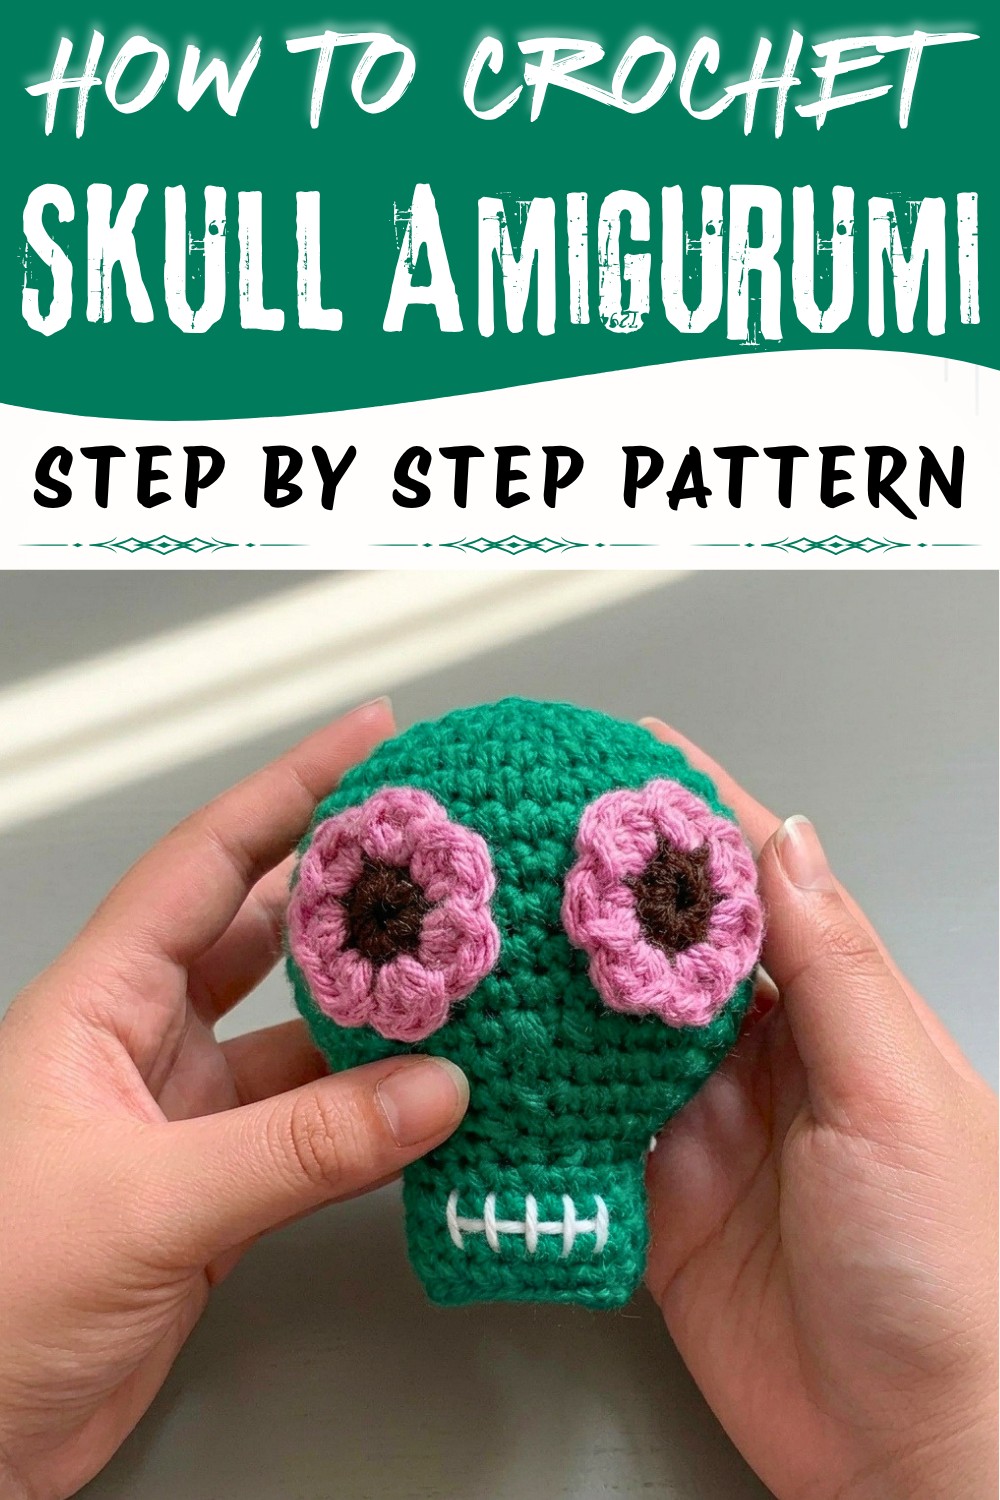
- For a skeleton mouth, embroider lines in and out along the lower third of the skull. Pinch the mouth for a sharper look .
- Eyes:
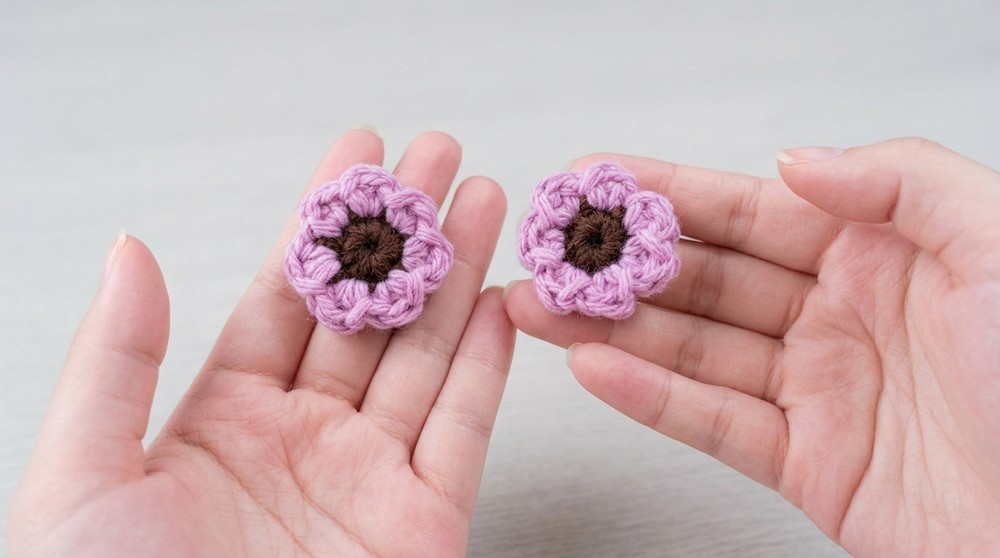
- Crochet Flowers (Optional):
- Work a magic circle using brown yarn and crochet 6 sc. Slip stitch to close the round.
- Switch to pink yarn and work 1 half-double crochet (hdc), 1 double crochet (dc), and 1 slip stitch into every stitch. Create flower petals for the eyes.
- Felt Eyes (Optional):
- Cut circles for the eyes and a triangle for the nose using felt. Attach securely using hot glue.
- Crochet Flowers (Optional):
Customization Ideas
- Color Variations: Create sugar skulls by incorporating multiple bright colors for the base and features.
- Accessories: Add small embroidered flowers, beads, or sequins to the skull's surface for extra festive flair.
- Size Adjustments: Use larger hooks or thicker yarn for a bigger skull. Adjust rounds proportionally.
- Additional Features: Incorporate extra details like spiderwebs or designs onto the face for a spooky vibe.
Finished Size
The completed skull will measure approximately 5 inches in height and 4 inches in width. Size may vary slightly depending on yarn and tension.
Why It's Worth Making
- Beginner-friendly and stress-free.
- Highly customizable with an array of yarns, stitches, and embellishments.
- Valuable practice for assembling and shaping 3D crochet projects.
- Perfect for seasonal gifting, decorations, or just a fun crocheting session.
Conclusion
The Crochet Skull is a creative combination of fun and functionality, perfect for Halloween decorations or as a thoughtful handmade gift. With customizable options for the eyes and mouth and the ability to adjust its size, this skull allows for personal creativity while offering comfort as a squishy stress-relief toy. The well-rounded shape is versatile and easy to craft in under a day.
Final Look and Remarks
Upon completion, the skull will feature a distinct skeletal appearance, rounded sides, and design options including felt eyes, flower accents, and a stitched mouth. Whether simple or embellished, the skull is an eye-catching, seasonal project that showcases creativity and style.
Overcoming Challenges in the Pattern
While this pattern is beginner-friendly, a few parts may seem tricky at first. Many beginners struggle with the magic circle, as it requires fine control to create a tight, adjustable loop. If this feels challenging, you can use the chain-two method instead, although it might leave a small opening at the center. Another common hurdle is working tightly on smaller features, like the eyes or details around the mouth. To make this easier, try loosening the tension or use felt pieces as an alternative for embellishments. Attaching features like the petals and nose might also feel difficult initially, but pinning them in place before sewing ensures everything stays in position for a neat finish. With a little patience and practice, you'll find these steps manageable and rewarding!