
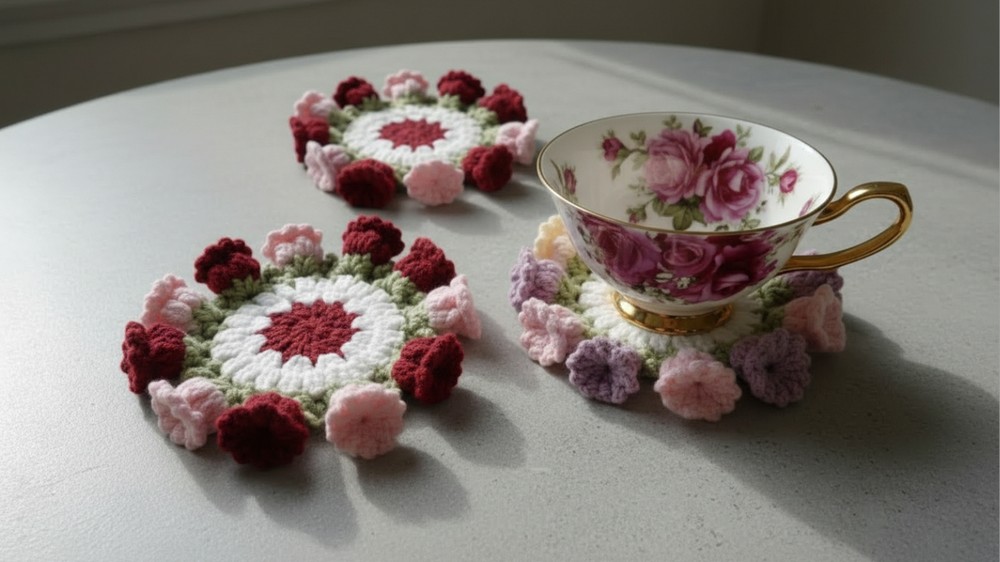
Have you ever wished you could have flowers that never fade and always look lovely? With the Free Crochet Lily of the Valley Bouquet Pattern, you can make your own special bouquet that stays beautiful forever, and it can be used as a sweet coaster too. That means you can rest your cup on lovely flowers every day.
This lily of the valley pattern uses tiny white bell-shaped flowers attached to green stems. They look soft and gentle, just like real lilies of the valley. The bouquet brings peaceful charm anywhere you put it, on a table, in a cup, or as a decoration for your room. You get to decide how many flowers and stems your bouquet will have, so it can be big or small.
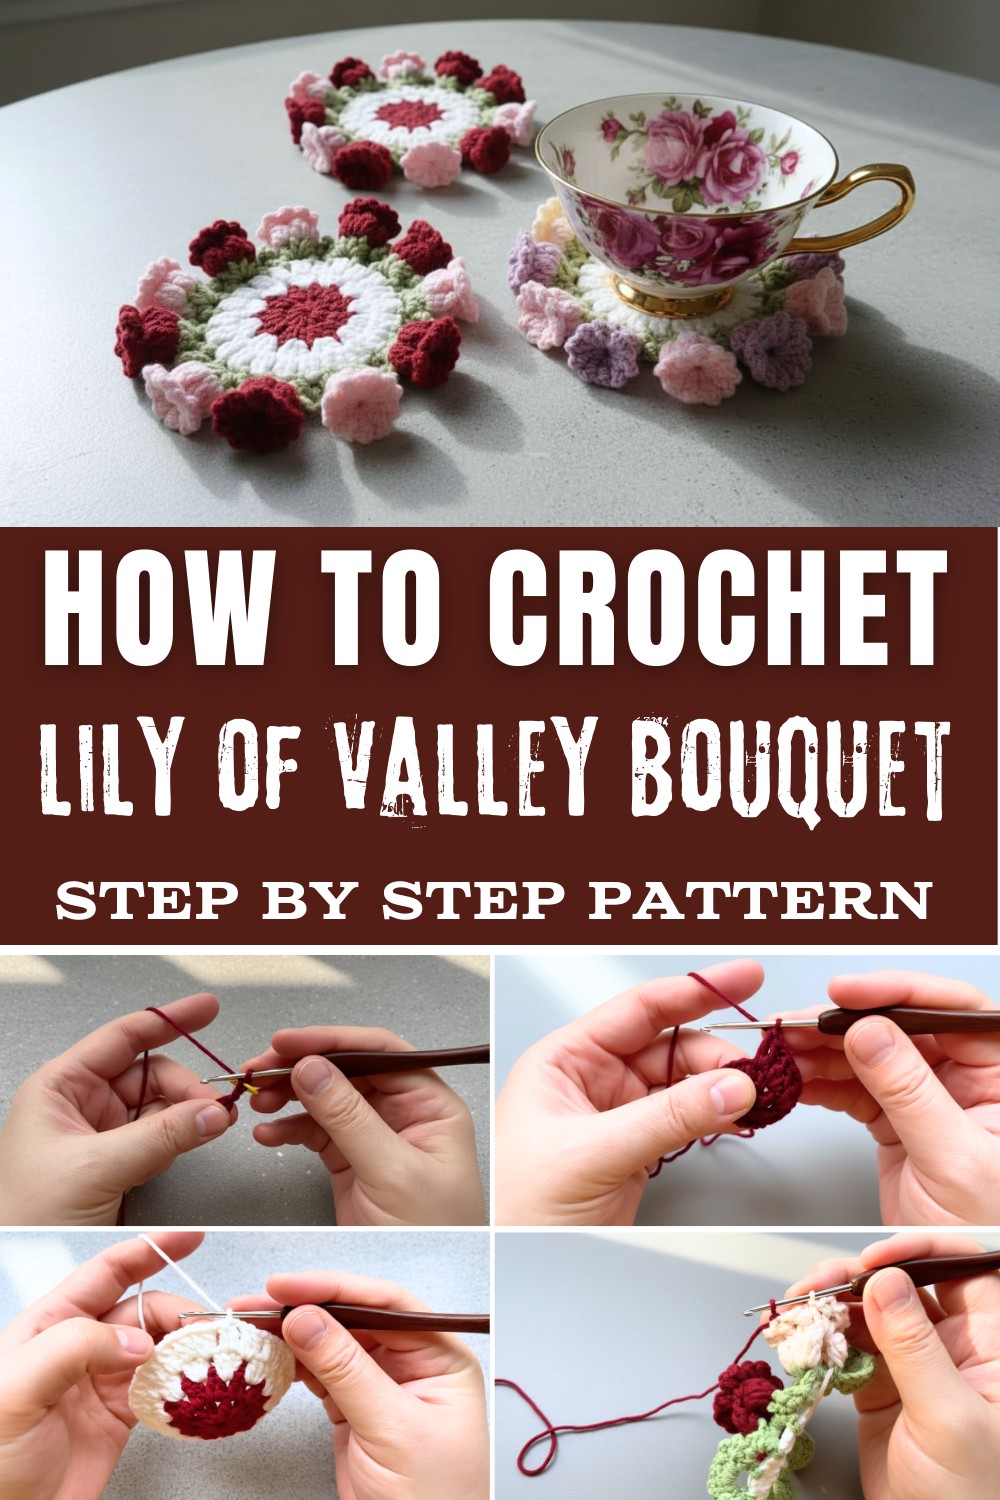
One of the best things about this pattern is you can make all kinds of special things! Not just a bouquet, but also a gift coaster, a table decoration, a pretty hair accessory, or even a flower brooch. Each item will look unique because you can choose your favorite colors, soft white for the flowers, green for the stems, or even pastel pink and yellow for something different.
Making these flowers is easy. You need a 2mm hook and cotton yarn. The flowers use the picot stitch, which creates the bumpy little bells on each stem. When finished, each coaster or bouquet is about six inches wide, but you can make it any size by adding more flowers.
Making a lily of the valley project is simple and a lot of fun. You'll love using your lovely flowers as coasters or decorating your space with something you made all by yourself.
Materials Needed:
- Yarn: 4-ply cotton yarn (choose contrasting or complementary colors if changing yarn frequently)
- Hook: 2.5mm crochet hook
- Scissors
- Tapestry needle
- Stitch markers (optional for easier tracking)
Gauge:
- Not essential for most motifs of this type, as they are decorative. However, ensure your tension is even throughout.
- Approximate Gauge: 12 single crochets across should measure about 1.5 inches.
Finished Size:
- When following these instructions, the motif will measure approximately 4-6 inches in diameter, depending on your tension and yarn choice.
Special Techniques Used:
- Popcorn Stitch: Creates texture with clustered double crochets.
- Invisible Slip Stitch: For seamless finishing.
- Yarn Changes: Smooth transitions between colors.
Features of Crochet Lily of the Valley Bouquet
- Crocheted with a 2.5mm hook and 4-ply cotton yarn, giving a fine and delicate finish
- Features signature bell-shaped blooms made using popcorn stitches
- Openwork and chain spaces create a light, lacy appearance
- Includes multiple yarn color changes for authentic-looking stems and flowers
- Clever stitch combinations like (1dc, 1ch) add thickness and texture
- Worked in the round for a full, blossoming shape
- Sturdy and flexible, thanks to well-placed stitches and cotton yarn
- Perfect for use as a brooch, appliqué, or as part of larger crochet floral decorations
Tips for Success:
- Use stitch markers to keep track of repeat sections, especially with motifs using popcorn stitches.
- Tighten the yarn loop in every round to ensure the circular form.
- Block the final motif if necessary to shape it symmetrically.
Customization Ideas:
- Add rounds to increase the motif's size - useful for table decorations or coasters.
- Use metallic thread or variegated yarn for a unique visual effect.
- Adjust spacing or stitches for different textures and shapes.
Step-by-Step Pattern Instructions:
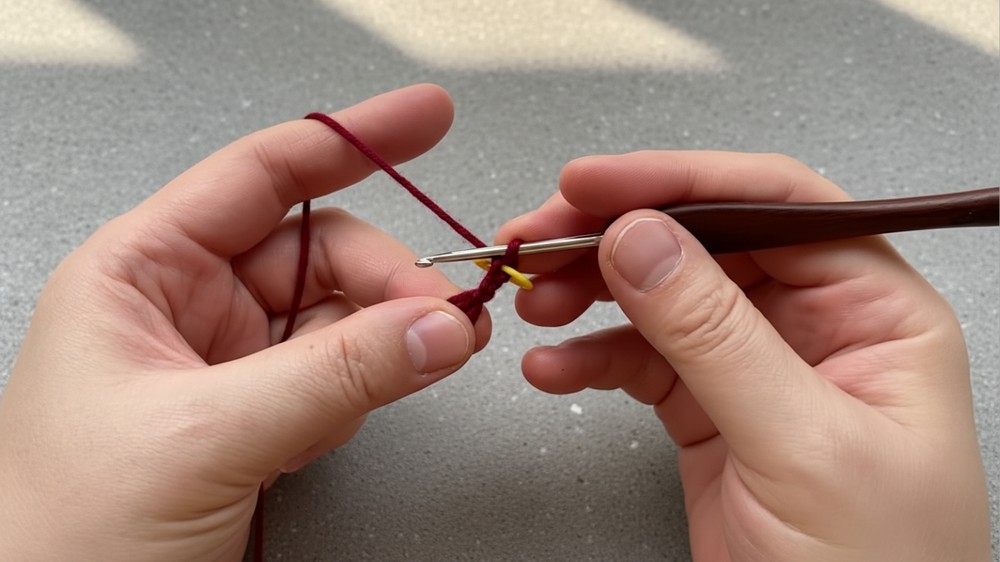
Foundation Ring:
- Start with a slip knot, then chain 3.
- Chain 1.
- Repeat (1 double crochet [dc], 1 chain) into the foundation circle 11 times. This creates 12 (dc, ch1) groups.
- Pull the yarn end tight to close the foundation ring.
- Slip stitch into the first double crochet to complete the round.
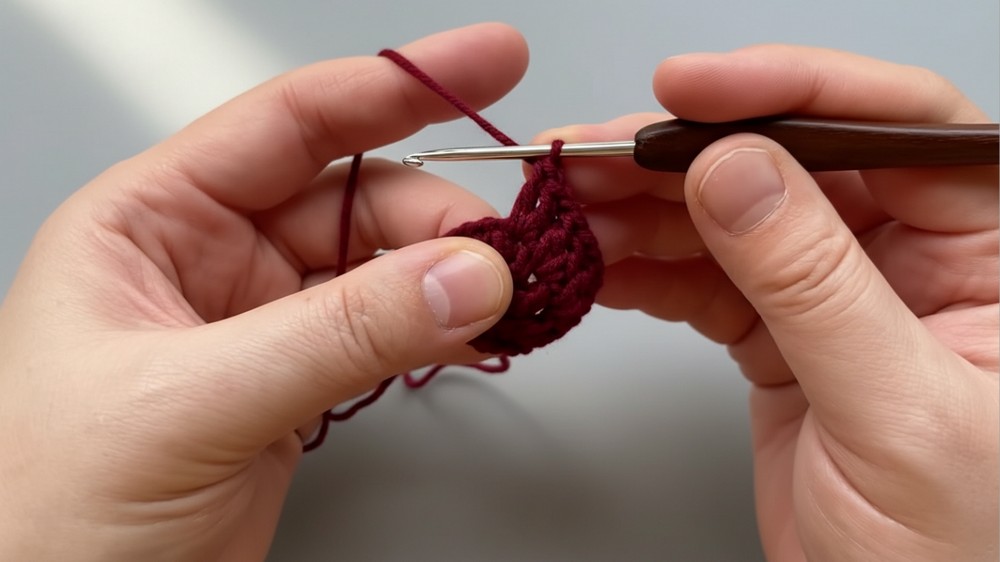
Round 2: Increasing Circle
- Chain 3 (counts as the first double crochet of the round).
- Work 1 double crochet [dc] into the next chain-one space.
- Chain 1.
- Repeat (2dc, ch1) into each chain-one space from the previous round 11 times for a total of 24 stitches.
- Slip stitch into the 3rd chain from the starting chain to close the round.
- Fasten off by chaining 1 and cutting the yarn.
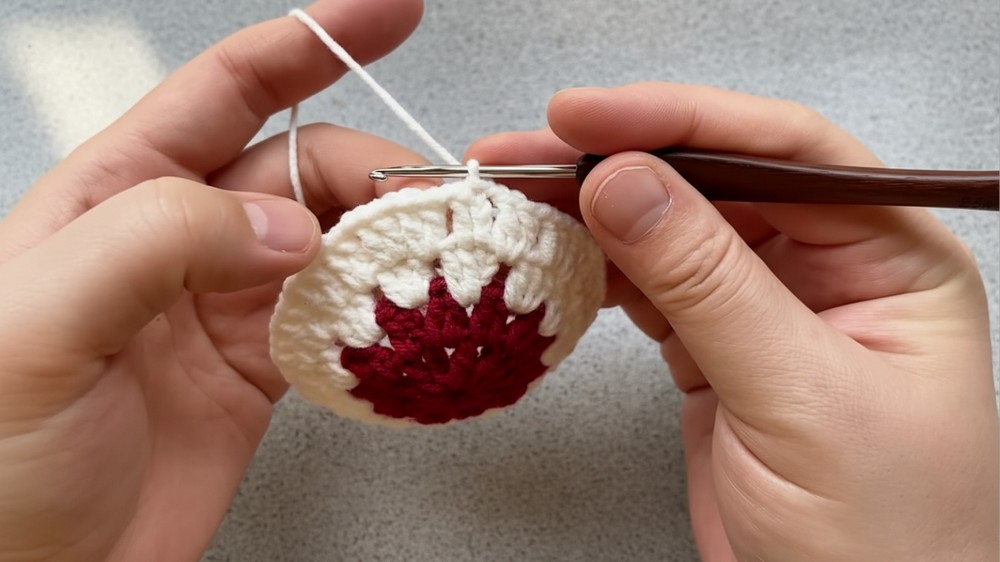
Round 3: Expanding Circle with Clusters
- Attach the new yarn and chain 3.
- Work 2 double crochets [dc] into the same stitch.
- Chain 1.
- Repeat (3dc, ch1) into each chain-one space around 11 times. This round increases the stitch count to 36.
- Slip stitch into the 3rd chain at the start of the round to close it.
Round 4: Adding Texture to the Circle
- Slip stitch into the next stitch and chain 3.
- Work 1 double crochet [dc] into the same stitch.
- Chain 1.
- Work 2 double crochets [dc] into the next space, chain 1.
- Continue working (2dc, ch1) around the circle; repeat this for each chain-one space.
- Slip stitch into the first stitch to complete the round.
- Chain 1 and fasten off; then cut the yarn.
Round 5: Creating a Looped Border
- Attach a new yarn color and chain 1.
- Work 1 single crochet [sc] into the same stitch.
- Chain 5, then work 1 single crochet [sc] into the next chain space.
- Repeat (chain 5, 1sc) for each space around the circle.
- Slip stitch into the first stitch to finish the round.
Round 6: Detailed Loops
- Chain 3.
- Into the next space, work the sequence (1 double crochet [dc], chain 1) three times, followed by 1dc.
- Chain 3, then 1 single crochet [sc] into the next space.
- Repeat: (1sc, 3ch, 1dc, ch1 ×3, 1dc, 3ch, 1sc) for each space.
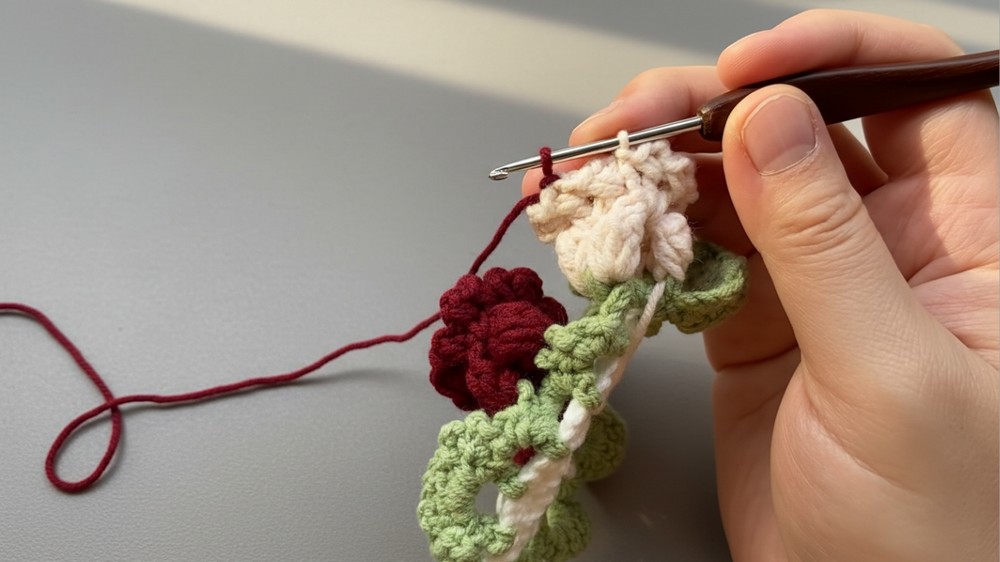
Round 7: Popcorn Edge
- Chain 3.
- Work 4 double crochets [dc] into the next space, then pull the stitch loop through to create a popcorn stitch.
- Chain 2 and work 1 single crochet [sc] into the space between popcorn stitches.
- Continue: Repeat (1dc, 2ch, 1sc, 1dc, 2ch) between popcorn clusters around the motif, creating a textured border.
- Slip stitch into the first stitch to complete the round.
Conclusion and Remarks:
This project produces a stunning, textured circular motif suitable for home décor purposes, such as coasters, centerpieces, or appliques. It features raised textures from popcorn stitches, contrasting loops, and meticulous detailing.
Uses of Crochet Lily of the Valley Bouquet
This crochet bouquet is perfect for handmade gifts, brooches, hairpins, or adding a delicate touch to hats and bags. It makes a charming home décor accent, wedding accessory, or a lasting alternative to real flowers in bouquets and arrangements, celebrating elegance and craftwork.
Important Notes:
- Blocking may be needed to achieve a perfect circular shape.
- The invisible slip stitch removes harsh finishes for a seamless edge.
- Customizing yarn colors and the number of rounds let you adapt this pattern to various projects.