
Kids will love playing with a tiny, round winter buddy made from this easy Free Crochet Little Penguin Amigurumi Pattern, a small project that clears your scrap pile.
It is impossible to look at this tiny chubby bird without wanting to immediately squeeze it. Following this free crochet little penguin pattern is an easy way to switch two balls of yarn into a sweet, round toy that easily sits flat on any table. The look is totally precious because you get a plump grey body with a big cream belly, tiny side wings, and sweet embroidered eyelashes.
To keep the shape nice and sturdy so no fluffy stuffing pops out, you loop the stitches using soft cotton yarn and a small number 2 hook. The most critical aspect here is learning how to do a clean color change, which requires swapping your grey and cream strands mid-row to create the bird's smooth face and belly mask. Right at the top of the head, you can glue on a little five-petal cream and yellow flower that measures only about 2 centimeters wide to give it an extra dash of cuteness.

This little round buddy is very useful for decorating your desk or brightening up your daily school gear. You can slide a metal loop through the top stitches to use it as a penguin keychain, attach it to your school bag zipper as a backpack charm, or just keep it on your nightstand as a desk buddy.
Customizing the colors is super fun since you can easily trade the grey yarn for a pastel pink, bright blue, or mint green. Because it relies on basic circular rounds that grow step-by-step, it is an awesome project for practicing your tension. Making these is SO FUN and they make the perfect pocket-sized gifts for your friends.
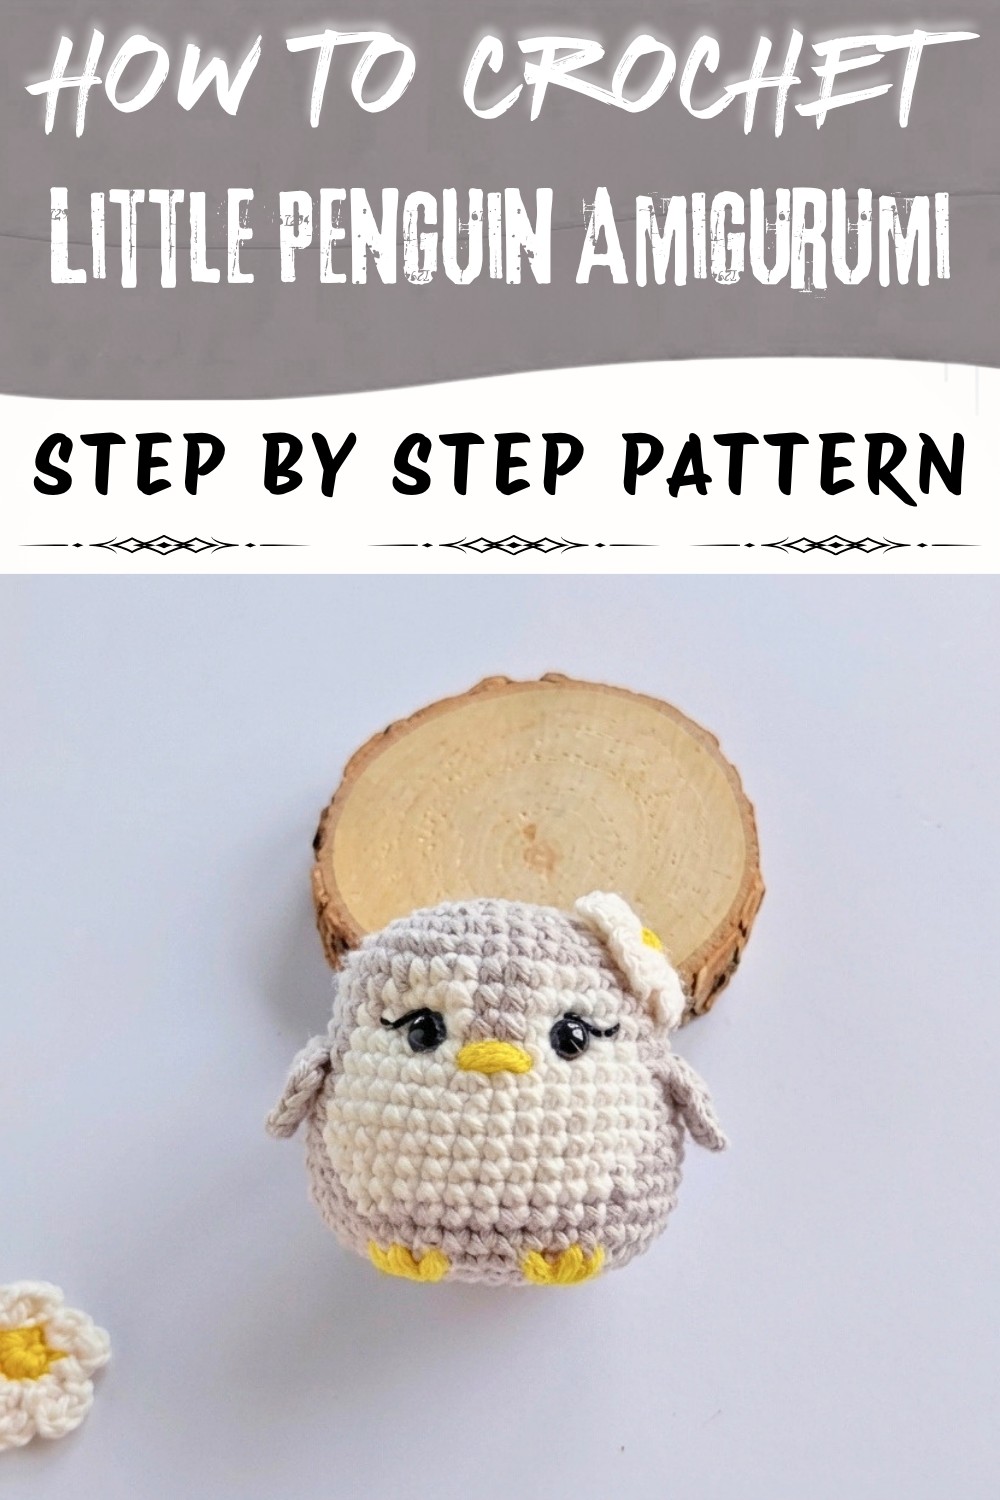
Cute Amigurumi Penguin with Flower - Step-by-Step Pattern
Create an adorable amigurumi penguin adorned with a flower-a sweet, highly-requested design. This thorough, step-by-step pattern is ideal for intermediate crocheters, but advanced beginners will benefit from the detailed explanations and assembly tips. Every section below includes explanatory notes, making it accessible even if you're new to pattern reading. Enjoy crafting your penguin and let's get started!
Skill Level
Intermediate
You should be comfortable with working in the round, increasing, decreasing, basic color changes, and simple surface embroidery.
Materials & Tools
- Yarn (preferably cotton, sport weight or similar):
- Gray (body and wings)
- Cream (face and belly)
- Yellow (beak)
- Flower colors: yellow for center, cream or any color for petals
- Hook: Size 2.0 mm (or size to obtain dense fabric)
- Stuffing: Polyester fiberfill, hypoallergenic if preferred
- Safety Eyes: 5 mm, with secure backings
- Yarn Needle (for joining and embroidery)
- Embroidery Needle
- Black Embroidery Thread (eyelashes, optional)
- Scissors
- Stitch Marker (highly recommended)
- Glue (Silicone or Hot) (for attaching flower)
- Lighter (optional, for fusing eye backs)
Key Abbreviations
| Abbreviation | Meaning |
|---|---|
| MR | Magic ring |
| ch | Chain |
| sc | Single crochet |
| hdc | Half double crochet |
| inc | Increase (2 sc in same stitch) |
| dec | Decrease (sc 2 together) |
| sl st | Slip stitch |
| st(s) | Stitch(es) |
| FO | Fasten off |
Pattern uses US crochet terminology.
Special Notes
- Work in continuous spiral rounds unless specified.
- Always use a stitch marker for the start of the round.
- Tension is important for a neat amigurumi! Adjust hook/yarn as needed for a tight fabric.
- Recommended placement for eyes and color changes is outlined in the steps below.
Finished Size
Approx. 8-10 cm tall (based on suggested yarn/hook and stuffing).
Pattern
PENGUIN BODY (WORKED FROM BOTTOM UP)
With gray yarn:
- R1: MR, 6 sc (6)

- R2: inc in each st (12)
- R3: (sc, inc) x6 (18)
- R4: (sc, inc, sc) x5, sc, inc (24)
(Work (sc, inc, sc) five times, then one sc and one inc at end) - R5: (3 sc, inc) x6 (30)
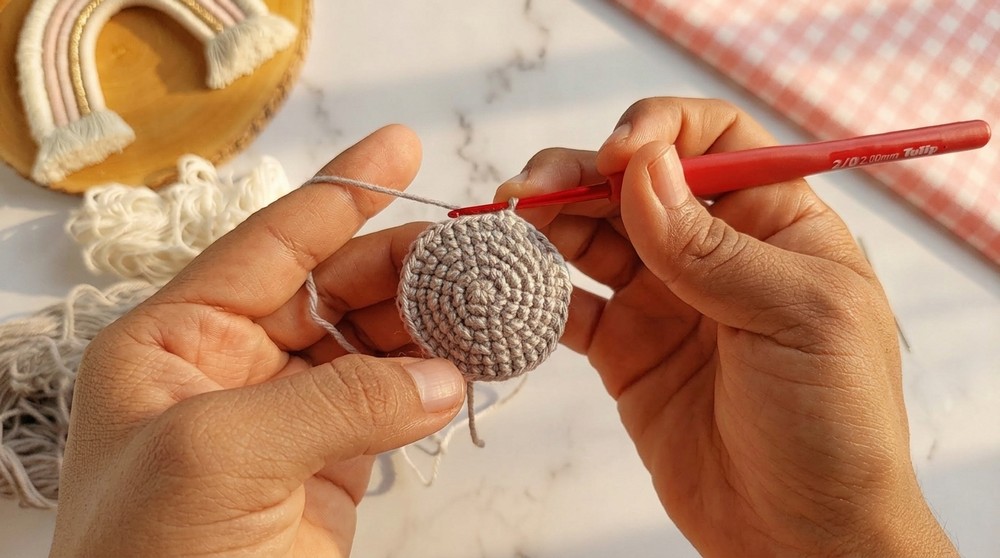
- R6: 2 sc, inc, (4 sc, inc) x5, 2 sc (36)
At this stage, you have a neat round base that forms the lower body.
R7 (Color change for face/belly):
- 14 sc in gray,
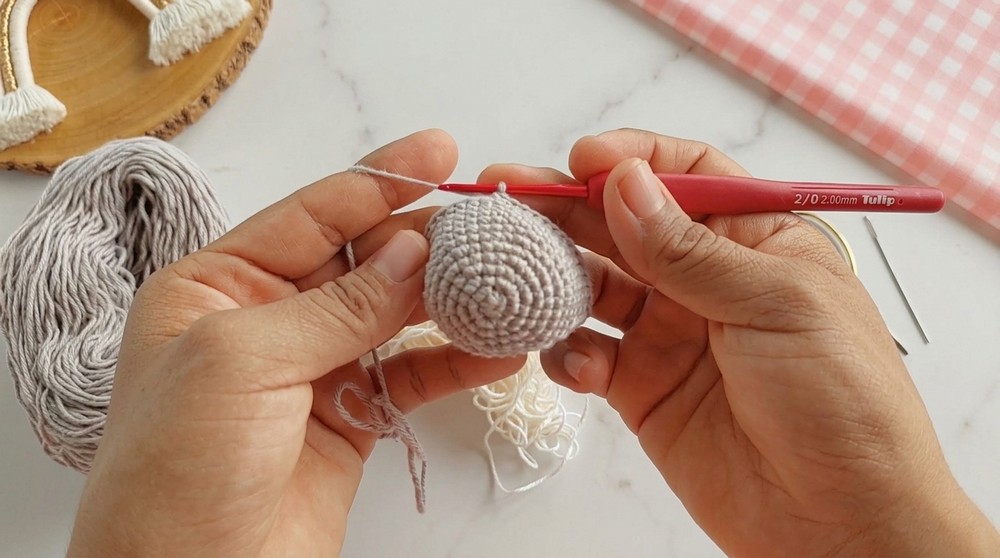
- Change to cream: 3 sc,
- Change to gray: 2 sc,
- Change to cream: 3 sc,
- Change to gray: 14 sc. (36)
R8:
- 13 sc in gray,
- Change to cream: 4 sc,
- Change to gray: 2 sc,
- Change to cream: 4 sc,
- Change to gray: 13 sc (36)
R9:
- 12 sc in gray,
- Change to cream: 5 sc,
- Change to gray: 2 sc,
- Change to cream: 5 sc,
- Change to gray: 12 sc (36)
R10:
Repeat the same as R9. (36)
You are now establishing the penguin's cream belly and face. Keep color changes loose on the back to avoid puckering.
R11 (Increase Face Section):
- 5 sc in gray, inc, 5 sc in gray, inc (repeat twice)
(10 sc and 2 inc total-repeat this section twice) - Change to cream: 5 sc, inc, 5 sc, inc (repeat twice in cream)
- Change to gray and repeat the 5 sc, inc, 5 sc, inc (repeat twice).
= 42 sts
R12-14:
- 14 sc in gray,
- 14 sc in cream,
- 14 sc in gray (42 sts per round, repeat 3 rounds)
This section forms the central, visible "tummy" and "face" of the penguin.
Placing Eyes
- Insert 5 mm safety eyes after completing round 14.
- Placement: Between rounds 3-4 of the cream (counting from the first cream round), about 2-3 stitches apart, centered on cream section.
- Use locks and if desired, fuse backs with lighter for added security.

R15:
15 sc in gray, 12 sc in cream, 15 sc in gray (42)
R16:
16 sc in gray, 10 sc in cream, 16 sc in gray (42)
Fasten off cream yarn after R16.
R17-18:
sc in each st with gray (42)
You're now finishing the upper body and head with gray only. Stop and stuff the body as you close. Keep the bottom flat for stability.
SHAPING & CLOSING
Decreases:
- R19: (5 sc, dec) x6 (36)
- R20: (4 sc, dec) x6 (30)
- Pause and stuff firmly, shaping as you go. Fill the bottom corners for a flat base.
- R21: (3 sc, dec) x6 (24)
- R22: (2 sc, dec) x6 (18)
- R23: (sc, dec) x6 (12)
- R24: 6 dec (6)
FO, use a yarn needle to weave the yarn through the front loops of the last 6 sts, pull tight to close, secure and hide the tail. Shape as needed for a flat base.
The decreases create the penguin's round head and close off the body.
WINGS (Make 2)
In gray:
- Ch 5
- Starting from the 2nd chain from the hook:
sc in next 2 ch,
hdc in next 2 ch. FO with a long tail for sewing.
You should have two slim, paddle-like wings ready for attachment.
BEAK (Embroider)
- With yellow thread, embroider a small triangle/flat stitch "beak" between the eyes, 2 rounds below the eyes.
- Use 2-3 stitches for a bold look.
- FO and weave in ends.
Take time to center the beak and make smooth, even stitches for the best result.
FEET (Optional, Embroidered)
- With yellow, embroider two short "V" shapes about 1 round below the body.
- Use double passes for each foot for definition.

EYELASHES (Optional, Embroidered)
- With black embroidery thread, add 2-3 short lashes above each eye for a feminine touch.
- FO and weave in ends discreetly.
FLOWER (Optional, For Girl Penguin)
With yellow or center color:
- MR, 5 sc, do not close fully.
Switch to desired petal color:
- Join with sl st. Repeat for each petal:
- ch 2, hdc in MR, ch 2, sl st in same st.
- Repeat around to create 5 petals.
FO with a tail for sewing. Hide/cut any remaining ends discreetly.
Glue or sew securely above one eye for the finishing touch! Let the glue dry fully before handling.
Assembly
- Sew wings on the sides of the body, just below the gray "head" section.
- Sew or glue flower on top of the head or to the side.
- Shape and arrange your finished penguin for cuteness and balance.
Conclusion
Your amigurumi penguin is now complete! With the addition of a little flower, lashes, and careful color changes, this project stands out as both adorable and rewarding. This pattern covers all required techniques-working in the round, neat color changes, simple embroidery, and confident finishing.
Pattern Corrections & Tips
Corrections:
- Count your stitches at the end of every round (especially after color changes).
- Always test eye and wing placements before final attachment.
Tips:
- Use a stitch marker and move it every round for easier counting.
- Take care not to pull the yarn too tightly during color changes-this helps avoid puckering.
- For a flat base, fill the profile well as you stuff.