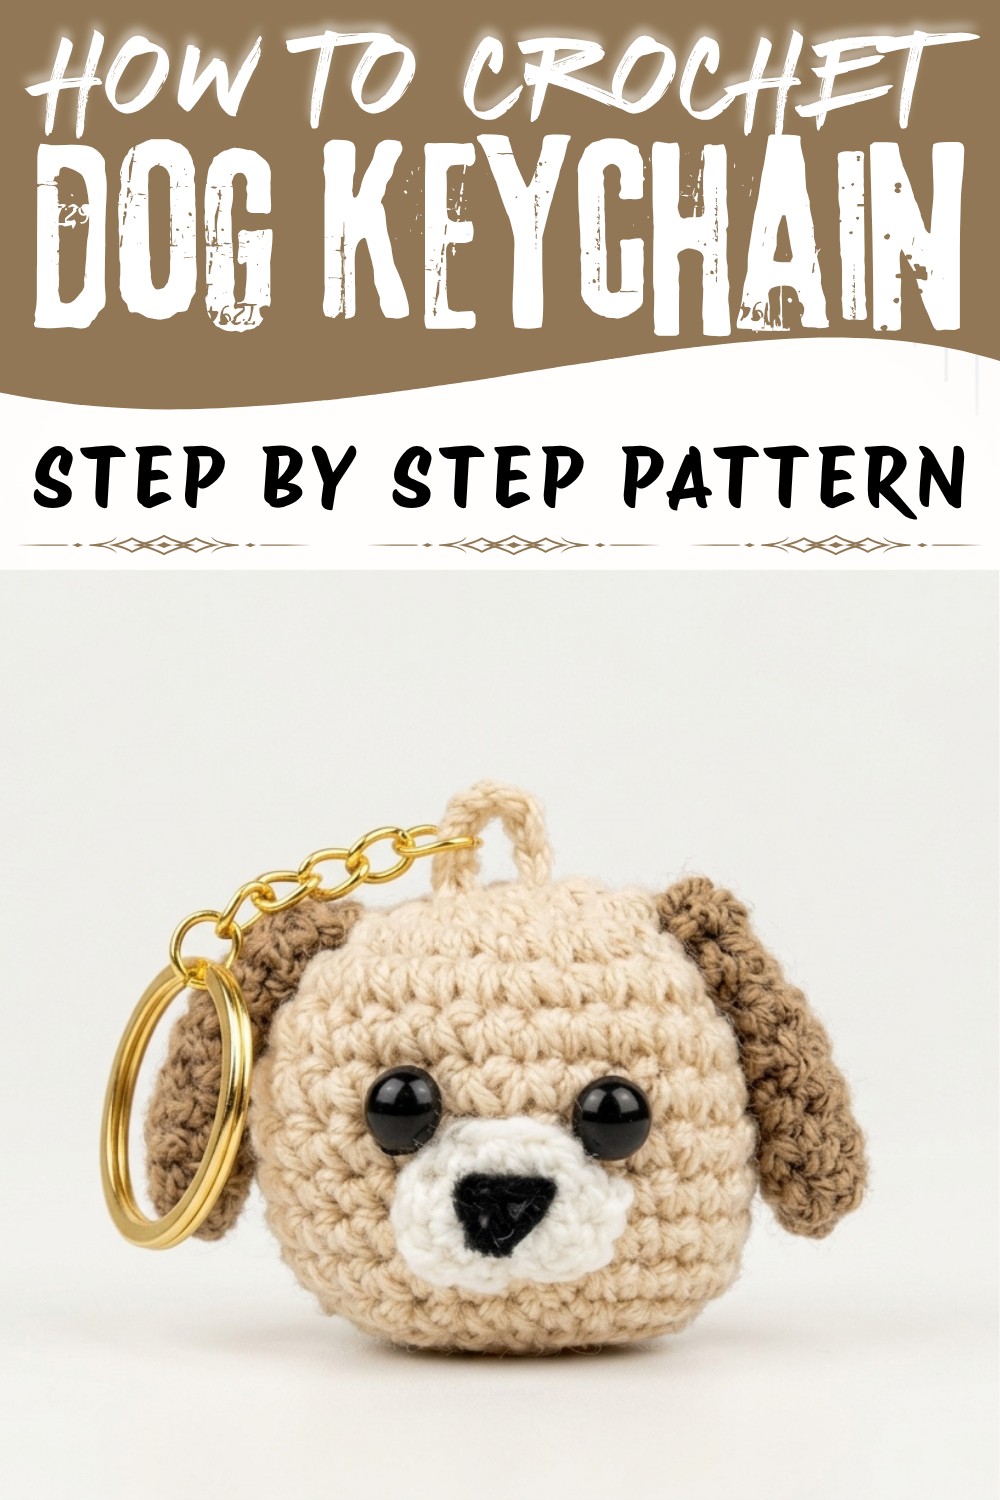
Carry a little puppy love wherever you go with this Crochet Dog Keychain Free Pattern and stitch a cute companion for keys & bags.
Have you ever spotted a tiny, adorable dog holding your keys and wished you could make one yourself? This little dog keychain looks just like a sweet puppy ready to brighten your day. With its soft and cuddly appearance, it adds a charming touch to your bag, keys, or even gifts for friends. Created by the talented Ati crochet, the finished piece captures a playful and friendly vibe that dog lovers will adore. If you're looking for a fun and rewarding project, the Crochet Dog Keychain Pattern is an excellent way to bring this lovable puppy into your life. Full credit goes to Ati crochet for the wonderful tutorial and design shared on their YouTube channel.
Furry Friend Crochet Dog Keychain Free Pattern as a Tiny Gift
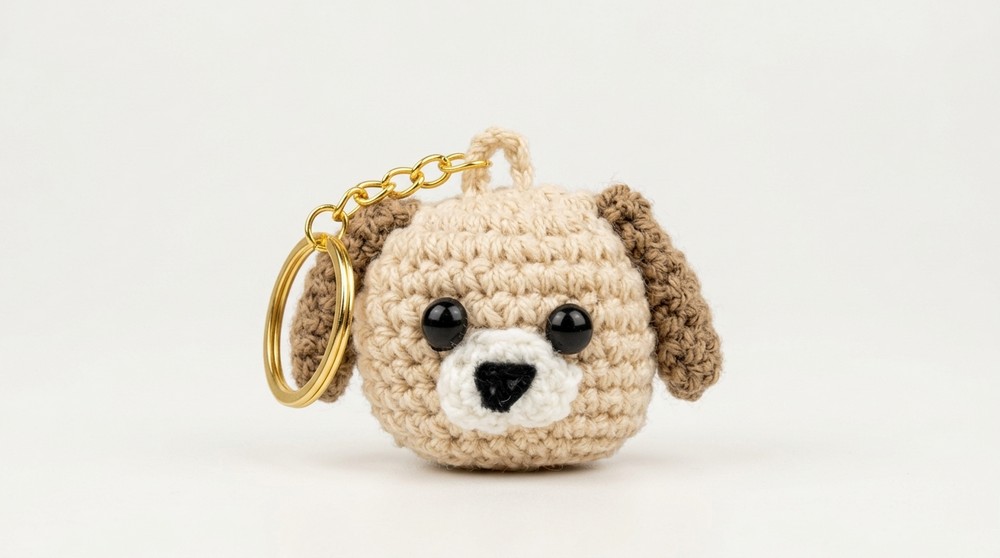
This small, handmade dog isn't just cute-it's also super handy. Whether hanging from your backpack or your car keys, this keychain offers a little smile every time you see it. The pattern is simple enough to work up quickly, making it a perfect quick gift or personal treat. The puppy's sweet face and little ears make it stand out, while the compact size means you can take a piece of furry joy with you everywhere.
If you enjoy making things by hand or want to start a new hobby, the Crochet Dog Keychain Pattern will be a delightful project to try. Its warm and fun look will surely impress anyone who sees it. Don't miss the chance to bring this charming dog keychain to life-check out the free pattern today and start your crocheting adventure.
Cutest Crochet Dog Keychain - Step-by-Step Amigurumi Free Pattern
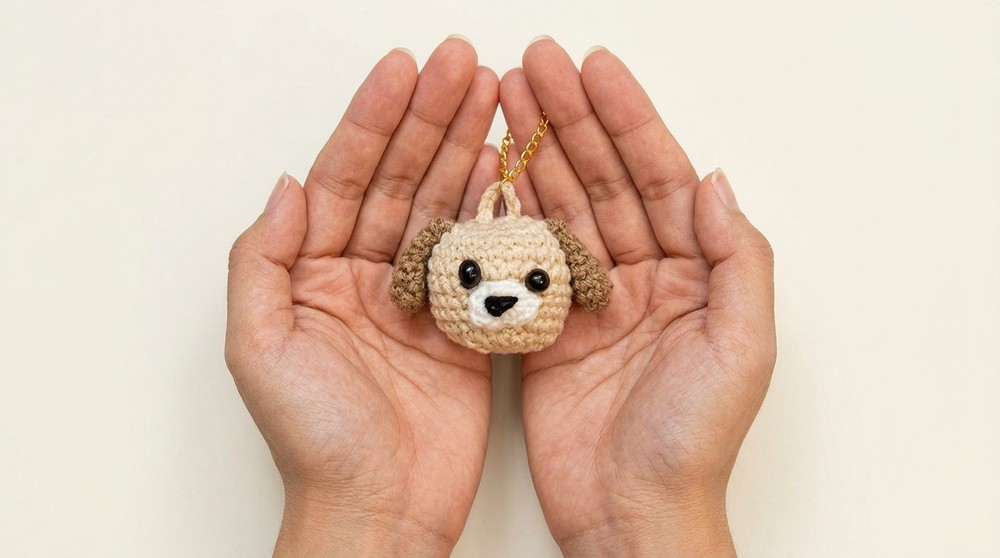
Working up this adorable dog keychain is a delightful project for both beginners and seasoned crocheters. With its charming features-floppy ears, expressive eyes, and a cute muzzle-this miniature companion brings a sense of warmth and joy wherever it is attached. Small enough to fit in your palm, yet detailed enough to capture anyone's attention, each step follows easy-to-understand techniques for shaping in the round, attaching details, and finishing touches. This dog keychain is well suited for gifting, personal accessories, or simply adding a bit of whimsy to everyday life. Whether enhancing a backpack, decorating your keys, or surprising a friend, this little dog is sure to bring smiles. Following straightforward instructions and basic supplies, you'll soon have a soft keepsake that radiates personality and charm.
Quick Overview of Pattern
- All pieces are worked separately then assembled: head, ears, and muzzle.
- Continuous rounds/spirals for amigurumi shaping; a magic ring is used for starting each piece.
- Basic increases and decreases sculpt the head and features.
- Stuff as you go for a round, soft shape.
- Finish with sewn or glued safety eyes, a hand-stitched nose, and a keychain attachment.
Notes
- Always use a stitch marker to mark the first stitch of each round for accurate counting.
- Keep your stitches tight so stuffing doesn't show through the fabric.
- You can adjust ear length by working more or fewer rounds to personalize your pup's look.
- Use child-safe eyes or embroider them for young recipients.
- Muzzle details can be customized using thinner yarn/thread.
- Stuff pieces firmly, but do not overfill which could distort the shape.
Skill Level
Confident Beginner
If you can work in the round, increase, decrease, and do basic sewing, you can complete this amigurumi.
Materials
- Main color yarn (DK/light worsted works well)
- Thinner yarn or embroidery thread (for muzzle details/triangle nose)
- Crochet hook (size recommended for your yarn, usually 2-3 mm for amigurumi)
- Toy stuffing (polyester polyfill)
- Yarn needle for assembly
- Safety eyes (or black thread to embroider eyes)
- Glue (for attaching eyes if not using safety eyes)
- Keychain ring
Measurements / Sizing
- Finished keychain dog: About 5-7 cm (2-2.75 in) tall depending on yarn and tension.
- Ears: Approximately 2-3 cm (customizable).
- Muzzle: 2 cm across.
Gauge (and Stitch Pattern if applicable)
- Gauge: Not critical, but keep stitches close for firm fabric.
- Stitch: All pieces use single crochet (sc) unless stated.
- Work: In the round, continuously (do not join unless stated).
Stitch Abbreviations
- MR = Magic Ring
- ch = chain
- sc = single crochet
- inc = increase (2 sc in next st)
- dec = decrease (sc 2 together)
- sl st = slip stitch
- hdc = half double crochet
Special Stitches
- Magic Ring (MR): Wrap yarn to form loop, insert hook, pull up loop, ch 1, work stated number of stitches into the loop, then pull tail to close.
- sc2tog (decrease): Insert hook in next st, yarn over, draw through, insert hook in next st, yarn over, draw through, yarn over, pull through all 3 loops.
The Crochet Pattern
Head
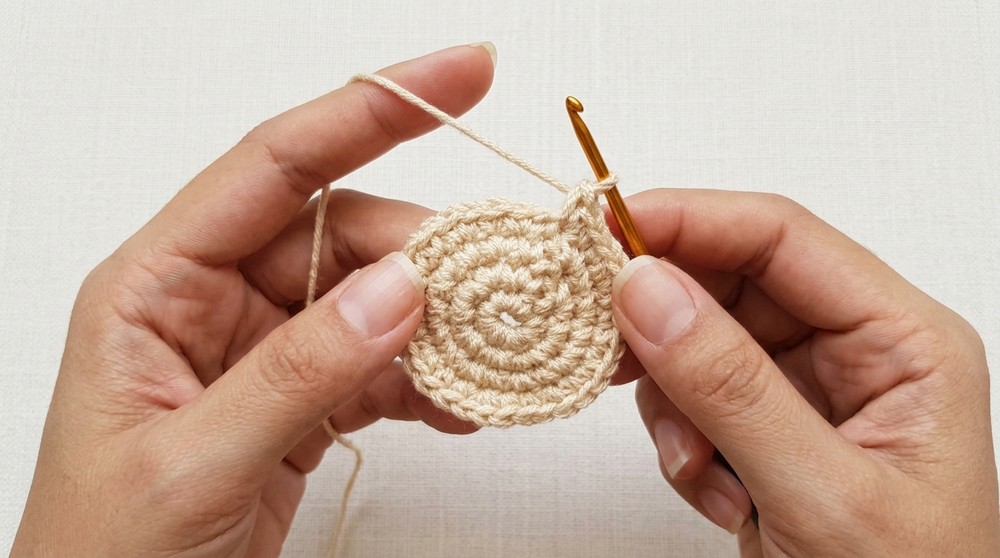
- Round 1:
MR, 8 sc into ring. Pull yarn tight, sl st to first st to join, ch 1. - Round 2:
8 inc (2 sc in each st) - 16 sts. Join to first st, ch 1. - Round 3:
(1 sc, 1 inc) around - repeat 8×. 24 sts total. Join to first st, ch 1. - Round 4:
(1 sc in each of next 2 sts, 1 inc in next) repeat 8×. 32 sts. Join to first st, ch 1.
- Rounds 5-10:
Sc in each st around (32 sts). Work 6 rounds. Chain 1 at end of round 10.
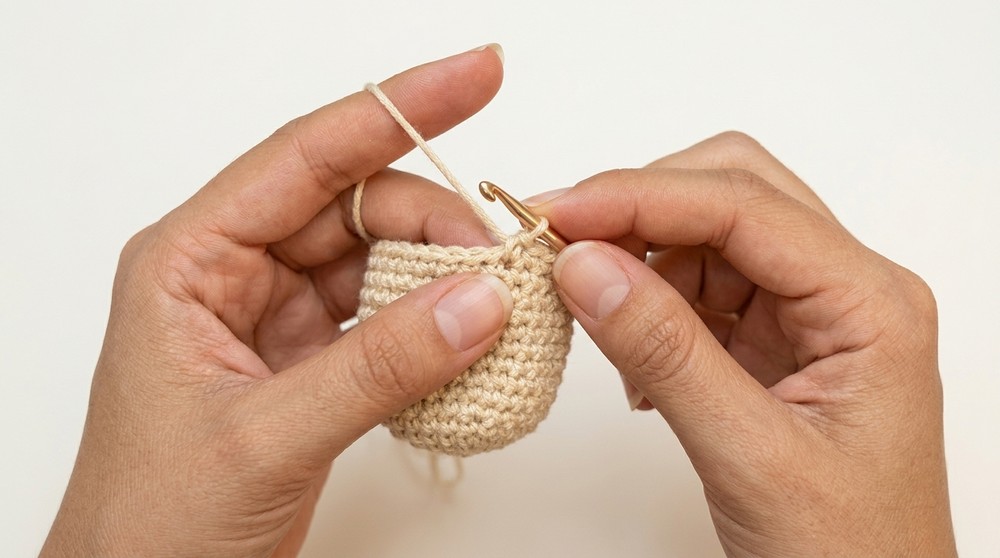
- Round 11:
(2 sc, 1 dec) around - repeat 8×. 24 sts. Join, ch 1. - Round 12:
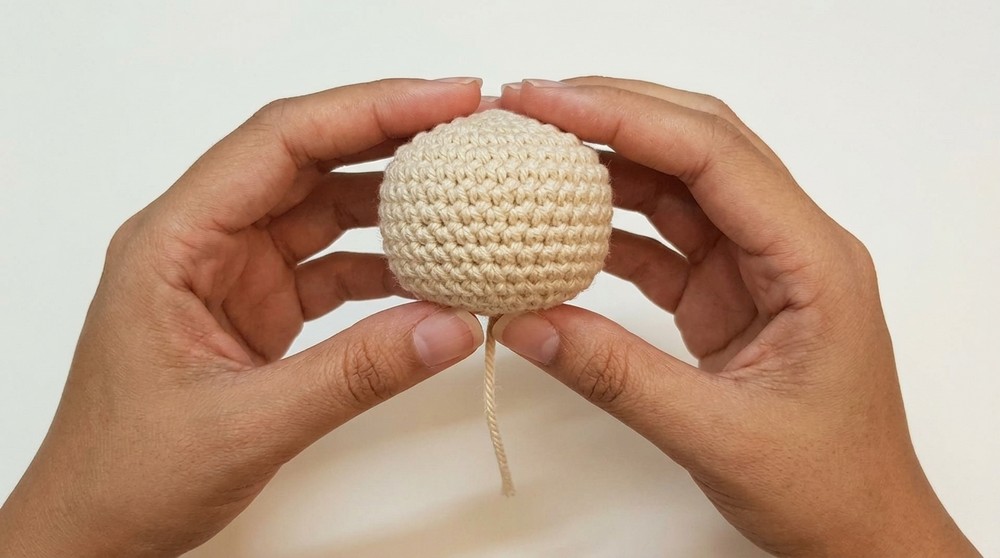
(1 sc, 1 dec) around - repeat 8×. 16 sts. Join.Now, stuff the head firmly with polyfill. - Round 13:
8 dec (sc2tog around), join to first st, cut yarn. - Finish:
Thread yarn tail through yarn needle, insert through front loops of remaining 8 sts, pull tightly to close, fasten off and weave in end.
Ears (make 2)
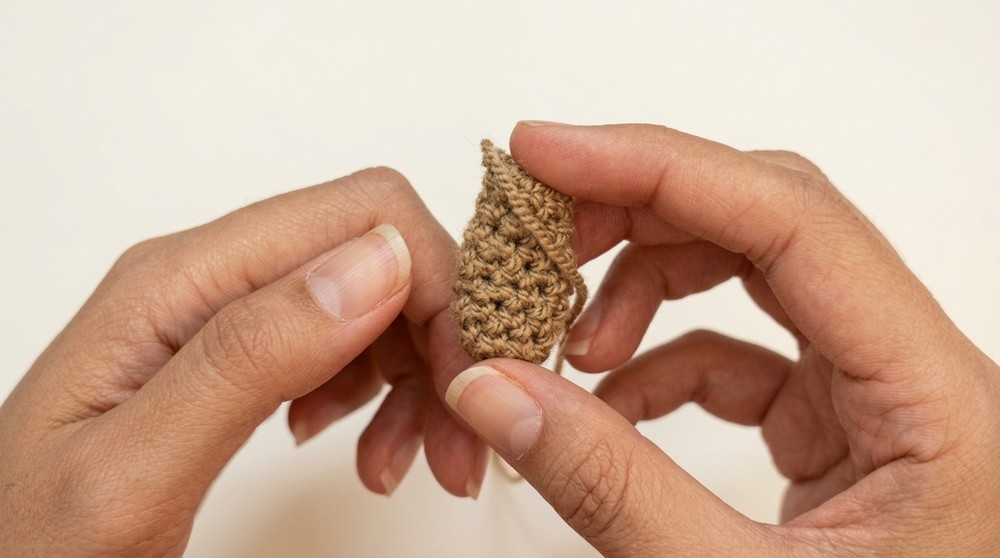
- MR, ch 1. Work 8 sc into ring, pull tight, join to first st.
- Rounds 2-7:
Sc in each st around (8 sts). Do NOT join at end of each round-work in spiral for a seamless shape.
For longer ears, add more rounds. For shorter, subtract rounds. - Finish:
Leave a long tail for sewing.
Muzzle
- Start with a slip knot, ch 4.
- Skip first ch, 1 hdc in each of 2nd and 3rd ch from hook.
- In 4th ch, work 3 hdc together (all in the same ch).
- Work back along other side:
1 hdc in next st. - In last st, 2 hdc together (in same st).
- Join to first st, ch 1, cut yarn.
- With a needle and thin yarn, embroider a triangle nose for realism (as shown in video).
Assembly & Finished Size
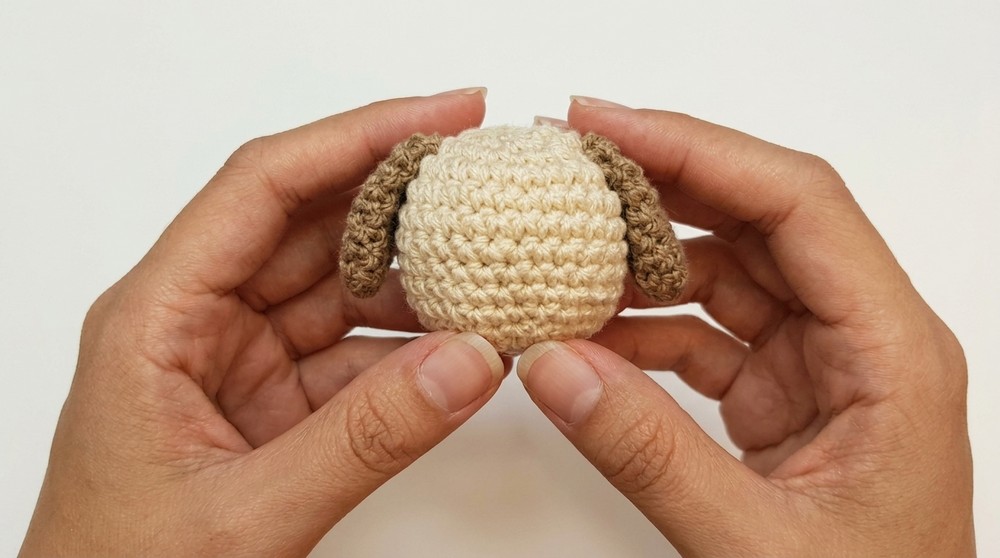
- Sew the Ears:
Pin both ears between rounds 3 and 4 on the sides of the head, or any position you find cutest. Sew securely using yarn tail and needle.
- Attach the Muzzle:
Center the muzzle between lower rounds of the face, pin, and sew all around using whip stitch or invisible seam.
Shape muzzle as you go for a rounded appearance. - Attach/Affix Eyes:
Either sew or glue safety eyes to the face, evenly spaced above the muzzle.- If gluing, coat with glue and press gently, allowing to dry for strength.
- For embroidered eyes, use black yarn/thread/sc and sew two French knots or small circles.
- Keychain Loop:
Pull yarn from top of head, attach to a stitch with hook, ch 7, join to opposite side.
Ch 1, fasten off, and weave in ends for neatness. - Attach Keychain Ring:
Slip ring onto looped chain you just made.
Conclusion and Ending Words
Completing this charming dog keychain amigurumi is highly rewarding, both for its playful appearance and the skills gained along the way. Each element, from the rounded head to the sweetly stitched muzzle and floppy ears, contributes to the overall personality of your piece. The addition of a practical loop and keychain ring turns a soft toy into an everyday accessory that stands out. This project demonstrates simple shaping and assembly, along with creative touches that allow for personalization. The finished keychain is not only a cheerful companion but also a reminder of what can be accomplished with patience and attention to detail. Add it to your collection, gift it to someone special, or use it to brighten up daily routines. This little dog is certain to bring warmth wherever it goes.