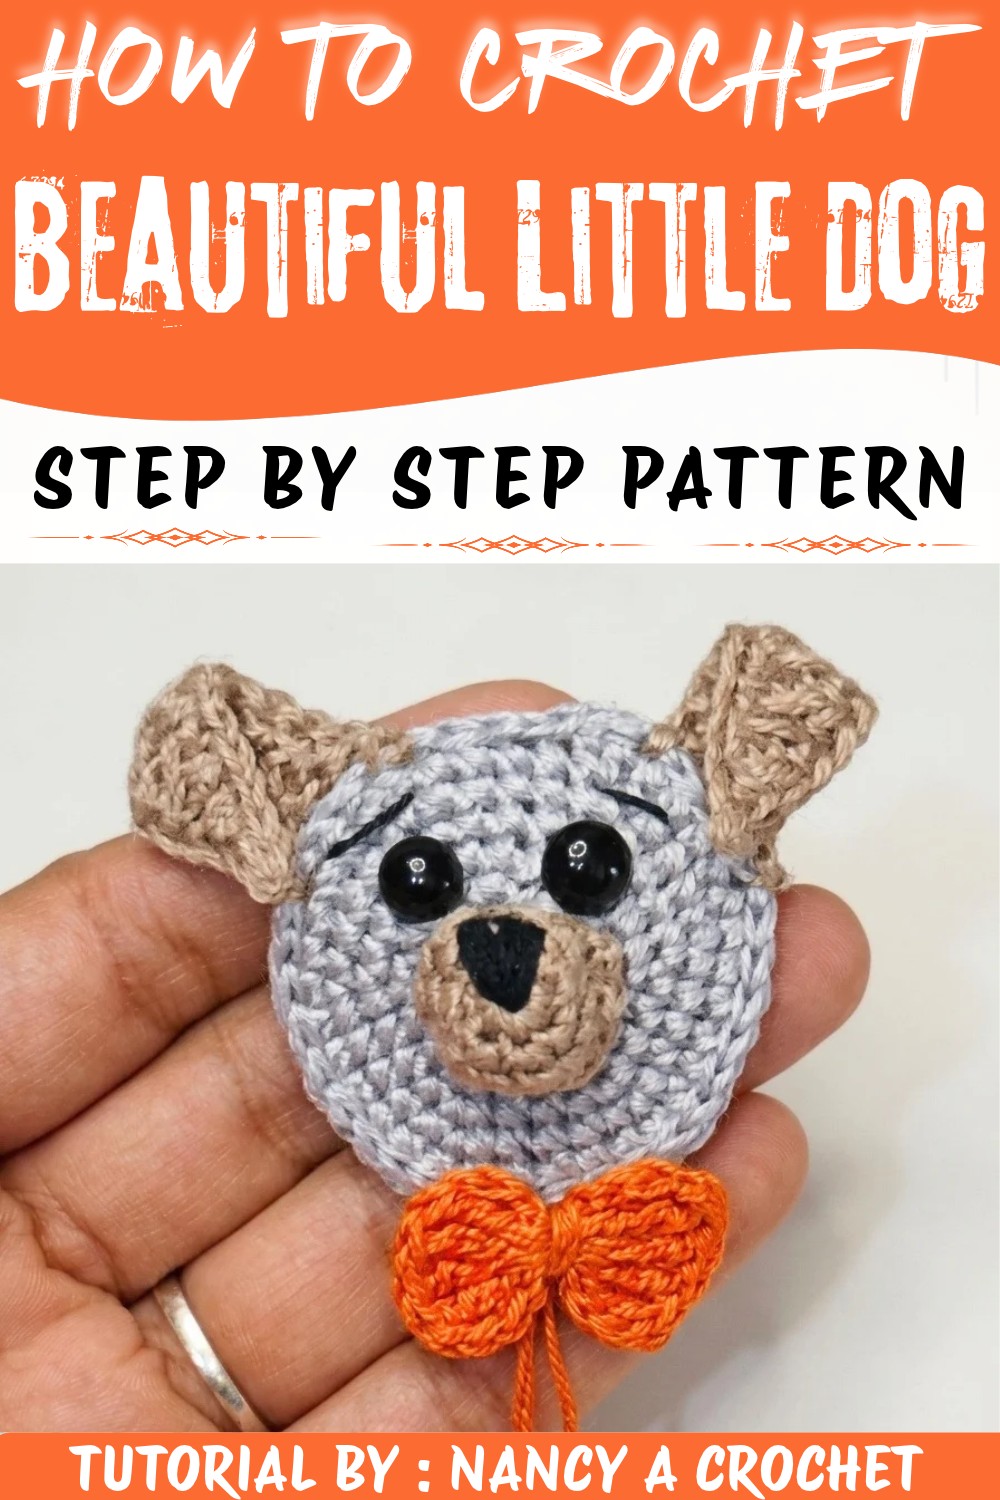
Capture the charm of a playful puppy with this Crochet Little Dog Free Pattern and make an adorable little companion for your favorite shelf.
Brighten your day with the charm of a tiny, handmade companion that warms the heart and sparks joy. There's something truly special about creating a miniature friend that fits snugly in your hand, bringing smiles and comfort wherever it goes. Among these delightful projects, the Crochet Little Dog Pattern stands out as an irresistibly cute and cuddly creation. Originally designed and shared by Nancy on her YouTube channel "Nancy a Crochet" this pattern provides a wonderful opportunity to bring a sweet pup to life through soft yarn and simple stitches.
Cuddly Crochet Little Dog Free Pattern for Animal Lovers
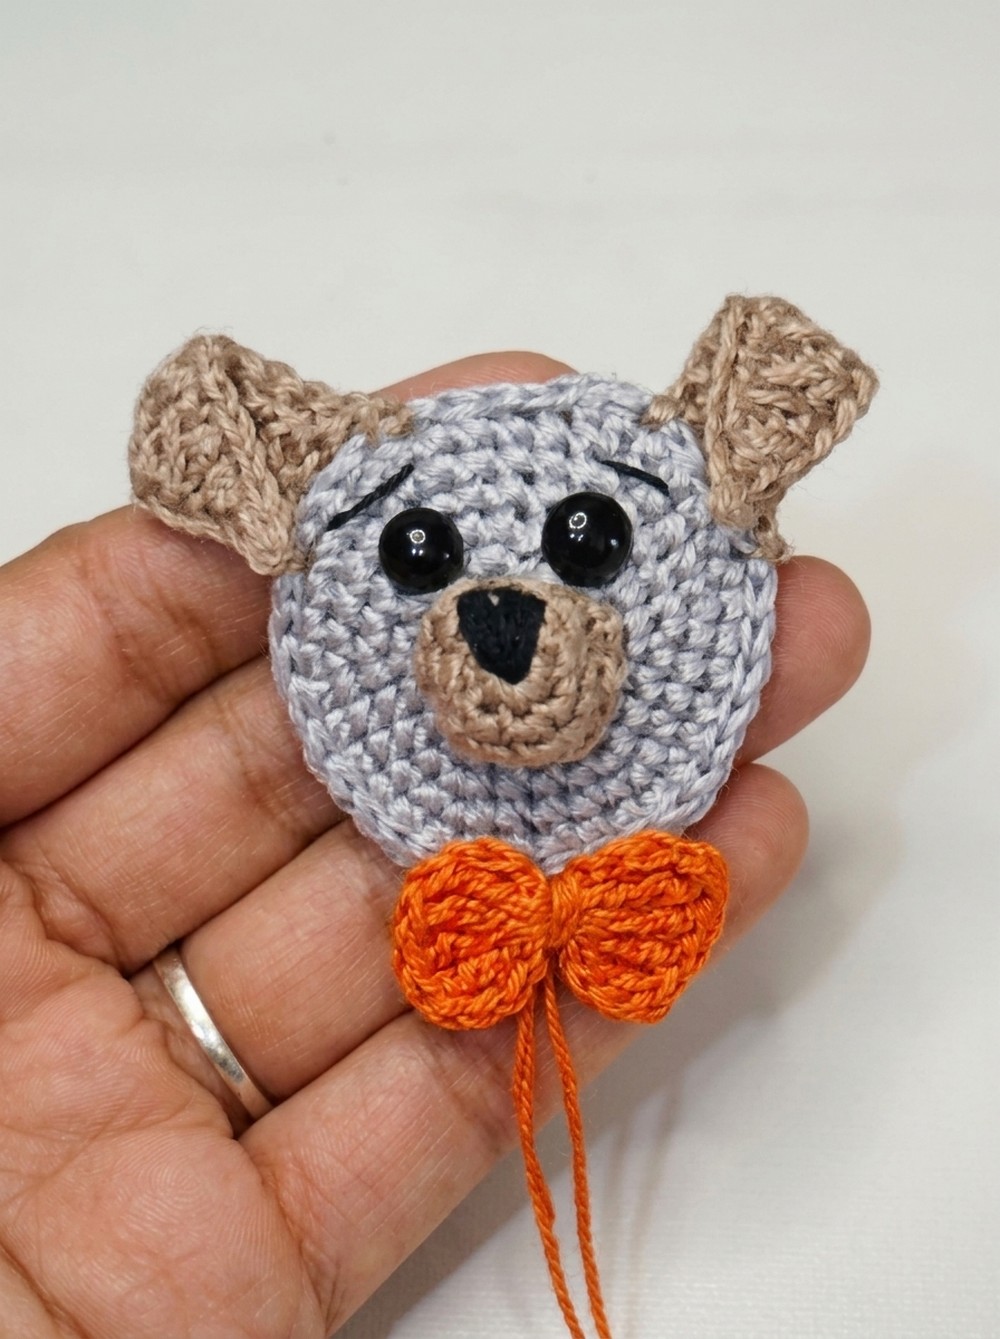
This little dog captures attention with its soft, rounded shape and lovable floppy ears, creating a friendly and approachable look. The texture is smooth yet firm, giving just the right amount of structure to keep the pup standing proudly or resting comfortably. Its proportions are perfectly balanced, featuring a charming snout and expressive eyes that can be personalized with embroidery or small safety eyes. One of the best parts of this project is the freedom to customize: you can experiment with different colors, ear styles, or even add a tiny accessory to make your pup uniquely yours.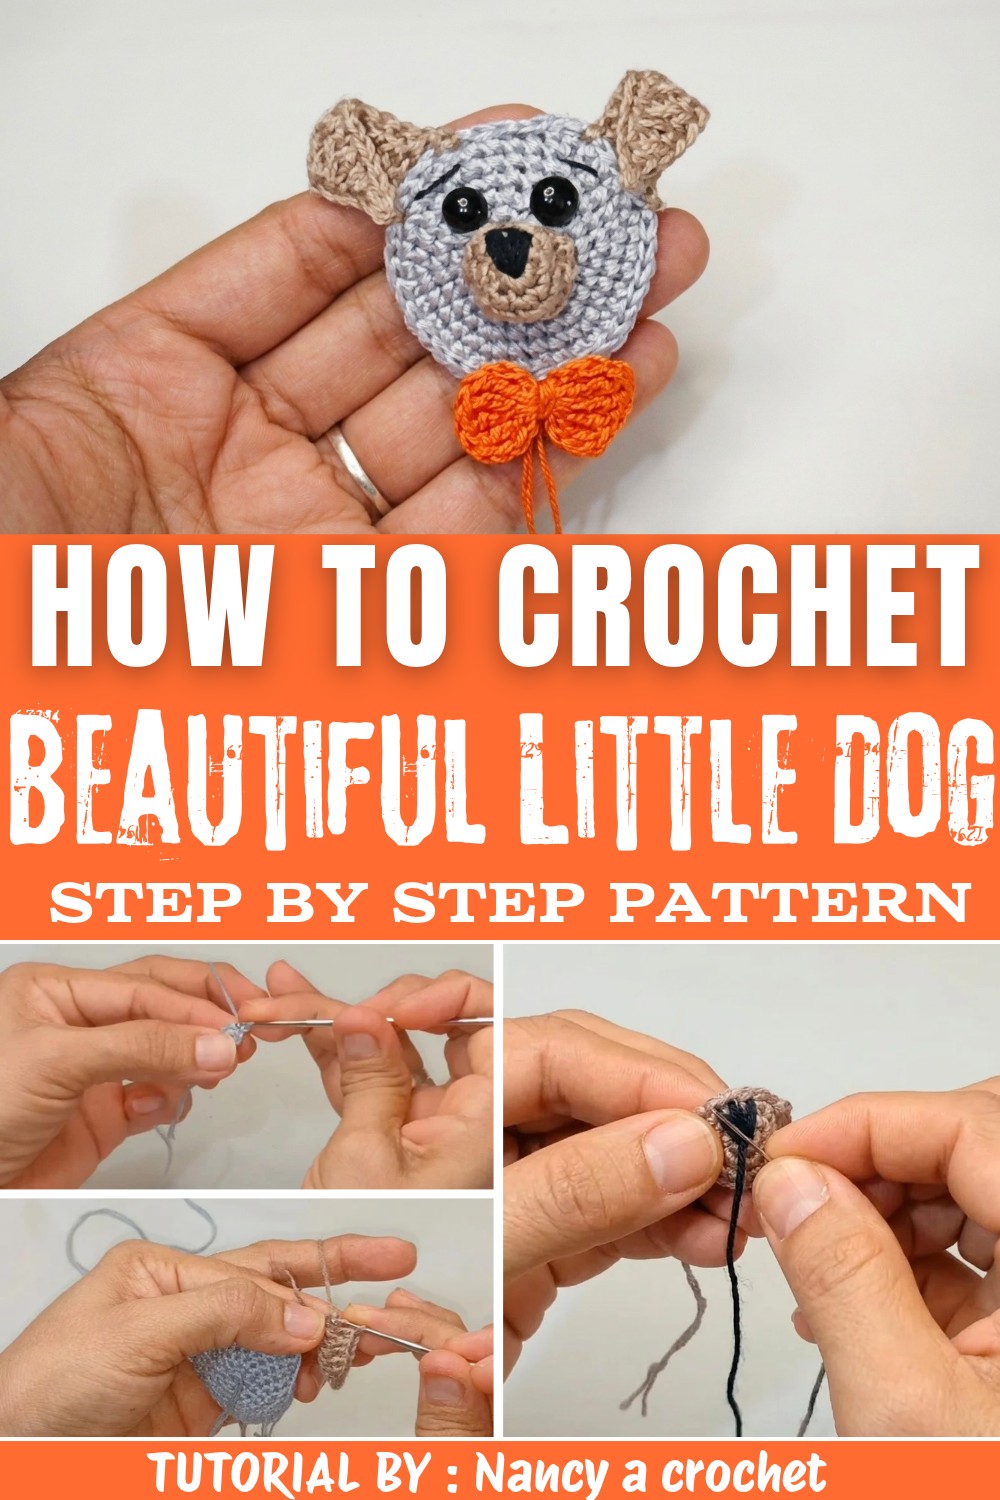
Perfect for those new to crochet as well as makers with some experience, this project invites you to practice essential techniques like creating 3D shapes and weaving in details. Each stitch brings you closer to a finished piece that's both delightful and rewarding. If you're eager to add a joyful, handmade dog to your collection or gift someone special, take a moment to explore the free Crochet Little Dog Pattern. It's a cheerful project that's as fun to make as it is to treasure.
Lovable Crochet Little Dog Free Pattern
This project offers a straightforward way to produce a charming animal head motif using amigurumi techniques. Utilizing double-stranded mercerized cotton and a small hook, the instructions present a well-structured sequence of rounds and stitches, forming a smooth head base with consistently placed increases. Key elements include the use of a double magic ring foundation, structural edge finishing, and innovative stitch combinations for the ears and snout. Facial details such as embroidered noses and attached eyes lend character and expression to the motif. The stepwise format ensures clear progression, reinforced by explicit stitch counts and placement tips throughout. Techniques like elongated double crochet and controlled stuffing contribute to lifelike form and contour. This approach is well-suited for those seeking precision and quality in small-scale crochet work, with opportunities for minor personalization through finishing touches.
Quick Overview of Pattern
- Head base is constructed in a flat, round format with even increases.
- Edge finishing is applied for a polished result.
- Ears are made directly onto the head with chains and tall stitches.
- Snout & nose are crocheted and then embroidered for lifelike character.
- Assembly includes light stuffing, neat sewing, and facial finishing touches.
- Embellishments such as bows may be added if desired.
Notes
- Throughout, use double-stranded 1 mm mercerized cotton for structure and opacity.
- Insert a stitch marker at the beginning of each round after the foundation magic ring for accuracy.
- Take care with stitch counts, as increases keep the work flat and smooth.
- When working the ears, keep the right side facing, and place both symmetrically.
- When embroidering the nose, secure all ends firmly to the reverse for durability.
Skill Level
- Beginner to intermediate.
- The techniques include working in the round, basic increases, elongated double crochet, and embroidery.
- The pattern is ideal for practicing even tension, joining, and finishing skills.
Materials
- Yarn: 1 mm mercerized cotton, used double-stranded throughout
- Hook: 1.7 mm crochet hook
- Stuffing: Fiberfill or cotton for snout
- Notions: Tapestry needle, sharp scissors, stitch markers
- Facial details: Black embroidery yarn or safety eyes/nose
Measurements / Sizing
- Finished head is approximately 5 cm (2 in) in diameter using the yarn and hook listed.
- Snout extends approximately 1-1.5 cm from the face.
- Ears can be adjusted in length for character.
Gauge (and Stitch Pattern)
- Gauge is not critical but stitch tension should be firm enough to prevent stuffing from peeking through.
- All rounds employ single crochet except for ears (with elongated double crochet) and slip stitch edges.
Stitch Abbreviations
- ch - chain
- sc - single crochet
- inc - increase (2 sc in one stitch)
- dec - decrease (sc 2 together)
- sl st - slip stitch
- edc - elongated double crochet
- MR - magic ring
Special Stitches
- Double Magic Ring: Wrap yarn twice around 2 fingers; insert hook beneath loops, pull up a loop, then proceed with foundation sc into ring.
- Elongated Double Crochet (edc): Yarn over, insert hook, yarn over and pull through (three loops), yarn over and draw through one loop (chain), yarn over, draw through two loops twice (like a taller dc).
The Crochet Pattern
Head Base
- Round 1: Form a double magic ring (MR). Work 6 sc into the ring. Pull tight. Join to the first stitch with a sl st. (6 sts)
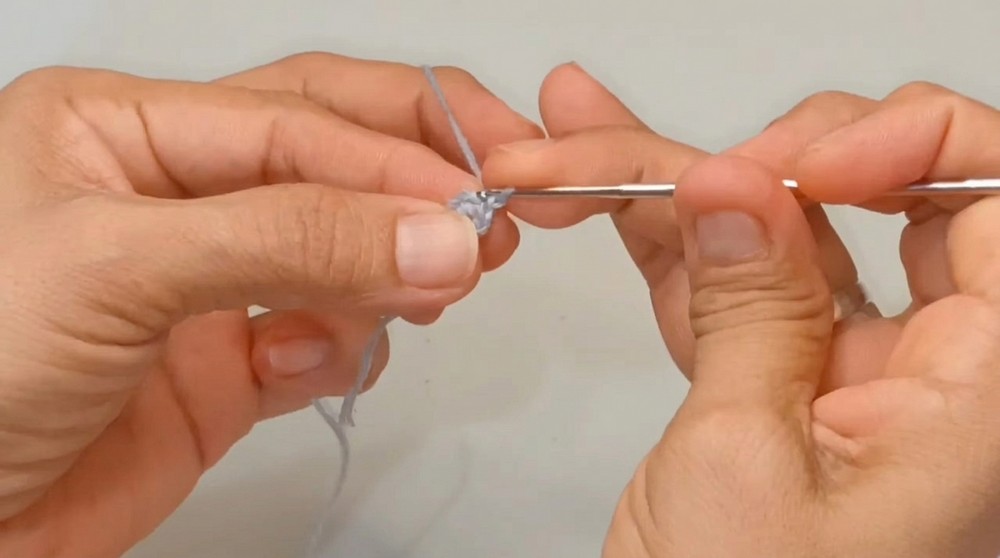
- Round 2: Ch 1. Work 2 sc into each stitch around (6 inc), ending with 12 sts. Join with a sl st if preferred.
- Round 3: Place a stitch marker in the first st. Work [1 sc, 1 inc] 6 times around (18 sts).
- Round 4: Work [2 sc, 1 inc] 6 times around (24 sts).
- Round 5: Work [3 sc, 1 inc] 6 times around (30 sts).
- Round 6: Work [4 sc, 1 inc] 6 times around (36 sts).
- Round 7: Work 1 sc in each stitch around (36 sts).
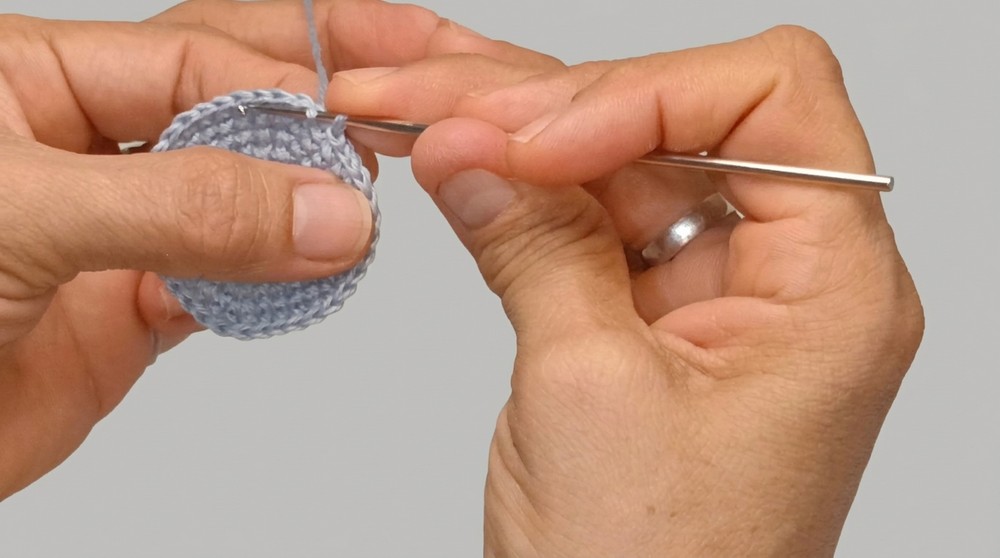
Edge Finishing:
Sl st in every stitch around the circumference. Fasten off and weave the yarn tail to the inner/back side.
Ears (make 2)
- First Ear:
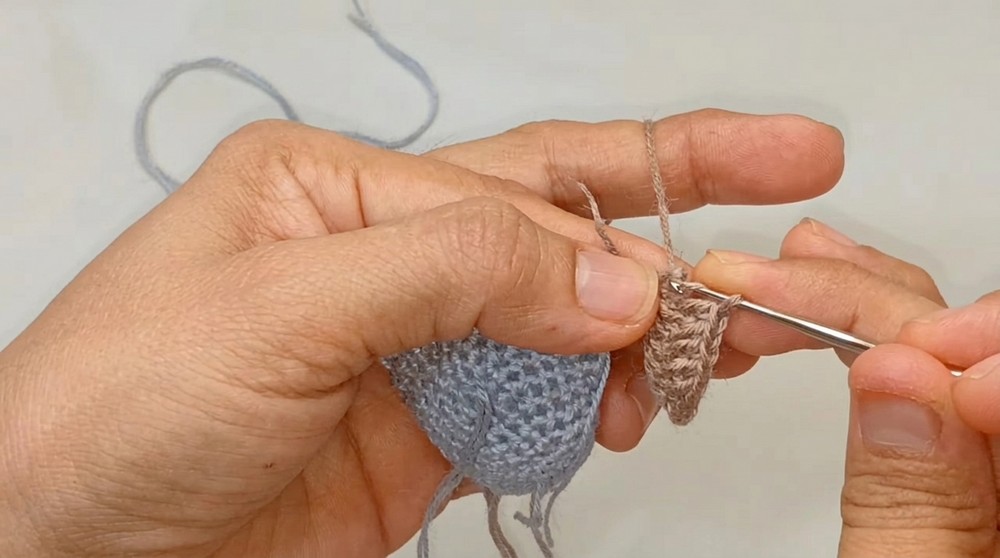
- Attach yarn to the top edge of the head (choose the center).
- Ch 12.
- Working back down the ch:
- 1 sl st in 2nd ch from hook
- 1 sc in next ch
- 9 edc across the remaining ch (each edc is a tall stitch for that long floppy look).
-
- Secure with a sl st to the head base, ch 1, and fasten off.
- Second Ear:
- Count 7 stitches along the top edge from the first ear.
- Attach yarn in the 8th stitch.
- Repeat the same sequence: ch 12, 1 sl st, 1 sc, 9 edc, sl st to head, ch 1, fasten off.
Snout & Nose
- Snout Base:
- Round 1: Work 6 sc into a magic ring, pull tight, and join with a sl st. (6 sts)
- Round 2: Ch 1. Work 2 sc in each stitch (6 inc) (12 sts).
- Round 3: Work [1 sc, 1 inc] 6 times (18 sts).
- Round 4: Work 3 consecutive dec (sc2tog three times), the rest of the round is left unwork for a narrower bottom. Fasten off, leaving a long tail.
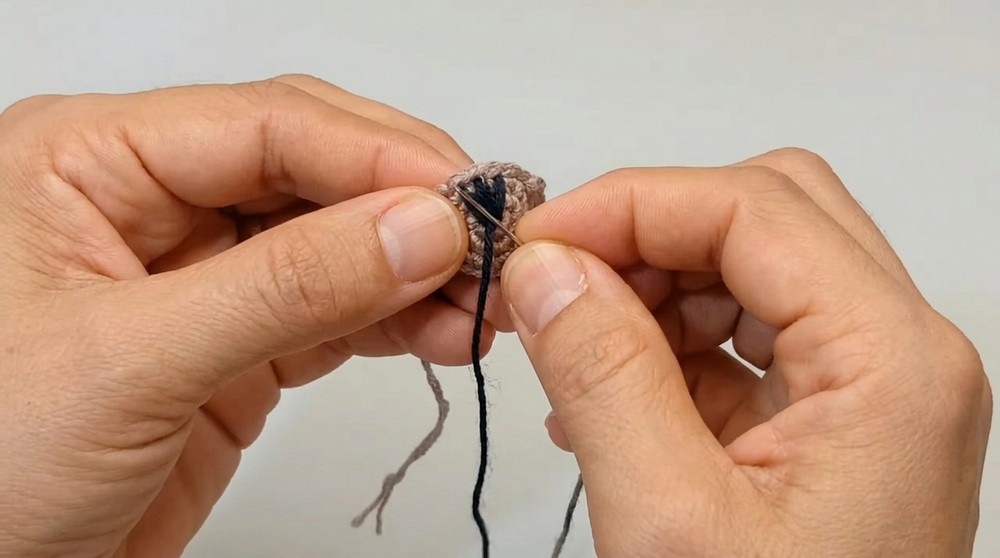
- Nose Embroidery:
- Orient the snout with decreases at the bottom.
- Thread black yarn, and embroider a filled triangle near the top center of the snout by passing needle repeatedly over the area for a solid nose.
Assembly & Finished Size
- Lightly stuff the back of the snout with fiberfill.
- Center the snout over the head's magic ring.
- Using a tapestry needle and the yarn tail, sew the snout securely to the head base, stitching around the outer border.
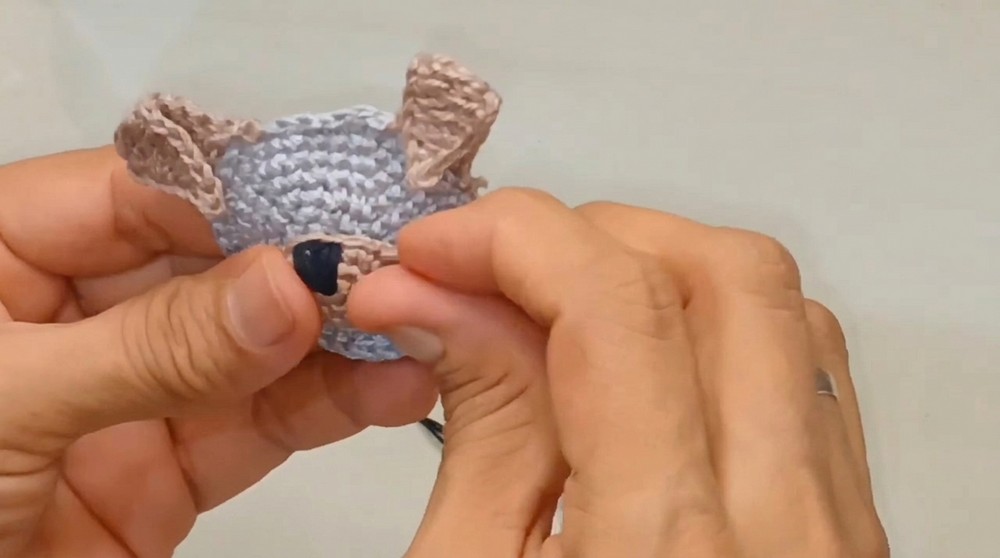
- Attach safety eyes or embroider eyes just above the snout using black yarn. For a friendly look, place them evenly on either side of the snout, about 1-2 rounds up.
- Weave in all loose ends at the back of the work.
- Add personal touches, such as a tiny ribbon bow under the ear or at the side if desired.
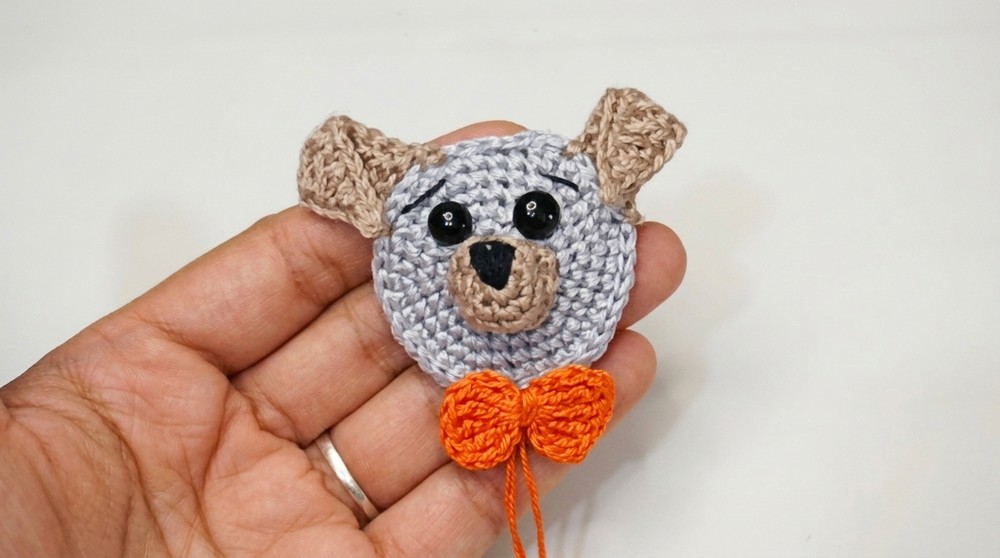
Finished Size:
Head measures about 5 cm (2 in) across; ears add extra height/width. Snout stands about 1-1.5 cm out.
Conclusion and Ending Words
Upon completing this amigurumi animal head, attention to symmetry and technique becomes evident in the final product. Structured rounds provide stability, while varied stitches for ears and snout add interest and distinctive character. The finishing steps-including stuffing, sewing, and placement of facial features-result in a cohesive and visually balanced figure. Attention to placement and neat joining ensures the motif stands out when integrated into larger projects or used as a decorative accent. The concise assembly sequence and use of double-stranded cotton allow for a robust, tidy finish and a pleasant tactile quality. Whether used for display or as part of a collection, this motif demonstrates consistent results achievable through careful stitchwork and assembly. Fine details, such as embroidered noses and customized embellishments, reinforce both individuality and quality within the broader scope of amigurumi work.