
Dress up your shelf with the Crochet Cute Little Doll Free Pattern, a little friend with a lovely outfit for birthday gifts and room decor.
Every once in a while, a delightful project comes along that instantly warms your heart and sparks your creativity. Imagine creating a charming little doll that not only looks adorable but also carries a special touch of handmade love. This is exactly what you get with the Crochet Cute Little Doll Pattern, a fabulous design tutorial by the talented Nancy a crochet, who generously shares her step-by-step instructions and design on her YouTube channel. The project invites you to bring to life a sweet, textured doll complete with a tiny hat, braids, and a lovely bow, all made with careful stitches and thoughtful details.
Pretty Crochet Cute Little Doll Free Pattern With Sweet Details
The Crochet Cute Little Doll Pattern is perfect for gifting - whether as a unique present for a child's birthday, a special keepsake for a friend, or even a decorative piece for your home. Its compact size makes it ideal to display on shelves, desks, or in nurseries, adding a whimsical and cozy touch to any space. The soft yarn texture combined with the intricate stitches gives the doll a warm and inviting feel, appealing to anyone who loves cute and tactile decorations.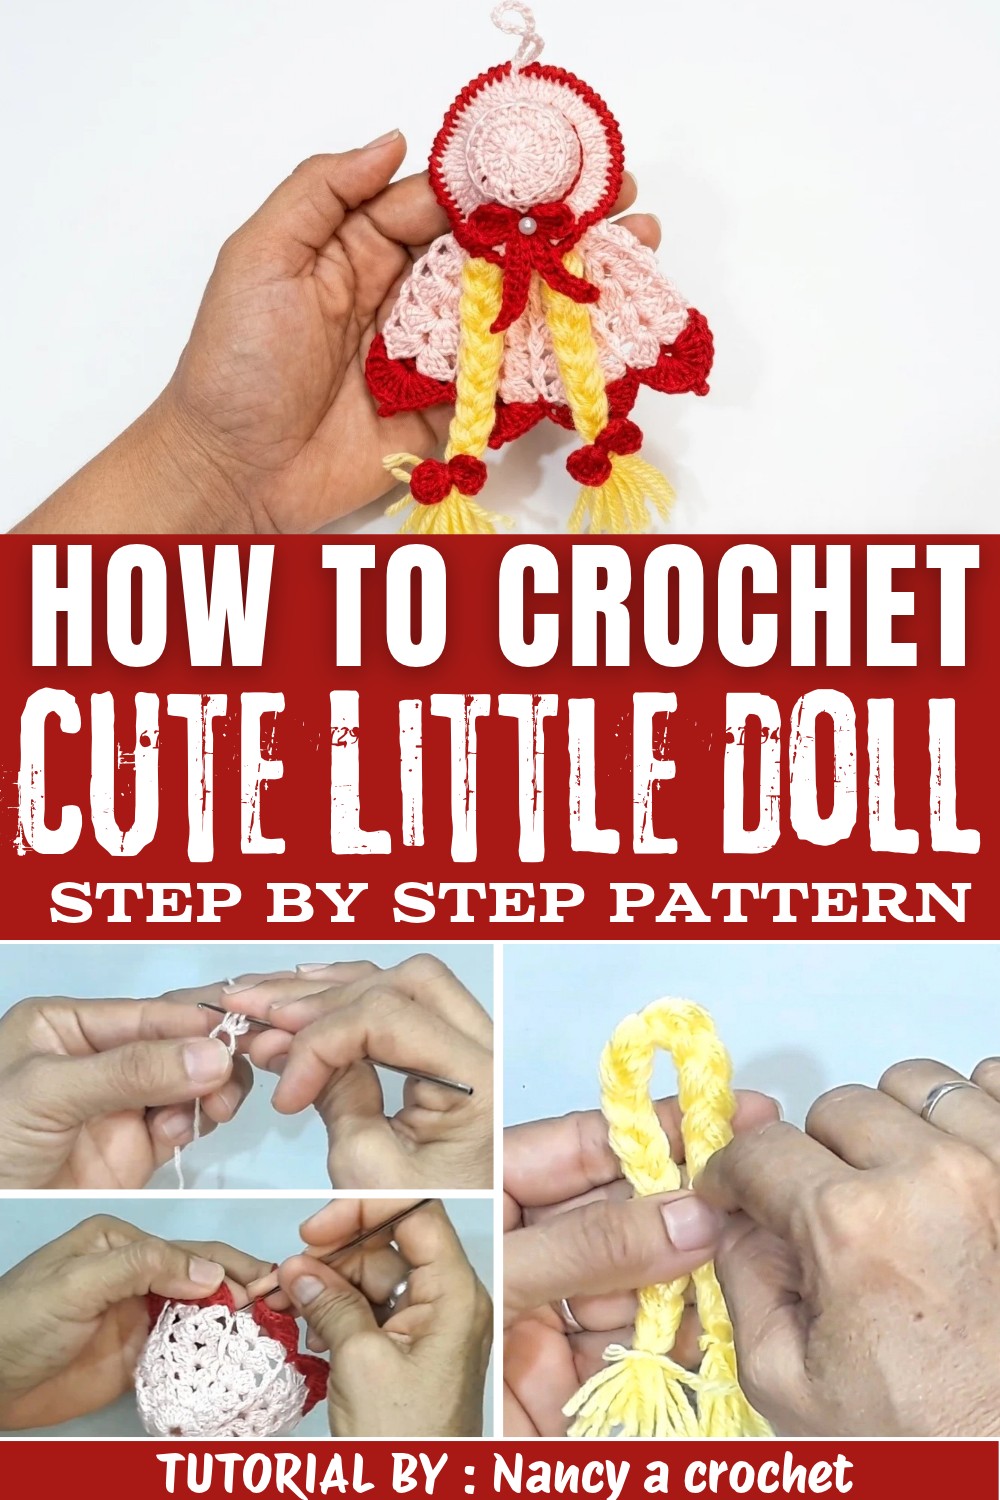
Visually, the doll is a heart-stealer with its round, friendly face and tiny hat topped with a playful bow. The shape is delightful-a plump little body supporting the charming headgear and braided accents, highlighting skillful stitch patterns like butterflies and picots that stand out beautifully. Its style is both classic and sweet, radiating a gentle personality that can light up any room. Whether you're making it for someone special or to brighten your own space, this little doll is an enchanting project full of joy and creativity.
Kawaii Crochet Cute Little Doll Free Pattern
Crocheting offers a rewarding balance of tradition and innovation, particularly when everyday materials become the foundation for charming handmade figures. Here, a simple plastic bottle cap is at the heart of a project that highlights resourcefulness as well as artistry. Through clear instructions and careful attention to each detail, even a recycled item is given a new purpose and distinct personality. Varied stitches add both texture and shape to the doll's attire, resulting in a result that feels substantial and visually appealing. Braided hair, decorative bows, and a thoughtfully shaped hat contribute playful accents that set this project apart. With patience, each stage comes together smoothly, from the skirt's structural clusters to the finishing touches at assembly. Those looking to practice foundational crochet skills while producing a cheerful ornament will find satisfaction in the methodical process and unique use of familiar materials.
Quick Overview Of Pattern
- Build an upper skirt structure over a bottle cap using magic ring and clusters.
- Expand the skirt with rounds of grouped stitches to gain volume and shape.
- Edge the skirt with shells and picots for decorative finish.
- Crochet the hat separately - shaping, brimming, and edging with crab stitch.
- Create a decorative bow for the hat and smaller bows for hair accent.
- Braid doll hair with yarn, attach securely, and add bows.
- Assemble by filling, enclosing the cap, and sewing edges for a neat final appearance.
Notes
- Use recycled bottle caps for an eco-friendly and firm base.
- Adjust yarn thickness or hook size for desired scale and detail.
- The magic ring keeps the base tight, ensuring the structure stays secure.
- Each "high" stitch refers to double crochets unless otherwise specified.
- For children, ensure parts are securely sewn and avoid loose pieces.
- You can substitute colors for further customization and festive variety.
- Transitions between rounds are closed with slip stitches for a tidy edge.

Skill Level
Beginner to Intermediate:
Basic familiarity with working in the round, creating front post stitches, and decorative finishing will ensure success.
Materials
- Main Structure: Recycled plastic bottle caps (juice or soda lids)
- Yarn/Thread: 1 mm thread or yarn in preferred colors (dress, hat, details)
- Crochet Hook: 1.7 mm hook
- Filling: Small amount stuffing/polyfill
- Scissors
- Tapestry Needle (for sewing and weaving ends)
- Extra yarn for hair braids and bows
Measurements / Sizing
- Finished doll stands about 6-8 cm tall and 5-6 cm wide, depending on cap size and tension.
- Braids: Approximately 5-7 cm long after braiding.
- Bow: Scaled to top of hat or braids, typically 2 cm across.
Gauge (and Stitch Pattern)
- Gauge is not critical; ensure stitches are tight enough for structure and not too loose for gaps.
- Dress and Hat: Worked in double crochet (dc), picots, and special clusters.
- Shell edging: Groups of dc and picot.
- Crab stitch (reverse single crochet): Provides sturdy hat edge.
Stitch Abbreviations
| Abbreviation | Description |
|---|---|
| MR | Magic ring |
| ch | Chain |
| sc | Single crochet |
| dc | Double crochet |
| tr | Treble crochet |
| hdc | Half double crochet |
| sl st | Slip stitch |
| BLO | Back loop only |
| fpdc | Front post double crochet |
Special Stitches
- Butterfly Cluster: 2 dc, ch 3, 2 dc, all in one space.
- Shell & Picot: 5 dc, ch 2, picot, 5 dc in the same space.
- Crab Stitch: Single crochet worked backwards.
- Bow: Magic ring, dc/tr clusters, decorative tails of ch-10 lined with slip stitch, sc, hdc.
The Crochet Pattern
Base Dress Structure (Upper Part)
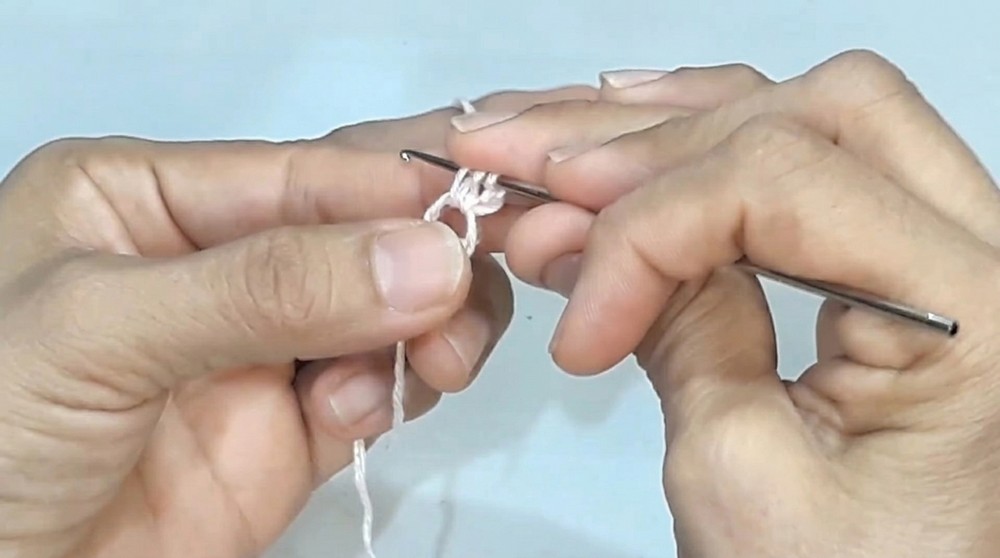
- Magic Ring and Foundation:
Begin with a magic ring using your 1 mm thread and 1.7 mm hook. Ch 3 (counts as first dc).
- Round 1:
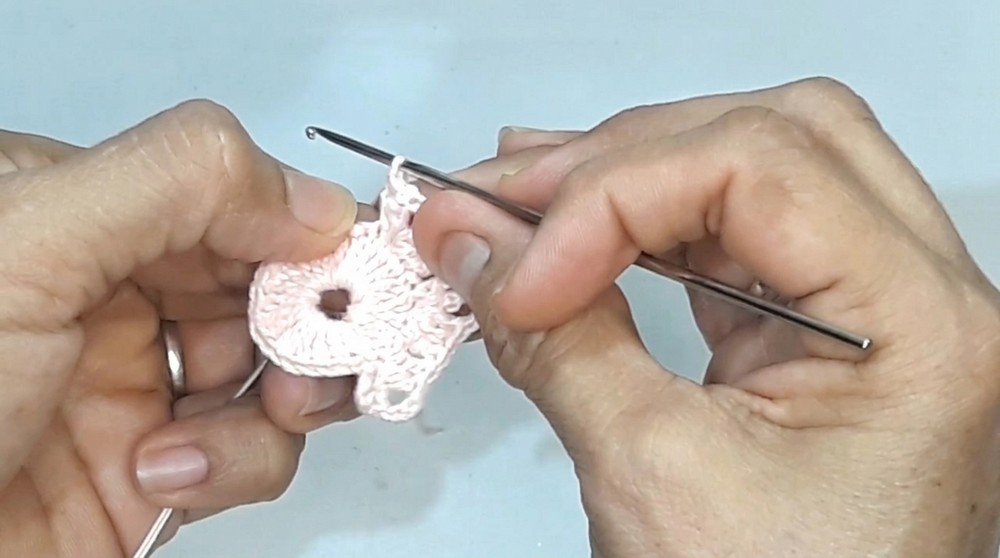
Work 24 dc into your MR. Close with a sl st in the third ch. - Creating Butterfly Pattern - Round 2:
- Ch 3, dc in same space, ch 3, 2 dc in same space (first butterfly cluster).
- Skip one base stitch, dc in next.
- Repeat butterfly clusters and single dc sequence around: [2 dc, ch 3, 2 dc], skip one, dc in next.
- Complete until you have 8 butterfly clusters. Close round with sl st.
- Expanding Skirt - Rounds 3-6:
- Sl st to the middle of a ch-3 space.
- Ch 3, then 3 dc, ch 3, 3 dc in same space.
- Grab previous round's single dc with fpdc.
- Continue around, repeating this cluster/chain/cluster and post stitch pattern for rounds 3 through 6.
- After completing Round 6, finish with a sl st, ch 1.
Decorative Skirt Edge
- Color Change & Edging:
Switch to contrast color yarn (e.g., red). Enter a space where the single dc is and make a sc. - Shell & Picot Stitch:
- Work 5 dc in same space, ch 2, create a picot by inserting hook through middle of previous stitches, sl st to secure.
- Work additional 5 dc in same space.
- Sc in next high stitch space.
- Repeat: Continue shell and picot pattern all around the edge.

-
- Finish the round with sl st, ch 1, and secure thread.
Making the Hat
- Hat Base Ring:
Create a magic ring, ch 3. - Round 1:
Work 15 dc into the ring. Pull tight, close with a sl st in the third ch. - Increasing - Round 2:
Ch 2, make 2 hdc, then an increase by working two hdc into next stitch. Continue [2 hdc, inc] pattern around. Close with a sl st. - Hat Body - Rounds 3-4:
- Ch 3.
- Work 1 dc in each stitch around, grabbing only the BLO.
- Continue for Rounds 3 and 4.
- Hat Brim:
- Ch 3, then make 3 dc in every stitch, grabbing only the BLO all the way around.
- Crab Stitch Edge:
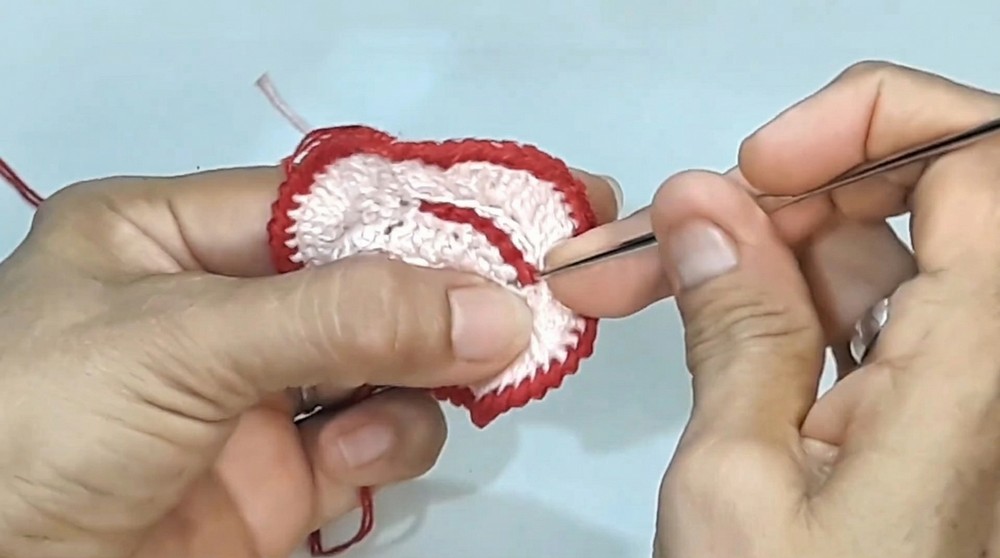
- Work sc backwards (crab stitch) in each stitch around.
- Cut thread, weave in ends.'
- Hat Trim/Ribbon Base:
With thread, crochet sl st around the upper contour (top of hat) to create a foundation for a bow. Leave a thread tail for later assembly.
Making the Decorative Bow
- Bow Center Ring:
Create a magic ring, ch 3.- Bow Loops:
Double yarn over, work 4 tr into ring.
Ch 3, sl st into ring.
Repeat: [ch 3, 4 tr, ch 3, sl st] for second loop. - Bow Tails:
Ch 10 for each tail. Return with:
1 sl st, 1 sc, then fill remaining with hdc to end.
Anchor back into ring with sl st. Repeat for second tail.
Pull ring tight, leave a tail, shape bow.
- Bow Loops:
Hair Braids
- Cut multiple yarn strands (30 cm each).
- Fold to double thickness, secure at top with a knot.
- Braid on each side for pigtails/braids.
- Create mini bows: ch 3, 4 dc, ch 3, sl st into ring, repeat for second loop, attach to braids.

Assembly and Final Construction
- Filling and Lower Lid Integration:
- Fill lower part of dress with polyfill.
- Insert bottle cap to provide shape.
- Attaching Hair and Bows:
- Sew braids securely to the upper structure or hat area.
- Attach mini bows to braids for accent.
- Sealing the Cap Structure:
- Position bottom cover so lid is enclosed.
- Sew edges together stitch-by-stitch, cleanly catching loops around the outline until the doll structure is sealed.
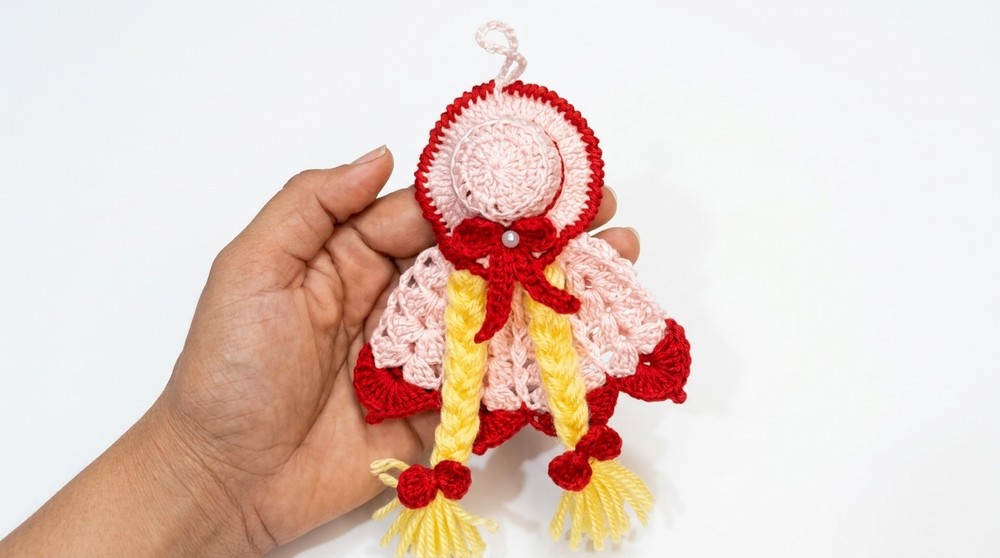
Assembly & Finished Size
Once finished, review all joins for neatness. The doll should stand firmly, thanks to the internal cap. Braids, bows, and skirt edge are securely attached for a decorative finish. The hat sits atop, completing your charming recycled bottle cap doll.
Conclusion
A bottle cap doll such as this offers more than a charming final result; it's an example of how simple, everyday items can be transformed through skill and thoughtful design choices. Each round, from the dress's elegant shaping to the detailed edging, supports a cohesive structure while highlighting the versatility of basic crochet stitches. The addition of elements like braided hair and miniature bows infuses whimsy and character, ensuring that each doll feels distinct and special. Careful assembly guarantees a durable and lasting form, suitable for gifting, display, or passing down as a keepsake. By incorporating both practical and decorative features, this project encourages a sense of accomplishment and creative pride. An ordinary bottle cap has evolved into a delightful figure, demonstrating the creative potential found in even the most unexpected materials.