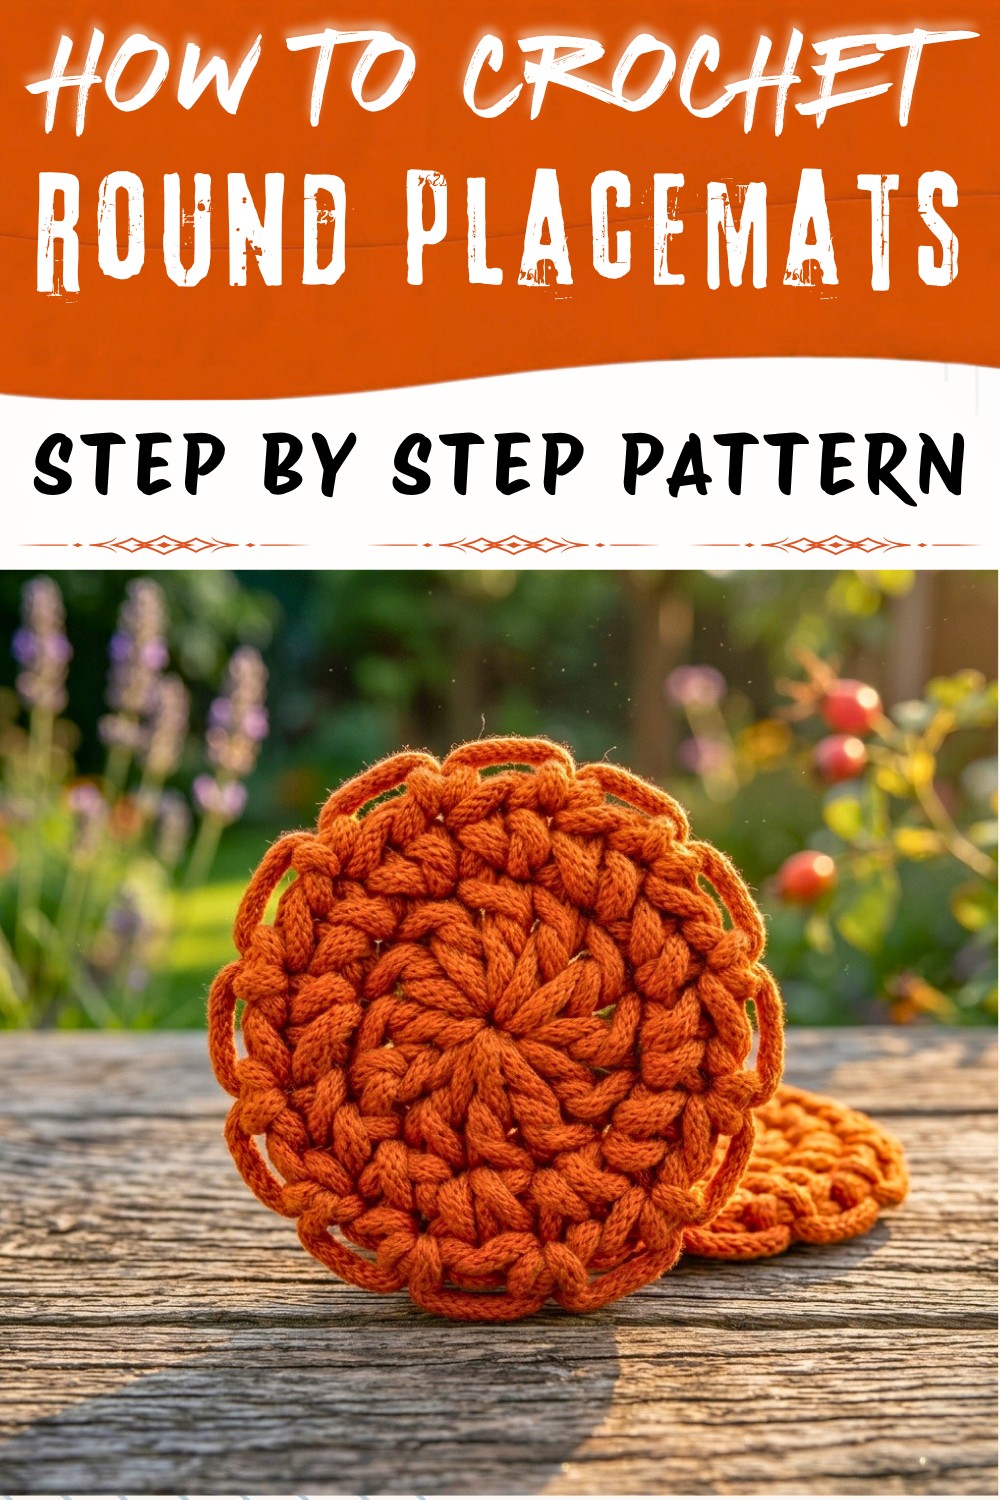
Setting your table with a crochet masterpiece that you made yourself, a vibrant, round placemat bursting with character and charm. With this free crochet round placemat pattern, you are about to embark on a creative adventure that transforms ordinary yarn into a show-stopping accent for your home. As you begin, you'll quickly discover how the classic double crochet stitch isn't just simple and beginner-friendly-it creates a stunning spiral effect with macrame that feels almost magical as each round grows beneath your hands.
Free Crochet Round Placemat Pattern with Easy Instructions
There's something endlessly satisfying about watching your placemat take shape. With every stitch, you build not just beauty but sturdiness, ensuring your placemat is both eye-catching and functional. The circular design celebrates the rhythm of crochet, swirling color and texture together in a way that instantly lifts the mood of any room. Whether your table is set for a cozy breakfast or a lively gathering, this placemat will make every meal feel special. And after finishing, you might find it too pretty to cover with a plate!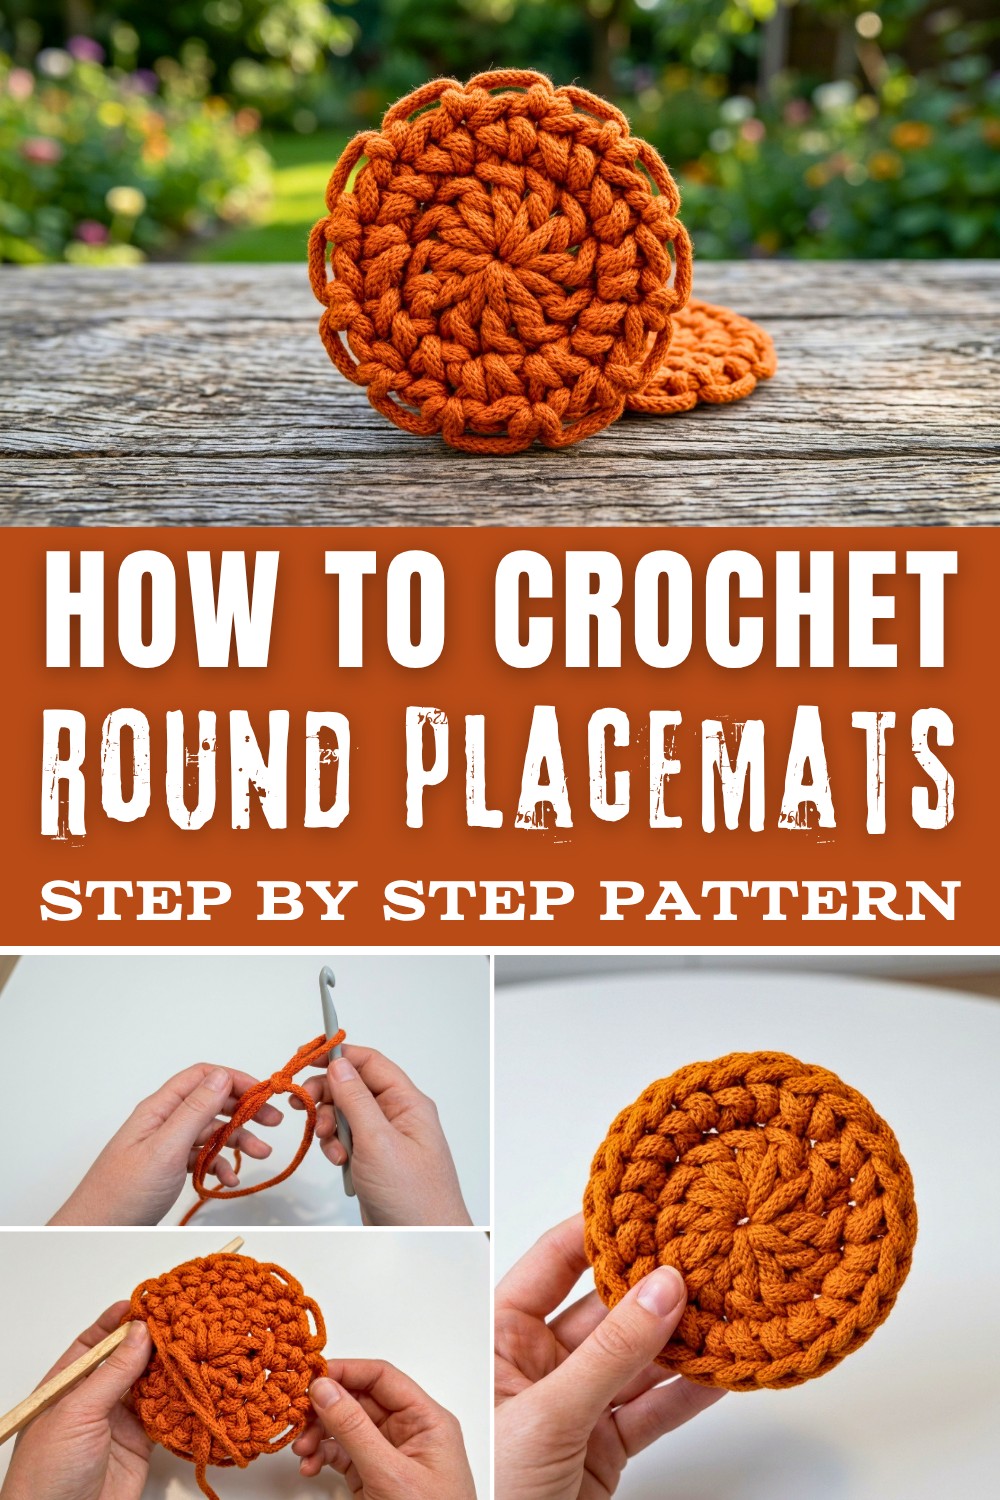
What makes this pattern even more exciting is how versatile it is. Once you master working in the round and the art of increasing stitches, you unlock the ability to create matching macrame coasters, playful rugs, colorful wall hangings, or even a chic centerpiece mat. You'll learn valuable skills like controlling your tension for flawless circles and blending colors for extra pizzazz. With this pattern, you're not just making a placemat, you're opening the door to a whole world of creative possibilities. Get ready to crochet, to experiment, and to make your space truly unique one stitch at a time!
What You'll Learn
Using this pattern, you'll master the art of working in the round, a fundamental skill in crochet that opens the door to endless circular designs. You'll get hands-on experience with foundational stitches like single and double crochet, as well as learn important techniques for increasing, controlling your tension, and keeping your edges smooth and even. You'll also practice weaving in ends securely for a polished finish, ensuring your placemat not only looks beautiful, but also stands up to daily use.
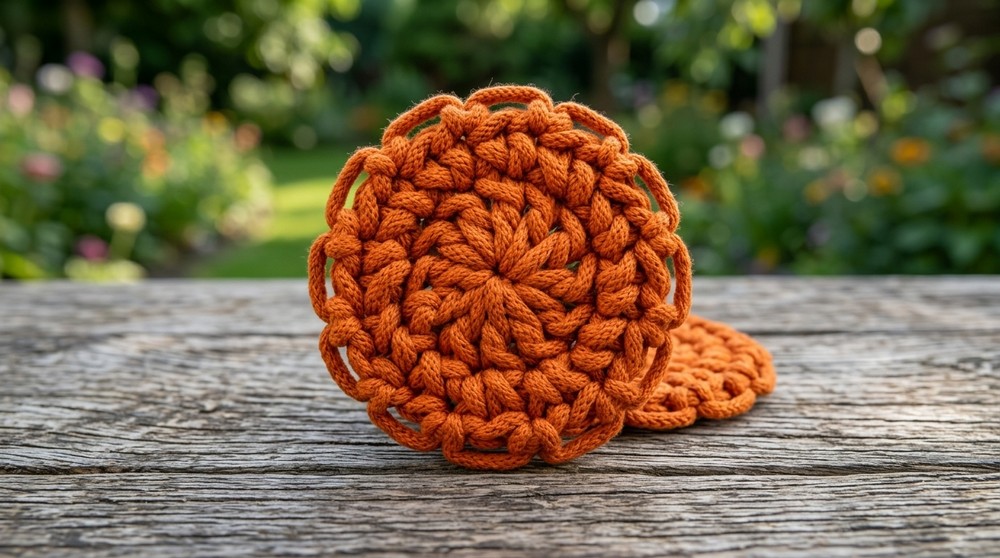
Begin with a magic ring or chain loop, which forms the very heart of your placemat-a little circle that promises big results! Watch as your placemat unfurls in ever-widening, playful spirals. With each round, you'll add stitches and see your project grow, both in size and in personality. As you continue, you can work at a cozy pace, savoring the gentle rhythm of stitches stacking from the center outwards.
You've made a one-of-a-kind, practical piece that blends two beloved crovhets into something both useful and beautiful. Every time you use your coaster, you'll remember how easy and satisfying modern fiber art can be!
Let's Create a Beautiful Crochet & Macrame Coaster
Handmade coasters not only protect your table but bring a cozy and personal atmosphere to your everyday moments. This project joins basic crochet and simple macrame for a trendy, boho-style coaster with a unique, textured edge. Whether you're a beginner or looking for a relaxing new technique, this coaster is the perfect project to expand your fiber art horizons!
Materials You'll Need
- Worsted weight cotton yarn (ideal for durability and easy washing)
- Crochet hook (typically size H/5mm, but adjust for your preferred tension)
- Scissors
- Yarn needle for weaving in ends
- Stitch markers (optional, for easily tracking your place)
Color Ideas
Let your imagination run wild! Make a classic placemat with a single shade, or create a lively statement piece using stripes, ombré effects, or even alternating rounds of contrasting colors. Choose colors that match your kitchen, highlight the changing seasons, or simply make you smile.
Yarn Type & Stuff
Cotton yarn is recommended for its absorbency, durability, and crisp stitch definition-perfect for placemats that will see plenty of use and need frequent washing. For a softer, more decorative touch, you might try a cotton blend or bamboo yarn.
Before You Begin...
By following this pattern, you'll practice the magic ring, double crochet (Słupki), half-double crochet (Półsłupki), basic finishing, and learn a simple macramé "picot" edge. Great for beginners curious about combining crafts!
Absolutely! Below you'll find a beautiful, practical, and detailed step-by-step pattern for Round Macrame-Edged Crochet Coasters based on the video transcription. The instructions are designed for true beginners-you'll find each step explained in plain English below every instruction. You'll also find inspiration, tips, and creative ideas interwoven throughout for an engaging and rewarding crochet journey.
Step-by-Step Pattern
The Magical Beginning: Round 1 - The Circle
- Make a Magic Ring (Magic Circle).
- Chain 2 (this acts as your first double crochet).
- Work 11 Double Crochet stitches (DC) into the ring.
- Join with a Slip Stitch to the top of your starting chain to close the round.
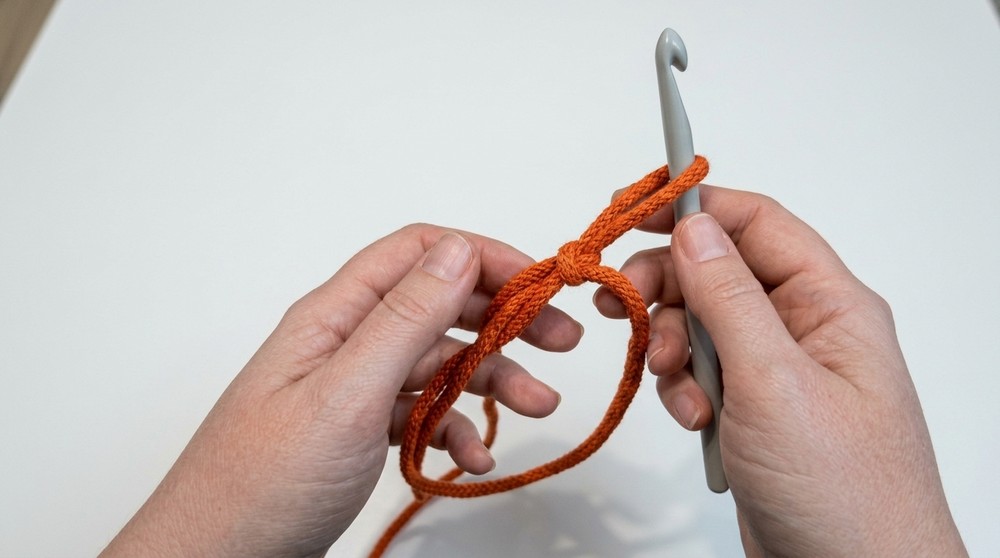
Start by wrapping the yarn to form a loop. Insert your hook, pull yarn through, and make two chain stitches. Now, yarn over and make 11 double crochets into the center of your ring. When done, pull the ring's tail tightly to close the hole. Finish the round by sliding your hook into the first double crochet (or chain) and pull the yarn through-this finishes your neat circle.
Firm Foundations: Round 2 - Half-Double Crochet Increases
- Chain 1.
- Work 2 Half-Double Crochet (HDC) stitches into each stitch around (24 HDC total if you began with 12 in round 1).
- Join with a Slip Stitch to the top of your first HDC.
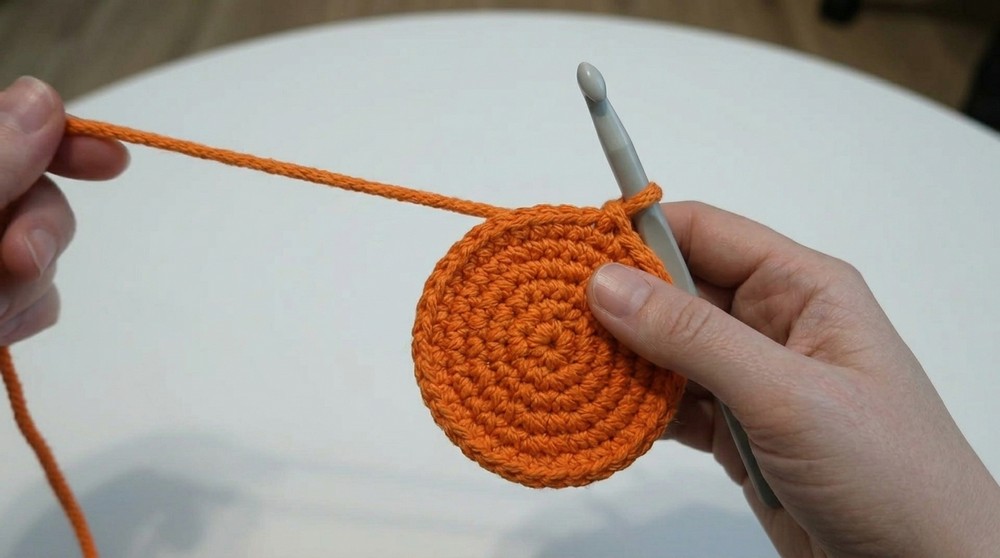
Chain 1 to get up to the right height. In each stitch of your circle, work TWO half-double crochets. This step doubles your number and helps the circle stay flat. End by joining to the very first HDC with a slip stitch.
Unique & Boho: Round 3 - Macramé Picot (Loop) Edging
- Cut a length of yarn about 3-4 times the length of your coaster's edge and thread your needle.
- For each stitch (or every other-your choice!), insert your needle from the back, pull through, loop around your stick/finger to make a loop (picot), and go back in the same stitch to secure.
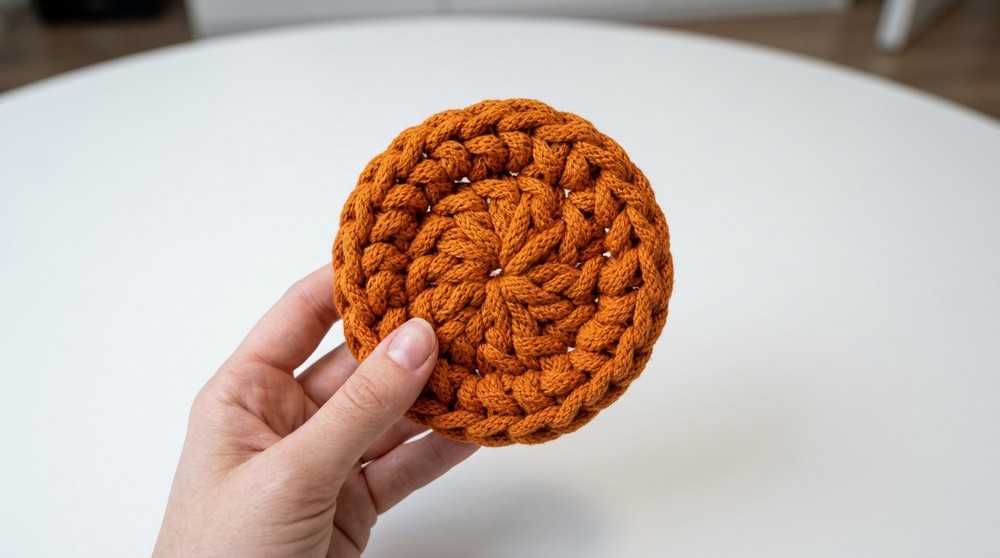
- Repeat around the coaster.
- Finish by weaving in the end and gently arrange your picots.
The Joy of Mid-Pattern
As you see your coaster forming, notice how the simple circle forms a strong base for mugs or glasses, while the looped border adds delightful character. Each round is a step toward both skill and beauty!
Set aside your hook-use your needle and a longer yarn piece for the edge. Poke the needle from back to front at the coaster's edge, loop yarn around your finger or stick (to keep each loop even), then put the needle back into the same hole and pull snug. These loopy "picots" create a trendy, macrame-style texture. Repeat until you've edged the whole round!
Finishing: Secure and Hide Ends
- Using your needle, weave all yarn ends into the back of the coaster (through the stitches, not the yarn itself) and then trim any excess.
- Tug gently on the starting tail to ensure the magic ring is closed completely.
- Press or steam your coaster, if needed, for perfect shape.
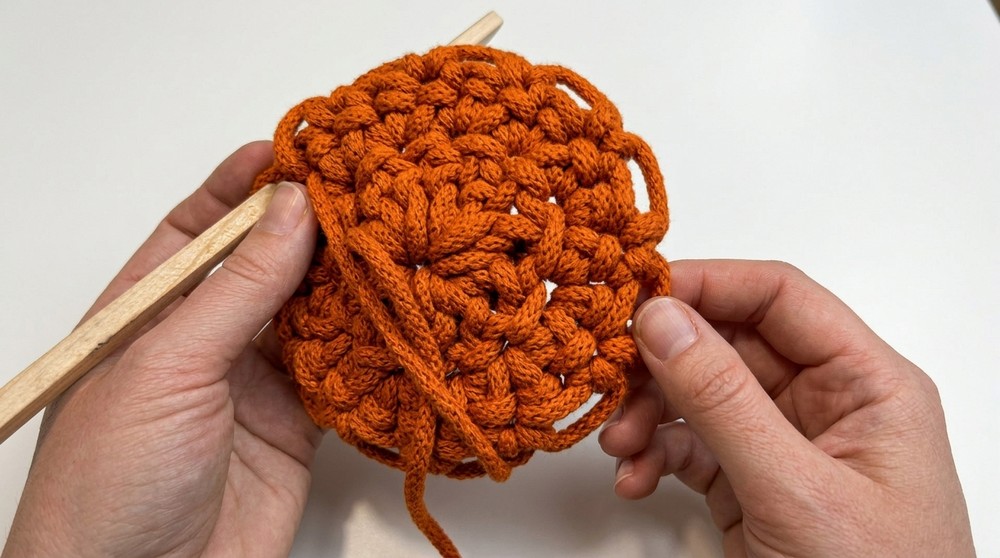
Just thread the yarn tails into your needle, then hide them by weaving back-and-forth through the back stitches. This makes everything neat. Now your new coaster is ready!
Finished Size
The standard finished size for this pattern is approximately 14 inches in diameter, making it an ideal fit under a dinner plate. Of course, you can adjust the number of rounds to create larger or smaller mats to suit your needs.
Special Techniques & Stitches
You'll have the opportunity to perfect your double crochet (dc) and single crochet (sc) work, while also learning how to increase evenly in the round without puckering. At the edges, you might try a slip stitch (sl st) for a neat finish or experiment with decorative border stitches.
Important Remarks
Remember to check your gauge to ensure consistent sizing, especially if making a matching set. Block the finished placemat for an elegant, professional look. Most importantly, enjoy the process and don't be afraid to experiment with color and texture!
The final round is both triumphant and a little bittersweet-a testament to your skill and creativity. With a few last finishing touches, you weave in the ends, perhaps steam block for perfection, and marvel at the transformation from simple yarn to stunning table art. You can't wait to show it off, use it proudly, or gift it to someone special.