
Stitch a lovable crochet teddy bear amigurumi that's perfect for gifting, decorating, or spreading cozy charm with every handmade detail.
A cuddly handmade bear can bring a smile to anyone's face, especially when it's tiny and crafted with yarn. A crochet teddy bear amigurumi pattern offers detailed steps to create an adorable mini stuffed bear using basic crochet techniques. This project is perfect for those who enjoy making their own soft, charming keepsakes. What's great about amigurumi is that it often uses simple stitches like single crochets and magic circles, making it beginner-friendly yet endlessly customizable.
Crochet Teddy Bear Amigurumi Pattern: Perfect for Beginners
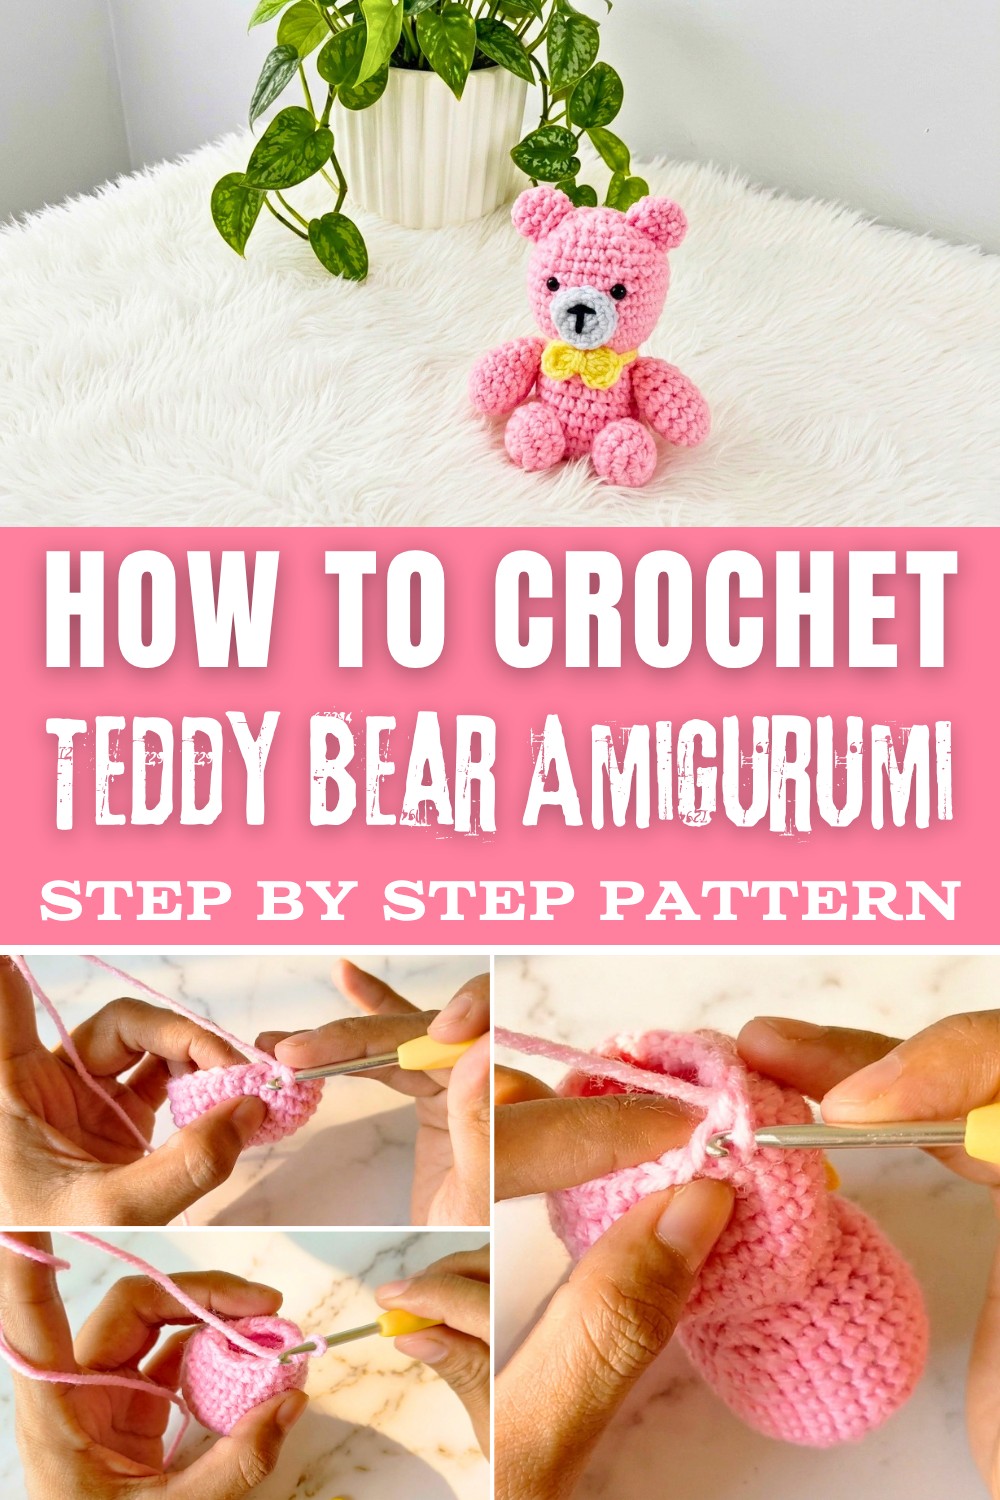
You can play around with yarn colors, attach cute accessories like bows or scarves, and even personalize them for gifts, keychains, or small shelf decor. Crochet teddy bears are not only fun to make but also meaningful as handmade presents to treasure forever.
Interestingly, many crocheters find amigurumi relaxing because it blends creativity with repetitive patterns that can be soothing to follow. Whether you're an experienced crocheter or just starting out, this small project allows you to turn a ball of yarn into a delightful creation that sparks joy both for the maker and the recipient.
Crochet Teddy Bear Pair (Amigurumi) - Step-by-Step Pattern
Materials
- Yarn: 4-ply (DK) or worsted weight yarn in two colors (one for each teddy)
- Hook: 3.0 mm
- Stuffing: Polyester fiberfill
- Yarn Needle: For sewing parts and weaving in ends
- Stitch Marker: Optional, helps keep track of rounds
- Scissors
- Eye Beads/Safety Eyes: Approx. 6 mm, or embroidery thread for eyes
- Optional: Ribbon or yarn for a bow
Special Techniques
- Magic Ring (MR): For making seamless circles at the start of parts
- Invisible Decrease (sc2tog FLO): Decreases made in the front loop only for a neat finish
- Marking Rounds: Use a stitch marker or scrap yarn at the round's first stitch
Abbreviations (US Terms)
| Abbreviation | Meaning |
|---|---|
| ch | Chain |
| sc | Single crochet |
| sl st | Slip stitch |
| inc | Increase (2 sc in same stitch) |
| dec | Decrease (sc2tog) |
| st(s) | Stitch(es) |
| MR | Magic Ring |
Pattern
1. Body
With primary body color:
- Round 1: MR, ch 1, 8 sc in ring. (8)

- Round 2: 2 sc in each st around. (16)
- Round 3: (sc in next st, inc) around. (24)
- Rounds 4-7: sc in each st around. (24; 4 rounds)

Shaping and Closing Body:
- Round 8: (sc in next 6 sts, dec) x3. (21)
- Round 9: sc in each st around. (21)
- Round 10: (sc in next 5 sts, dec) x3. (18)
- Round 11: (sc in next 4 sts, dec) x3. (15)
- Round 12: (sc in next 3 sts, dec) x3. (12)
- Stuff generously with fiberfill
- Round 13: (sc in next 2 sts, dec) x3. (9)
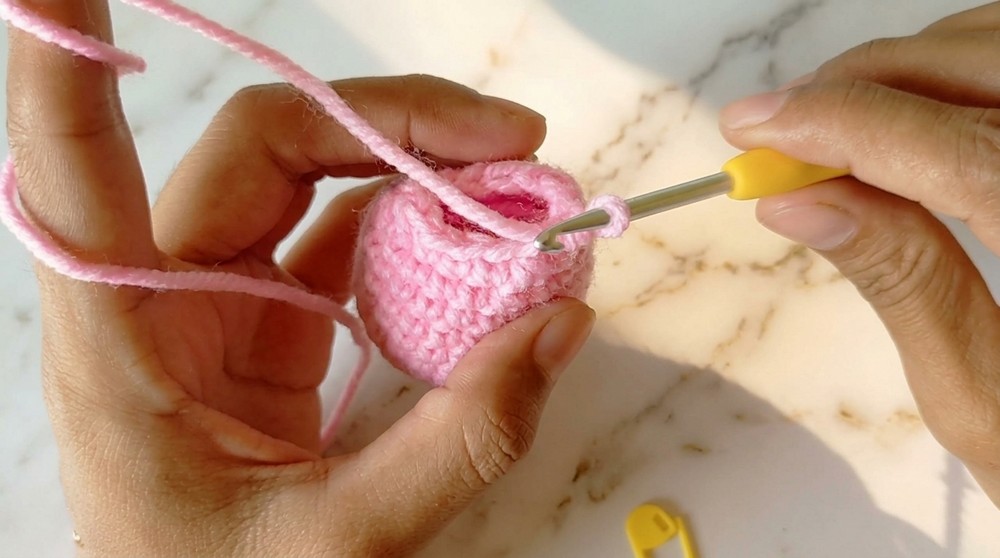
- Round 14: dec around (as needed) to close. Fasten off with a longer tail for sewing.
2. Head
With primary body color:
- Round 1: MR, ch 1, 7 sc in ring. (7)
- Round 2: 2 sc in each st around. (14)
- Rounds 3-4: sc in each st around. (14; 2 rounds)
- Round 5: (sc in next 2 sts, inc) x4, sc in last 2 st. (18)
- Round 6: (sc in next 3 sts, inc) x4, sc in last 2 st. (24)
- Round 7: (sc in next 4 sts, inc) x4, sc in last 4 st. (30)
- Rounds 8-13: sc in each st around. (30; 6 rounds)

- Round 14: (sc in next 2 sts, dec) x6. (24)
- Insert eyes between Rounds 10 and 11, spacing them evenly if using safety eyes
- Round 15: (sc in next st, dec) x6. (18)
- Round 16: dec around to close. Fasten off, leave a long tail for sewing.
3. Legs (Make 2)
- Round 1: MR, ch 1, 7 sc in ring. (7)
- Round 2: 2 sc in each st around. (14)
- Rounds 3-4: sc in each st around. (14; 2 rounds)
- Stuff lightly, flatten top, and sew to bottom of body.
4. Arms (Make 2)
- Round 1: MR, ch 1, 8 sc in ring. (8)
- Rounds 2-3: sc in each st around. (8; 2 rounds)
- Flatten, stuff lightly, sew to body at shoulders.
5. Ears (Make 2)
- Round 1: MR, ch 1, 6 sc in ring. (6)
- Round 2: 2 sc in each st around. (12)
- Round 3: (sc in next st, inc) x6. (18)
- Round 4: sc in each st around. (18)

- Flatten, pinch slightly at base, and stitch to top sides of head.
6. Tail
- Round 1: MR, ch 1, 7 sc in ring. (7)
- Round 2: 2 sc in each st around. (14)
- Fasten off, sew securely to lower back of body.
7. Snout/Muzzle
(Optional, for a 3D effect.)
- Round 1: MR, ch 1, 6 sc in ring. (6)
- Round 2: (inc) around. (12)
- Sew to center of face under eyes, embroider nose/mouth.
8. Bow (Optional, for one or both bears)
- Magic ring, ch 2, work (2 dc, ch 2, sl st) ×2 in ring.
- Pull tight, sew at neck or ear position.
Assembly
- Stuff all pieces and sew securely:
- Attach head to body.
- Attach arms and legs symmetrically.
- Stitch tail at lower back.
- Position and secure ears and, if desired, snout.
- Sew or glue on eyes/beads-ensure safety if for children.
- Sew or embroider face details: Embroider nose and mouth with contrasting yarn or embroidery thread.
Finishing
- Weave in all yarn ends securely.
- Shape and squeeze gently for an even, plump teddy.
- Optionally, add ribbon bows, hats, buttons, or contrasting colored feet/ears for uniqueness.
Suggestions & Tips
- Use a stitch marker at the start of every round to avoid losing your place.
- Work tightly to prevent stuffing from showing through.
- Customize colors and add accessories for special occasions (birthday, graduation, etc.).
- For a sturdier teddy, double up yarn or use a smaller hook for a denser fabric.
- For smaller bears (mini pair), use thinner yarn and a 2-2.5mm hook.
- Embroider eyes as a child-safe alternative to beads/safety eyes.
Final Words
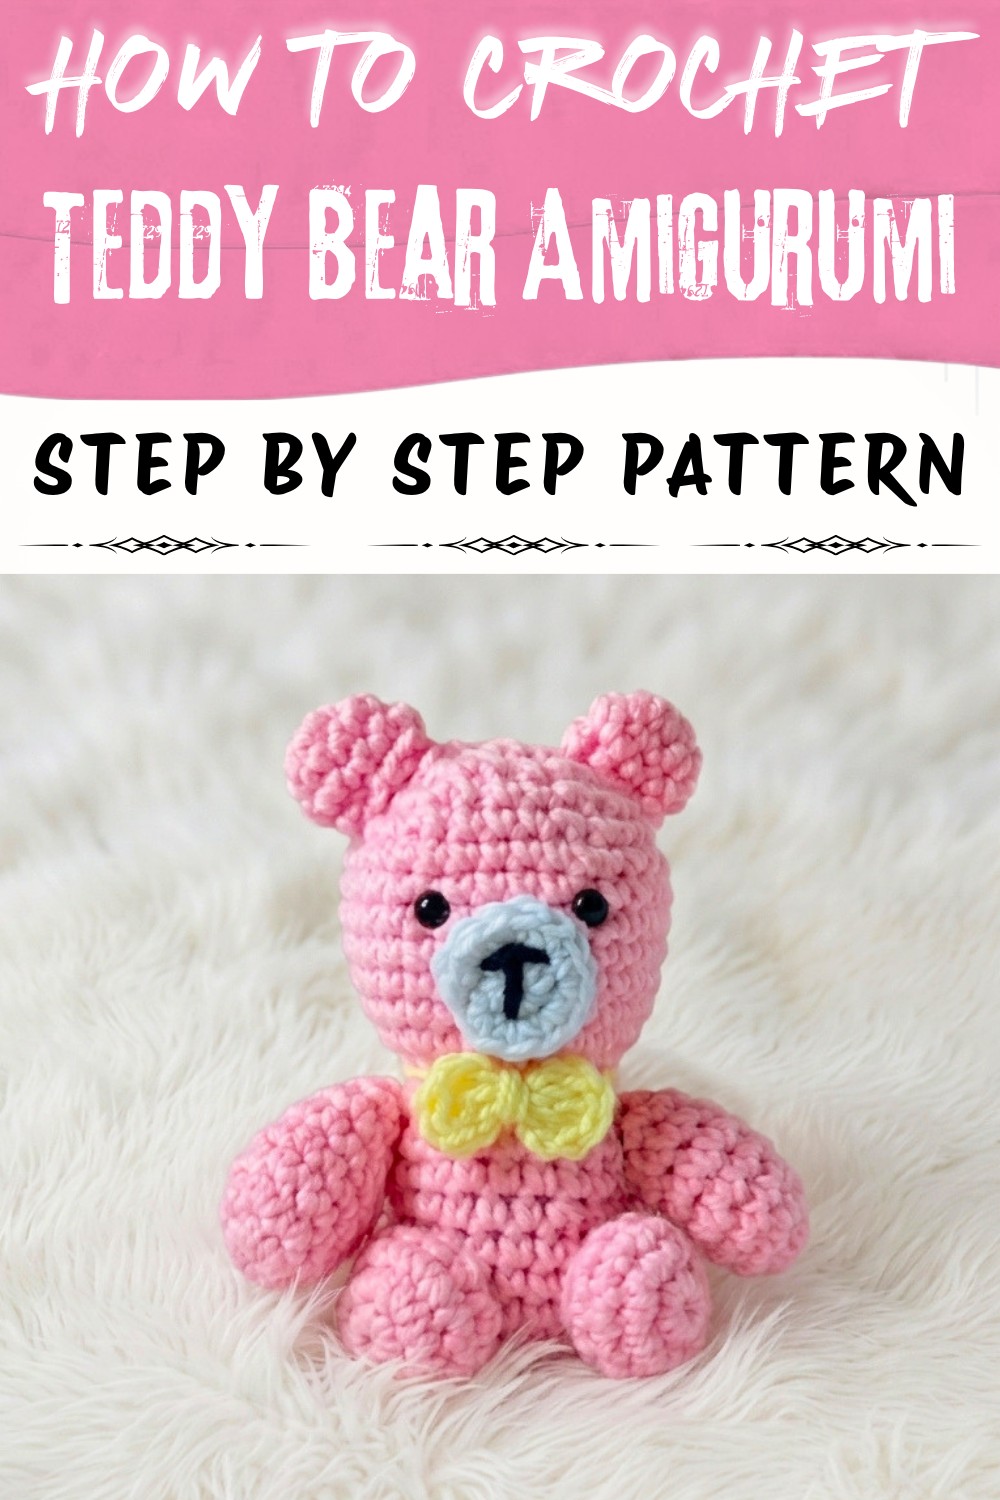
Congratulations! You have created a delightful teddy bear or pair-soft, huggable, and full of character. The seamless construction yields a neat finish, while clever shaping ensures a classic teddy look. Personalize and enjoy or gift your creations.