
Make your keys look exciting and stylish with this free crochet keychain pattern that uses simple steps to shape a cute and practical accessory perfect for bags, keys, and everyday use.
There is something truly special about making your own crochet keychain with this free and simple pattern. It is a fun and creative way to turn yarn into a small, colorful accessory that is not only beautiful but also very useful. The keychain is designed with a sturdy base, neat stitches, and a loop that makes it easy to attach to keys, bags, or even gift wrap.
Your Ultimate Guide to the Perfect Free Crochet Keychain Pattern
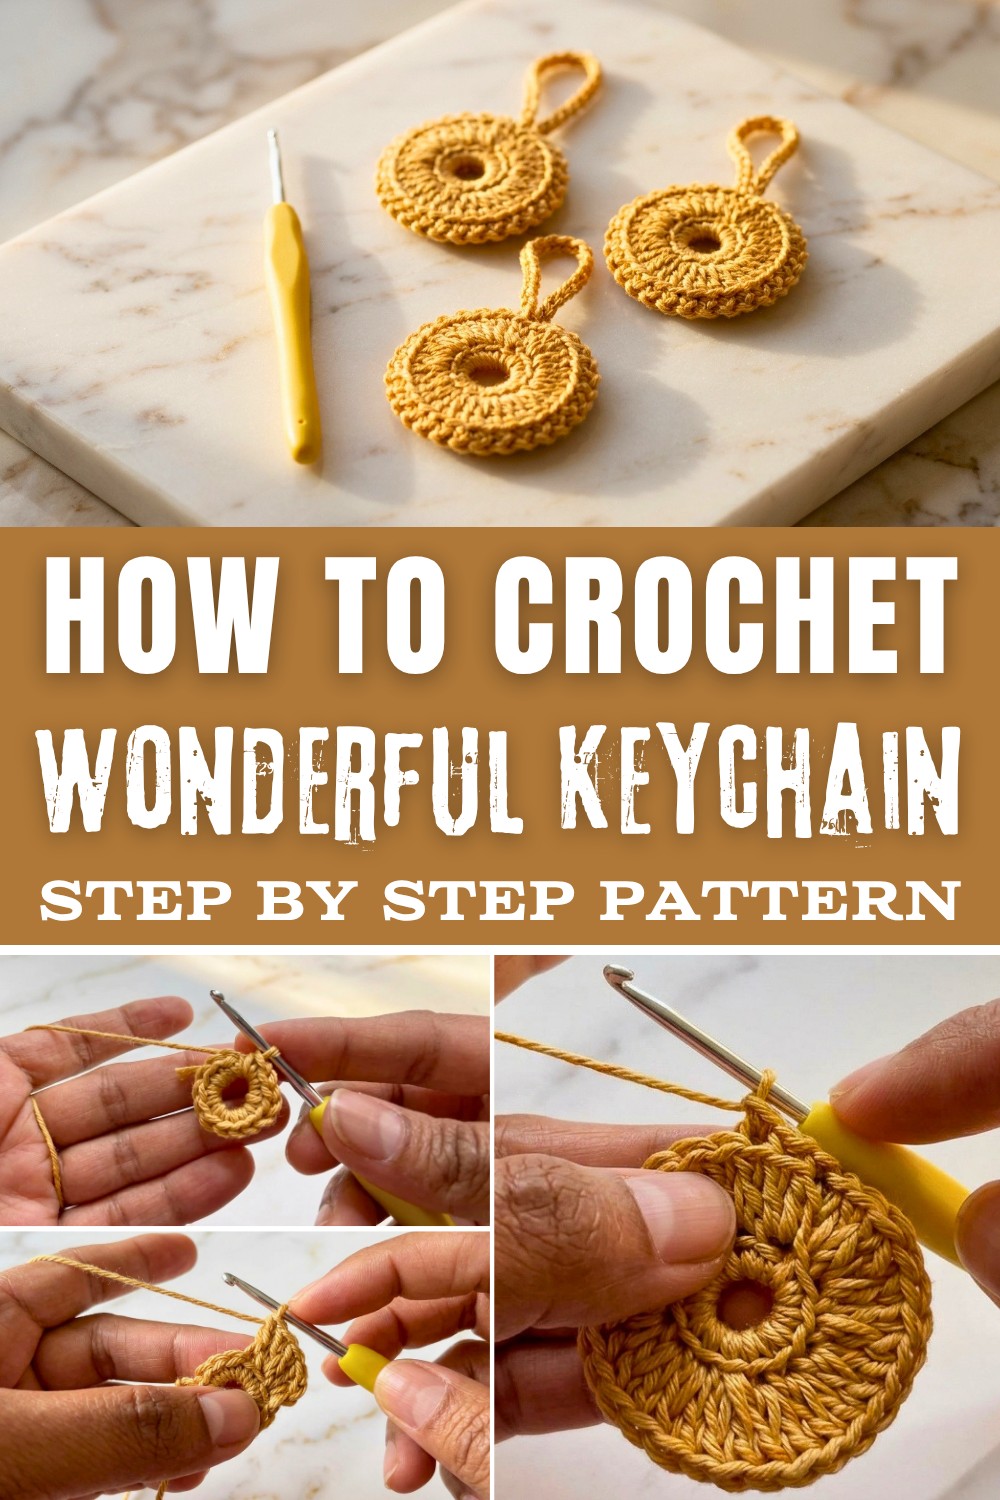 This pattern uses cotton yarn and a 2.2 mm crochet hook, starting with a magic circle to form its base. By following the steps, you will create lovely textures using single and double crochet stitches, working through the back loops for added detail. What makes it even more special is how lightweight and long lasting the keychain turns out to be, yet you can personalize it by choosing your favorite yarn colors.
Unique Crochet Keychain Pattern
Materials Needed:
- Yarn: 100% cotton yarn in Wheat Field Color for durability and softness.
- Hook: 2.2 mm crochet hook.
- Other Tools: Scissors, stitch markers (optional), and a darning needle to weave in ends.
- Keyring or Keychain: One keyring to attach the final crochet design.
- Gauge (approximate): Not specified in the video, but ensure your crochet work is tight enough to hold its shape without sagging.
Finished Size:
- Approximately 2.5 inches in diameter when completed, depending on yarn and tension. The loop size can vary based on chain stitches.
Pattern Notes:
- Skill Level: Beginner to Intermediate.
- This pattern uses a magic circle to create the center and employs single crochets, double crochets, and slip stitches.
- For added stability, always work tightly to ensure the final keychain looks neat and firm.
- Back Loop stitches are frequently used in this pattern, so ensure you understand this technique.
Pattern Instructions:
This keychain pattern begins with the creation of a robust magic circle, formed using several loops of 100% cotton yarn around your finger to ensure the ring is thick and sturdy enough to hold up as a keyring.
Step 1: Create the Magic Circle
- Start with a magic circle.
- Wrap the yarn 4 to 5 times around your finger to form a tight, thick base.
- Remove the loops from your finger and insert your crochet hook under them.
- Yarn over, pull through, and chain 1 to secure the circle.
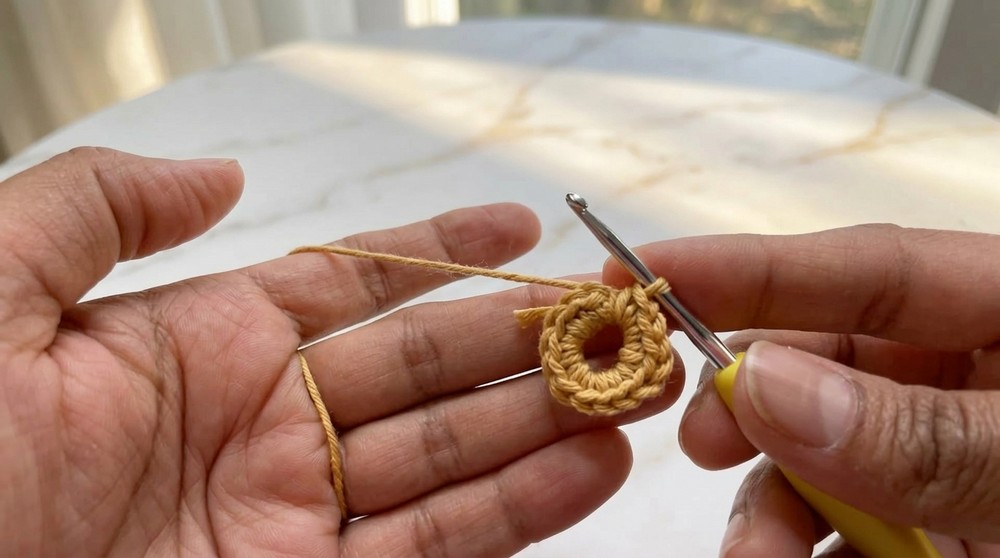
Step 2: Round 1 Form the Base
- Work 14 single crochets (SC) into the magic circle.
- Insert the hook into the ring, yarn over, pull up a loop, then yarn over and pull through both loops on the hook.
- Repeat until you have 14 SCs in the circle.
- Insert your hook into the back loop of the first single crochet stitch.
- Slip stitch to close the round.
After chaining one, you'll work 14 single crochets into the ring, closing the round with a slip stitch in the first single crochet (back loop only) for added definition and texture. Starting with a thicker base is essential because it ensures your keychain is durable and maintains its shape through regular handling.
Step 3: Round 2 Add Texture
- Chain 1 and work 2 double crochets (DC) into the back loop of each stitch from Round 1.
- Begin with the first stitch, yarn over, insert the hook into the back loop, yarn over, pull up a loop (3 loops on hook), yarn over, pull through 2 loops, yarn over, and pull through the remaining 2 loops.
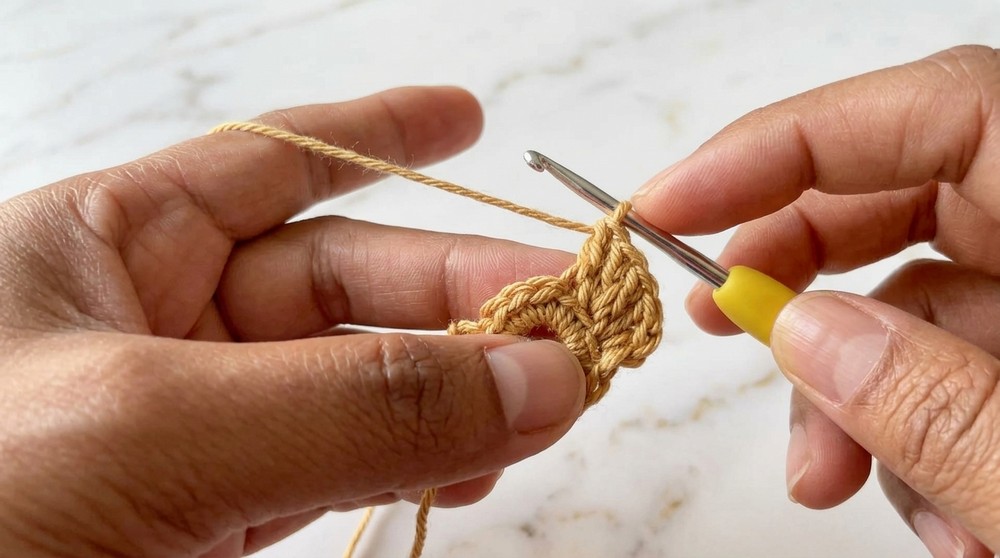
- In the same stitch, repeat the process to create 2 DCs.
- Begin with the first stitch, yarn over, insert the hook into the back loop, yarn over, pull up a loop (3 loops on hook), yarn over, pull through 2 loops, yarn over, and pull through the remaining 2 loops.
- Continue this pattern around the circle.
- By the end of Round 2, you should have 30 double crochets (DC).
- Slip stitch into the back loop of the first stitch to close the round.
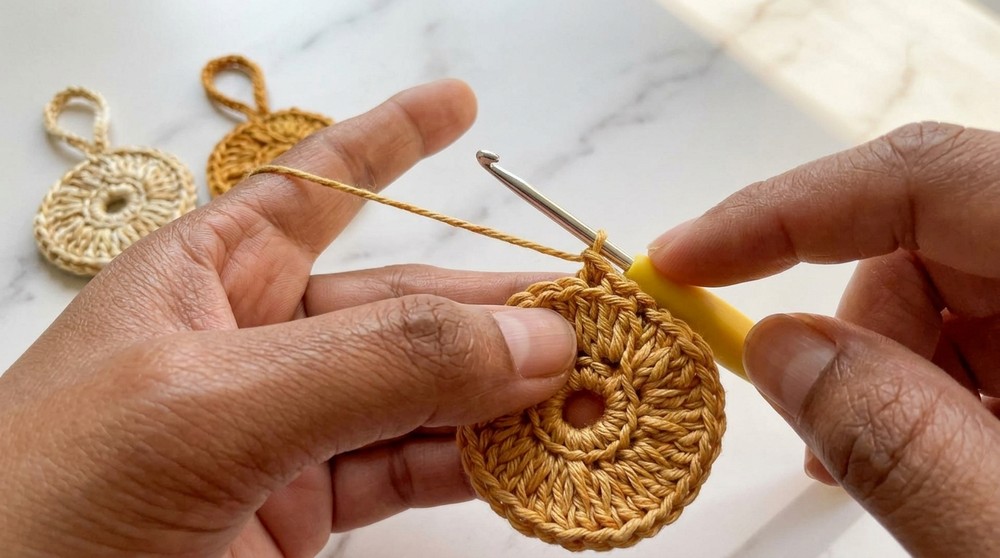
The next stage transitions to the body's bulk and texture. Chaining one, you then work two back-loop-only double crochets into each stitch around, which quickly expands the piece into a smooth, firm disc with beautiful horizontal ridges. Completing this, you fasten off your yarn and then crochet a second identical disc.
Step 4: Assemble the Two Parts
- Make another identical piece by repeating Steps 1 to 3.
- Place both pieces together so their back sides are touching and the front sides are facing outward.
- Align both pieces and attach them together using slip stitches:
- Insert the hook into the back loop of the stitch on the front piece and the back loop of the stitch on the back piece.
- Yarn over, pull through, and complete a slip stitch.
- Chain 1 and repeat the slip stitch process around the circle to securely join both parts.
- Work one slip stitch and chain 1 in each pair of stitches.
- By the end, there will be 30 slip stitches joining both pieces.
These two pieces are then placed together, right sides facing out, to prepare for seamless joining. The use of only the back loops for joining ensures the edging is neat and the discs stay perfectly aligned, enhancing both the aesthetics and structure.
Step 5: Add the Loop
- Without fastening off, chain 25 for your loop (adjust for desired loop size).
- Insert the hook back into the same stitch where you began the loop, yarn over, and make a slip stitch to secure the loop in place.
Step 6: Finishing Touches
- Cut the yarn and secure the last stitch by pulling it tightly.
- Use a darning needle to weave in and hide all loose ends.
Attach the keyring to the crocheted loop for a finished keychain look.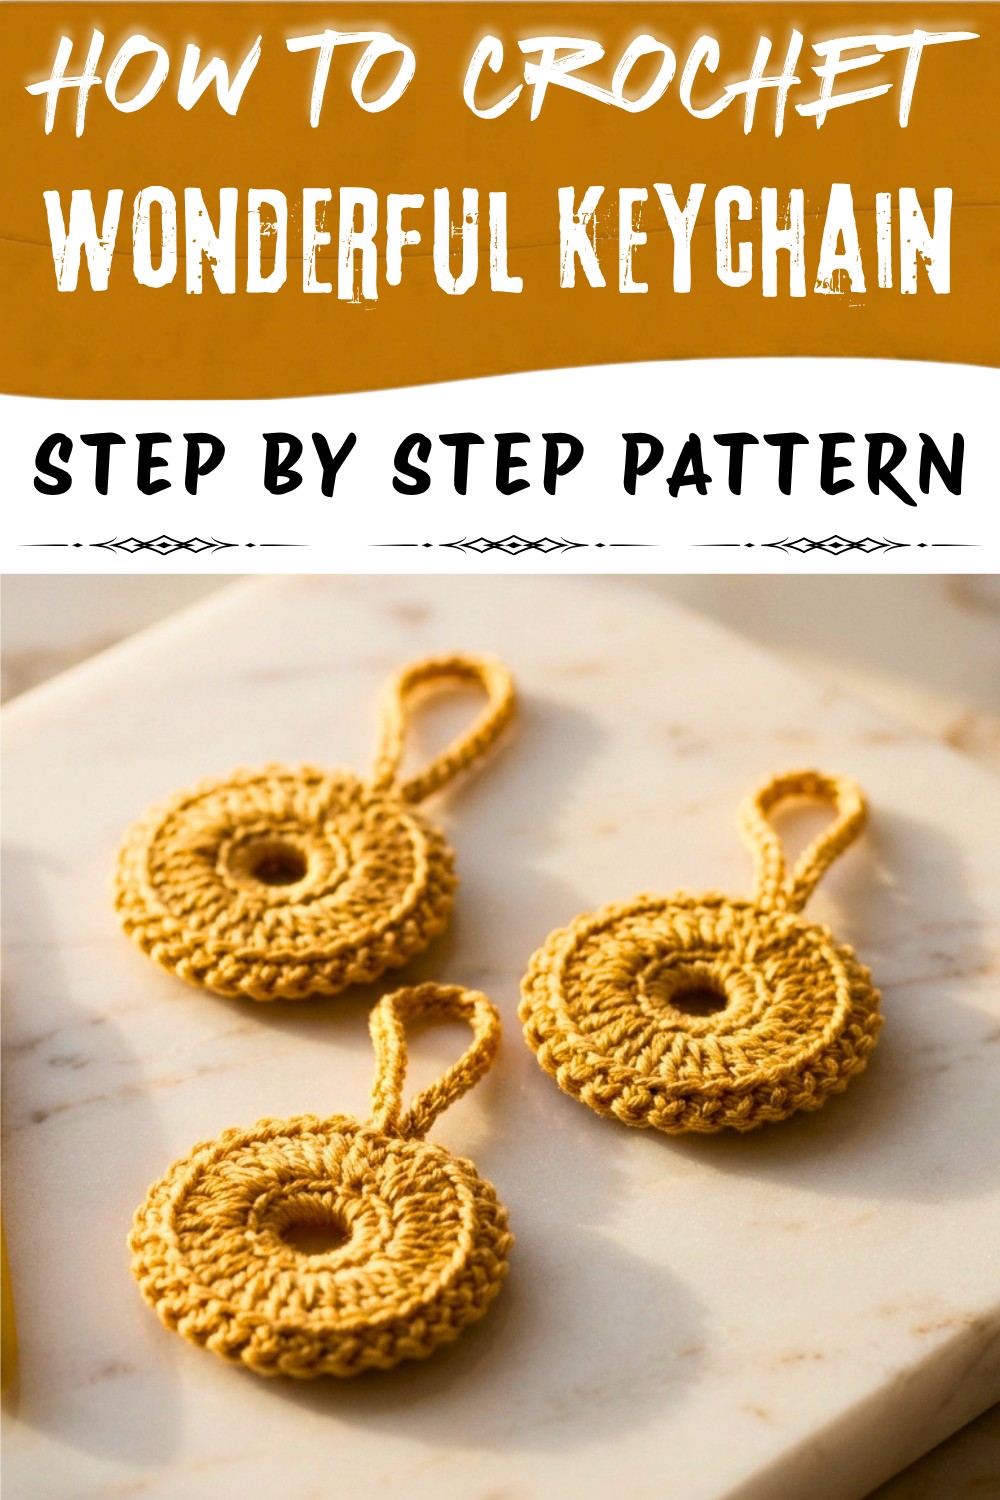
Finishing your keychain, you join both discs by slip stitching and chaining around the edge, catching back loops from each disc. This creates a secure seam. Without cutting the yarn, you crochet a chain of 25 to form the hanging loop, then secure it with a final slip stitch. Weaving in the ends tidies up the project, resulting in a sturdy, stylish, and functional keychain that showcases both utility and crochet craftsmanship.
Special Techniques:
- Magic Circle: This technique ensures a tight center. Wrap the yarn multiple times for extra stability.
- Back Loop Stitching: Working in the back loops creates a textured edge that adds dimension to the crochet design.
Tips for Customization:
- Colors: Use a combination of contrasting or gradient colors to make your keychain more vibrant.
- Size: Adjust the size of the circle by adding or subtracting stitches in Round 1.
- Edge Detailing: Add a round of picot stitches as a decorative edge for extra flair.
- Personalization: Embroider initials or small patterns on the keychain before joining the two pieces.
Conclusion and Important Remarks:
Your beautiful flower inspired keychain is now complete. It boasts:
- A stylish textured appearance using back loop stitches.
- A functional yet decorative loop to attach to your keys or bag.
This easy to make design is perfect as a DIY gift, a craft fair item, or a personal accessory. Always remember to weave in all loose ends securely to maintain the keychain's durability.