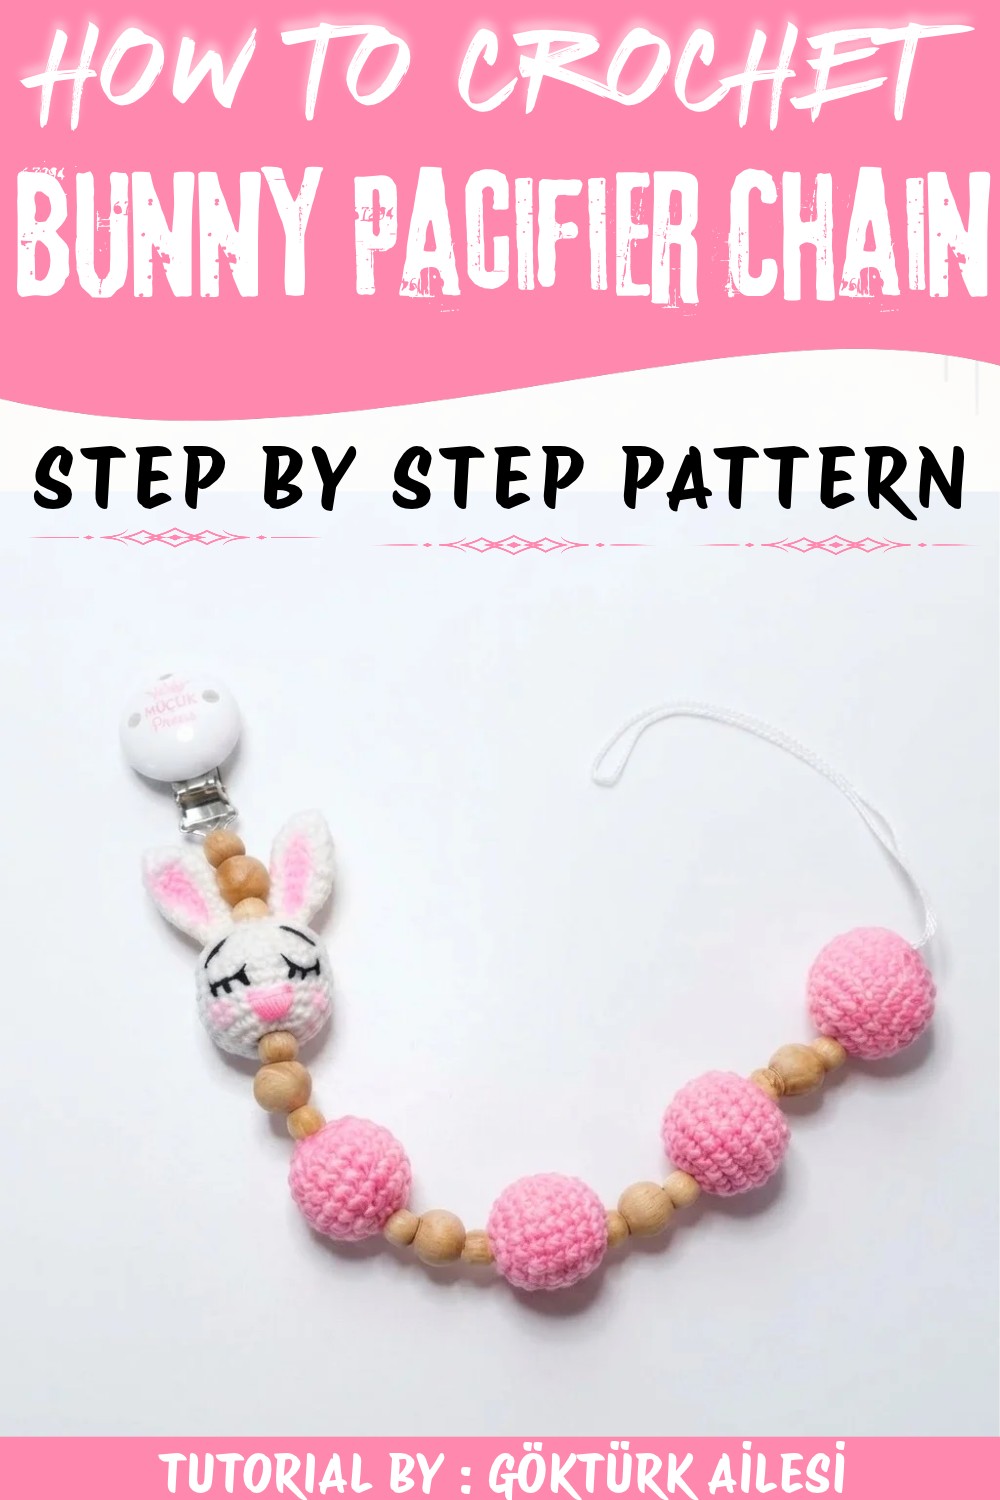
Keep baby essentials close with this Crochet Bunny Pacifier Chain Pattern and enjoy a cute accessory filled with sweet bunny charm.
Bring a touch of whimsy and warmth to your baby's essentials with the delightful Crochet Bunny Pacifier Chain Pattern, a charming project brought to you by the creative minds at GÖKTÜRK AİLESİ. This adorable bunny-themed pacifier chain blends style with practicality, designed to keep your little one's pacifier close at hand while adding an irresistibly cute accessory to their outfit. Perfect for everyday use or as a thoughtful gift, this pacifier chain suits all seasons - whether it's brightening up a springtime stroll or adding comfort during chilly winter afternoons.
Pretty Crochet Bunny Pacifier Chain Free Pattern with Floppy Ears
The Crochet Bunny Pacifier Chain Pattern offers more than functionality; it's a beautiful statement piece that complements babywear with its soft pastel hues and sweet "Little Princess" leaf accent. Ideal for pairing with lightweight cotton onesies or cozy knitwear, it adds a handcrafted charm that's both playful and snug, ensuring a comfortable fit around the baby's neck without irritation.
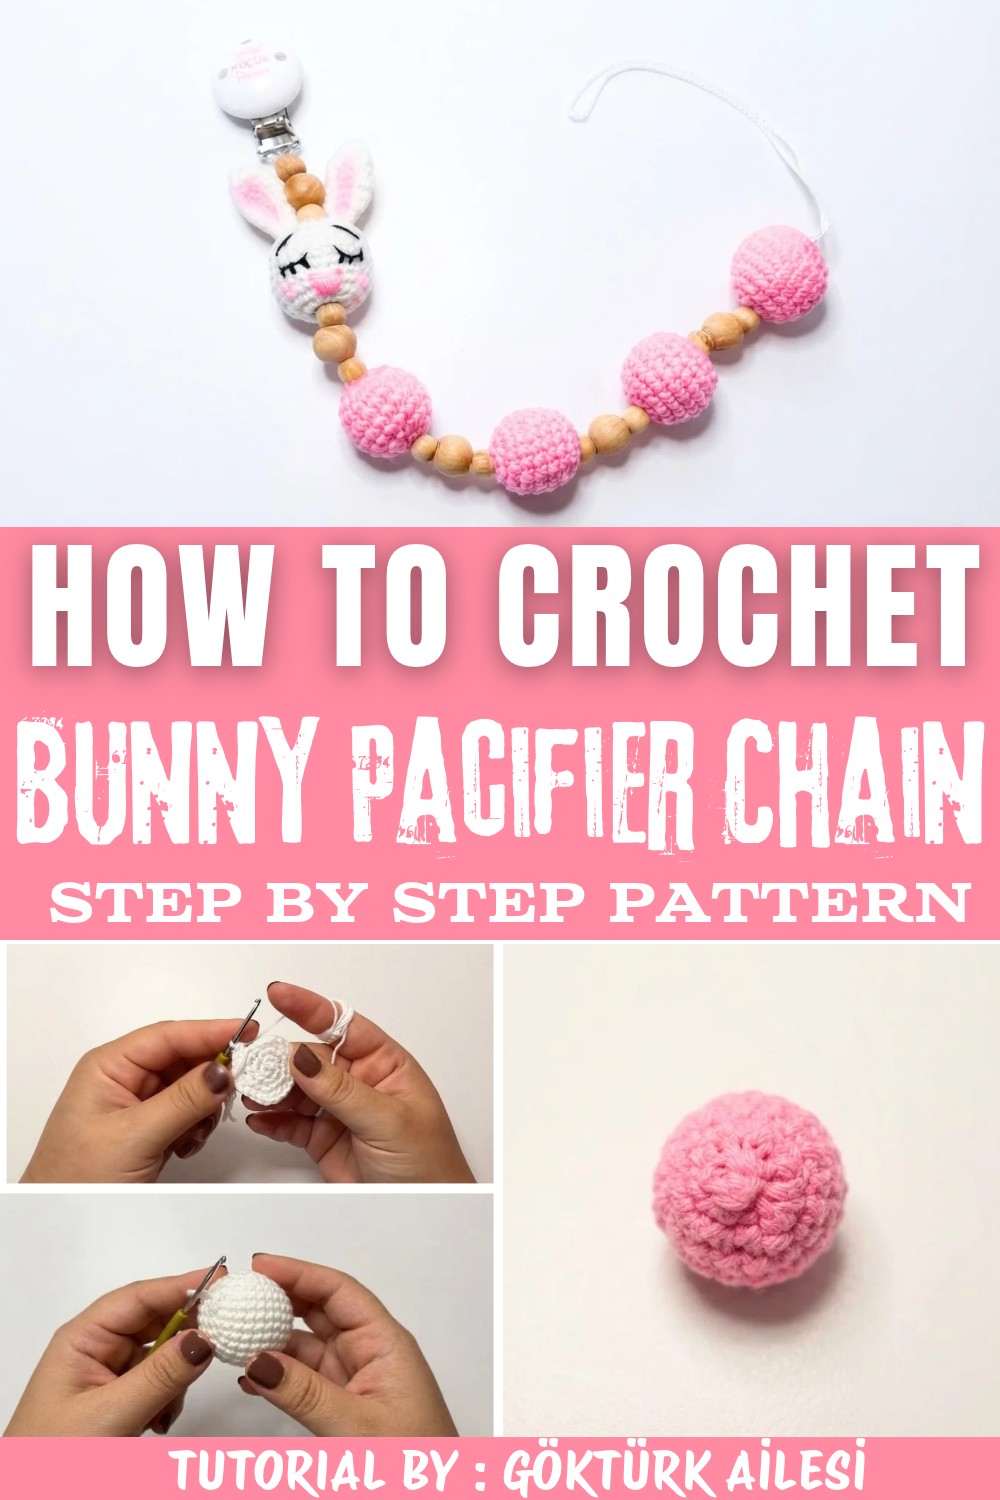
Its texture is smooth yet textured enough to engage little fingers, created with lightweight yarn using precise stitches that give a dense but gentle feel perfect for teething relief. Standout features include the delicately shaped bunny head with tiny ears and embroidered sleepy eyes, adding personality and character to the overall design. Accompanying knitted beads threaded on a strong yet flexible string provide safe sensory play and enhance the visual appeal.
Versatile and stylish, this pacifier chain is easy to attach, making it an excellent accessory for outings, playdates, or even naptime at home. Experience the joy of creating a piece that combines thoughtful design with adorable aesthetics - continue exploring the full Crochet Bunny Pacifier Chain Pattern to bring this lovable companion to life for your little one.
Crochet Bunny Pacifier Chain Free Pattern
This step-by-step pacifier chain guide focuses on a charming amigurumi bunny motif-a sweet addition to any nursery or baby gift set. The pattern utilizes basic amigurumi techniques suitable for those with moderate crochet experience. By carefully sequencing each section, you can achieve a cohesive accessory that combines visual appeal with practical utility. Each component, from the bunny's expressive face embroidered by hand to the colorful crochet-covered beads, is structured to ensure safe assembly and durability for daily use. Attention is given to stitch integrity and secure fastening methods to meet safety recommendations for baby items. The chain not only serves as a secure link for the pacifier but also offers tactile and visual stimulation for infants, featuring gentle pastel colors and soft yarn textures. Following these directions ensures consistent results and a thoughtful keepsake for little ones.
Quick Overview Of Pattern
- Mini bunny head worked in continuous rounds with invisible decreases.
- Long bunny ears created separately, then securely sewn to the head.
- Four crochet-covered beads are made for soft, colorful accents.
- All pieces are threaded onto strong cord with an option for personalized wooden beads.
- Assembly finishes with a durable pacifier loop and a safety-tested attachment to a clip.
Notes
- Use cotton or premium amigurumi yarn for softness and durability.
- Stitch tightly, ensuring no stuffing escapes and no small elements can be pulled loose.
- When sewing features, use a long tail and make multiple passes for added security.
- For threading, pliers or a large-eye needle will assist in pulling cord through the firm, stuffed beads and head.
- Adjust chain components, color, and bead order freely.
- Ensure total length adheres to baby product safety standards for pacifier chains (usually less than 22 cm).
Skill Level
Advanced Beginner / Intermediate
- Basic knowledge of amigurumi (magic ring, single crochet increases and decreases, working in the round) is required.
- Some experience with assembly, simple embroidery, and sewing is useful.
- Step-by-step structure and highlighted rounds ensure a confident, enjoyable project.
Materials
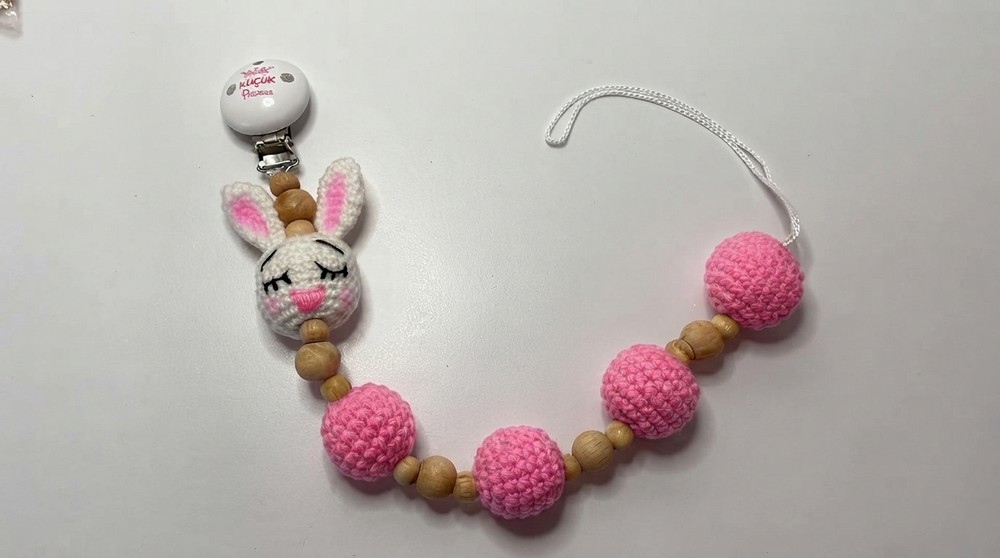
- Yarn: Cotton or amigurumi yarn in White, Pink, and Black
- Hook: 2.5 mm crochet hook
- Clip: Wooden or plastic pacifier clip
- Wooden beads: Decorative, optional letter beads for personalization
- Cord: Extra-durable (nylon/waxed, or similarly strong)
- Stuffing: Fiberfill/polyfill
- Tools: Tapestry needle, scissors, stitch marker, and pliers (optional)
Measurements / Sizing (Schematic Optional)
- Bunny head: ~3.5-4 cm diameter (stuffed)
- Beads: 1.5-2 cm diameter each (crocheted)
- Total pacifier chain length: Up to 22 cm
Gauge (and Stitch Pattern)
- No strict gauge, but crochet should be tight enough that stuffing does not show between stitches.
- Main stitch throughout: Single Crochet (sc)
- All pieces are worked in continuous (spiral) rounds unless stated otherwise.
Stitch Abbreviations
| Abbreviation | Meaning |
|---|---|
| mr | magic ring |
| sc | single crochet |
| inc | increase – 2 sc in one stitch |
| dec | decrease – single crochet 2 together (invisible decrease recommended) |
| st(s) | stitch(es) |
| ch | chain |
| sl st | slip stitch |
Special Stitches
- Invisible Decrease (dec): Insert hook through front loop of each of next 2 stitches, yarn over, pull through both loops, yarn over, pull through both loops on hook (for seamless shaping).
- Magic Ring (mr): Wrap yarn into a ring, hold ring, insert hook through, yarn over, pull up loop, chain 1, then work stitches into ring for a tight center.
The Crochet Pattern
Mini Bunny Head
Head:
- Round 1: Form a magic ring, work 6 sc into ring (6 sts).
- Round 2: 2 sc in each st around (12 sts).
- Round 3: Repeat [1 sc, 1 inc] 6 times (18 sts).
- Round 4: Repeat [2 sc, 1 inc] 6 times (24 sts).

- Rounds 5-11: Sc in each st around (24 sts for 7 rounds).
- Mark start of these rounds; work 7 total, keeping count.

- Round 12: Repeat [2 sc, 1 dec] 6 times (18 sts).
- Stuff head firmly with fiberfill at this point.
- Round 13: Repeat [1 sc, 1 dec] 6 times (12 sts).
- Round 14: Decreases around until closed (6 sts).
- Fasten off, use tapestry needle to weave end through front loops to close hole, and pull tight.

Ears (Make 2)
- Round 1: Form a magic ring, work 5 sc into ring (5 sts).
- Round 2: 2 sc, 1 inc, 1 sc, 1 inc (7 sts).
- Round 3: 3 sc, 1 inc, 4 sc (9 sts).
- Rounds 4-7: Sc in each st around (9 sts for 4 rounds).
- Assembly: Flatten open end, work 4 sc through both layers across to seal. Fasten off, leave long tail for sewing.
Facial Details & Assembly
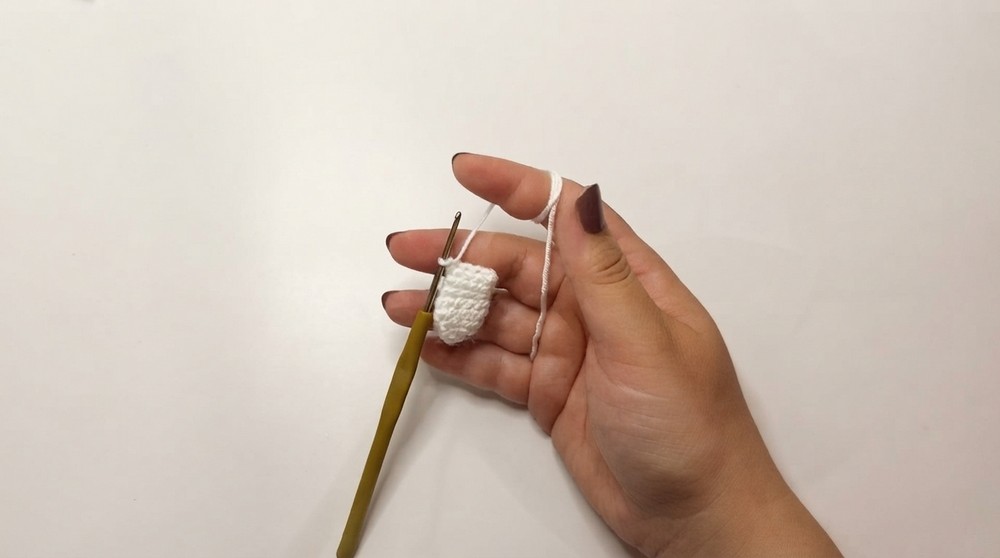
- Ears: Pinch ear bases slightly and stitch securely to top of head.

- Eyes & Lashes: Use black embroidery thread or yarn to embroider closed, curved lines for sleeping eyes with three short eyelash spokes on each side.
- Mouth: With pink yarn, embroider a tiny "V" or short straight line below eye line for a sweet bunny nose and mouth.
- Cheeks: Attach a light pink blush (short yarn strand, or dab of fabric-safe pink blush below each eye).
Crochet Covered Beads (Make 4)
- Round 1: Form a magic ring, work 6 sc into the ring (6 sts).
- Round 2: 2 sc in each st around (12 sts).
- Round 3: Repeat [1 sc, 1 inc] 6 times (18 sts).
- Rounds 4-7: Sc in each st around (18 sts for 4 rounds).
- Round 8: Repeat [1 sc, 1 dec] 6 times (12 sts).
- Stuff ball firmly with fiberfill.
- Round 9: Decreases around to close (6 sts).
- Fasten off, use needle to weave in end securely.

- Repeat for all 4 beads.
Assembly & Pacifier Chain Construction
Forming the Loop:
- Double over a length of strong cord; tie to create a firm loop at the attachment end for the pacifier.
Threading the Elements:
- Thread the main cord through a tapestry/large-eye needle (use pliers if cord is thick).
- Alternate stringing wooden beads, crochet-covered balls, and (optionally) letter beads.
- Sew cord through the bottom, then top of the finished bunny head, securing by running the cord back down into the next bead or ball.
- For maximum security, run cord through the assembly twice, knotting tightly inside the last bead or the base of the bunny head.
- Attach the remaining end of the cord through the loop of the pacifier clip. Tie several tight safety knots inside clip or bead casing, then weave cord ends back into previous beads for double strength. Trim excess thread.
- Arrange and adjust beads and head as desired to finalize the pacifier chain, ensuring all parts lie flat and are safely secured.
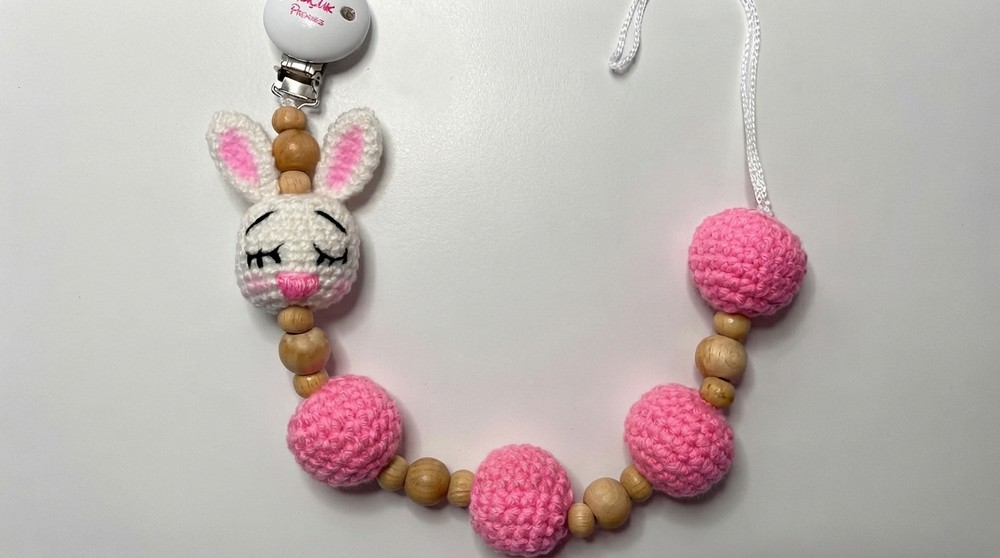
Finished Size
- Bunny head: 3.5-4 cm wide
- Covered beads: ~1.5-2 cm each
- Complete chain: Up to 22 cm from pacifier loop to end of clip
Conclusion and Ending Words
Throughout each stage, thoughtful construction methods and precise detailing ensure the bunny pacifier chain withstands regular handling while maintaining its attractive appearance. Soft materials and tight stitches provide both comfort and safety, making the finished product suitable for delicate use. Individual elements, such as the embroidered face and securely fastened beads, offer opportunities for creative personalization and reinforce the chain's structural integrity. Attention to assembly techniques guarantees that all parts remain firmly in place, providing peace of mind to parents and caregivers. The completed chain showcases careful handiwork, blending playful aesthetics with a durable, child-friendly design. Whether presented as a baby shower gift or added to a little one's essentials, the bunny chain stands out for its gentle charm and reliable construction. Every detail contributes to a soothing, practical accessory for everyday moments.