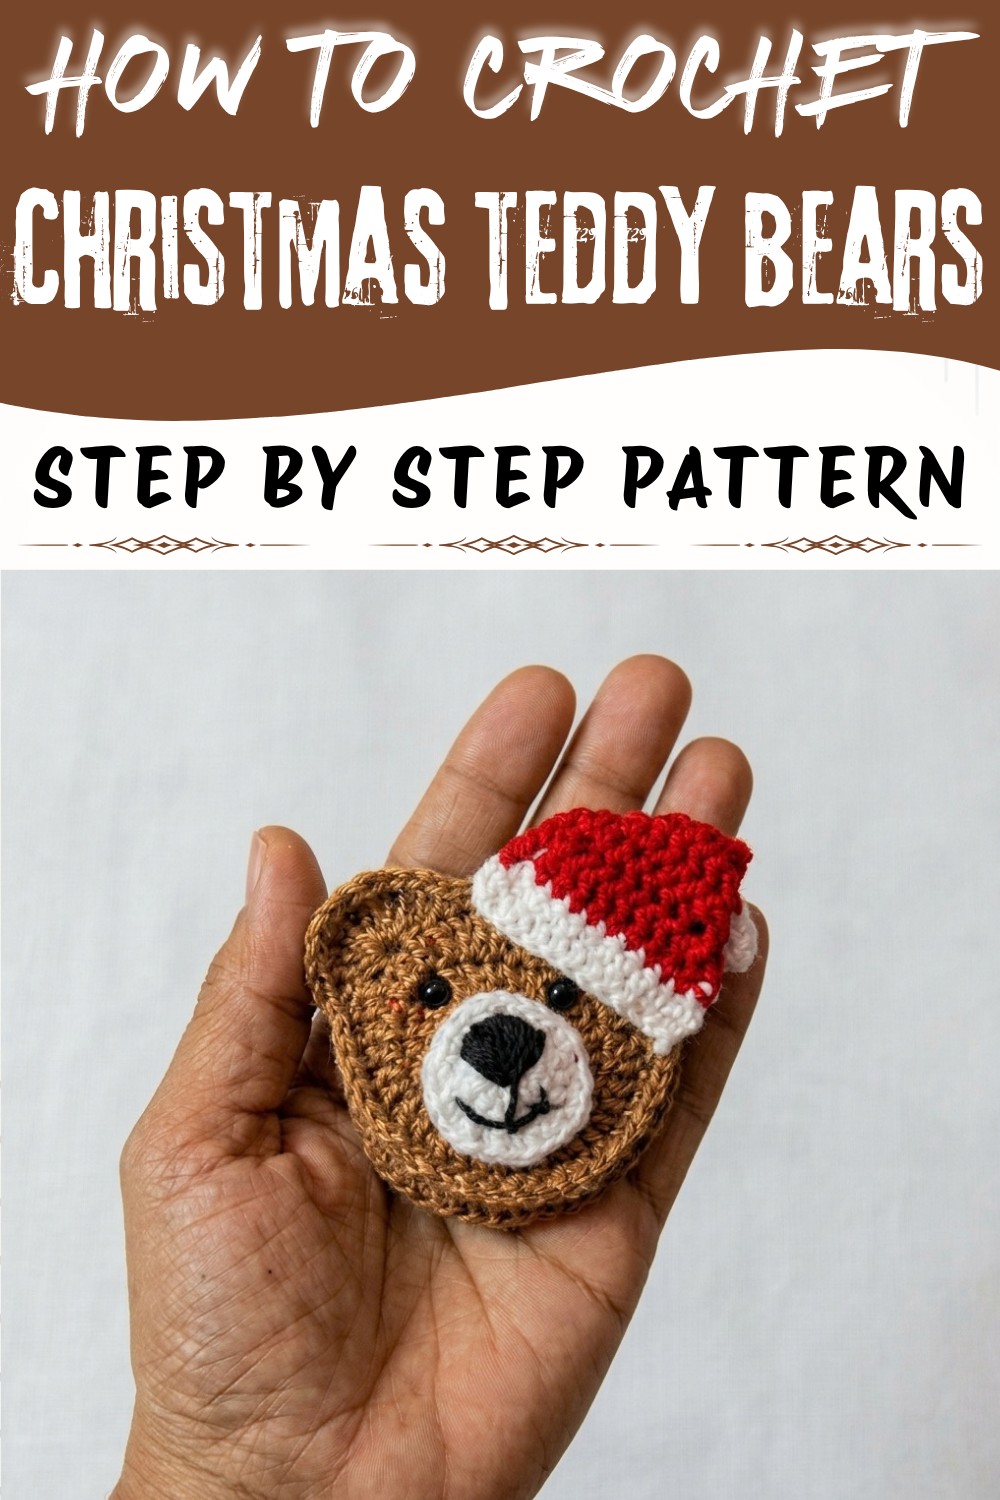
Share a special holiday present using the Crochet Christmas Teddy Bear Pattern, featuring a cute face and soft details for Christmas joy.
There's something truly magical about making a handmade teddy bear that instantly brings cozy holiday vibes to any room. Soft, cuddly, and full of personality, a crocheted bear like this one makes a charming seasonal decoration or a heartfelt gift to treasure. Giving shape to these little bundles of warmth is both relaxing and rewarding, and the end result feels like a warm hug you can hold. If you love adding a personal touch to your festive décor, the Crochet Christmas Teddy Bear Pattern is a wonderful project to take on. Full credit goes to Nancy at Nancy a Crochet on YouTube for the delightful design and tutorial that inspires this adorable creation.
Little Crochet Christmas Teddy Bear Free Pattern That Kids Will Love
This teddy bear boasts a classic yet whimsical shape, with plump, rounded features that instantly invite snuggles. The texture is plush and inviting, achieved through careful stitch work that adds subtle detail without overwhelming the overall softness. Its size makes it just right for sitting on your mantle, nestled under the tree, or joining holiday photo shoots. Plus, you can personalize it with tiny accessories like scarves, hats, or buttons to reflect your own festive flair.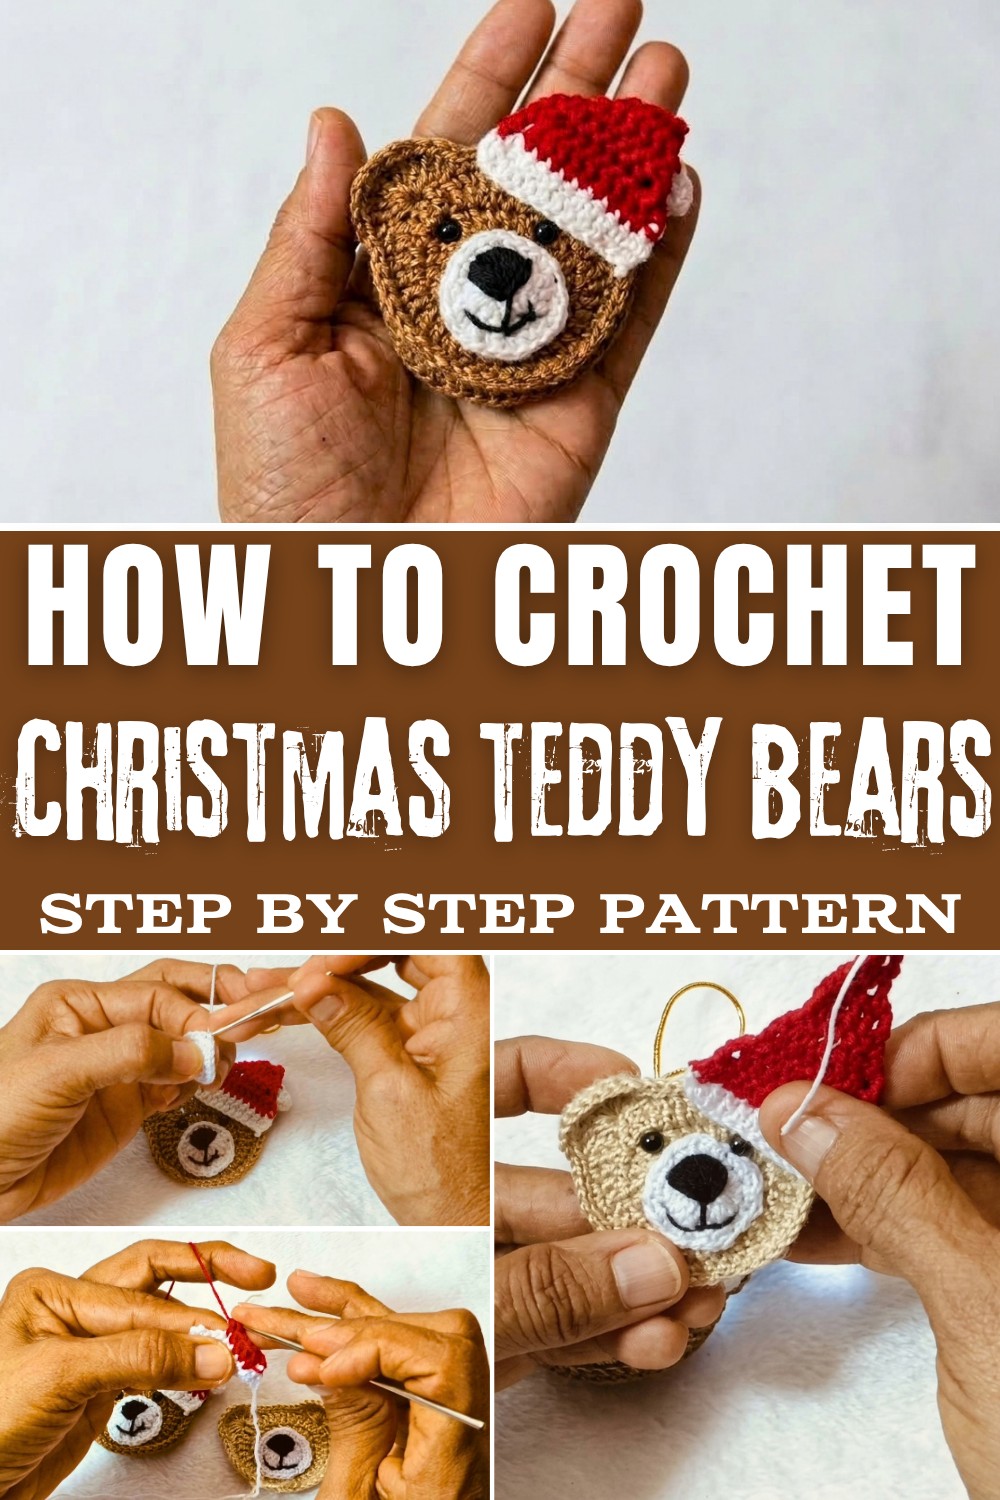
Whether you're a beginner looking to try something new or an experienced maker searching for the next joyful project, this bear strikes a perfect balance. It encourages learning how to shape 3D crochet figures and introduces tweaks that make each bear uniquely yours. You'll find a satisfying mix of simple stitches and shaping techniques that develop your skills while filling your home with that unmistakable holiday spirit.
Ready to make your own Christmas companion? Jump into free pattern and video tutorial-each step is laid out clearly, making the process all the more enjoyable. Your cute, cuddly holiday friend awaits.
Holiday Crochet Christmas Teddy Bear Free Pattern
Festive decorations become even more meaningful when created by hand, combining upcycled materials with classic crochet techniques. This Christmas teddy bear ornament uniquely repurposes small can tabs, transforming them into an adorable bear's face and adding character with a crocheted Santa hat and embroidered features. Throughout the process, clear steps and refined shaping methods blend both sustainability and elegance. Every round, from building the bear's base to the smallest facial details, relies on accessible skills and straightforward transitions. Practical embellishments, like carefully placed safety eyes and a bright, soft pompom, accentuate the bear's cheerful personality. Altogether, this pattern provides an efficient workflow, ensuring a completed ornament ready to charm your holiday tree or serve as a heartfelt gift.
Quick Overview Of Pattern
- Crochet a bear's head foundation directly onto a can tab using brown yarn
- Shape rounded ears seamlessly during subsequent rounds
- Create and attach a separate snout, then embroider the facial features and add safety eyes
- Crochet and shape a Santa hat with a contrasting pompom, then assemble all components
- Attach a hanging loop for displaying the finished ornament
Notes
- Work all stitches tightly for a compact, polished look, especially when crocheting around the can tab
- When shaping the ears, take care not to overstretch the yarn for an even and natural curve
- Safety eyes should be firmly attached, especially if giving this ornament to children
- Use a lighter only with caution, and always away from yarn, for securing synthetic thread if necessary
- Proceed methodically through each section for optimal finishing and shape
Skill Level
Advanced Beginner to Intermediate-A basic understanding of crochet stitches (sc, hdc, tall/elongated stitches), magic ring, increasing, shaping, and simple embroidery is required. Experience working in the round and some confidence assembling small components is beneficial.
Materials
- Brown, red, and white yarn (mercerized cotton preferred for clarity)
- Small can tabs (smaller-sized pull tabs)
- Crochet hook size 1.7 mm
- Stuffing material (minimal, just a small amount for a slight puff if desired)
- Two small safety eyes (pressure eyes, ~6 mm)
- Black yarn or embroidery thread (for the nose and mouth)
- Scissors
- Lighter (to secure synthetic yarn ends, use carefully)
Measurements / Sizing
- Final ornament: approximately 5-6 cm (2-2.5 in) wide and 7-8 cm (3 in) tall (including hat and hanging loop)
- Can tab base: standard beverage can pull tab size
Size may vary slightly depending on your tension, yarn thickness, and exact can tab style.
Gauge (Reference Only)
Gauge is not critical, but for reference:
- 14 tall stitches worked around the can tab perimeter should fit snugly with 1.7 mm hook and specified yarn.
- Each round fits tightly without significant gaps.
Stitch Abbreviations
| Abbreviation | Meaning |
|---|---|
| ch | chain |
| sc | single crochet |
| hdc | half double crochet |
| dc | double crochet |
| sl st | slip stitch |
| inc | increase (2 sts in same st) |
| mr | magic ring |
| RS/WS | right side / wrong side |
Special Stitches
- Tall (Elongated) High Point: Yarn over, insert hook, pull up a loop, yarn over, pull through one loop, yarn over, pull through two loops, yarn over, pull through remaining two loops.
- Magic Ring (mr): Form an adjustable ring for circular crochet starts-pull tight after first round is complete.
The Crochet Pattern
Preparing the Base and Body
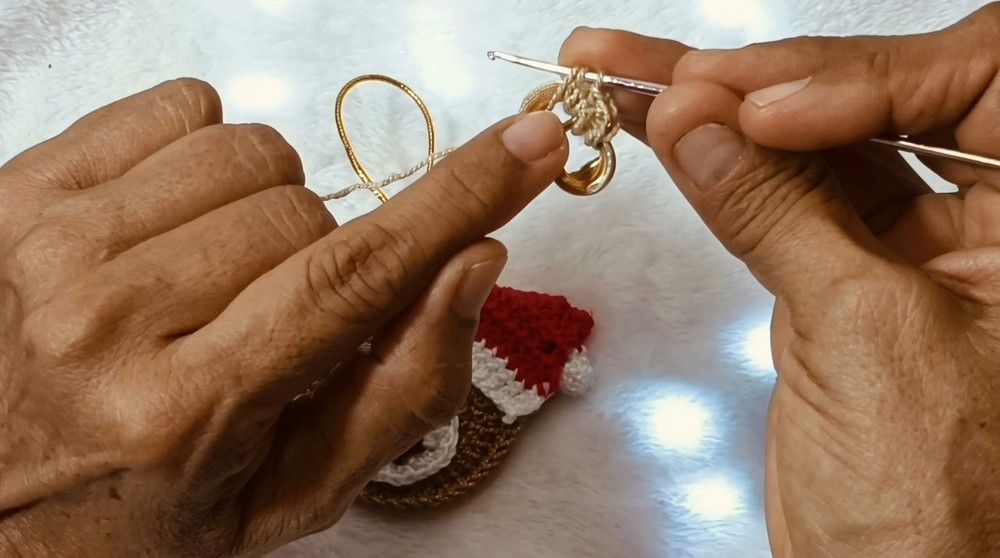
- With brown yarn and 1.7 mm hook, tie a secure knot onto the can tab at its base.
- Round 1:
- Work 14 tall high points (elongated hdc/dc as described above) evenly around the perimeter of the can tab.
-
- Insert hook through both the metal and the yarn to ensure a snug fit and no wobbly base.
- At end of round, sl st to join.
- Ch 2 (these turning chains do not count as a high point).
- Round 2:
- Increase round.
- Work the following sequence: 1 tall point, 1 inc (2 tall points into next st); repeat around.
- Complete the round with 36 tall points.
- Sl st to close.
Shaping the Ears
- Begin the next round:
- Work 6 sc/half points along the edge.
- Make an inc, then 4 more (sc or hdc) points.
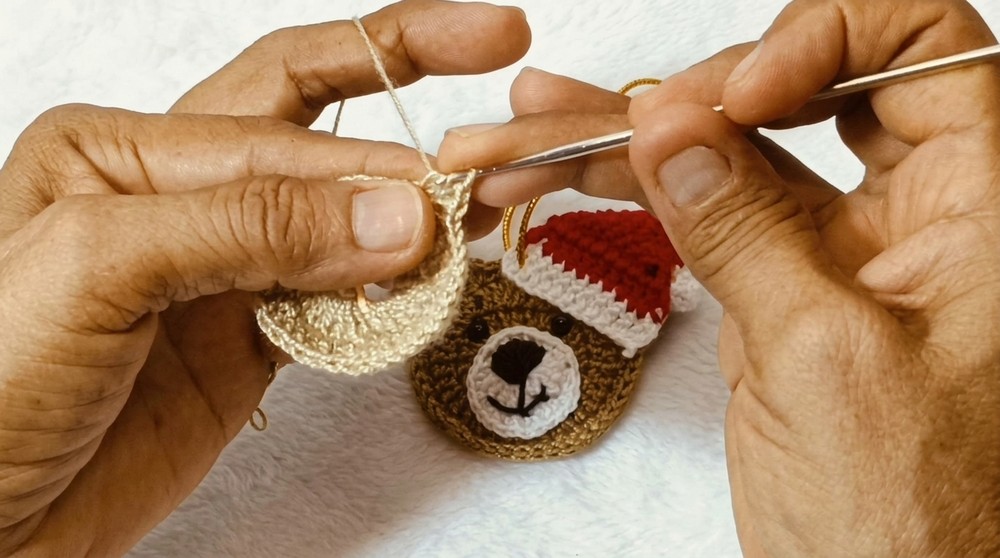
- For the first ear:
- Skip 1 st, then in the next stitch, work 10 tall elongated high points (using the tall stitch described above) into that one space.
-
-
- Open out the ear, skip next st, then sl st into following st to anchor the ear.
- Continue by working 7 gentle sl sts along the head base (do not pull too tight to retain curve).
- For the second ear:
- Skip the next st, yarn over, and work 10 tall elongated high points into following st.
- Skip 1 st, and work 3 (sc/hdc) points, then make an inc.
- Continue with medium/tall points around ring back to the start.
- Sl st to close.
- To finish the base:
- Sl st around the entire contour, including edges of both ears, using back loops only for a crisp border.
- Cut yarn, and weave in all loose ends on the inside.
-
Making the Snout and Facial Features
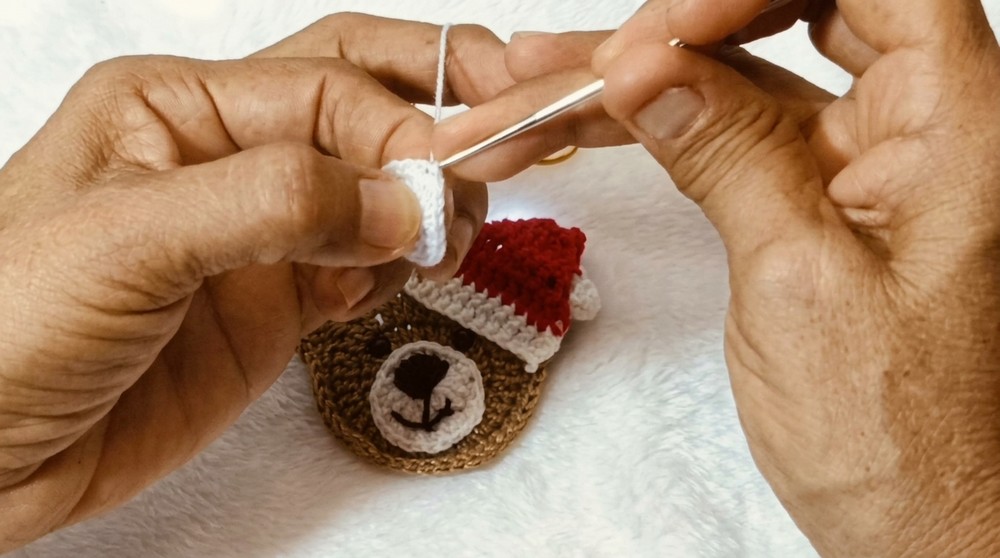
- With white yarn, begin with a magic ring, ch 3.
- Round 1:
- Work 15 high points (hdc/dc) into the magic ring.
- Sl st to join, ch 1.
- Round 2:
- Follow this sequence: 3 sc, 1 inc; repeat around the circle.
-
- This ensures a flat snout with gentle expansion.
- Sl st to close, and weave in the tail.
- Embroider Features:
- With black yarn, embroider a neat triangle nose on the snout.
- Stitch a simple mouth line below the nose.
- Attach the Snout:
- Position the snout slightly lower on the main bear base (over can tab that serves as structure).
- Sew or glue in place.
- Attach Safety Eyes:
- Position two small safety eyes just above the snout, secure according to manufacturer's instructions.
Crocheting the Santa Hat
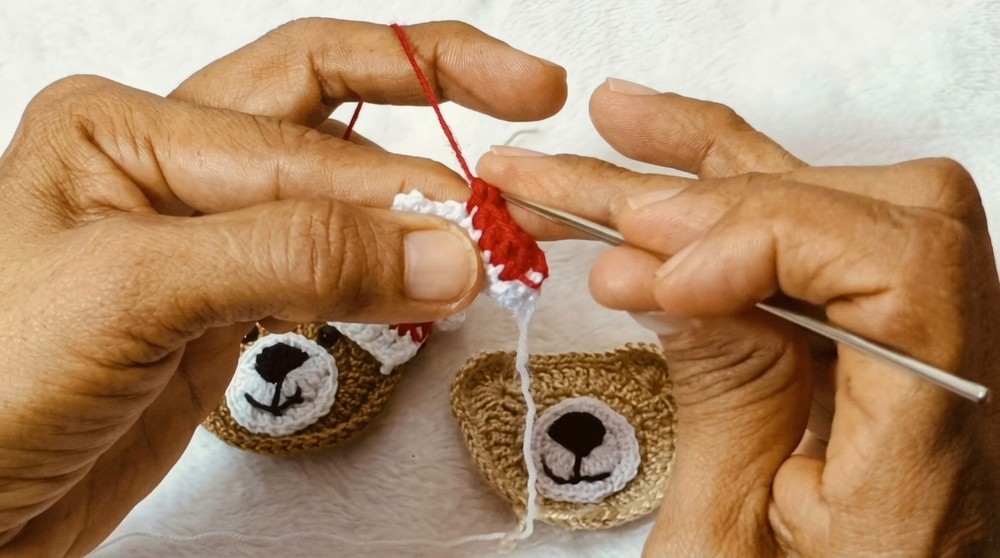
- With white yarn, measure chain length along the top edge of the bear's head for the hat brim (about 12 ch).
- Row 1:
- Yarn over, insert hook in 2nd ch from hook, and work high points along the chain (11 tall high points total).
- Following Rows (Hat Shaping):
- At the end of first row, change color to red yarn by pulling through on the last stitch.
-
- Ch 2, turn, skip the first st, and work across, decreasing at both ends to shape the triangle.
- Repeat, reducing stitch count row by row (approx. 9, 7, 5, 3...), until only 2 stitches remain at the tip.
Hat Pom-Pom and Assembly
- At the narrow tip of the hat, secure white yarn.
- Ch 3, work 5 unfinished high points (leaving final pull-through on hook) in same space, then pull through all loops to make a clustered pom-pom.
- Ch 3, sl st back into same base point for a nice dangle.
- Secure with a final sl st, ch 1, cut a tail for folding and attachment.
- Assembly:
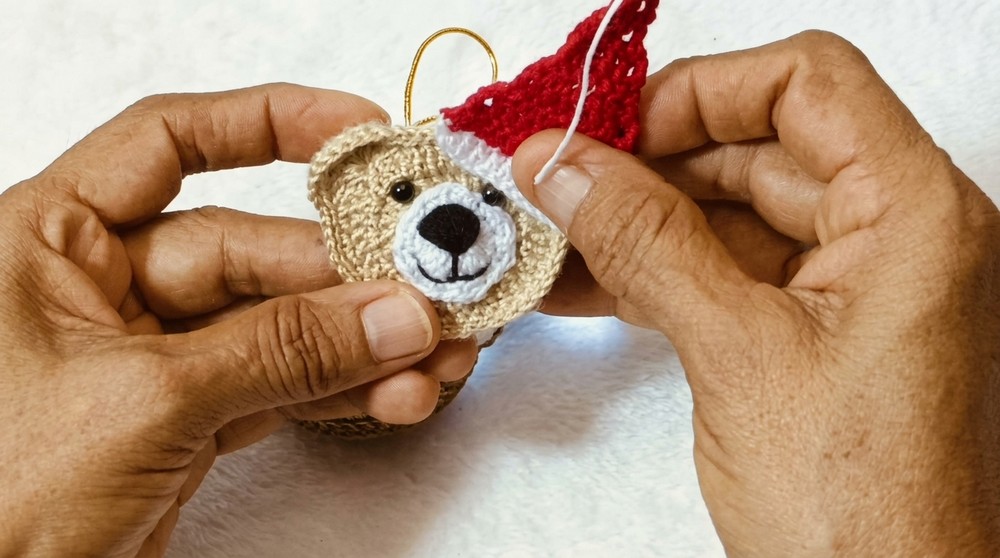
- Fold the red tip of the hat gently downward; sew or tie in place.
- Tuck all yarn tails into the hat's interior.
- Place finished hat on the teddy bear's head just above the eyes; sew or carefully glue down.
- For hanging, attach a gold thread or yarn loop to the top of the hat/pom-pom.
Assembly & Finished Size
- Ensure all elements are firmly attached, ends are woven in, and the face is expressive.
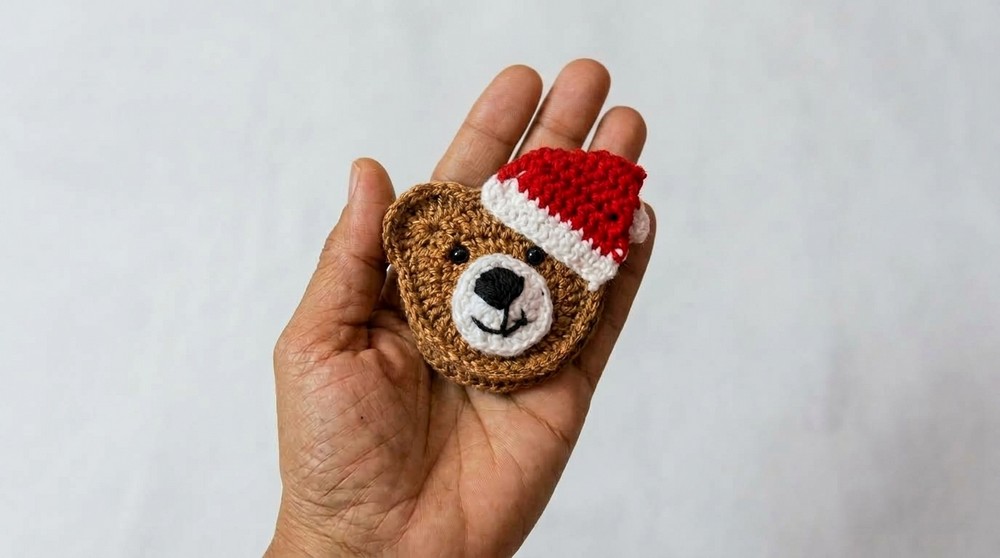
- Finished ornament measures approximately 5-6 cm wide, 7-8 cm tall.
- Bear should have gently curved ears, rounded face, and securely affixed hat and facial details.
Conclusion and Ending Words
Utilizing everyday materials and classic stitch techniques, this Christmas teddy bear ornament highlights the creative potential of upcycling. By integrating can tabs, the project minimizes waste while lending an appealing weight and structure to the finished piece. Stepwise shaping, precise placement of ears and facial features, and the addition of a detailed Santa hat bring overall harmony and festive cheer. Consistent tension, careful increases, and attention to finishing ensure a polished and professional look, while personalized details such as embroidery offer further charm. With every round and stitch, this ornament will brighten holiday spaces and serve as a warm reminder of your creative spirit. Hang it with pride, gift it to a friend, or use it as a cherished accent year after year.