
Start your spooky projects with the Free Crochet Spider Pattern and learn how to turn yarn into a playful eight-legged friend for your room.
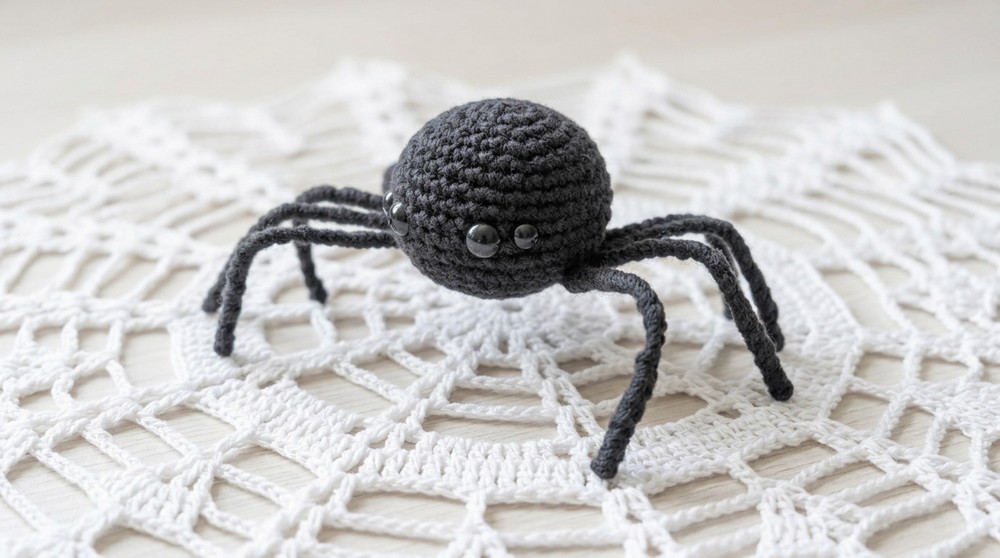
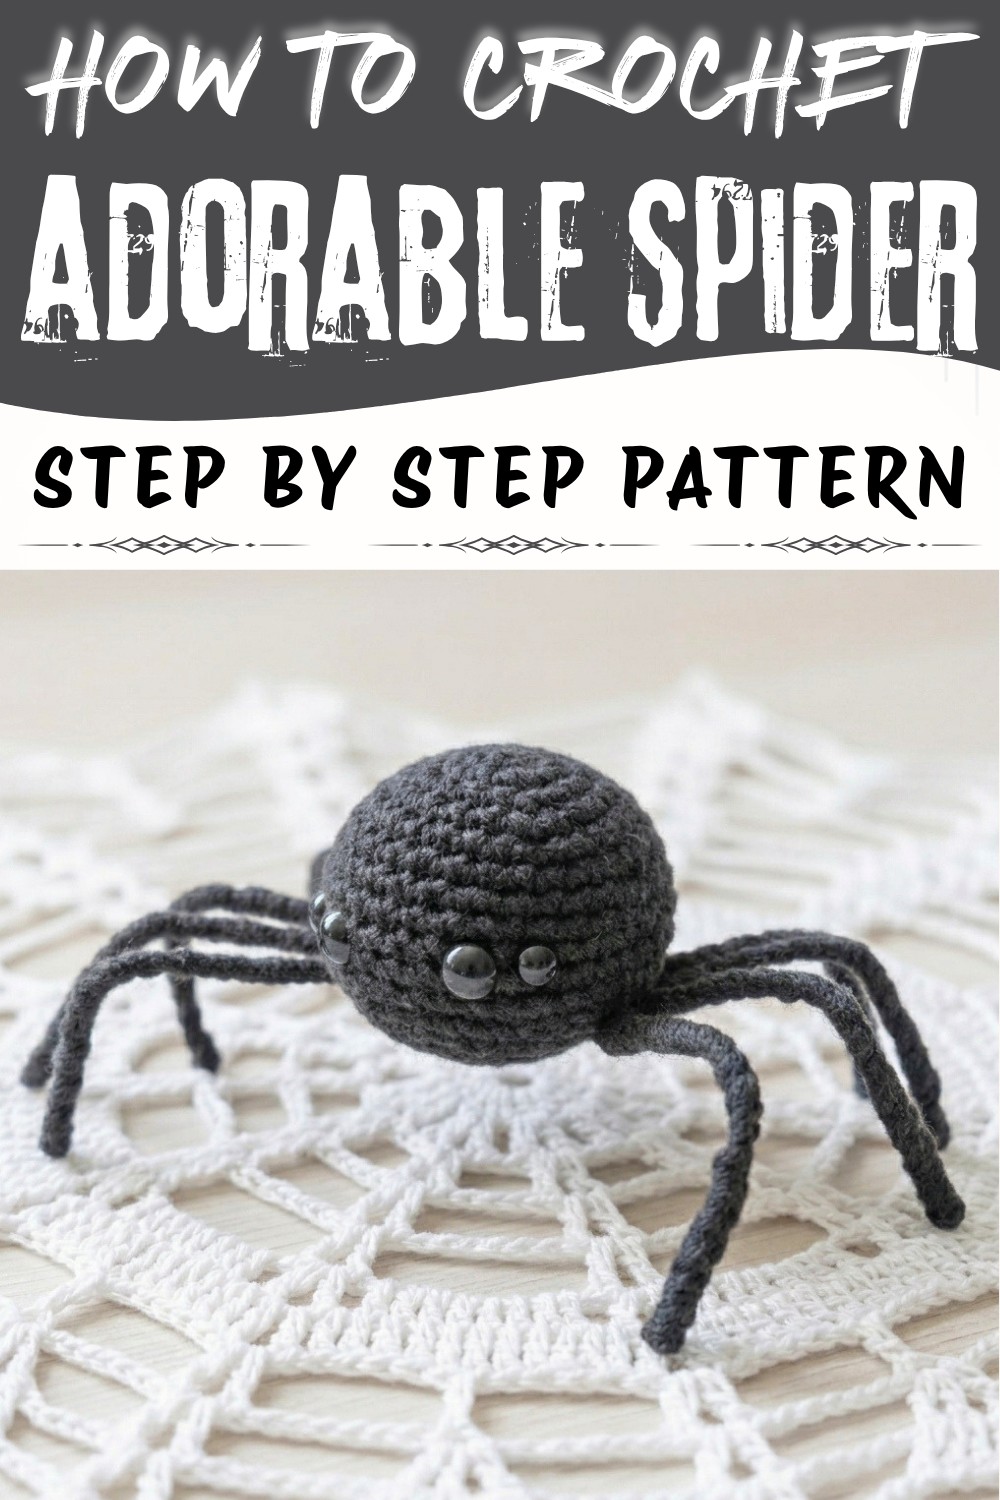
Spooky season gets a playful twist with a handmade crochet spider that blends charm and creativity. With its round, detailed body and eight bendable legs made sturdy with pipe cleaners, this tiny arachnid quickly becomes the highlight of Halloween decorations. Whether perched on a table centerpiece, creeping across a pumpkin, or dangling from a faux web, this spider is crafted to captivate. The addition of customizable features, like safety eyes or yarn-stitched expressions, lets you give each spider its own unique personality. Perfect for all ages, it brings a soft, approachable vibe to the often-misunderstood creature.
Step by Step Free Crochet Spider Pattern with Amazing Results
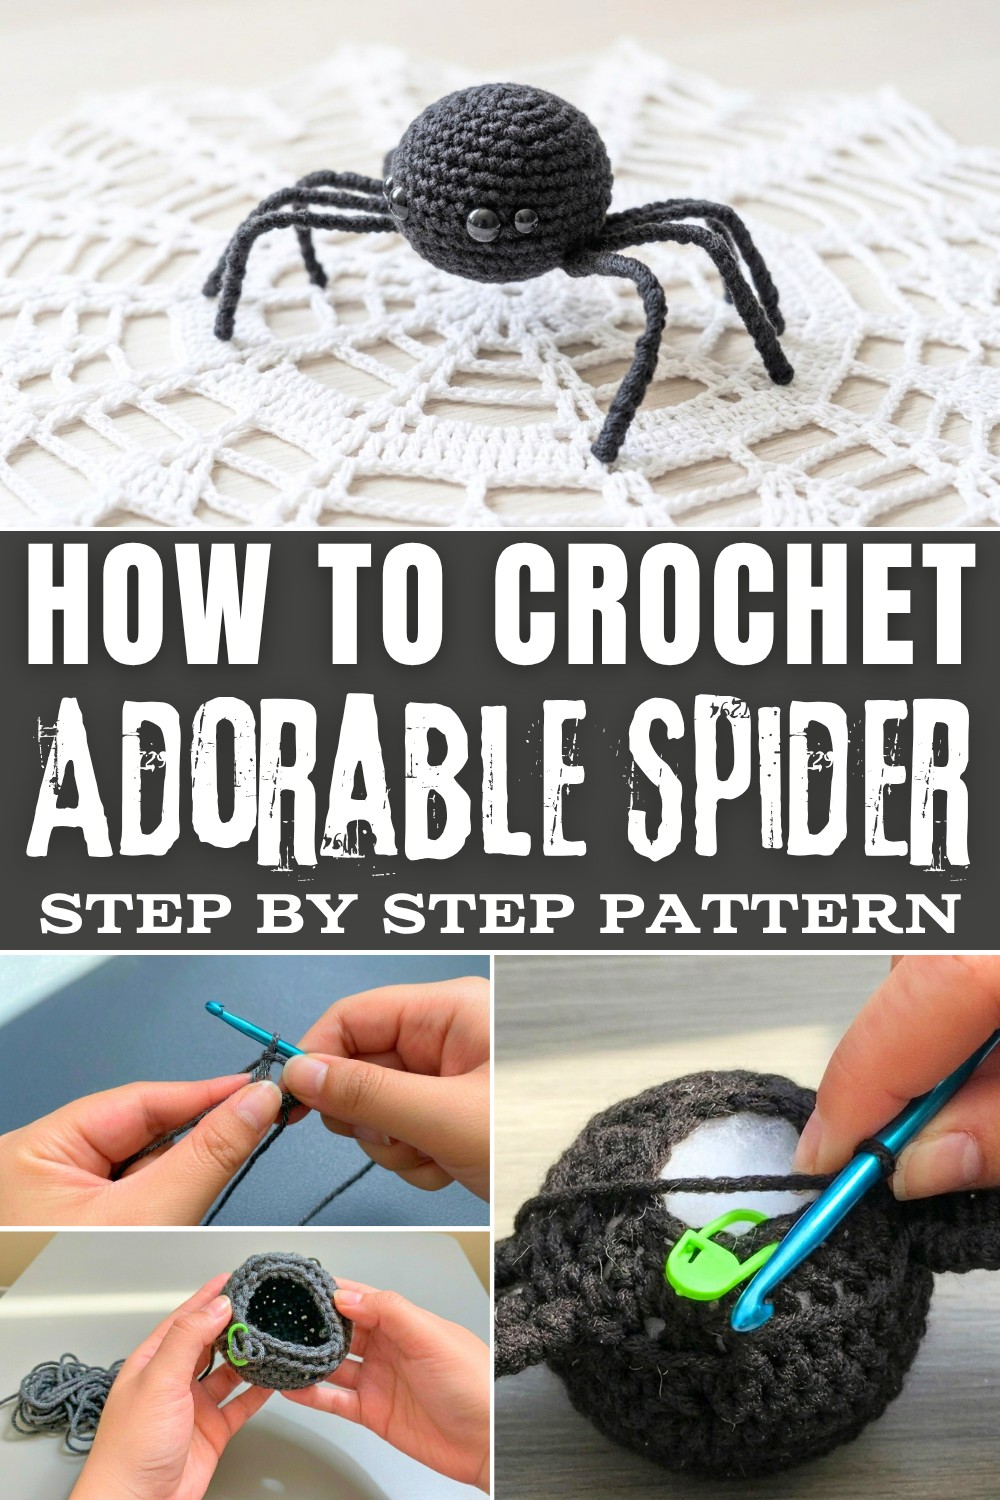
The pattern is beginner-friendly, with simple single crochet stitches and straightforward shaping techniques, making it a great project for those new to crochet as well as seasoned crafters. Its compact size means you can whip up several in no time, making them ideal for Halloween party decor, goodie bag trinkets, or whimsical gift toppers. Changing colors offers endless possibilities-from classic black, dark grey, and orange for a traditional Halloween vibe to playful pastels or even glow-in-the-dark yarn for added fun.
Why I Love this Project
- Balance of Simplicity and Fun: The project uses straightforward techniques like single crochet stitches and pipe cleaner wrapping, making it enjoyable and stress-free.
- Personalization: It's endlessly customizable with yarn colors, safety eyes, and leg styles, allowing for unique designs every time.
- Versatility: The finished spiders can serve as Halloween decorations, keychains, party favors, educational tools, or even gift toppers.
- Skill-Building: It's beginner-friendly but still helps sharpen crochet skills through shaping and creative assembly.
- Relaxing Process: The repetitive nature of crocheting makes this project meditative and ideal for unwinding while crocheting.
- Quick and Efficient: Its small size means I can create multiple spiders in a short amount of time.
- Shared Creativity: Whether gifting or displaying, this project connects people and inspires fun interactions.
Materials Needed
- Yarn Type:
- Weight 4 yarn (e.g., dark grey Super Saver) in your chosen colors.
- Hook Size:
- 5.0mm crochet hook.
- Safety Eyes:
- Two 12mm safety eyes for the larger eyes.
- Two 10mm safety eyes for the smaller eyes.
- Optional: Adjust the eye size depending on your preference for the spider's look.
- Pipe Cleaners:
- 1 full-length pipe cleaner. (Cut in halves to create 8 legs.) The pipe cleaner's color does not matter because it will be wrapped in yarn.
- Glue:
- A hot glue gun for securing the yarn around the legs and attaching them to the body.
- Stuffing:
- Polyester stuffing or scraps of yarn to fill the spider's body for a rounded look.
- Stitch Marker & Scissors:
- To keep track of your rounds and cut yarn neatly.
Special Techniques
- Magic Circle (Magic Loop): Used for starting the project and creating a closed, tight center.
- Single Crochet (sc): Main stitch used throughout the body.
- Increase (inc): 2 single crochets worked into the same stitch to expand the project.
- Decreases: Used to close the spider's body. Includes working into the back loop only for a cleaner decrease. Refer to the instructions below for details.
- Pipe Cleaner Wrapping: Applying glue to pipe cleaners and wrapping yarn tightly around them to give the spider sturdy legs with matching color.
Finished Size
The finished spider will measure approximately 4-5 inches across, including the legs, and 3-4 inches tall. Size may vary depending on your materials and tension.
Step-by-Step Crochet Instructions
Part 1: Creating the Spider's Body
Body: Round 1 to Round 5 (Increasing Rows)
- Magic Circle and Round 1:
- Begin with a magic circle, chain 1, and work 6 single crochets (sc) into the loop.

- Pull the yarn tail tightly to close the loop.
- Slip stitch into the first stitch to close the round.
- (6 sc total)
- Begin with a magic circle, chain 1, and work 6 single crochets (sc) into the loop.
- Round 2:
- Chain 1 and work 2 sc in each stitch (inc) around.
- Slip stitch into the first stitch. (12 sc total)
- Round 3:
- Chain 1 and work 1 sc in the first stitch, 2 sc in the next stitch (inc).
- Repeat (1 sc, inc) all around.
- Slip stitch into the first stitch. (18 sc total)
- Round 4:
- Chain 1 and work 1 sc in the next 2 stitches, 2 sc in the next stitch (inc).
- Repeat (2 sc, inc) all around.
- Slip stitch into the first stitch. (24 sc total)
- Round 5:
- Chain 1 and work 1 sc in the next 3 stitches, 2 sc in the next stitch (inc).
- Repeat (3 sc, inc) all around.
- Slip stitch into the first stitch. (30 sc total)
Body: Rounds 6 to 11 (Maintaining Shape)
Rounds 6-11:
- Chain 1, and work 1 sc in each stitch around.
- Repeat for 6 rounds. (30 sc per round)
- This builds the body's height and creates the spider's rounded shape.
Tip: Periodically check your work to ensure the body is curling outward correctly.
Body: Round 12 to 17 (Decreasing Rows)
- Round 12:
- Start decreasing. Begin with a decrease (dec) over the first two stitches.
- Then work 1 sc in the next 4 stitches.
- Repeat: (dec, 4 sc) around the row. (25 sc total)
- Add Stuffing:
- At this stage, begin lightly stuffing the spider's body with fiberfil. Do not overstuff, as it will make the legs wobbly.
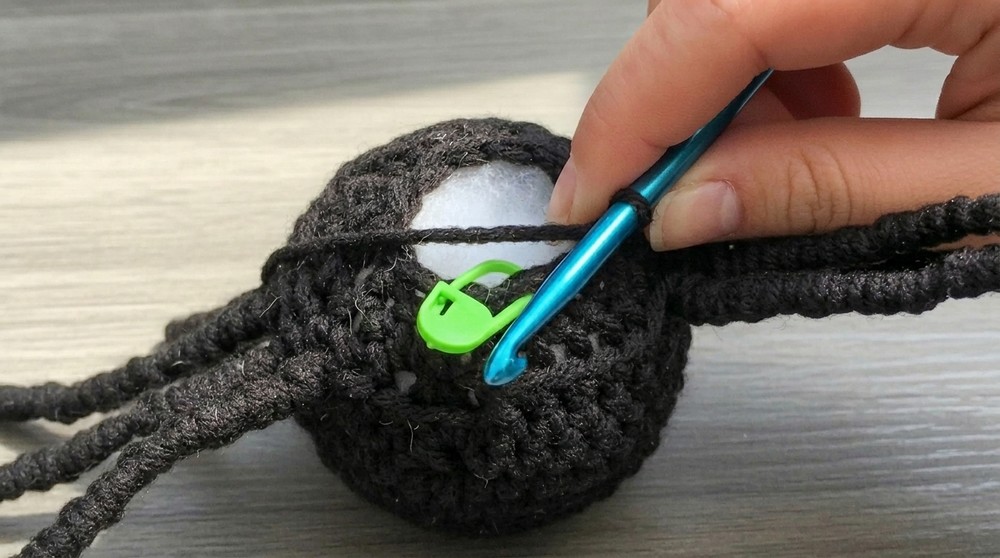
- At this stage, begin lightly stuffing the spider's body with fiberfil. Do not overstuff, as it will make the legs wobbly.
- Round 13:
- For this round, work 1 sc in each stitch around to stabilize the shape. (25 sc total)
- Round 14:
- Perform all decreases in back loops only (BLO) to give the bottom a clean, defined shape.
- Work 1 dec, 3 sc, around. (18 sc total)
- Round 15:
- Continue decreasing:
- Work 1 dec, 2 sc, around. (12 sc total)
- Continue decreasing:
- Round 16:
- To close the body, repeat decreases until 6 stitches remain.
- Fasten off, leaving a long tail. Use the tail to sew the opening closed.
Part 2: Adding the Legs
- Prepare the Pipe Cleaners:
- Cut one full-length pipe cleaner in half. Each half will make 2 legs, giving you 8 legs in total.
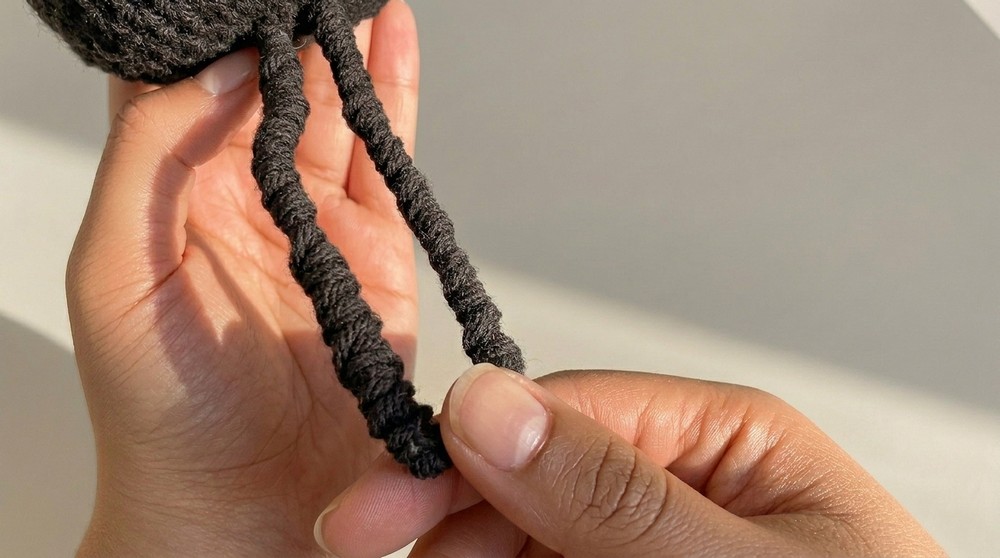
- Wrap the Yarn Around Legs:
- Apply a small dot of hot glue to one end of the pipe cleaner.
- Begin wrapping the yarn tightly around the pipe cleaner, covering it completely.
- Repeat for each leg.
- Attach to the Body:
- Insert the legs into the body by pushing each pipe cleaner through a stitch where desired. Space them evenly on both sides.
- Secure the legs on the interior with hot glue.
- Bend and shape the legs into the desired pose.
Part 3: Adding the Safety Eyes
- Place the Eyes:
- Attach the safety eyes between stitch rows 4-and-5.
- Larger eyes (12mm) should go above the smaller eyes (10mm) for the signature spider look.
- Secure them firmly with the provided backings.

Finishing the Spider
- Glue the Final Touches:
- Ensure the legs are securely glued in place. Trim any excess pipe cleaner.
- Inspect for Loose Ends:
- Check the body and legs for dangling yarn or glue residue.
Final Words
Congratulations! Your crochet spooky spider is ready to haunt your Halloween setup or dangle from your keychain. This project is beginner-friendly but requires attention to detail during the leg-wrapping and finishing stages. While it can be slightly messy using glue, the result is a unique and fun spider design.
Tips and Suggestions
- Customization: Be creative with your spider's design-experiment with yarn colors or eye sizes to give it a personality. A white spider with black eyes can make an excellent "ghost spider."
- Safety: Be careful when using the hot glue gun to avoid burns. Supervise young creators during this step.
- Durability: For a sturdier spider, tightly wrap the yarn on the pipe cleaners to add thickness and ensure the legs hold their shape.
- Display Options: Use a small loop at the top of the body to attach a keychain ring or string for hanging.