
Add a touch of fun to your accessories with this crochet apple shaped headphone case pattern, keeping your earbuds safe, tangle-free, and beautifully stored.
Who doesn't love fun and creative accessories that stand out? An apple-shaped headphone case is not only adorable but also practical. With a soft, rounded apple design, it combines a playful charm with smart functionality. The pattern lets you crochet a small, lightweight case that safely holds your headphones or earbuds, protecting them from dust and scratches. Its unique shape and vibrant look make it a perfect accessory to carry, display, or gift.
Free Crochet Apple Headphone Case Pattern Great Gift Idea
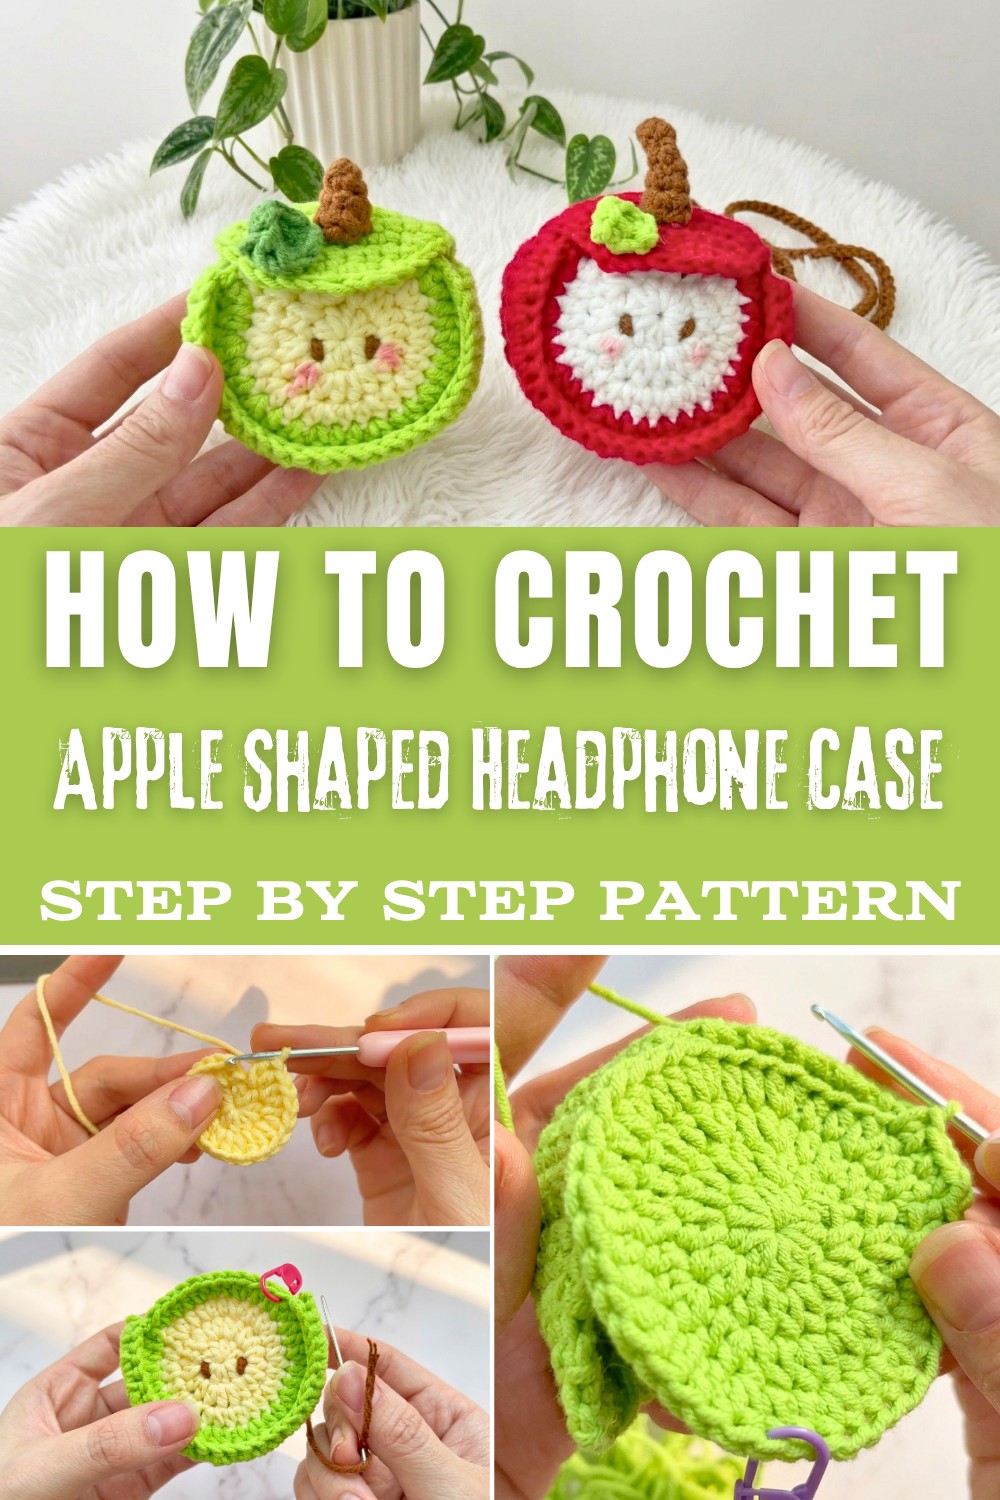
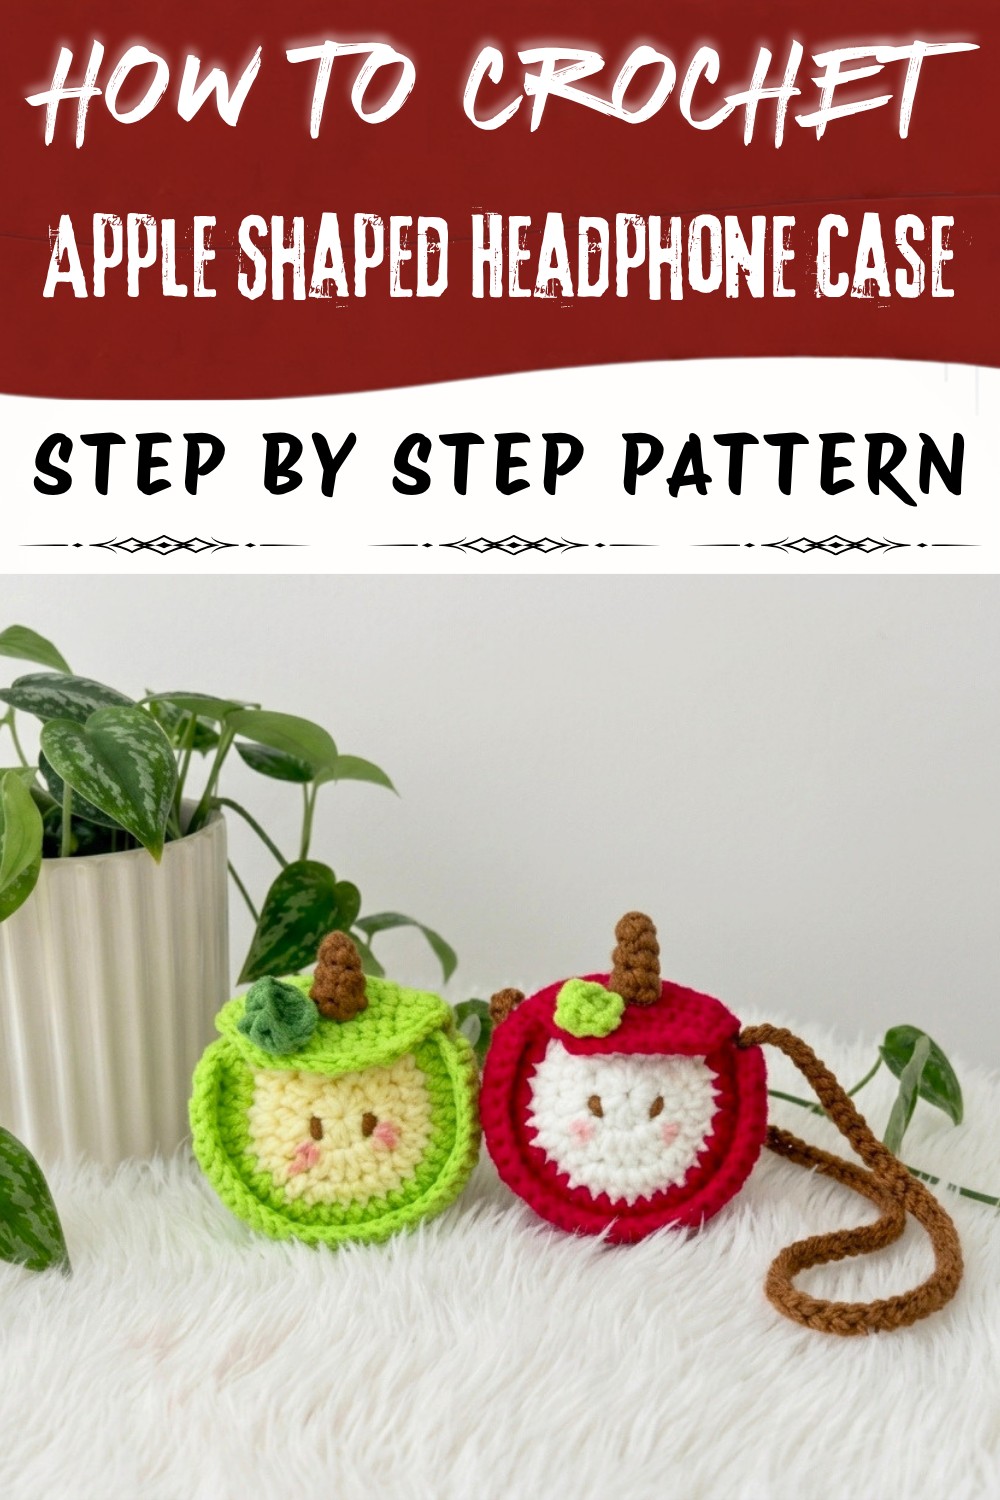
The Free Crochet Apple-Shaped Headphone Case Pattern is a fantastic way to make organizing your cords and gadgets joyful. The case features intricate stitch details that create the shape of an apple, complete with a small stem and leaf for added personality. It's compact enough to fit in your pocket or bag and is an eye-catching design that can brighten up your day.
Aside from its cute appearance, this apple-shaped case offers real convenience. It ensures your headphones don't tangle or get damaged, helping you keep your belongings neat. Its style appeals to all age groups, especially students and children, making it an ideal project for anyone who appreciates handmade items with a touch of fun. Whether for personal use or as a thoughtful handmade gift, this crochet accessory is sure to delight everyone.
Crochet Apple Headphone Case Pattern
Materials
- Worsted weight cotton or acrylic yarn in red (main apple body), green (leaf), brown (stem), and white or cream (optional, if you want a seeded apple look)
- Crochet hooks: 2.5 mm-3.0 mm for a tight stitch (adjust for your yarn/desired firmness)
- Yarn needle for sewing parts and weaving in ends
- Snap button or magnetic snap (for closure)
- Hot glue (optional, for attaching leaf/stem)
- Scissors
- Stitch marker
Gauge
Gauge is not critical, but the fabric should be dense enough to hold its shape and prevent your headphones from slipping out.
For reference:
- 5 rounds of half double crochet in the round = approx. 2.5 cm (1").
Finished Size
- Approx. 7 cm (2.75") wide x 8 cm (3.15") tall (without stem/leaf)
- Large enough to fit standard wireless earbuds or similarly sized small items.
Abbreviations (US Terms)
- ch - Chain
- sc - Single Crochet
- hdc - Half Double Crochet
- dc - Double Crochet
- sl st - Slip Stitch
- st - Stitch
- inc - (Increase) 2 stitches in same space
- dec - (Decrease) crochet 2 stitches together
Special Techniques & Notes
- Mark the first stitch of each round for perfect shaping.
- The apple body is constructed using rows, not continuous rounds, with turning at each row's end.
- The face (front) and back panels are crocheted separately, then joined.
- A small flap is crocheted to form the case lid.
- The stem and leaf are made separately and attached at the end.
- Attach the snap button securely for durable closure.
Pattern
1. BODY (Main Apple, Red Yarn)
Base Strip (for Apple Edges)
- Foundation:
Ch 6. - Row 1:
Sc in 2nd ch from hook and next 4 ch (5 sc). Turn.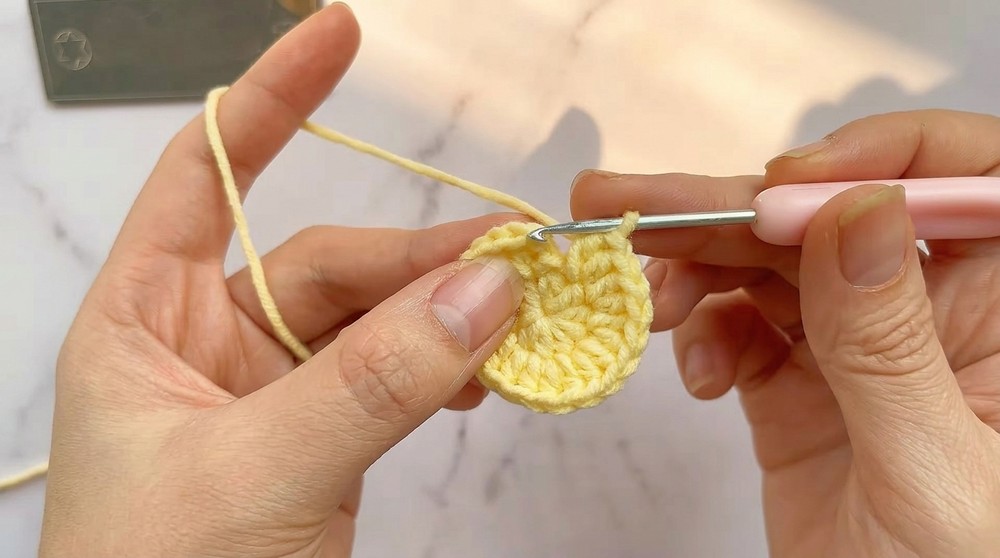
- Row 2-28:
Ch 1, sc across (5 sc). Turn. Repeat until you have 28 rows (creates a strip that will form the curved apple edge). - Finish off.
Leave a long tail for sewing.
2. APPLE FRONT PANEL (Red, then Green for the top row)
Circle Face
- Magic ring, ch 2.
Work 10 hdc into the center.
Join with sl st. (10 hdc) - Round 2:
Ch 2, hdc, inc in each st around. (2 hdc in each st, total 20 hdc)
Join with sl st. - Round 3:
Ch 2, (hdc in next st, inc in next st) repeat around. (30 hdc)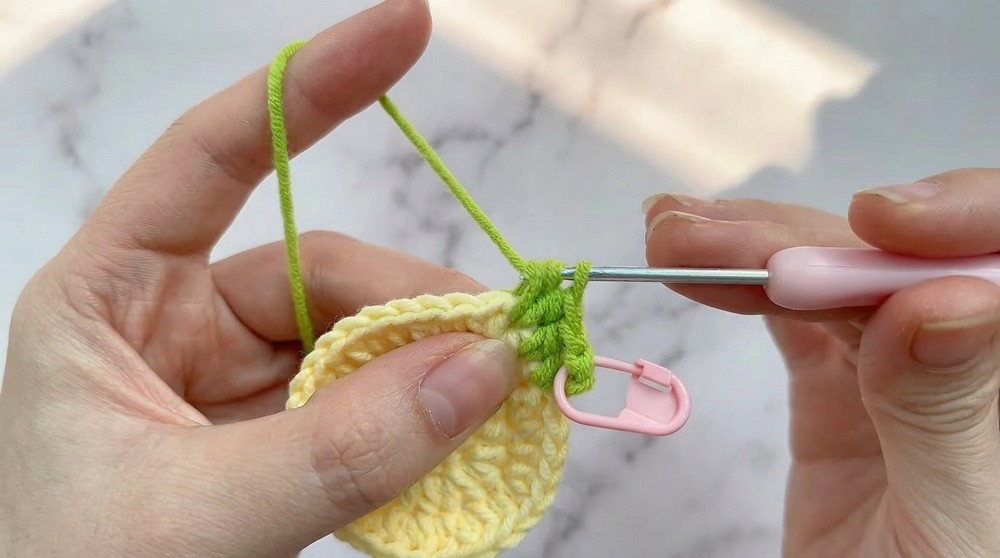
Join with sl st. - Round 4 (Apple "Top," Green, color change):
Join green yarn at end of previous round.
Ch 2. [hdc in next 2 sts, inc in next st] repeat around. (40 hdc)
Fasten off and weave in red tail.
(Alternatively, only half the round may be green, for the apple's top color. Follow video's color placement if desired.)
3. JOIN BODY EDGE TO APPLE FRONT
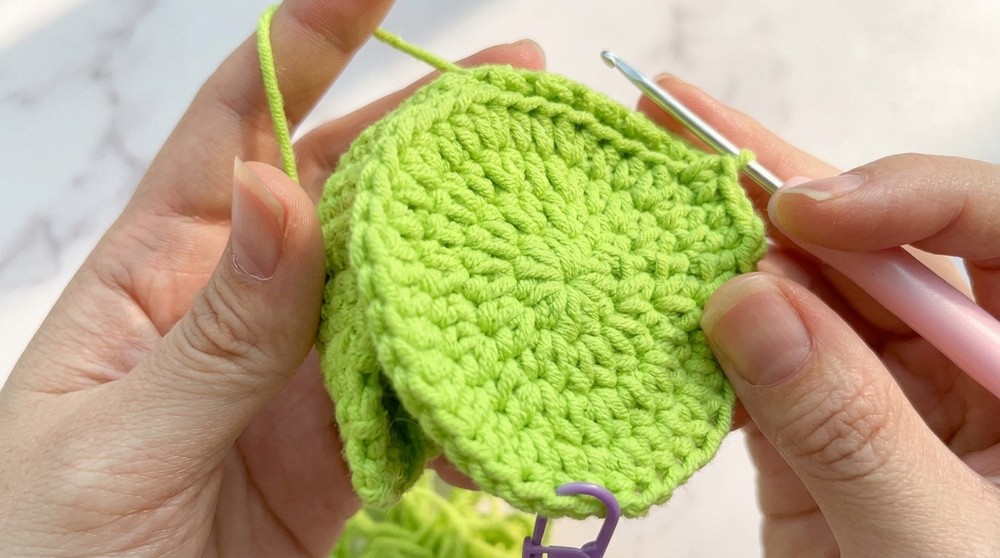
- Place the long edge strip (from step 1) along half of the outer edge of the front panel. With right sides out, whip stitch or sc through both layers around, matching stitches evenly.
- Leave the top open-do not sew this closed.
4. MAKE & ATTACH FLAP/LID (Back of Apple, Red Yarn)
- Repeat Front Panel Instructions but after round 3, shape the "lid" as follows:
- Work the same for 3 rounds (ending with 30 hdc), then:
- Flap shaping (rows):
- Attach yarn to one side, ch 1, sc across 12 sts for the first row.
- Row 2: Ch 1, turn. Sc dec over first 2 sts, sc in next 8 sts, sc dec over last 2 sts. (10 sts)
- Row 3: Ch 1, turn. Sc across (10 sts).
- Row 4: Ch 1, turn. Sc dec over first 2 sts, sc in next 6 sts, sc dec over last 2 sts. (8 sts)
- Row 5: Ch 1, turn. Sc across (8 sts).
- Row 6: Ch 1, turn. Sc dec over first 2 sts, sc in next 4 sts, sc dec over last 2 sts. (6 sts)
- Fasten off, leave a tail.
- Arrange as shown; join the remaining half of the body edge strip to the back panel, again leaving lid flap open.
5. ASSEMBLY
- Align all pieces so the seam is at the base.
- Whip stitch or single crochet front, edge, and back pieces as outlined above, forming an apple-shaped pouch with an opening at the top and a hinged flap.
- Weave in all loose ends.
6. LEAF (Green Yarn)
- Ch 5.
- In 2nd ch from hook: sc,
3rd ch: hdc,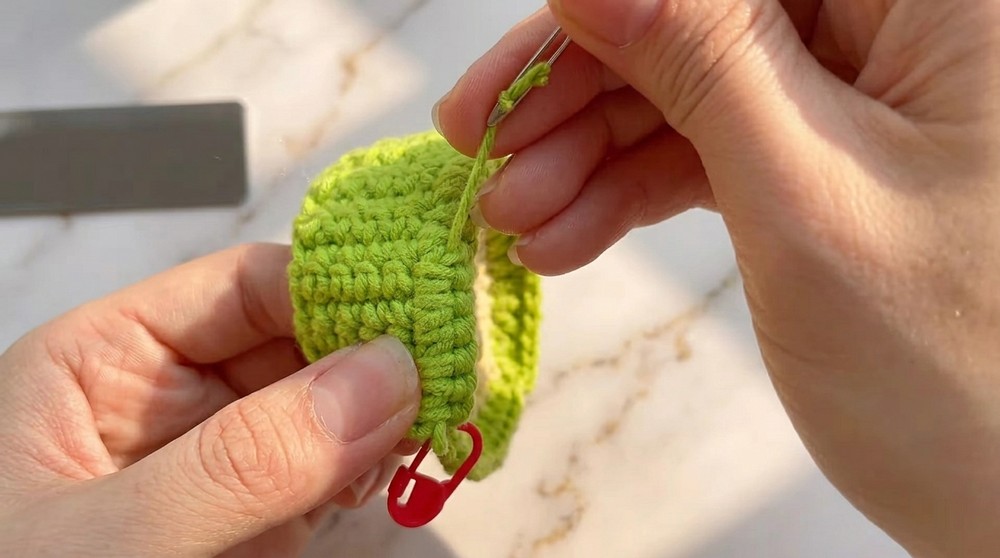
4th ch: dc,
5th ch: sc. - Ch 1, sc in last st (tip of leaf).
- Working down other side of chain:
In 4th ch: dc,
3rd ch: hdc,
2nd ch: sc. - Sl st to beginning to finish.
- Fasten off, leaving a long tail for sewing.
7. STEM (Brown Yarn)
- Ch 4.
- Sc in 2nd ch from hook and in next 2 ch (3 sc).
- Fasten off, sew securely to top of apple.
8. FINAL DETAILS
- Sew or glue leaf beside stem at the top of the apple.
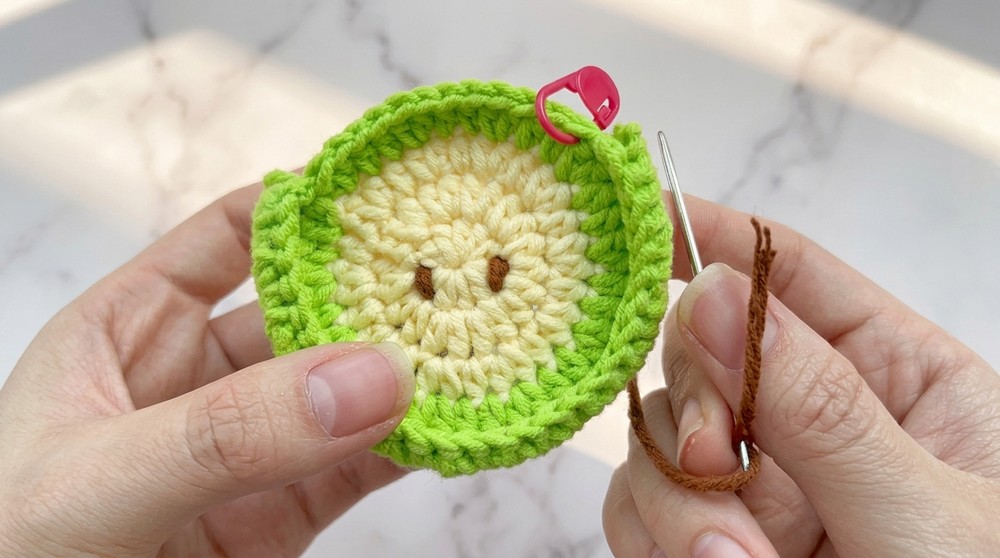
- Use brown thread to embroider apple seeds onto the front panel if desired.
- Attach one half of your snap button securely to the inside of the flap and the other half to the main apple body.
- For a keychain, attach a split ring, lobster clasp, or carabiner through the stem or an extra loop at top.
Tips
- For extra structure, consider adding a circle of felt inside the front and back panels.
- Adjust stitch counts as needed depending on your yarn, hook size, and headphone size.
- Use a bright contrasting color for the leaf to make it pop.
- Add facial embroidery for a "kawaii" effect.
Customization Ideas
- Make the apple in green or yellow for variety.
- Add a cute worm detail coming from the apple for fun.
- Embroider a monogram or initial on the front.
- Use variegated or glitter yarn for special effects.
Conclusion & Remarks
Your crocheted apple headphone case is now complete! The final product is both functional and decorative, with a shaped apple body, secure closure flap, dimensional leaf, and optional keychain attachment. It will protect small items like earbuds or coins and is perfect for gifting or everyday use. With your choice of colors and details, each piece can be unique and utterly adorable.