
Crocheting a bag is one of the most rewarding projects for beginners, offering both creativity and functionality in a single piece. A free crochet bag pattern gives you the perfect opportunity to practice simple stitches while crafting something you'll use every day. The beauty of a handmade crochet bag lies in its textured look and the endless options for customization, whether you choose a bright, bold yarn or a subtle neutral shade, your finished bag is sure to stand out.
Free Crochet Bag Pattern with Easy Instructions
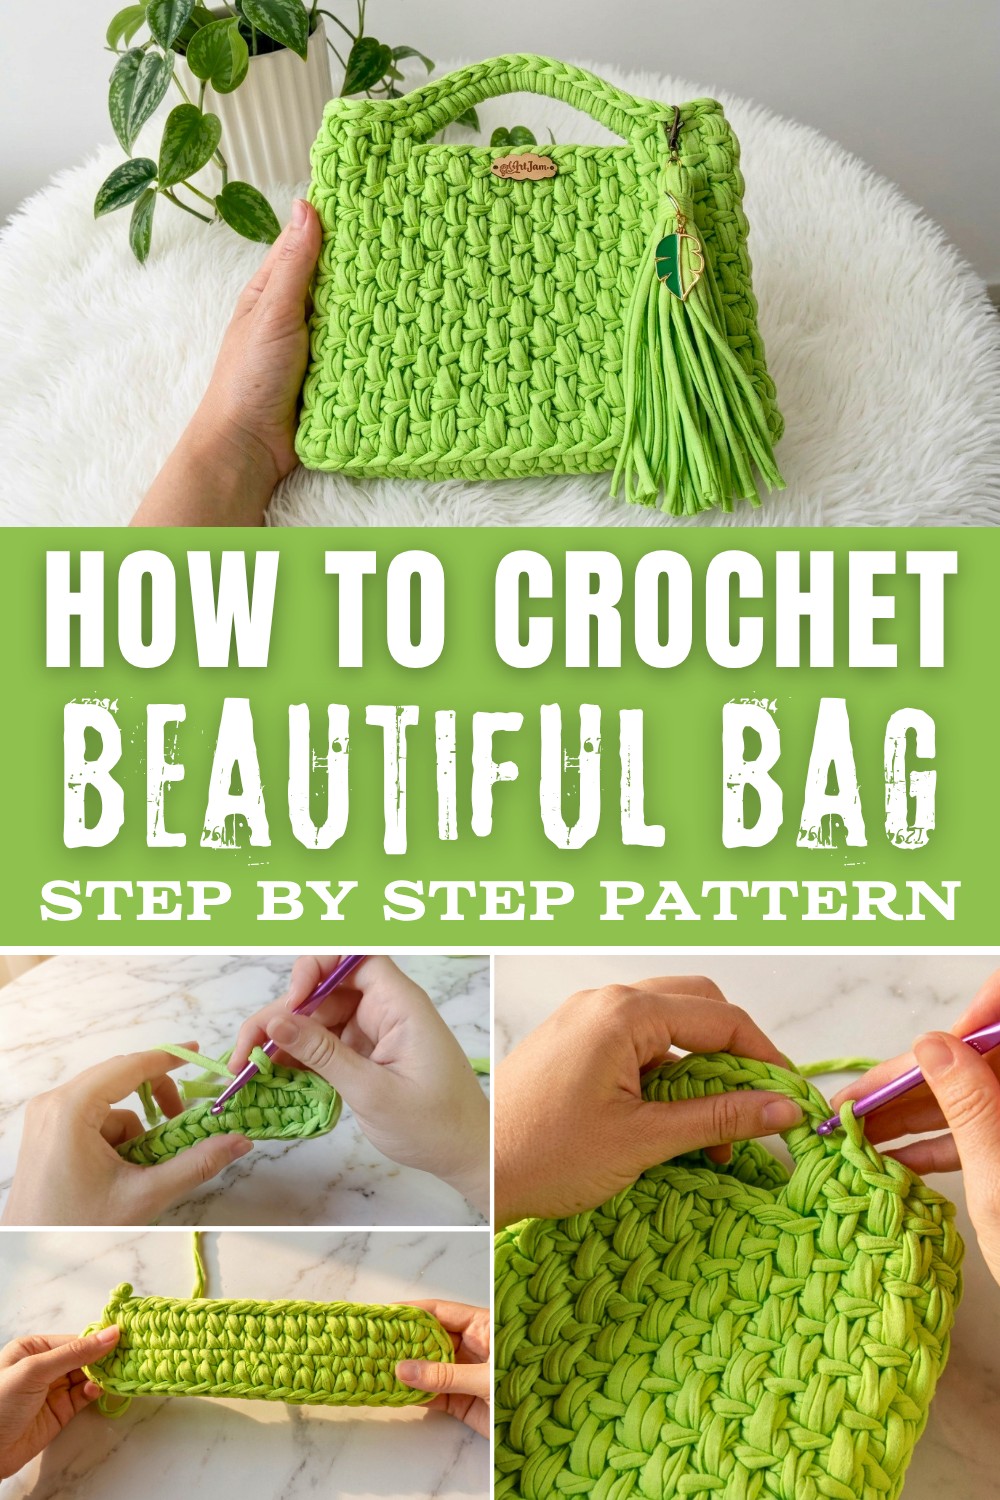
This beginner-friendly pattern features the single crochet stitch, which is easy to learn yet remarkably sturdy, making it ideal for bags, totes, and basket-style purses. If you master the single crochet stitch in the round, you unlock new possibilities for projects like coin purses, makeup pouches, or handy storage baskets. This means you won't just be making a bag you'll be building a strong foundation for countless other crochet accessories.
The pattern's simple construction makes it easy to follow even if you've never crocheted before. As you watch your bag slowly take shape with each row, you'll notice how satisfying it is to see useful, beautiful fabric emerge from your work. You can choose the strap style and length, add embellishments like tassels or buttons, or adjust the bag's size for different uses, making every project unique to your own taste and lifestyle.
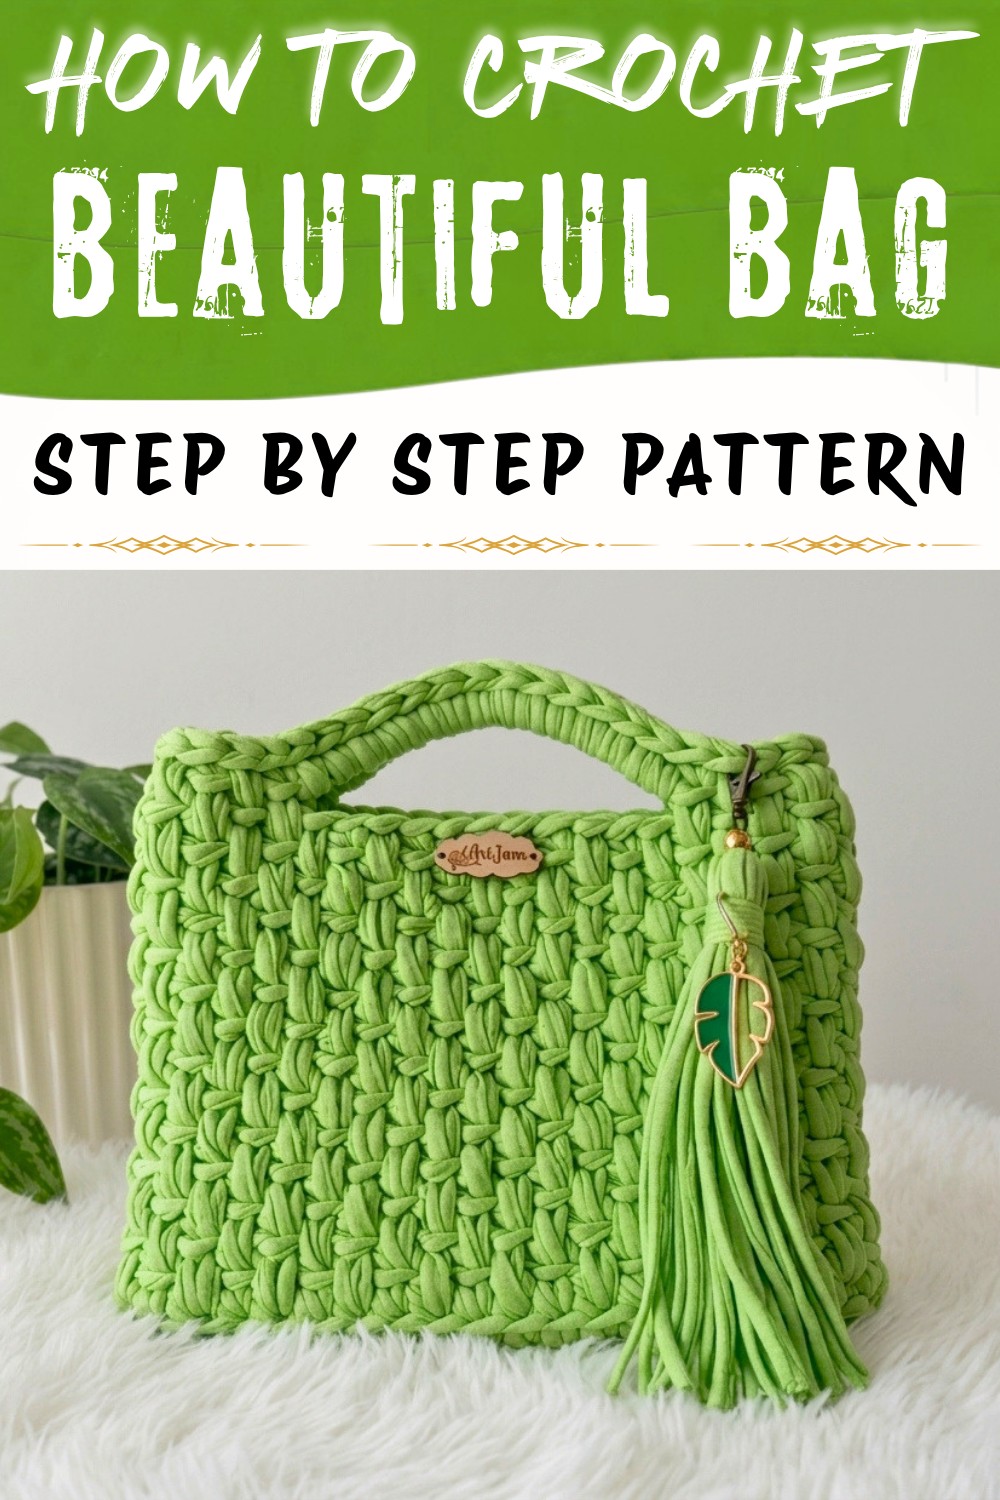
Through this pattern, you'll learn essential crochet skills like working in the round, increasing and decreasing stitches, and shaping your work. These techniques are a gateway to creating all sorts of practical items: try a matching wallet, a sunglasses case, or eco-friendly produce bags next. Every project builds your confidence, and soon you'll have a handmade collection that's as functional as it is beautiful all starting with this simple and inspiring crochet bag.
CROCHET BAG - STEP BY STEP (with Beginner Explanations)
Finished size: Approx. 27 cm wide × 24 cm high (without handles)
Yarn: Leftover medium-weight cotton (Jamila uses Fiores, you can use similar)
Hook: She uses a size that fits the yarn, about 2.5mm to 3.5 mm
1. The Bag Base (Oval)
A. Foundation Chain & First Round
- Chain 18. (Leave a little tail for weaving in.)
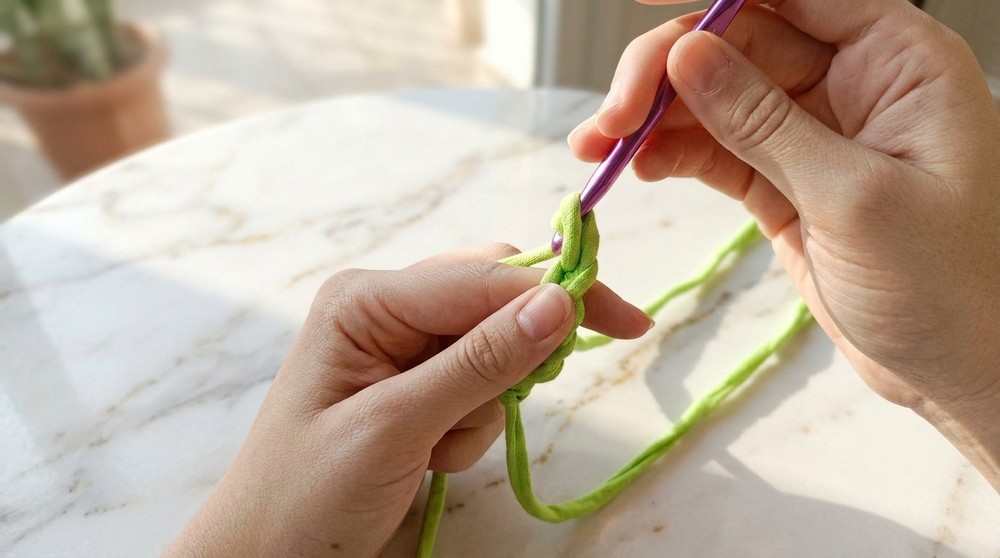
- Turn your chain over, and work into the back bump of each chain (the "little stripe" on the back).
- Skip the first chain, then 2 single crochets (sc) into the 2nd chain from hook.
- 1 sc in each chain up to the last chain.
- In the last chain, make 2 sc (so both ends have increases for turning).
- Now, turn the work to crochet along the other side of the foundation chain.
- Make 1 sc in each bump (you'll have two bumps left, one each side of the starting chain).
- You should have a narrow oval with rounded ends.
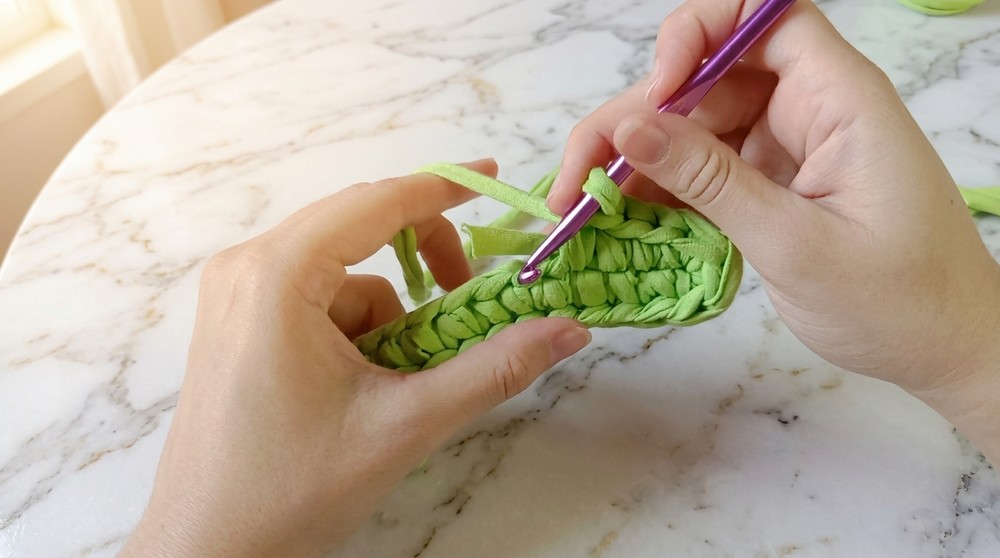
Explanation:
You are forming the long oval bottom of the bag. Increases at each end help it curve gently, giving your bag a rounded base.
B. Closing/Filling Base
- Finish the round by joining the last stitch to the first with a slip stitch (use a thin hook if you have for ease).
- Carefully adjust to avoid gaps, and weave in any loose ends as you go.
This closes your oval base and prepares you to build "up" the sides of your bag.
C. Second Round of Oval (More Increases)
- In each corner (where you made 2 sc), put 2 sc in each inc stitch (expanding rounded ends).
- Work 1 sc in each stitch along the sides.
- Corner: 2 sc in each of the 3 stitches at each end.
(So ends go: [2 sc in st, 2 sc in st, 2 sc in st].)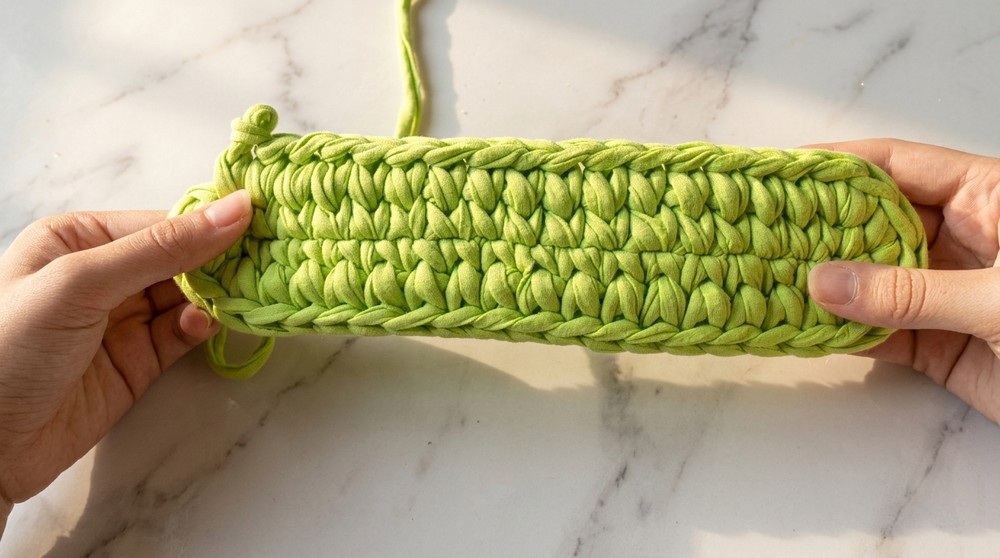
- Repeat on both ends, normal sc along sides.
Explanation:
This round makes the oval bigger and more "bag base"-shaped. The sides stay straight, the ends stay round. Always count to keep your stitch numbers even.
D. Final Base Adjustment
- Do a final increase at the seam if needed to keep the number of stitches even.
- Measure your base - Jamila's is 25 cm x 6 cm.
Explanation:
This step ensures your base is symmetrical and fits the desired measurements.
2. Building the Sides
A. First Side (Transition Row)
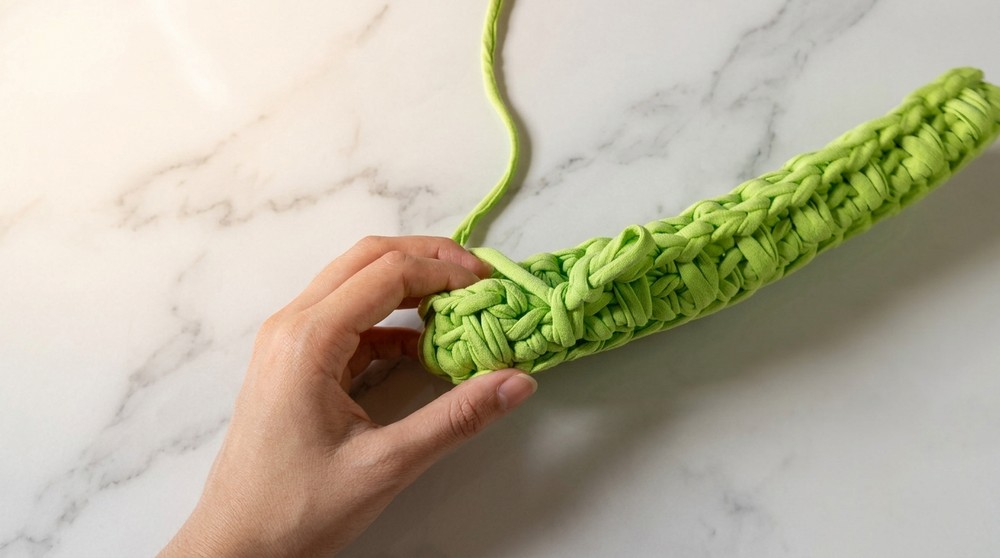
- To start working up (not around), after finishing your base, work 1 round of single crochet around the outer edge, picking up only the back loop of each stitch. (Leave the front loop for a "ridge" detail.)
- Keep stitches neither too tight nor too loose - the fabric should be firm but not bunched up.
Explanation:
By working into the "back loop only," you make a nice crease at the base and help your bag stand up!
B. Side Wall Pattern (The 'Textured Stripe' Stitch)
- Pattern stitch:
- 1 single crochet in back loop only
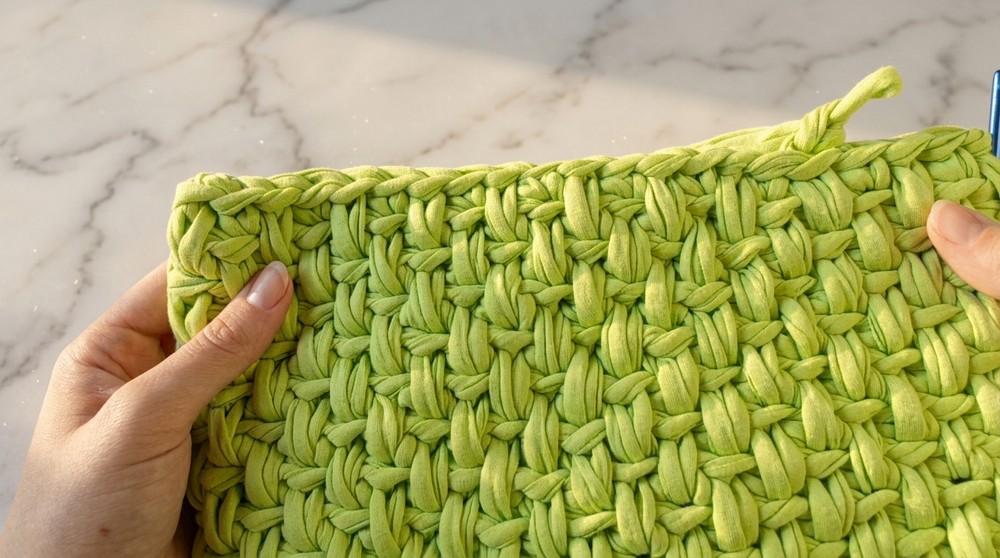
- 1 single crochet in the row below ("elongated" single crochet - insert hook into the middle of the stitch below, not the loops at the top)
- Continue repeating around: normal sc, elongated sc, normal sc, elongated sc, etc.
- Join the round with a slip stitch, as before.
In each new round:
- Always work a regular sc over an elongated sc of the previous row, and an elongated sc over a regular sc. This 'offset' gives the woven stripe look.
- Continue for a total of 14 rounds (counting your foundation "up" round).
Explanation:
This creates the bag's signature texture. The "elongated" single crochet adds a lovely woven stripe that looks complex but is easy once you see the rhythm.
3. Shaping the Handles
A. Finding Handle Placement
- Lay bag flat and identify the sides/centers.
- On each side of the bag, count:
- From the middle of one side, count out 11 stitches (these will become your handle "gap").
- Use stitch markers to mark the beginning and end point of each handle.
Explanation:
Handles start and end at symmetric spots so your bag hangs evenly. This step sets up the openings.
B. Creating the Handle Openings
- Work around to your first marker.
- Chain 13 (for the handle arch).
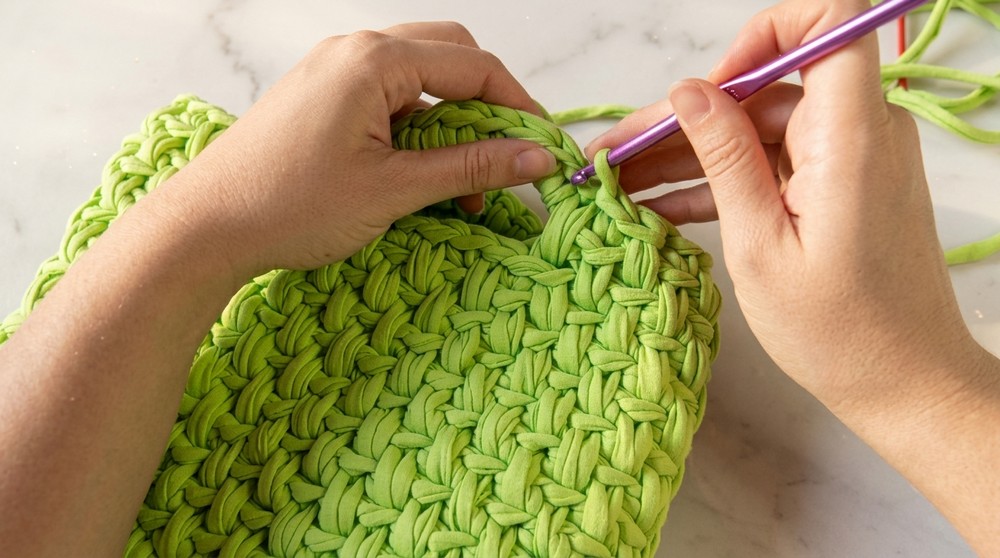
- Skip 11 stitches (those in the middle, between your two markers), and single crochet into the next marked stitch.
(Do this on both sides of the bag.) - Continue working established pattern (sc, elongated sc…) around the sides and under the handles.
Explanation:
You're skipping stitches to make an open space, and the "bridge" (13 ch) becomes the handle.
C. Covering Handle Chains and Final Rows
- When you reach the handle chains on the next round:
- Work 13 single crochets into the chain (don't pierce the chain - just work around it).
- Continue working the regular bag stitch (sc, elongated sc) for 1-2 more rounds (or as desired for handle firmness).
- End rounds at seams as before.
Explanation:
This step makes the handles comfy and sturdy. You want your handle chains covered with neat, tight stitches.
4. The Finishing Edge
- Fasten off, leaving a long tail.
- Thread a tapestry needle.
- Work an invisible join or a neat slip stitch border all the way around the top of the bag and handles.
- Weave in any remaining ends.
Explanation:
A final border of slip stitch (or invisible join with needle) gives a professional finish so nothing unravels and the bag top looks tidy.
5. (Optional) Add Lining & Pendant
- Sew in a fabric lining for extra strength and privacy.
- Add a crochet or tassel pendant for a fun accent.
SIMPLE ROUND-BY-ROUND EXPLANATIONS
- Base rounds: Makes a sturdy oval foundation for your bag.
- Increase rounds: Keeps your base flat, not wavy or curly.
- Transition row: Marks the bottom edge and helps bag stand up.
- Main body (repeat 14 rounds): The special texture is made by alternating regular and elongated single crochet stitches.
- Handle rounds: Skip 11 stitches on each side and use 13 chains for your handle. On the next round, fill in those chains with single crochets for a solid, comfortable feel.
- Finishing round: Adds structure and keeps everything looking neat-don't skip this step!
Beginner tips:
- Use stitch markers, especially for base/handle points.
- Don't crochet too tightly.
- Practice the elongated single crochet on a swatch if needed.
- Take your time on the slip stitch edge-it's the "polish" your bag deserves!