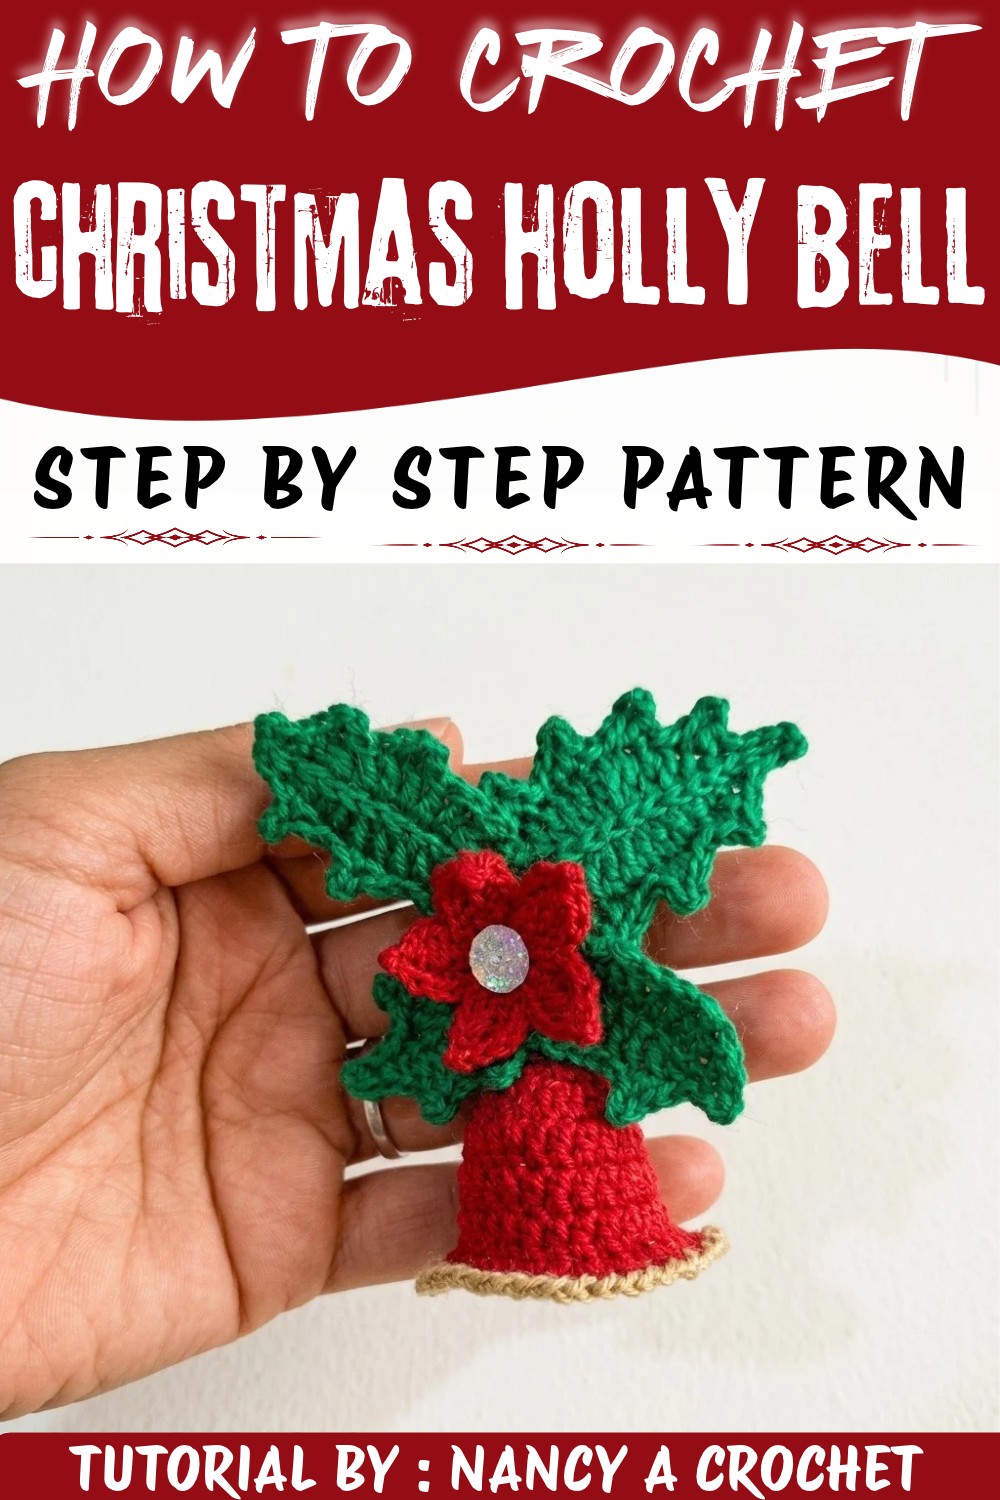
Celebrate the season with the Crochet Christmas Holly Bell Free Pattern, featuring a cheerful bell and holly leaves for your holiday display.
Have you ever seen a tiny holiday bell that looks like it's straight out of a winter wonderland? This charming Crochet Christmas Holly Bell, designed by Nancy from the YouTube channel Nancy a Crochet, brings a cozy and festive touch to any room. The bell is beautifully adorned with lush green holly leaves and bright red berries, giving it a cheerful holiday vibe. Its delicate yet sturdy shape and vibrant colors make it perfect for hanging on your Christmas tree, adding to a wreath, or even as a lovely gift.
Cheerful Crochet Christmas Holly Bell Free Pattern to Decorate Your Home
The Crochet Christmas Holly Bell Pattern is easy to follow and helps you create this sweet decoration that feels warm and inviting. The little touches like the detailed leaves and the shiny red berries make it stand out with its classic holiday spirit. Whether you are new to crocheting or have experience, this design invites you to enjoy making something special that can brighten up your home during the holidays.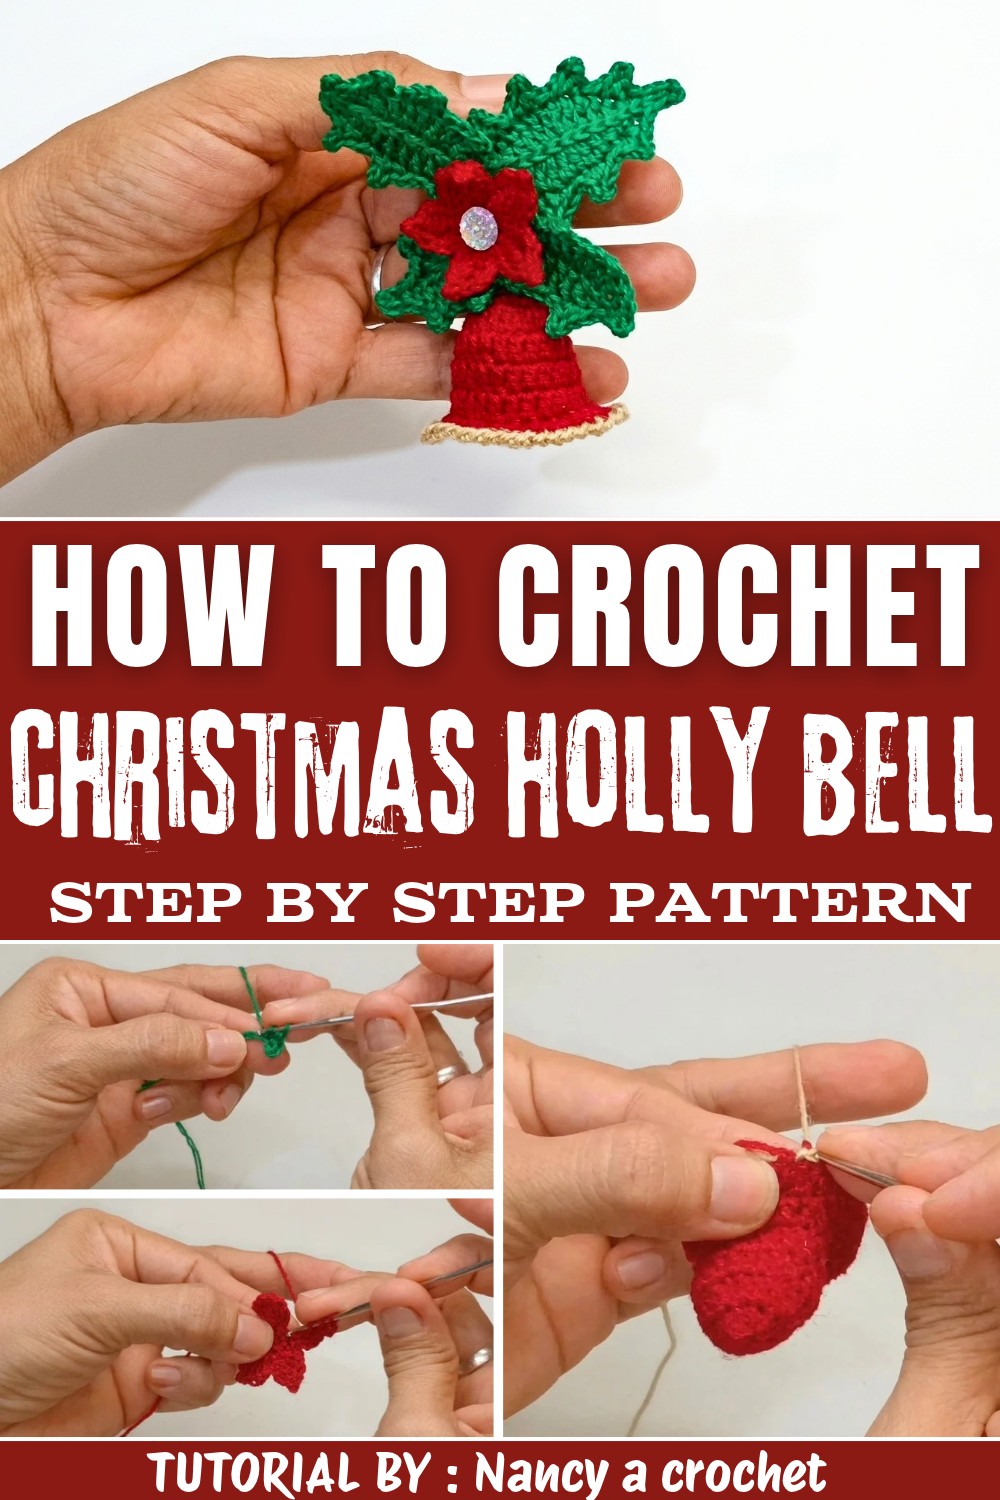
This bell is more than just decoration-it's a piece that brings happiness and a handmade feeling to your Christmas celebrations. Plus, it's small enough to fit anywhere but shines bright wherever it goes. If you want to add a personal touch to your holiday decor, don't miss the chance to make your own! You can find the free pattern. It's a wonderful project that anyone can enjoy this season.
Golden Crochet Christmas Holly Bell Free Pattern
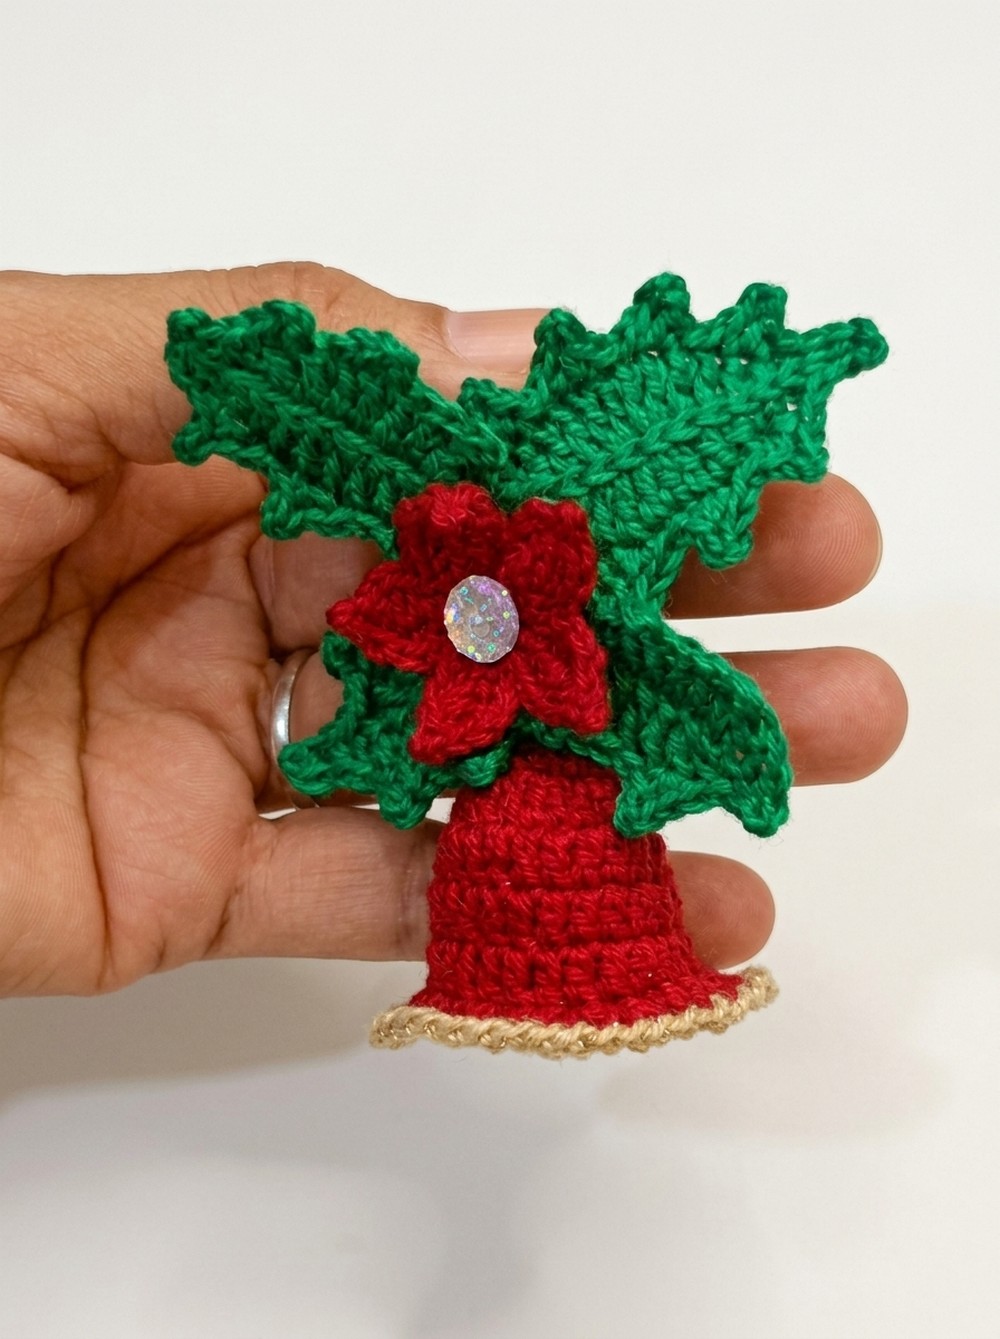
Holiday decorating often inspires seeking out meaningful touches that reflect both tradition and sustainability. A hand-crocheted ornament that incorporates classic holly leaves, a delicate flower, and a cheerful bell provides a festive focal point for any seasonal display. This project uses fine cotton thread in bright, contrasting hues, resulting in rich textures and refined finishes. Each element, from the sculpted leaves to the pearl-adorned flower and gold-trimmed bell, is carefully constructed with thoughtfully chosen techniques designed to highlight the skilled handwork. This approach ensures that every detail is both sturdy and aesthetically pleasing, suitable for display on doors, gift packages, or as a keepsake year after year. With an emphasis on clear structure, this festive ornament encourages attention to detail and promises a rewarding experience for those who appreciate traditional handiwork enhanced with vibrant color and refined form.
Quick Overview Of Pattern
- Construct two small holly leaves and two large holly leaves with mirrored stitches and textured points.
- Crochet a central Christmas flower with five sculpted petals and a pearl.
- Form a sturdy bell body with rounds of double crochets and a decorative crab stitch border.
- Assemble all parts for a professional, layered effect.
- Finish with a hanging loop for easy display.
Notes
- Use a 1 mm cotton thread doubled for all pieces to achieve consistent texture and sturdiness.
- Pre-plan your color placement - green for leaves, red/white for flower, and gold for bell edge.
- A sharp tapestry needle will ensure invisible, secure joins.
- Block finished leaves and flower if necessary for crisp shaping.
- You may substitute a purchased bell for the crocheted clapper, or add beads as desired.
Skill Level
Intermediate.
While the individual components use basic stitches, careful attention to mirroring, shaping, picot techniques, and multi-piece assembly is required. Adventurous beginners may enjoy the challenge.
Materials
- Fine cotton thread, 1 mm (work doubled): Green, White, Red, Dorado (Gold)
- Crochet hook: 1.7 mm
- Tapestry needle (wool needle)
- Scissors
- Small pearl (for flower center)
- Optional: Small jingle bell, or use the crocheted clapper variation taught in the tutorial
Measurements / Sizing
- Each small leaf: approx. 4 cm long
- Each large leaf: approx. 5-6 cm long
- Flower: approx. 3 cm diameter
- Bell: approx. 4 cm tall x 4 cm across base (excluding hanging loop)
- Complete ornament: approx. 8-9 cm top to bottom
Gauge & Stitch Pattern
- Gauge: Not critical; work firmly but not tightly for firm motif structure.
- Main stitches: Single crochet (sc), half double crochet (hdc), double crochet (dc), slip stitch (sl st), crab stitch (reverse sc), chain (ch), picot.
Stitch Abbreviations
- ch - chain
- sc - single crochet (US)
- hdc - half double crochet
- dc - double crochet
- sl st - slip stitch
Special Stitches
- Picot: ch 2, sl st in the first ch.
- Crab Stitch: Reverse single crochet; work sc from left to right.
- Magic ring: Wrap yarn into loop, crochet into center, pull closed.
The Crochet Pattern
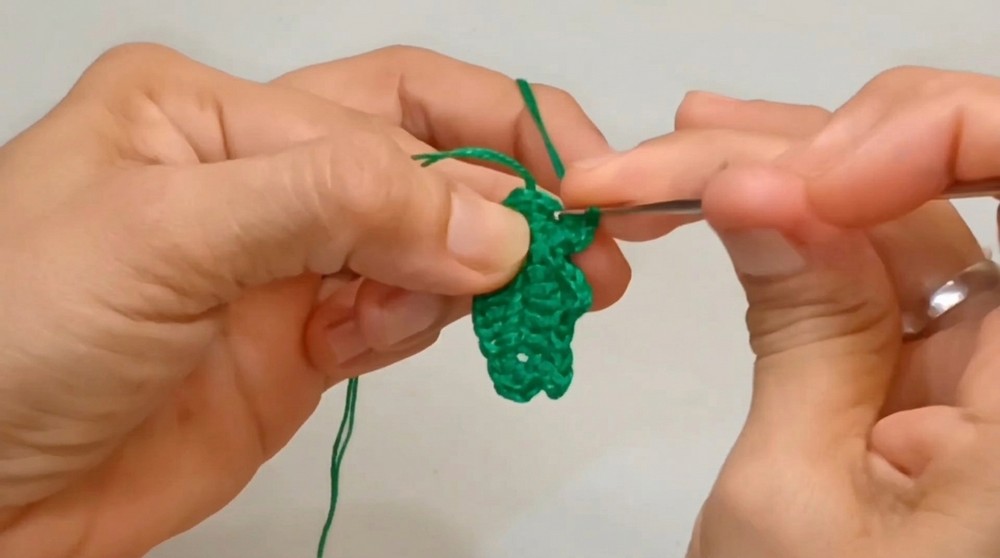
Small Holly Leaves (Make 2)
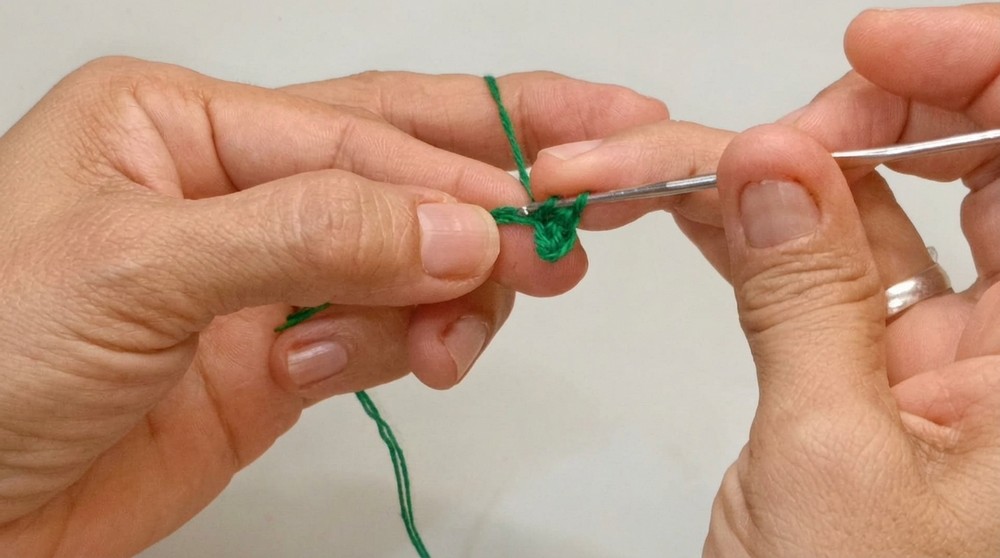
- Foundation:
Slip knot, ch 10. - First Side:
- In 2nd ch from hook: 2 sc
-
- Next ch: 1 hdc
- Next ch: 1 dc
- Next ch: 2 dc in same ch (increase)
- Next ch: 1 dc
- Next ch: 1 hdc
- Next 2 ch: 1 sc in each
- In final ch: ch 1, 2 sc (to create point & turn)
- Second Side & Picot Edges:
- Mirror the previous sequence along other side:
- Next ch: 1 hdc
- Next ch: 1 dc
- Next ch: 2 dc in same ch (increase)
- Mirror the previous sequence along other side:
-
-
- Next ch: 1 dc
- Next ch: 1 hdc
- Next: 1 sc, sl st to finish
- For picots: Grab front loop at points, sl st, ch 2, sl st
- Continue working half points (short sc or hdc) along the leaf's center to add texture as desired.
- Cut thread and weave in end.
-
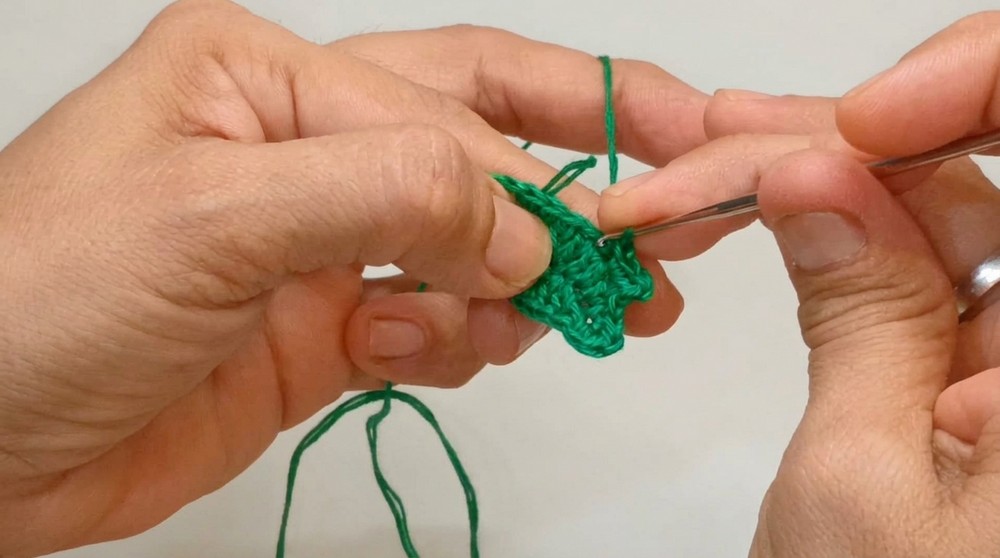
Large Holly Leaves (Make 2)
- Foundation:
Slip knot, ch 12. - First Side:
- Into second ch: sl st (for sturdy base).
- Next 2 ch: 2 sc
- Next ch: hdc
- Next 5 ch: dc in each
- Final ch: 3 sc (to form the rounded tip/turn)
- Second Side & Picot Edges:
- Mirror back down:
- Next 5 ch: dc in each
- Mirror back down:
-
-
- Next ch: hdc
- Next 2 ch: sc in each
- End with sl st to first stitch.
- For each side: In front loop at points: sl st, ch 2, sl st (picot tip)
- Optionally, add a central vein by sliding slip stitches down the center of the leaf.
- Cut thread and hide tail securely.
-
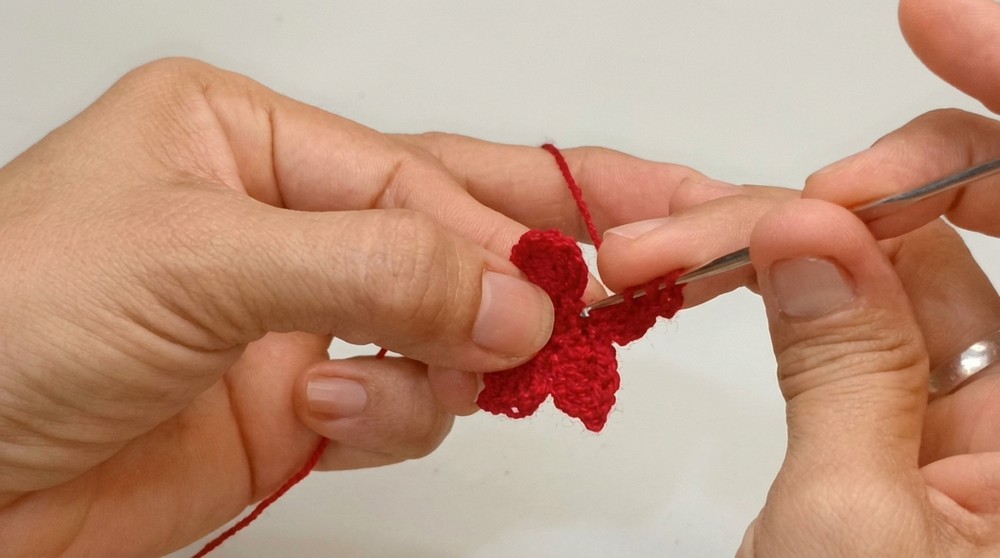
Christmas Flower (Single Piece)
- Center:
Make a magic ring, ch 1, 9 sc in ring, sl st to close round. - Petals (Make 5):
- For each petal:
- Ch 3, double yarn over (treble), insert into same stitch, work two unfinished dc (leave loops on hook), yarn over and pull through all loops.
- Ch 3, make a small picot (ch 2, sl st in first ch).
- Into the same base, work two more unfinished dc, join.
- Repeat for all five petals, spacing evenly around center.
- For each petal:
-
- After final petal, pull magic ring tight.
- Sew or glue a pearl at center.
Bell Structure
- Body of Bell:
- Magic ring, ch 3 (counts as first dc)
- Round 1:
11 dc into ring (12 dc total), sl st to close. - Round 2:
Ch 2 (counts as dc), (1 dc, 1 dc inc) around (i.e., dc in next, 2 dc in next) = 18 dc, sl st. - Rounds 3-5:
Ch 2, 1 dc in each st around, sl st to close round.
Repeat for three total rounds (rounds 3, 4, 5). - Round 6 (Flared Edge):
Ch 2, work in outside loops,
(2 hdc in each st) around to create ruffle = 36 hdc, sl st to close. - Fasten off.
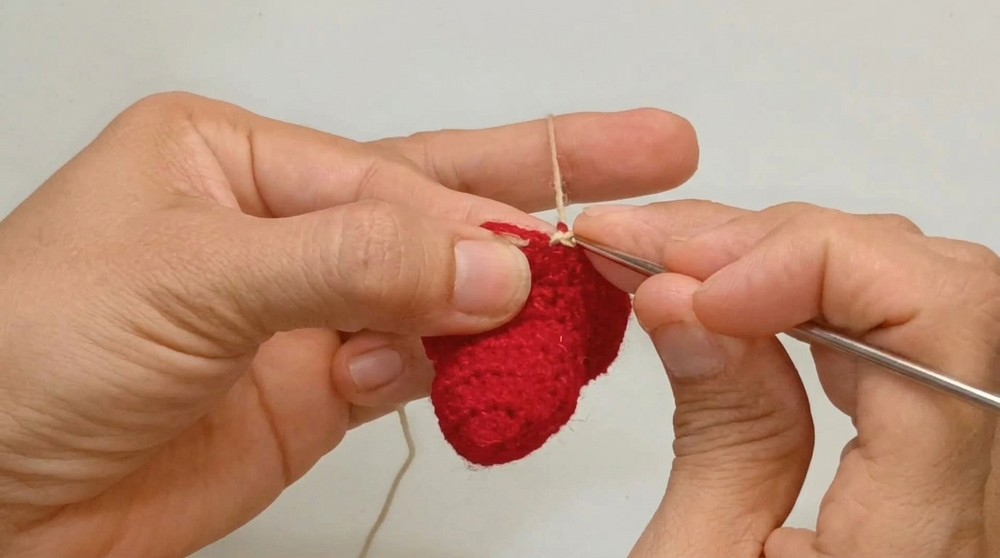
- Gold Crab Stitch Border:
- Attach gold thread at base,
-
- Crab stitch (reverse sc) in each st around for firm, decorative trim.
- Finish off, weave in all loose ends with tapestry needle.
- Hanging Loop:
- At the top center, join thread and ch 35,
- sl st to form loop, fasten off, and hide yarn tail.
Assembly & Finished Size
- Arrange Leaves:
Place two large leaves with tips pointing up, two small leaves below, forming a layered cross.
Sew or tack together at center back with tapestry needle. - Attach Flower:
Secure the Christmas flower with pearl at the crosspoint of the leaves, using needle and matching thread. - Attach Bell:
Place bell behind assembled leaves and flower. Sew securely so finished ornament hangs vertically.
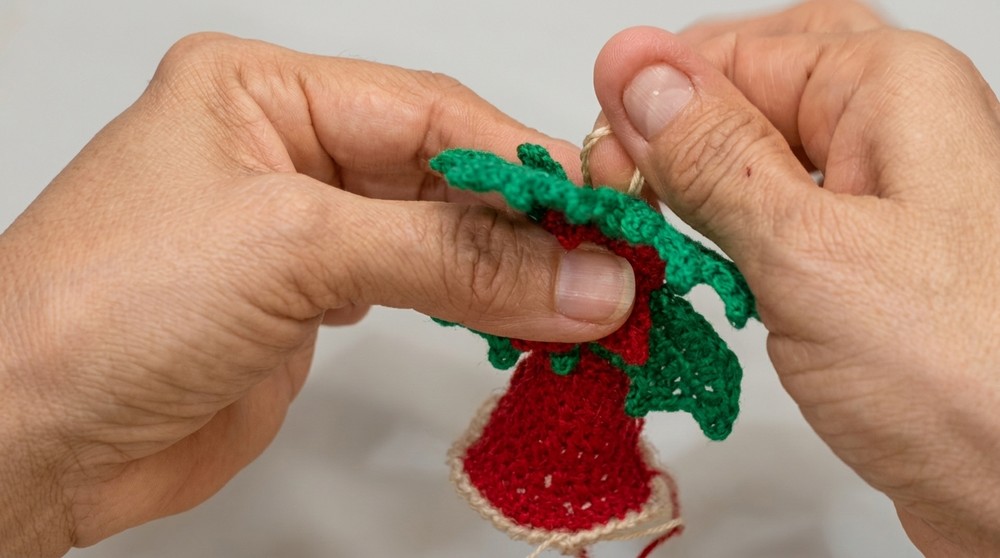
- Add optional bell or crocheted clapper inside as desired.
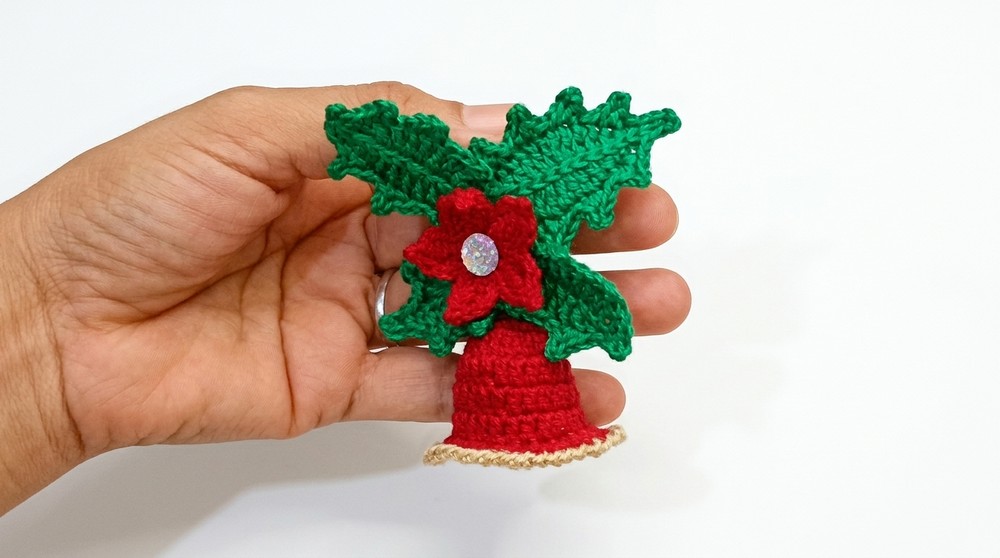
- Result:
Ornament measures approx. 8-9 cm long, with full holly, flower, and bell accent.
Conclusion and Ending Words
A thoughtfully constructed holiday ornament like this holly-and-bell design stands as a testament to the joy and care that can be woven into festive preparations. The combination of crisp leaves, a vivid flower, and a graceful bell results in a visually striking but harmonious decoration, elevating the seasonal atmosphere in a subtle and authentic way. By focusing on balanced shapes, sturdy finishes, and carefully chosen color accents, the final piece offers both durability and beauty, capable of withstanding repeated display and handling. Whether suspended from a tree branch, positioned as a centerpiece, or shared as a heartfelt gift, this handwork serves as a meaningful addition to any holiday celebration. Careful assembly and secure stitching ensure that the ornament remains a cherished part of seasonal décor for many years, celebrating tradition and creativity with every detail.