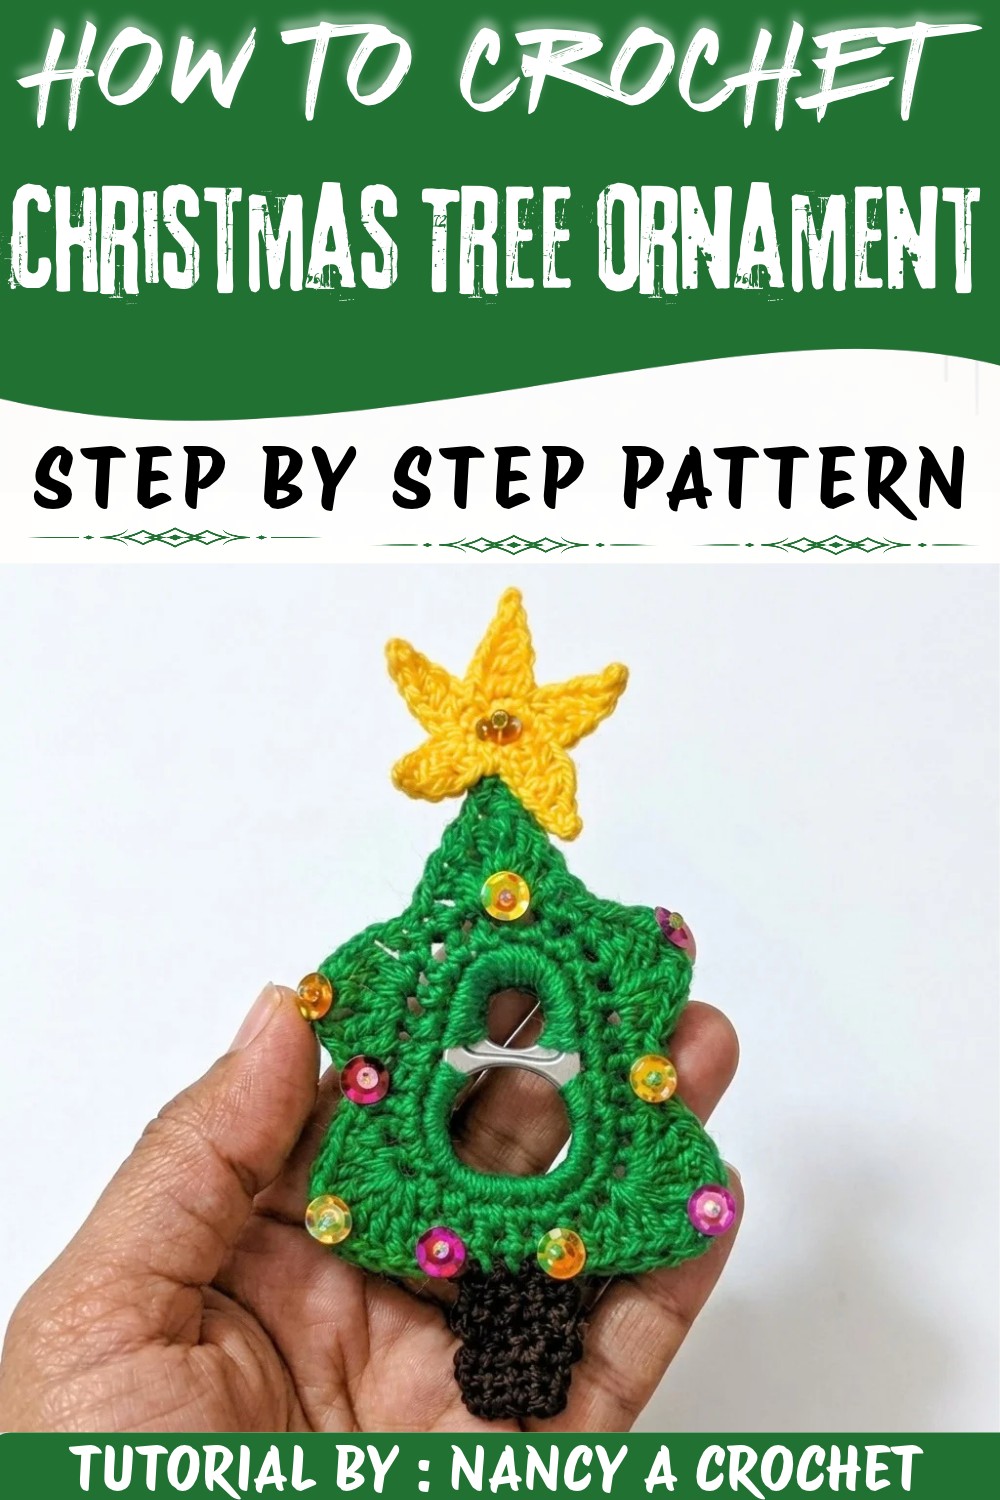
Give your festive home a fresh touch with the Crochet Christmas Tree Ornament Free Pattern, a sweet decoration for seasonal celebrations.
Bright, colorful, and full of holiday spirit, this charming Christmas ornament truly lights up any festive space. Designed by the talented Nancy from the YouTube channel Nancy a crochet, this adorable decoration brings a touch of handmade magic to your holiday celebrations. With its soft yarn texture and vibrant green shade, topped by a shining star, this little tree adds warmth and joy wherever it hangs-on your Christmas tree, in a window, or even as a gift tag.
Handmade Crochet Christmas Tree Ornament Free Pattern for Holiday Decor
The Crochet Christmas Tree Ornament Pattern lets you recreate this sweet piece yourself, making it a fun and rewarding project for crocheters of all levels. Whether placed on your own tree or shared with friends and family, the tiny tree's intricate details and playful shape capture that cozy holiday feeling perfectly. You'll enjoy the cheerful look this ornament brings to your home, sparking smiles and sparking conversations during holiday gatherings.
For those who love holiday decorations that feel truly special, this pattern offers a wonderful way to add a personal touch to your seasonal decor. Thoughtfully designed and clearly explained, it opens the door to creating more handmade festive charm year after year. Follow the full pattern and find the joy of making your very own Crochet Christmas Tree Ornament. This delightful project awaits your creativity and festive spirit.
Hanging Crochet Christmas Tree Ornament Free Pattern
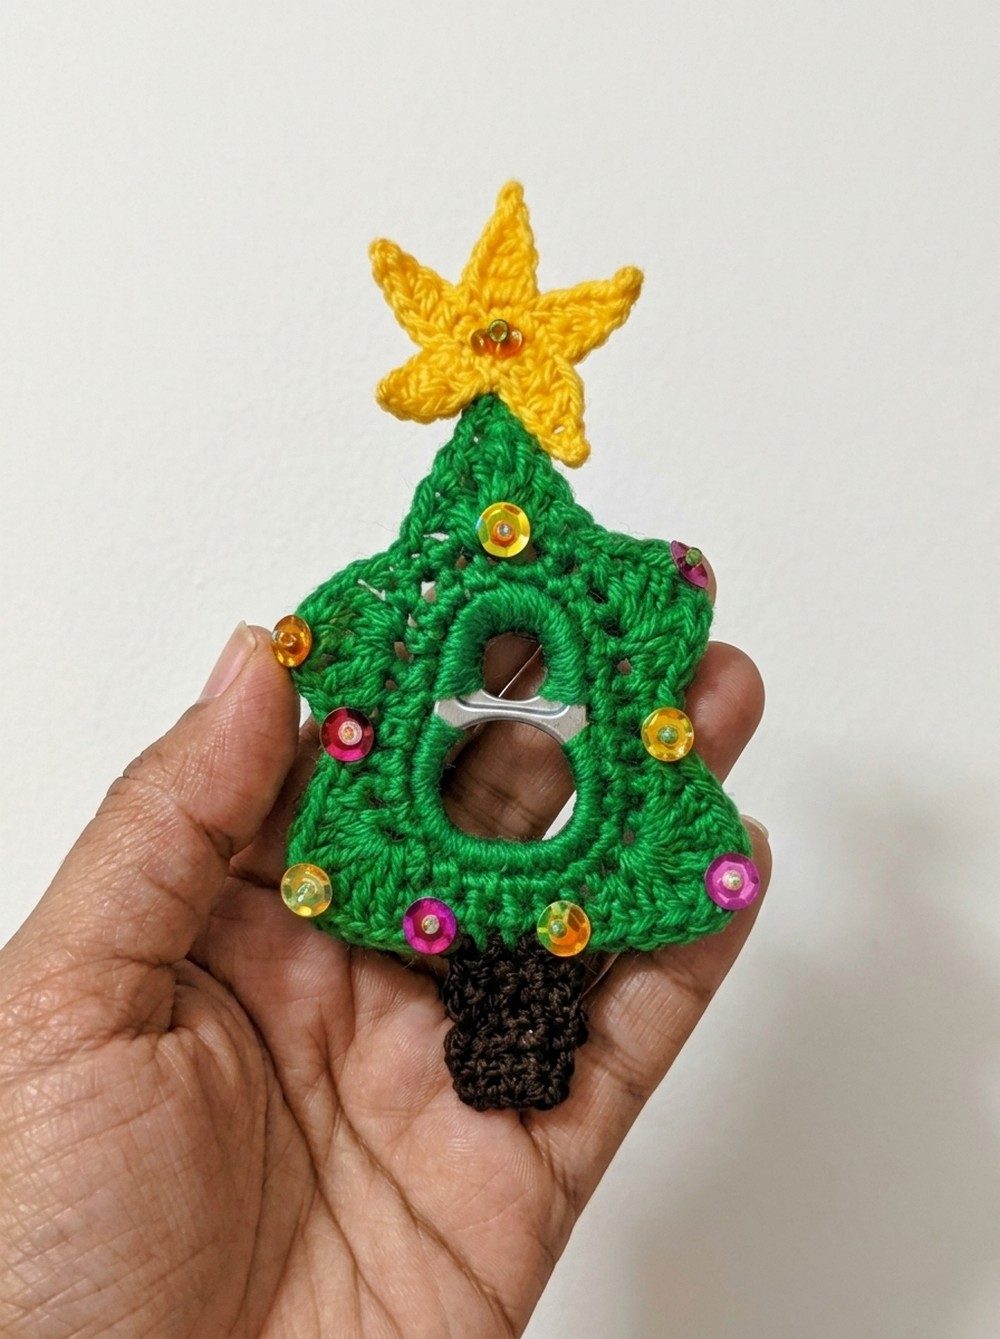
This Christmas Tree is a thoughtfully designed holiday centerpiece that highlights both creativity and environmental awareness by utilizing recycled can tabs and vibrant green yarn. This miniature Christmas tree introduces a unique blend of textures, combining sturdy metallic tabs as the trunk's core with plush crocheted stitches for the foliage and decorative elements. The construction progresses methodically from the foundational metal ring, up through shaping whimsical branches, all the way to placing a finishing star atop the tree. Each detail-from the gathering of can tabs to the shaping of boughs and trunk-establishes a blend of handmade charm and ecological mindfulness, culminating in a festive decoration suitable for both gifting and home display.
Quick Overview Of Pattern
- Build the tree's base and primary structure around a large recycled can tab.
- Crochet textural, layered branches using a variety of stitches for dimensionality.
- Form the trunk directly beneath, making a sturdy rectangular base.
- Crochet and attach a star topper to crown your miniature pine.
- Optionally decorate with beads or similar embellishments for added festive flair.
Notes
- Always clean and smooth can tabs to prevent yarn snags or injury.
- Gauge is not critical; consistent stitch tension yields the most uniform look.
- The stitches in the branch sections strategically alternate for a lush, layered effect.
- This project makes efficient use of scrap yarn and leftover materials.
Skill Level
- Confident Beginner / Intermediate:
- Suitable for those who are familiar with working in the round, basic increases, and a mix of stitch heights. Some assembly and sewing required.
Materials
- Green yarn (any worsted or medium weight works well)
- Large aluminum can tab (the biggest available, smooth edges)
- Crochet hook (size suitable for your yarn, typically 3.0-4.5 mm)
- Beads or button embellishments (optional)
- Yarn needle for assembling and weaving ends
- Scissors
Measurements / Sizing
- Approximate Height: 9-12 cm (3.5-5 in), varying by yarn weight and hook size
- Base Width: Determined by the can tab size and yarn tension, typically 4-5 cm (1.5-2 in)
Gauge
Gauge is not critical for this decorative project, but for reference, 10 sc ≈ 4 cm with worsted yarn.
Stitch Abbreviations
| Abbreviation | Stitch |
|---|---|
| ch | chain |
| sl st | slip stitch |
| sc | single crochet |
| hdc | half double crochet |
| dc | double crochet |
| tr | treble (triple) crochet |
| inc | increase (2 sc in 1 st) |
Special Stitches
- Magic Ring: Loop yarn around your finger, insert hook, pull up a loop, continue as instructed.
- Picot/Peak: ch 2, sl st into first ch or base to form a small point.
- Elongated Double Stitch / Double Treble: Yarn over 2 or 3 times, pull through sets of two loops as indicated to elongate the stitch for branch tips.
THE CROCHET PATTERN
Base & Structure Using Can Tabs
Round 1: Base Ring Foundation
- Begin with your largest can tab.
- Attach green yarn in one open side hole, make a slip knot or "safety point."
- Work 10 sc across the open space, ensuring the stitches are even and snug against the metal.

- Continue to the end of that side; repeat 10 sc for uniform density.
Round 2: Connecting Sections
- Rotate to the next edge of the tab.
- Work 5 sc along the shorter side.
- Join with a sl st to the first stitch, securing the first round.
Round 3: Extending Around Tab
- Slip to the next position; ch 1.
- Work 10 hdc along the broader edge (this ensures a fuller shape).
- On the upper space, alternate sc and inc:
- [1 sc, 1 inc] across this edge-repeat until the end.
- Finish by continuing half stitches (hdc or sc) to complete about 28 total stitches around this level.
- Close with sl st.
Crocheting Branches
Now shape outward-pointing branches for a full, layered look.
Branch Sequence (repeat as needed around the tree's edge):
- At your chosen point (typically a "peak" of the previous round), ch 5.
- Yarn over, insert into next st, hdc.
- Next, dc into the same space.
- For extra branch length, work an elongated/double treble in the same spot: yarn over twice or thrice, pull through in sets.

-
- ch 2 for a picot/branch peak, sl st into the first ch to finish peak.
- Descend: repeat matching dc and hdc stitches back toward the base, anchoring each branch securely.
- Move to the next available base space and repeat to create a series of branches, fanning around the tree.
Progress around the can tab so that both sides are layered with these ornate branch shapes.
Finishing the Branches:
- After the final branch, sl st closed, cut yarn, weave in any remaining ends-tuck all threads into the inner cavity for neatness.
Trunk Construction
- At the center bottom of your tree (where base stitches remain), locate 4 central stitches.
- Ch 4, turn.
- Across each row, work 4 sc (or hdc) back and forth to form a short rectangle.

- Continue for 4-6 rows (or to your preferred trunk length).
- Bind off, weave in thread securely into the tree's interior.
Star Topper
Round 1: Star Base
- Create a magic ring, working 10 sc into the loop.
- Tighten and join with sl st for a neat round.
Star Point Sequence (repeat 5 times for points):
- Ch 5 for each point.
- Down the chain: sl st in 2nd ch from hook, sc in next, hdc in next, dc in final-builds a graduated point.
- Sl st into the next st of the ring to anchor.
- Continue around to form five points.

- Finish star shape when all five points are complete.
Attachment Loop:
- At the end of the sequence, ch 20-25 (or desired length) for a hanging loop/stem.
- Sl st to the star base, finish, trim, and weave in excess yarn.
- Leave a tail for sewing or simply tie the star to the peak of the tree.
Assembly & Finished Size
- Tuck in all visible ends inside the tree's core.
- With a needle or hook, secure the star to the top of the branches, threading through the can tab and foliage.

- Optionally sew or glue beads, pearls, or sequins across the branches for a festive look.
- The completed tree will stand 9-12 cm tall (including star and trunk), variable with your materials.
Conclusion
This recycled can tab Christmas tree is a small but striking example of eco-friendly holiday decorations, combining commonplace household materials with crochet artistry. The contrast between the structured metallic base and the lush green crochet branches yields both stability and charm. A handmade star and optional beaded embellishments lend classic festivity to the finished miniature. This project demonstrates how reused objects and simple crochet stitches can unite, making the most of available materials while reducing waste. Place the finished piece as a holiday centerpiece, use it as a tree ornament, or offer it as a thoughtful, one-of-a-kind gift-this festive tree is certain to become a seasonal favorite, evoking both cheer and responsible crocheting for years to come.