
Enjoy making a light and pretty crochet halter top with this free pattern, designed to be fun, simple, and perfect for sunny days or beach vacations.
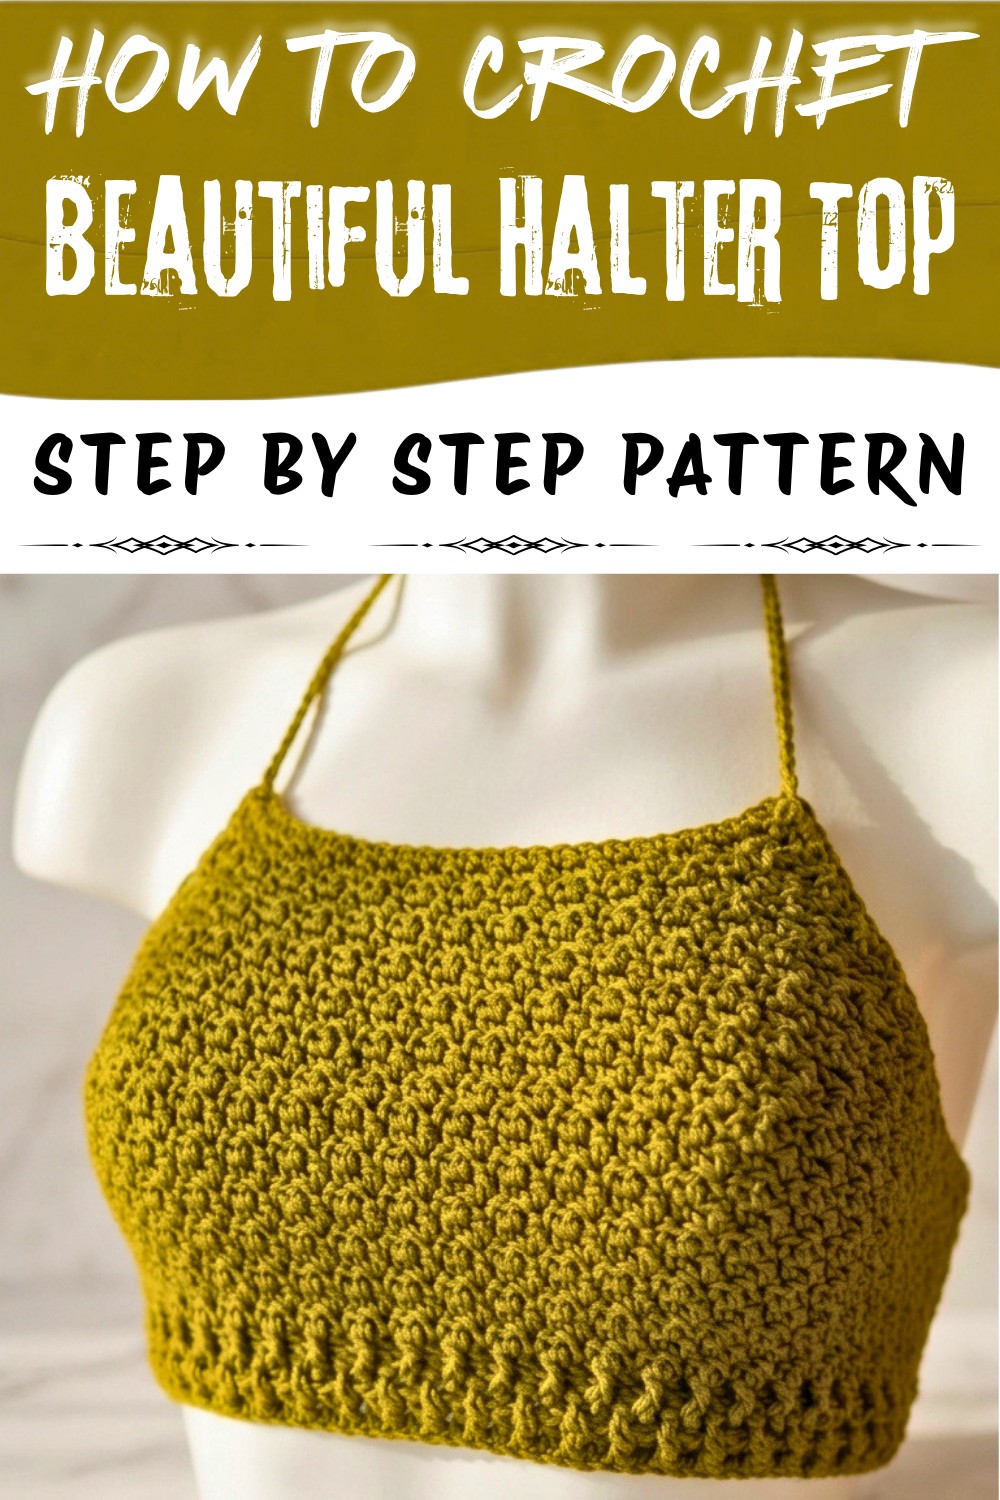
For sunny days and warm nights, making your own halter top is a simple and rewarding project. What makes it extra special is the lovely rice stitch or lemon stitch used throughout, giving the top a unique and gently textured look that stands out from the usual designs. The surface has neat bumps and a soft feel, making it both beautiful and comfortable to wear.
The shape of this top is a classic triangle at the front, with straps that tie behind your neck and back. This lets you adjust the size for a perfect, custom fit. It looks amazing in any color, pick your favorite pastel, go for bright summer shades, or create fun stripes. The pattern creates a light, airy top that's perfect for hot days, festivals, beach trips, or relaxing at home.
Turn Yarn Into Fashion with This Free Crochet Halter Top Pattern

One of the nicest things about this halter top is its design. The rice or lemon stitch forms a cool, eye-catching texture, turning a simple piece of clothing into something really special. It's easy to match with shorts, a skirt, or even layered over a tank for a stylish outfit. You can wear it for picnics, music festivals, or give it as a thoughtful handmade gift to a friend.
Even if you're just starting to crochet, you will enjoy this project, the rice or lemon stitch is simple to learn and creates a lovely finish. Teens, adults, and anyone who loves homemade, trendy clothing will enjoy making and wearing this top. Whether you want something new for your wardrobe or a fun project, this halter top is sure to become a favorite!
Crochet Halter Top Pattern
This halter top is ideal for wearing on sunny days, beach outings, or casual events. You can also make one as a special handmade gift for someone. It does not take much time or yarn to make, so it is a great project for beginners. With this pattern, you can enjoy crocheting and create something trendy and practical for your summer wardrobe.
Finished Size
- Bust Circumference: ~32 cm (can be customized).
- Length: ~21 cm, including elastic waistband and blouse design.
- Elastic Band Width: ~11 cm.
- Straps: Adjustable length based on personal preference.
The blouse comes with a fitted waistband, customizable bust shaping, and additional options for closure (buttons or a tie cord). Designed for a size medium (M), adjustments can be made for smaller or larger sizes.
Materials Required
- Yarn:
- Type: 50% Acrylic, 50% Cotton (Brand: Melisa).
- Weight: Medium weight yarn (4).
- Quantity: ~130 meters (50 grams).
- Color: Green (or any color you prefer).
- Crochet Hook: Size 4 mm (recommended by yarn manufacturer).
- Other Tools:
- Scissors.
- Stitch markers.
- Measuring tape.
- Buttons for closure (optional: use 3 4).
Gauge
- Stitch Gauge: 10 stitches = 5 cm.
- Row Gauge: 10 rows = 5 cm.
Ensure you work a small swatch to confirm the gauge, particularly for the waistband and blouse body. It ensures the final size fits correctly.
Special Techniques
- Rice/Lemon Stitch: Alternating single crochet (SC) and double crochet (DC) stitches.
- Elastic Band Technique: Worked in alternating front post double crochet (FPDC) and back post double crochet (BPDC) to create stretchy ribbing.
- Lace Straps Technique: Cord style straps created using a braided chain method with doubled yarn threads.
Pattern Instructions
Step 1: Create Elastic Band
- Foundation Chain:
- Start with a slip knot. Chain 100 (for 68 cm in size M). Ensure the chain length fits snugly around the area below the bust. Adjust for smaller/larger sizes.
- Row 1:
- Turn your work. Add one double crochet (DC) stitch into each chain across the row. You will have 100 DC stitches.
- Row 2: Elastic Formation:
- Chain 3 (represents the first DC).
- Work alternating FPDC (front post double crochet) and BPDC (back post double crochet) across each DC from the previous row.
- Repeat until the row ends.
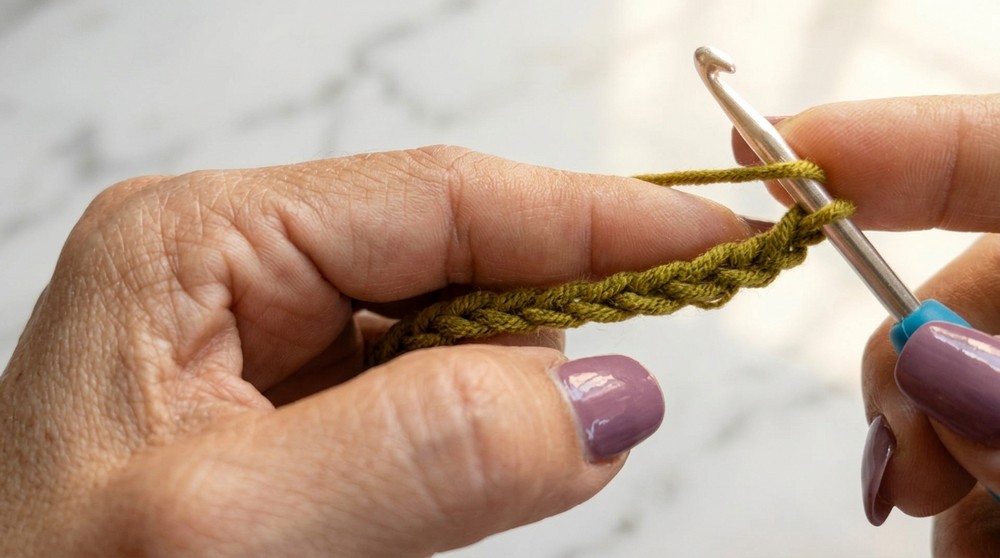
- Row 3 (Optional):
- Repeat Row 2 for added width to the elastic band.
Tips: Keep the tension even to ensure the band stretches comfortably.
Step 2: Body of the Blouse
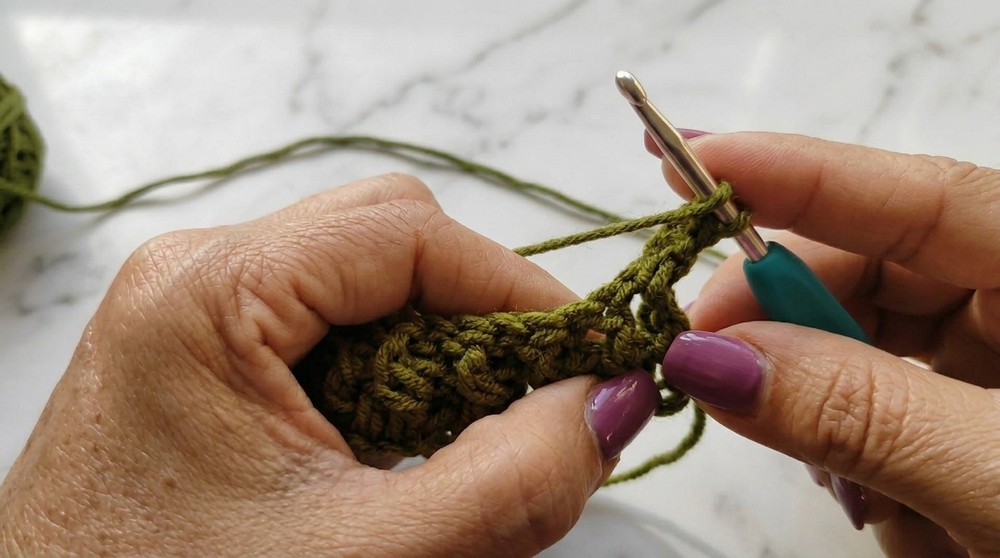
- Transition into the rice/lemon stitch:
- Chain 1 (represents the first SC).
- Work 1 SC into the first space, followed by 1 DC into the next space. Repeat SC and DC alternately across the entire row.
- Repeat the rice/lemon stitch for 12 rows (or desired length).
- Use stitch markers to define the center front and side seams for symmetry before proceeding to bust shaping.
Step 3: Bust Shaping with Decreases
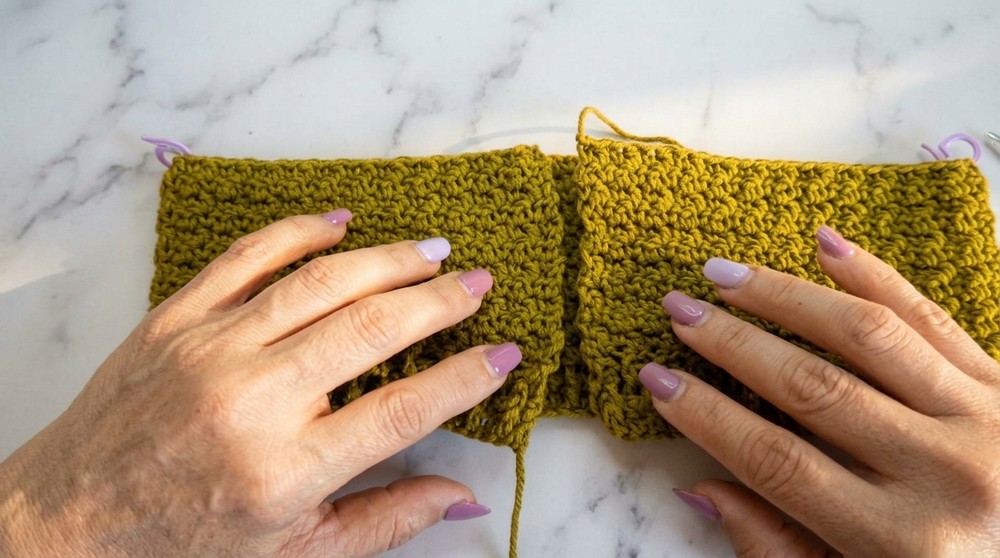
- Begin decreases to create a V shaped neckline:
- At the start of each row, skip the first stitch and join the second stitch for a smooth decrease.
- Continue using the rice/lemon stitch pattern while reducing stitches evenly on both sides.
- Gradually reduce 8-9 rows (or until 10 cm in height is achieved).
Step 4: Edging
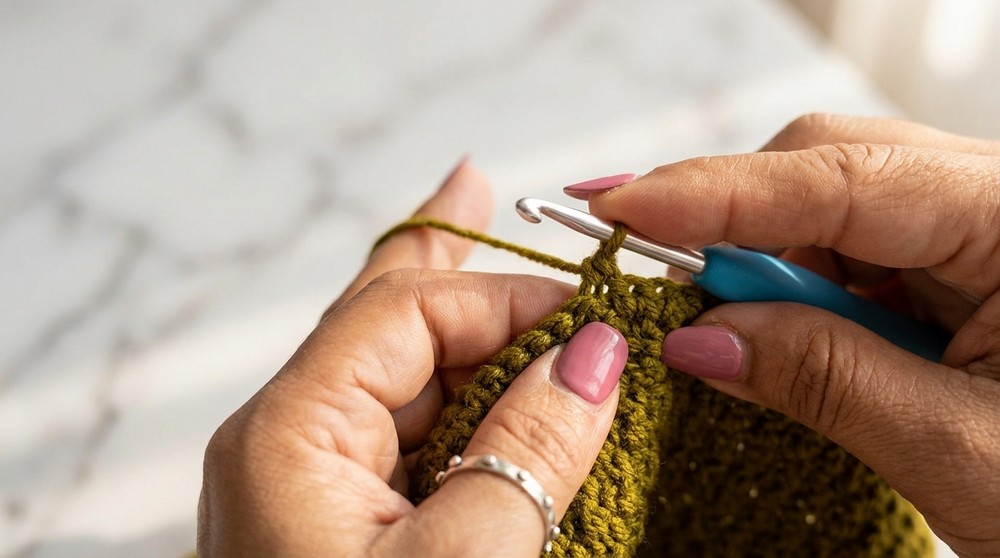
- Work a single crochet edging around the neckline and armholes for a polished look.
- At the base of the blouse, finish with a row of SC stitches for a clean edge.
Step 5: Straps
- Create thin braided straps using the cord method:
- Using doubled yarn, chain desired strap length (~75 cm per strap for medium-size blouse).
- Attach straps securely to the top corners of the bustline.
Step 6: Back Closure (Optional)
- Button Option:
- Work 3 chains to create small buttonholes at evenly spaced intervals along the back edge.
- Sew 3-4 buttons onto the opposite side for closure.
- Cord Option:
- Create matching tie cords to weave through the back of the blouse using chain strands.
- Create matching tie cords to weave through the back of the blouse using chain strands.
Customization Ideas
- Add Lacy Edges: Incorporate decorative lace patterns on the blouse hem for extra flair.
- Use Mixed Colors: Work the rice stitch in alternating yarn colors for a striped effect.
- Vary Lengths: Modify the number of rows for a cropped top or add additional rows for a tunic-style blouse.
- Accessorize: Add beads or charms to the straps for decorative flair.
Tips for Success
- Take time to measure and check fit as you crochet. Adjust stitch counts for larger/smaller sizes.
- Keep your tension even to avoid distortions, especially in the elastic band.
- Practice the rice stitch on a small swatch before starting the main blouse.
Conclusion
This crocheted blouse is perfect for showcasing your skills, whether for casual outings or as a handmade gift. The rice/lemon stitch adds texture and beauty, while the elastic band ensures a snug and flattering fit. Customize the colors, length, and closures to make the design uniquely yours!
Enjoy crocheting your stylish blouse and remember: the beauty of handmade projects lies in the love and creativity added into every stitch.