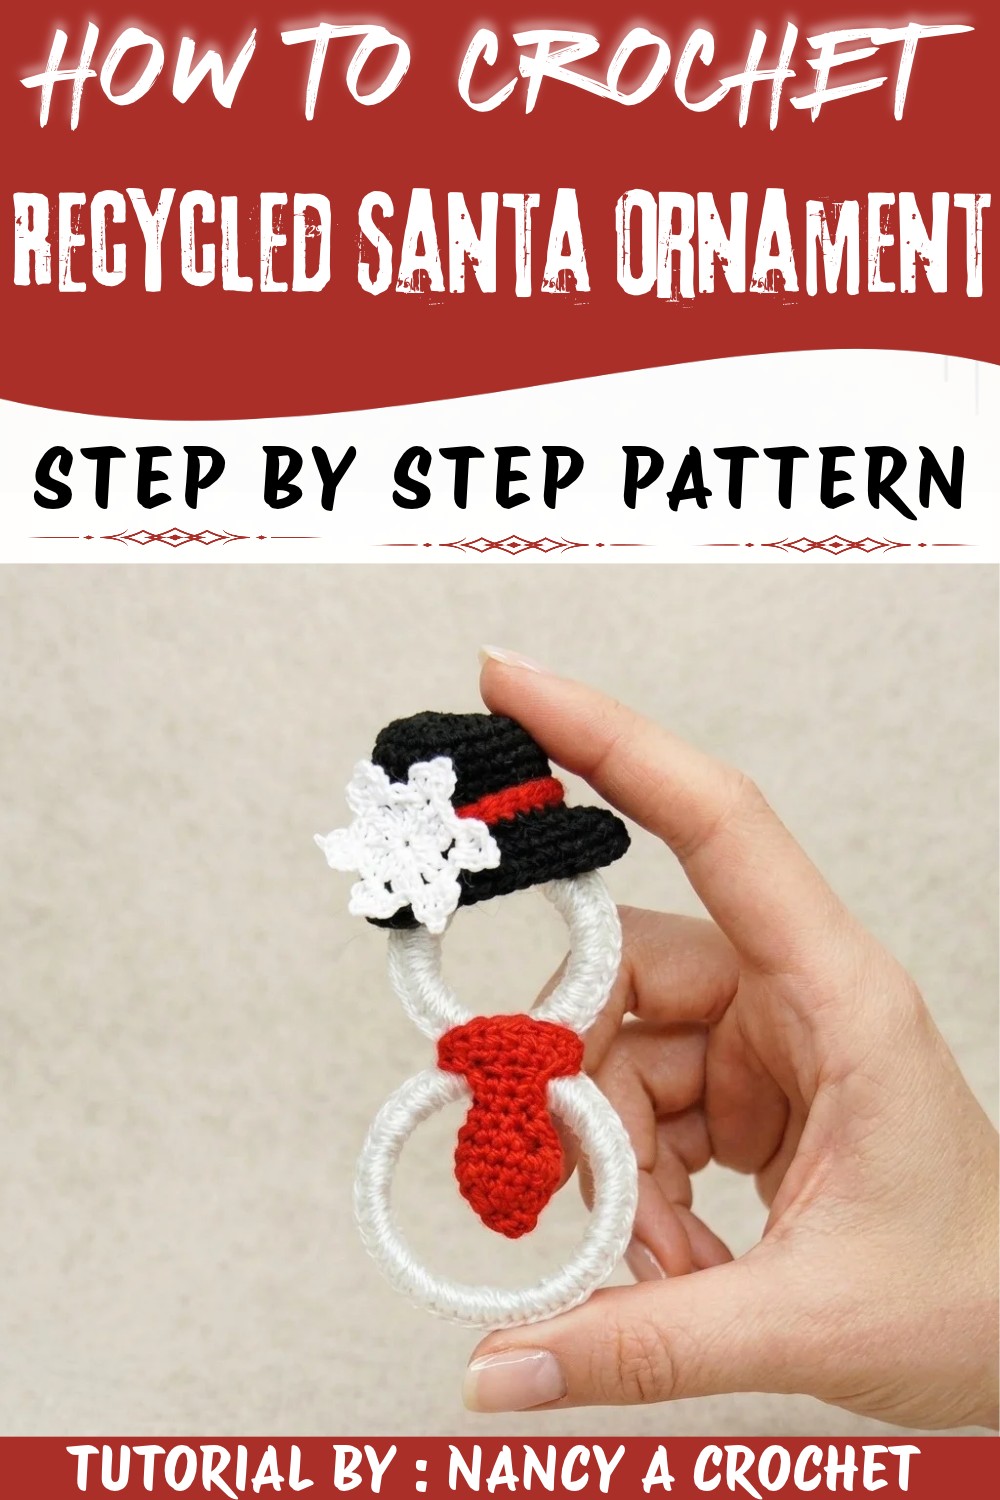
Turn unused materials into holiday cheer with this Crochet Recycled Santa Ornament Free Pattern, a sweet decoration for seasonal displays.
Celebrate the festive spirit with a unique and eco-friendly twist this holiday season! This charming Santa ornament brings warmth and whimsy to any Christmas décor. Designed with thoughtful detail, it fits perfectly into your tree or as a delightful accent anywhere you want to spread cheer. For a truly special project, be sure to check out the original tutorial and design by Nancy a crochet on YouTube, where she masterfully guides you through every colorful step.
Simple Crochet Recycled Santa Ornament Free Pattern To Try At Home
This Crochet Recycled Santa Ornament Pattern offers not only an inspiring way to upcycle common items but adds a personalized touch to your festive decorations. Ideal for the holiday season, this ornament pairs beautifully with handmade wreaths, twinkling lights, and rustic home accents to enhance the cozy and joyful atmosphere. Whether you're decking out your own home or creating memorable gifts, this Santa will charm hearts and invite compliments.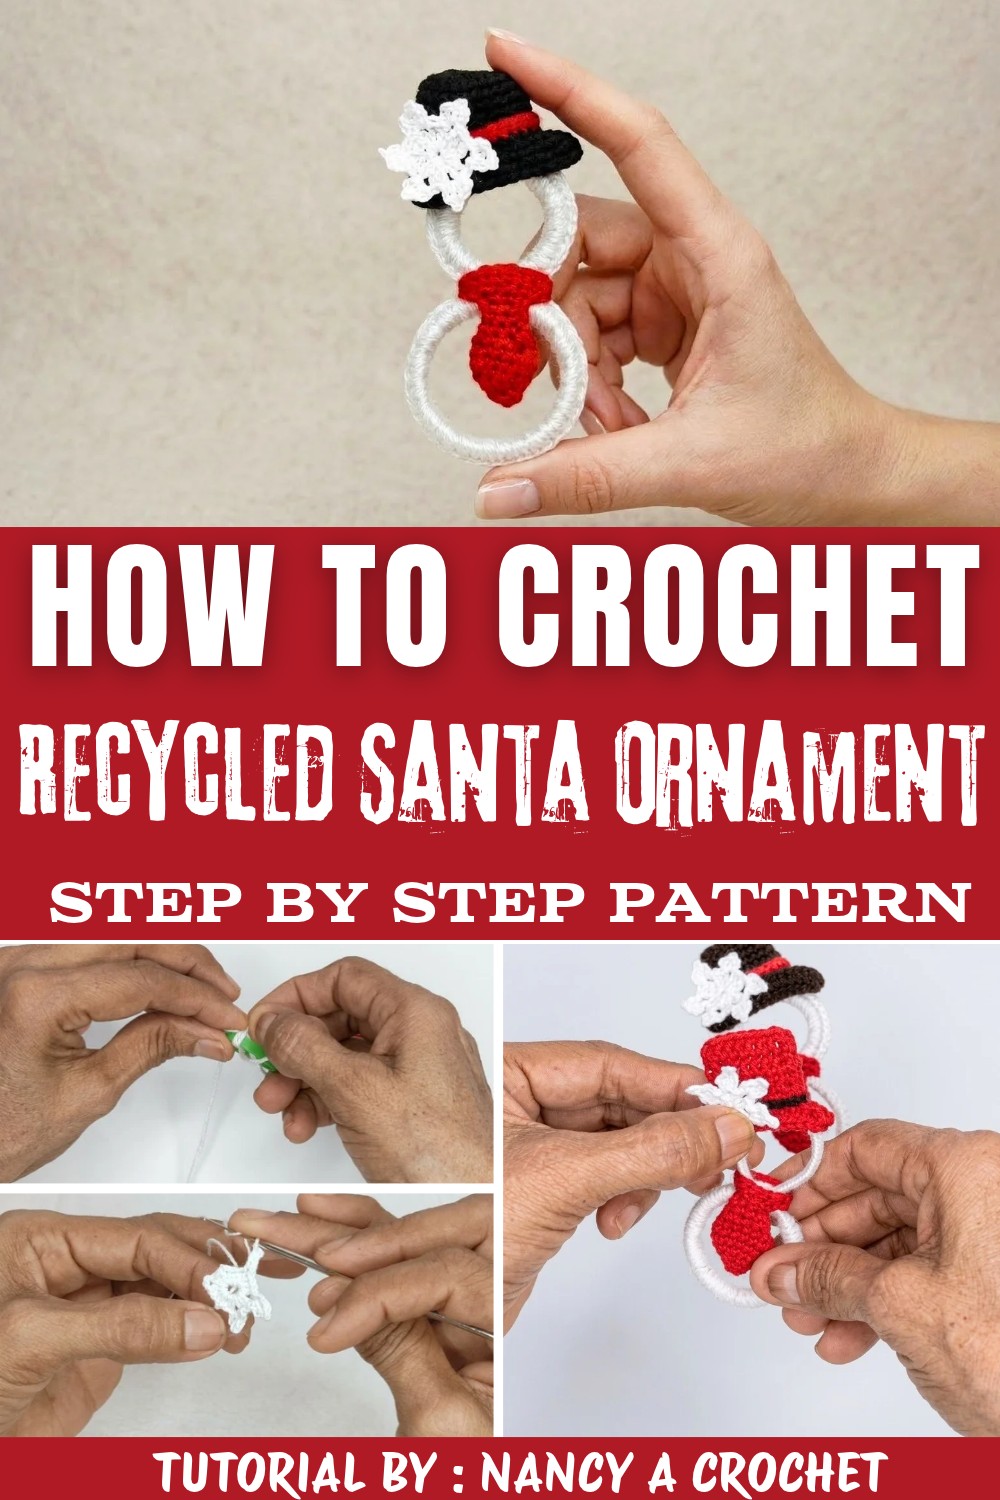
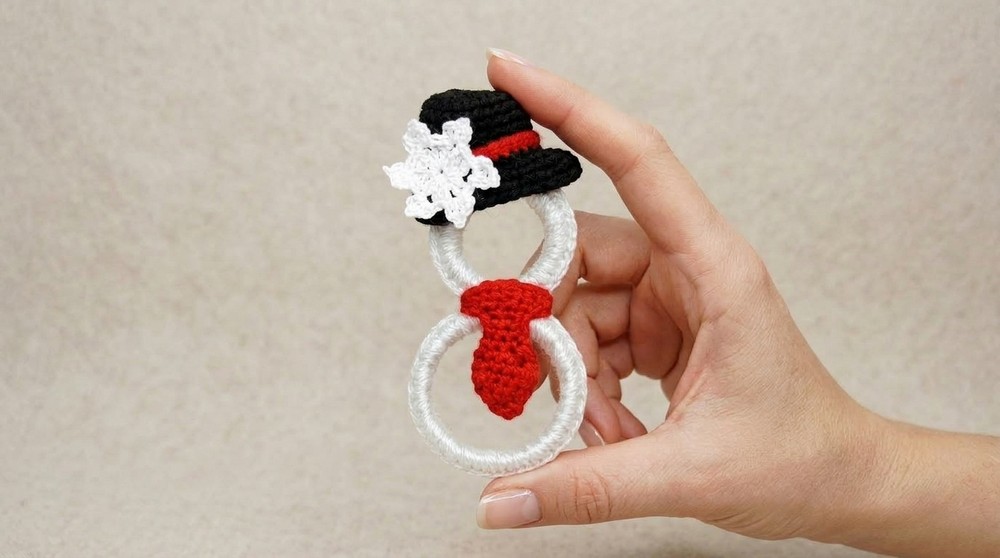
The ornament's texture is both plush and sturdy, achieved by wrapping yarn intricately around recycled soda can rings, producing a solid yet soft feel that stands out against traditional decorations. Its standout features include a classic Santa hat with a delicate snowflake detail and a neatly shaped tie, adding personality and character. The combination of yarn thickness and delicate embroidery creates depth and richness, making this tiny Santa a true conversation piece.
Perfect for holiday makers looking to add eco-conscious beauty to their festivities, this Santa ornament embraces tradition with a modern, sustainable flair. Dive into the complete pattern to discover how this delightful design comes to life, and enjoy the satisfaction of bringing a bit of recycled magic into your seasonal celebrations.
Adorable Crochet Recycled Santa Ornament Free Pattern
Holiday preparations offer a special opportunity to blend personal touches with sustainable practices. This snowman ornament uses recycled rings from common household bottles, paired with classic crochet techniques and colorful yarn. Every element, from the snowflake accessory to the scarf and hat, is formed with accessible materials and beginner-friendly methods. The following steps guide you through each part of the project, ensuring success whether this is your first hand-crafted ornament or an addition to your annual collection.
Quick Overview Of Pattern
- Wrap two sizes of recycled plastic rings with yarn to build the snowman's body and head.
- Crochet a hat and attach securely atop the head.
- Add a small crocheted snowflake as a decorative accent for the hat.
- Make a tie and scarf band for the snowman's neck.
- Finish with bead eyes and buttons, an embroidered carrot nose, and a hanging loop for display.
Notes
- Rings come from plastic caps, such as milk or juice bottles.
- Adjust yarn thickness for a fuller or more delicate look.
- Secure accessories by sewing or with silicone glue.
- Ornament is fully customizable in size and colors.
Skill Level
Advanced Beginner
Basic knowledge of chaining, slip stitching, working in rounds, and single/half double/double crochet is required. Fine embroidery thread might require patience but is manageable for all skill levels.
Materials
- 2 Recycled Plastic Rings: One medium, one small (e.g., milk or water bottle cap rings)
- Yarn / Thread:
- White for body
- Black for hat
- Orange for nose
- Color of choice for scarf
- Embroidery thread for snowflake/accent
- Hooks:
- 1.75 mm crochet hook (main parts)
- 0.75 mm crochet hook (snowflake/accent)
- Embellishments:
- Small black or brown beads (eyes & buttons)
- Tools:
- Yarn needle
- Scissors
- Silicone glue (optional)
Measurements / Sizing
- Body ring (medium): approx. 3-4 cm diameter
- Head ring (small): approx. 2.5-3 cm diameter
- Ornament height (assembled): 8-10 cm
- Hat height: ~2.5 cm (can adjust as preferred)
- Scarf length: ~6-7 cm (adjust to fit neck area)
Gauge
- Gauge is not critical; ensure rings are fully covered and accessories fit proportionally.
Stitch Abbreviations
- ch - chain
- st(s) - stitch(es)
- sl st - slip stitch
- sc - single crochet
- hdc - half double crochet
- dc - double crochet
- MR - magic ring
- inc - increase (2 stitches in the same space)
Special Stitches
- Magic Ring (MR): Form a loop, crochet stitches inside the loop, then pull tail to close.
- Increase (inc): Place 2 stitches in the same stitch.
- Back Loop Only (BLO): Work only through the back loop of the designated stitch.
The Crochet Pattern
Preparing & Covering the Plastic Rings
Wrap Body Ring
- With white yarn, position the yarn end at any point on the medium plastic ring.
- Wrap the yarn tightly around the ring, side-by-side, covering the entire surface so no plastic remains visible.
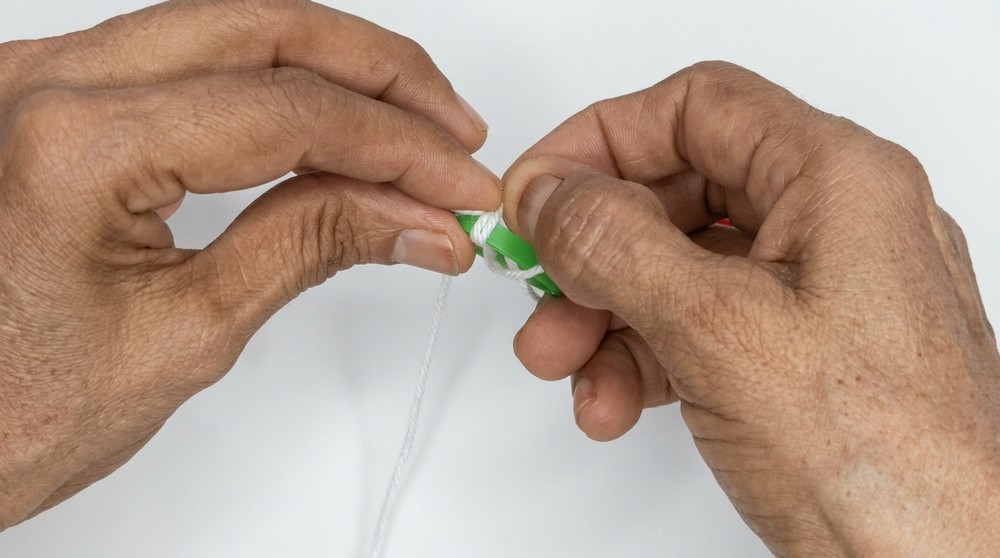
- Secure the yarn by pulling the end gently through the wrapped threads with a yarn needle (or small hook).
Join Head Ring
- Position the smaller ring so it slightly touches the top inside edge of the first (body) ring.
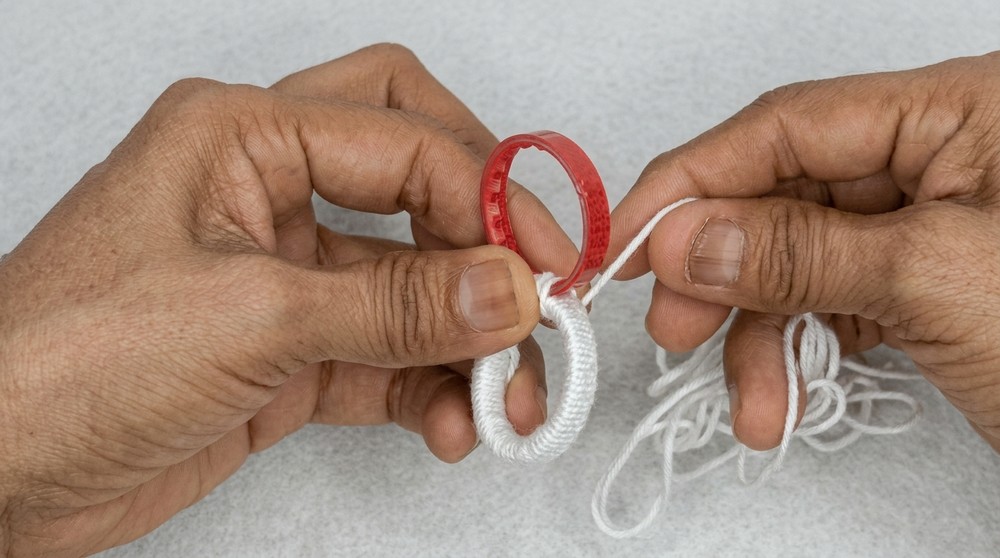
- Continue wrapping yarn around both rings at the junction to secure them together.
- Once attached, continue wrapping until the second (small) ring is completely covered in white.
Secure Ends
- Insert the yarn end through several wraps or use a yarn needle to hide it inside the covered ring. Trim excess.
Crocheting the Snowman's Hat
Foundation Chain
- Take black yarn (or color of choice for visibility).
- Ch 11 (for a standard top hat).
Hat Body
- Turn; work hdc (half double crochet) into each stitch back along the foundation chain.
(Result = 10 hdc across per row.) - Continue: Work 2-4 more rows, depending on how tall you want the hat.
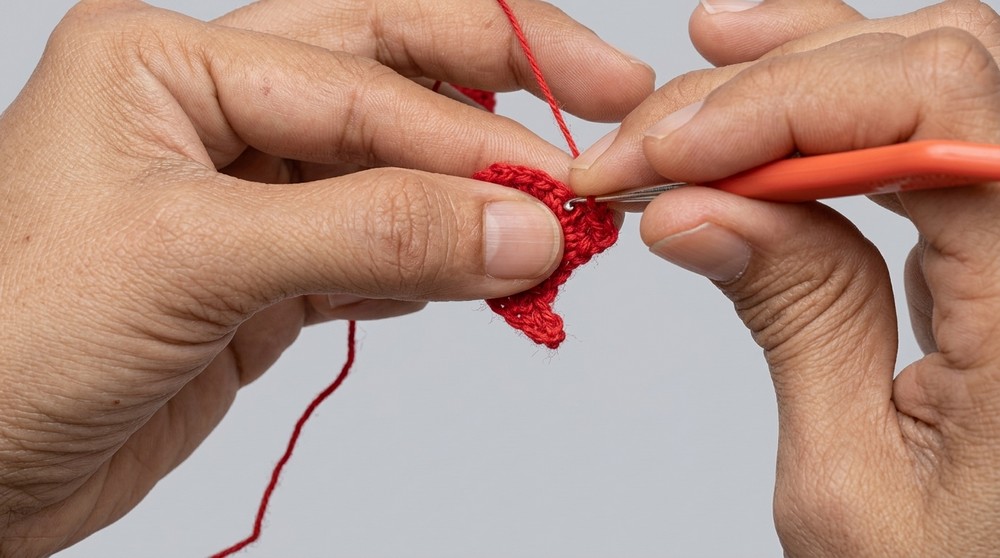
- At the end of every row, ch 1, turn.
Shape & Brim
- Now, at the end of your desired rows, increase at each end:
(In the first and last stitches of the next row, work 2 hdc). - Work one more row evenly (no increases) to form the brim.
- For a subtle curve, finish brim by working a sl st in each stitch all the way around.
Assembly
- Leave a long tail (for sewing).
- Position hat on top of the snowman's head (small ring) and either sew or glue in place.
Crocheting the Snowflake Accessory
Center Ring
- With embroidery thread and the 0.75 mm hook, make a magic ring.
Petals/Points
- For each of six points:
- Ch 2, hdc in MR, ch 2;
slip stitch into the MR to close each point.
- Ch 2, hdc in MR, ch 2;
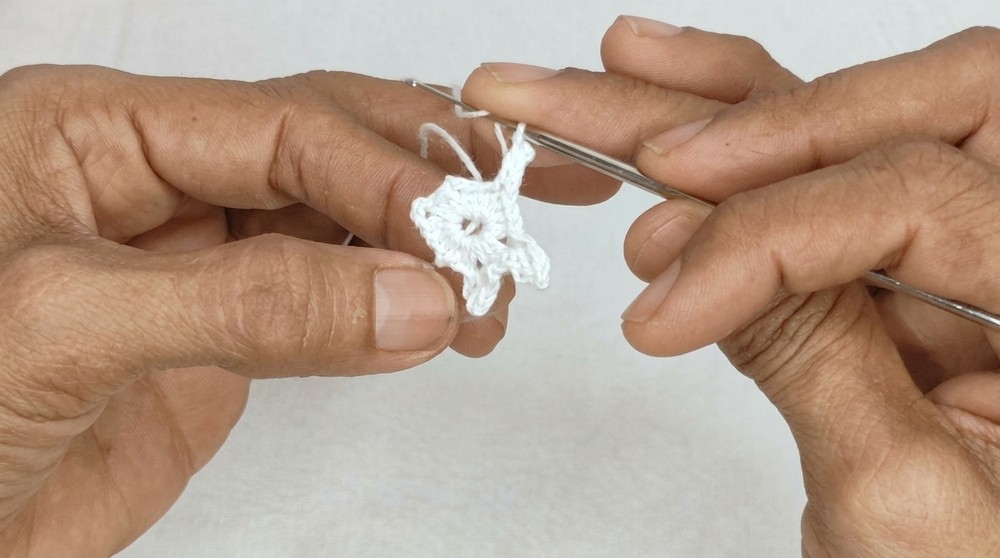
Complete
- Repeat for 6 points.
- After the last point, sl st to close the round.
- Tighten the magic ring and fasten off; weave in end.
Attach
- Sew or glue snowflake onto the hat.
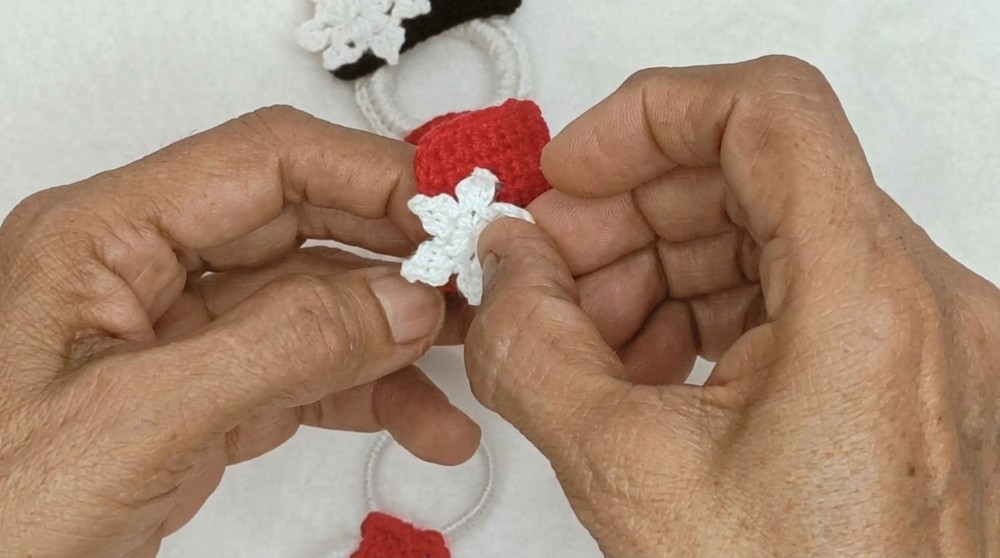
Crocheting the Tie & Scarf
Tie Base
- With scarf color and a 1.75 mm hook, make a magic ring.
- Into the MR, work 4 sc. Pull tight and sl st to close.
Shape Tie
- Round 1: (ch 1 at start), (sc in next st, inc in next st) around (total 6 sc).
- Round 2: (sc in next st, inc in next st), repeat (total 9 sc).
- Round 3: (sc in next st, inc in next st), repeat (total 14 sc).
Increase Length
- Work 5 hdc, then 1 decrease (hdc2tog). Repeat for the round (total 12 hdc).
- Next round: 4 hdc, decrease, repeat (finish round).
- Next 3 rounds: 3 hdc, decrease; work evenly 1 round.
Finish Tie
- Fasten off, leaving a sewing tail.
- Set aside.
Scarf Band
- With same color, ch 15 (adjust length for ring size).
- Row 1: Work hdc in each ch across.
- Fasten off.
Assembly
- Attach scarf band around the junction between snowman's head and body.
- Overlap slightly and sew or glue the tie piece at the overlap, making sure it hangs neatly down.
Final Details & Hanging Cord
Add Facial Features
- Using beads, sew two as eyes onto the small ring (head).
- Thread orange yarn through a yarn needle and embroider small "V" or "carrot" shapes for nose.
- Add additional beads vertically down the body ring for snowman buttons.
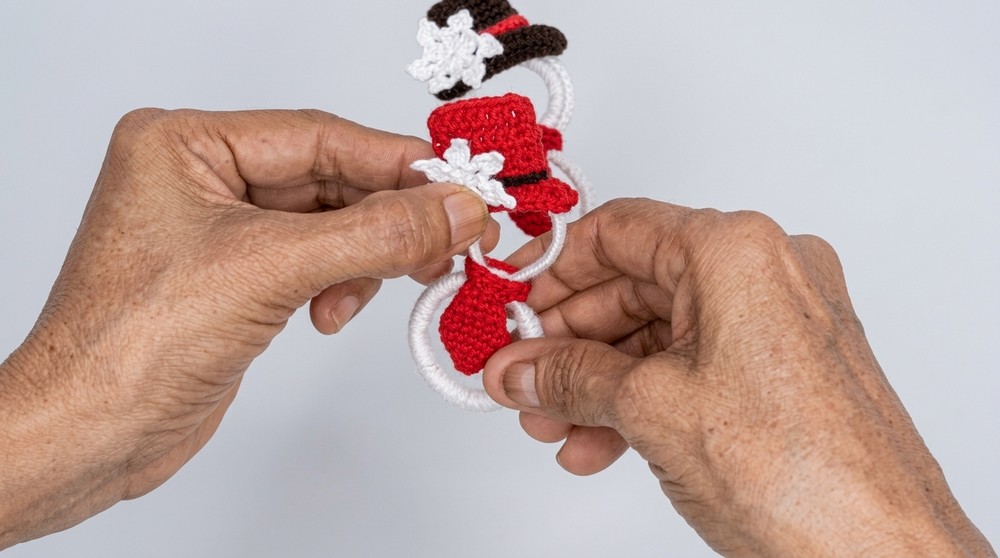
Hanging Loop
- Cut a length of strong thread, yarn, or cord.
- Fold to make a loop and attach securely to the top of the hat.
- Knot and trim excess behind hat if desired.
Assembly & Finished Size
- Confirm all elements are firmly attached, adjust shape/symmetry.
- Optionally, add a dab of silicone glue to backs of accessories for added security.
- Finished ornament measures approximately 8-10 cm tall.
- The lightweight design makes it suitable for hanging on tree branches, doors, or gifts.
Conclusion and Final Thoughts
This upcycled snowman ornament project highlights the cheerfulness of the season and the satisfaction of repurposing everyday materials. The process combines artistic detail with straightforward instructions, resulting in a decoration that's practical for gifting or displaying. Several rounds of wrapping, neat crochet shapes, and thoughtful ornaments-the hat, scarf, and snowflake-combine to make a snowman that feels lively and unique. Adjusting colors or embellishments lets you customize each ornament for your décor or recipients. Securely fastened parts ensure it remains intact year after year. Lightly hand wash and air dry as needed for easy maintenance. Add this snowman to your festive preparations and spread a message of creativity and sustainability throughout your holiday celebrations.