
Stitch a cute and cozy baby hat in no time with this free crochet pattern, featuring simple stitches and step by step instructions for four different sizes.
Have you ever thought about the joy of making something soft and warm for a baby? Making a baby hat can be both simple and rewarding. With easy stitches and a little bit of yarn, you'll have a delightful baby hat that is both practical and adorable. This project uses beginner friendly stitches like single crochet and half double crochet. These stitches create a soft and stretchy texture that feels gentle on a baby's skin. Whether you're making the hat for a newborn coming home or as a sweet gift, each stitch is filled with care.
Free and Easy Crochet Baby Hat Pattern to Try Now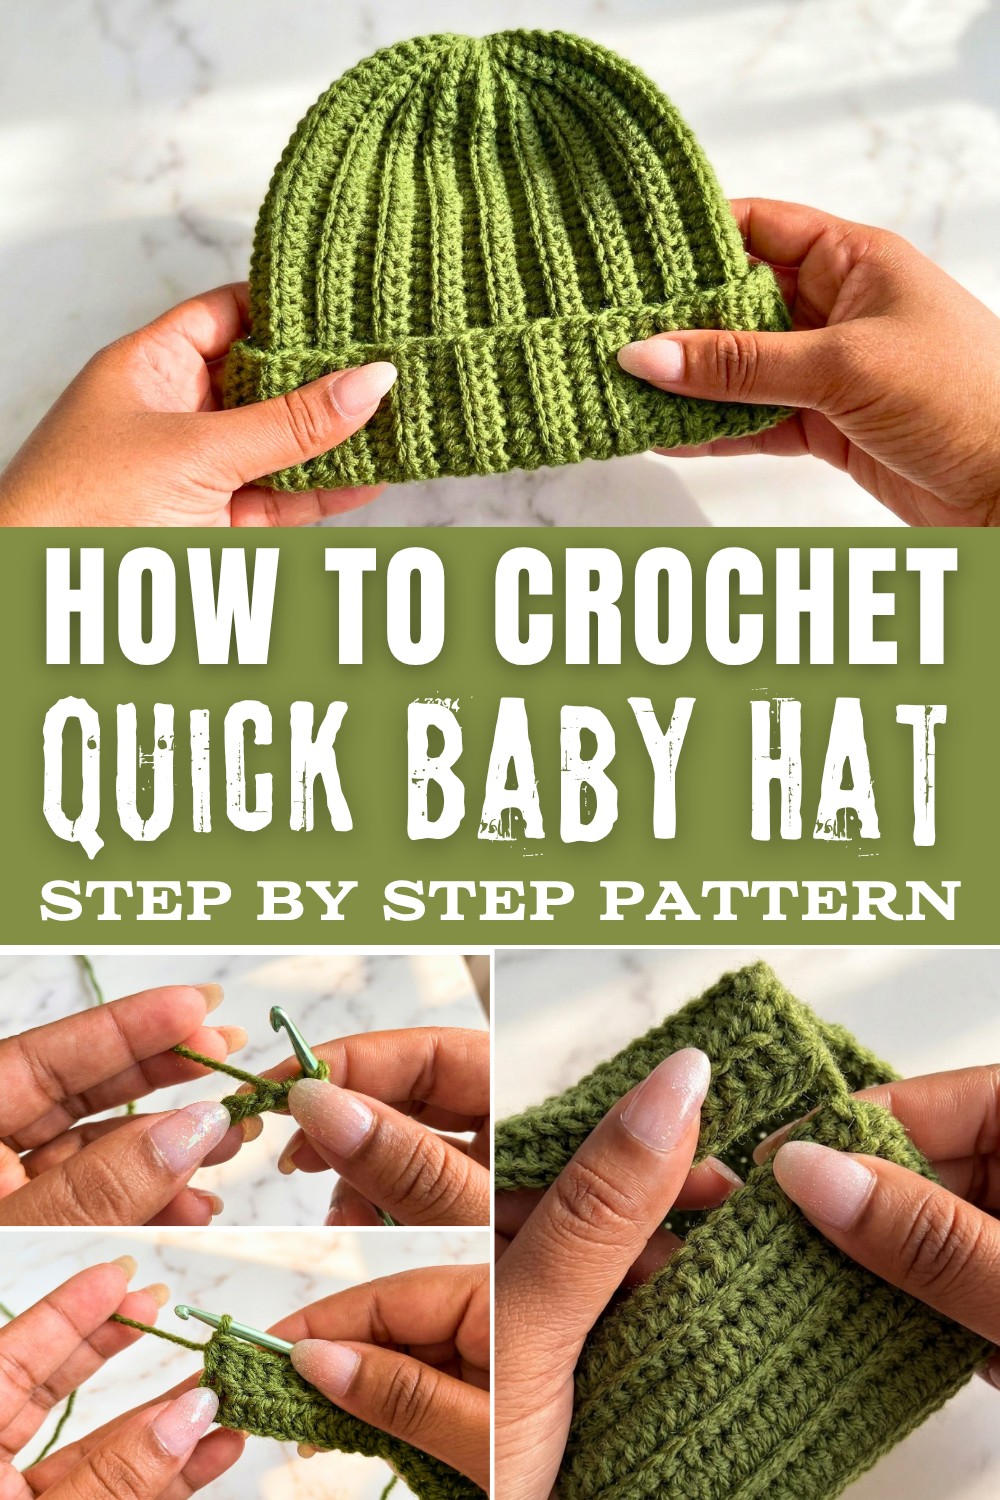
While working on this project, you will pick up essential skills such as how to make chains, work rows of half double crochets, and use the back loop technique to add a ribbed texture that makes the hat stretch gently. These techniques form the foundation of many crochet projects and are a fantastic starting point for anyone new to crocheting. Once you've tried your hand at making the baby hat, there are so many other items you can crochet using similar stitches. Think about making matching baby booties, headbands, or even mittens to keep little hands warm.
The basic stitches learned here open up a wide range of possibilities for more cozy items. Making a baby hat is a delightful way to spend your time, turning simple yarn into something truly meaningful and heartfelt. Enjoy each moment, as you bring comfort and love into your crochet creations.
Crochet Pattern: Baby hat (0-12 Months)
This crochet baby beanie pattern is ideal for creating adorable, comfortable, and stretchy hats for babies. Work this versatile design for sizes 0-3 months, 3-6 months, 6-9 months, and 9-12 months using single crochet (SC) and half double crochet (HDC) stitches. Follow this beginner friendly, detailed pattern step by step to complete your project with confidence.
Quick Overview of Pattern
- 4 beanie sizes: Early born, 0-3 months, 3-6 months, 6-12 months
- Uses half double crochet (HDC) stitch and simple single crochet (SC)
- Multiple color options available; pattern includes tips for color changes
- Ideal for beginners
- Can be completed in 10-20 minutes
Notes
- Turning chains are included and counted as stitches unless stated otherwise.
- Use a stitch marker to keep track of specific points as instructed.
- For a neat top, specific finishing instructions are provided.
Skill Level
- Beginner friendly
Materials
- Yarn: Double knit yarn, approx. 20-50g depending on size
- Yarn Color: Deep Moss
- Recommended hook size: 4mm crochet hook
- Yarn needle: For joining and weaving in ends
- Optional: Stitch markers for guidance
- Decorative option: Pom pom for the top of the beanie
Measurements
- 0-3 months: ~28 cm wide (before folding)
- 3-6 months: ~30 cm wide (before folding)
- 6-9 months: ~32 cm wide (before folding)
- 9-12 months: ~34 cm wide (before folding)
Abbreviations
- SC: Single crochet
- HDC: Half double crochet
- CH: Chain
- ST: Stitch
- BLO: Back loop only
Special Techniques
Half Double Crochet (HDC):
- Yarn over (YO), insert the hook into the stitch.
- YO again, pull a loop through (three loops on the hook).
- YO and pull through all three loops.
Back Loop Only (BLO):
Work into the back loop of the stitch, leaving the front loop free to create a ribbed texture.
The Pattern
Step 1: Foundation Chain
Begin your project by making a slip knot on your crochet hook and chaining the number of stitches required for your desired size:
- 0-3 Months: 36 chains
- 3-6 Months: 40 chains
- 6-9 Months: 44 chains
- 9-12 Months: 48 chains
Step 2: First Row (Single Crochet)
- Work 1 SC into the second chain from the hook to build a foundation.

- Continue working 1 SC in each chain across the entire row.
- This first row lays the foundation edge for your beanie.
Step 3: Transition to Half Double Crochet
- For the next row, turn your work.
- CH 1, then begin working 1 HDC in BLO for all stitches in this row.
- Only work into the back loop of each stitch to create a ribbed texture.
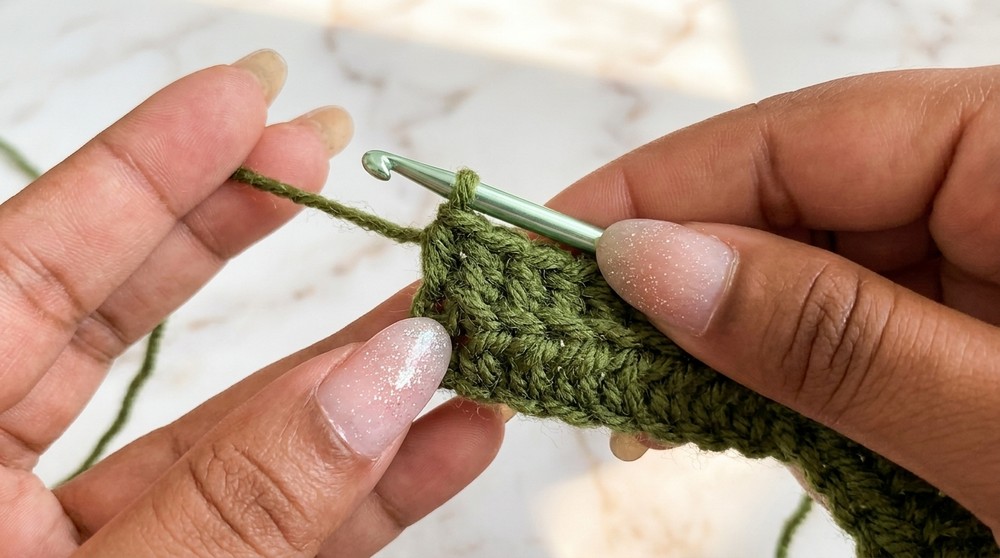
- Only work into the back loop of each stitch to create a ribbed texture.
- Maintain a consistent stitch count to keep the edges straight and neat.
Step 4: Continue Row Repeats
- Repeat the steps for HDC in BLO:
- Start each row with CH 1, turn, and work into the back loops.
- Ensure each row follows the same stitch count as the initial row.
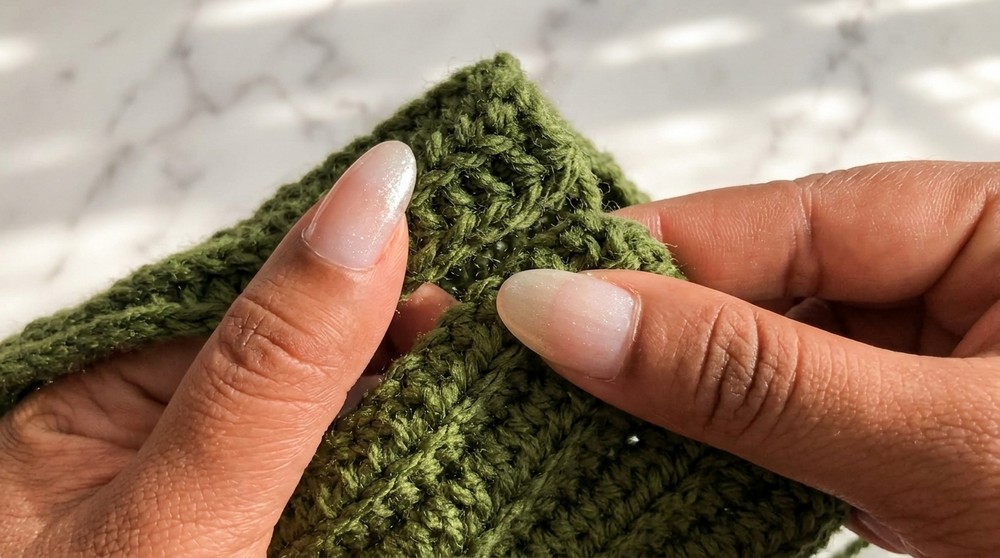
- Continue crocheting rows until you reach the correct measurements for your desired size:
- 0-3 Months: ~28 cm wide
- 3-6 Months: ~30 cm wide
- 6-9 Months: ~32 cm wide
- 9-12 Months: ~34 cm wide
Step 5: Joining the Beanie
- Once your rectangular piece has reached the desired size, fold it in half, aligning the short edges.
- Take a yarn needle and use the yarn tail to join both short edges:
- Work by stitching through both loops on one edge and the back loop of the other edge for a clean and neat seam.
- Continue until the seam is fully joined, forming a tube shape.
- Make sure the seam remains aligned and straight for a professional finish.
Step 6: Closing the Crown
- Use the yarn tail and thread it through the stitches along the top edge of the tube.
- Insert the needle evenly through every other stitch around the top opening.
- Pull the yarn tightly to gather the stitches, closing the top of the beanie.
- Secure the gathered top by tying a firm knot.
- Hide the yarn tail by weaving it into the inside of the beanie with the yarn needle.
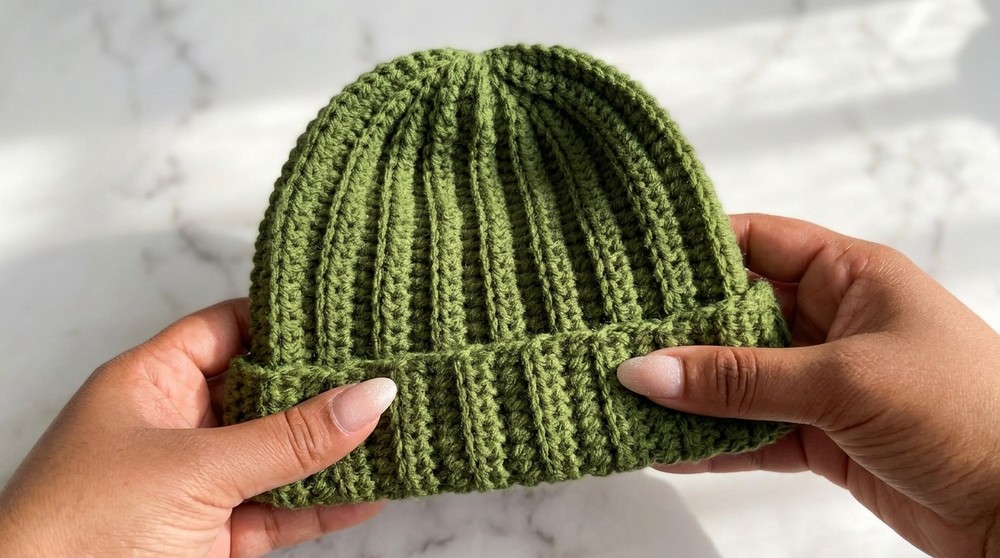
Step 7: Adding a Pom Pom (Optional)
- Make or purchase a pom pom in a matching or complementary color.
- Attach the pom pom to the center of the beanie's crown:
- Thread the pom pom's yarn tails through the top of the beanie and pull them into the inside.
- Tie the pom pom securely with a knot.
- Ensure the pom pom is tightened firmly to prevent it from coming loose.
- Trim any excess yarn tails from the pom pom for a polished look.
Finished Sizes
- 0-3 months: 36 rows, ~28 cm wide, ~16 ribbed lines when joined
- 3-6 months: 40 rows, ~30 cm wide, ~18 ribbed lines when joined
- 6-9 months: 44 rows, ~32 cm wide, ~19 ribbed lines when joined
- 9-12 months: 48 rows, ~34 cm wide, ~20 ribbed lines when joined
Conclusion
Congratulations, You've created a beautiful and cozy baby beanie. This basic yet adorable design is an excellent choice for babies and will keep them warm and comfortable. Enhance the look with fun colors, or make it unique by adding a pom pom.
Feel free to experiment with more sizes, colors, or textures using the same technique. You've mastered a beginner friendly, go to project that's as practical as it is stylish.
Tips for Maintaining and Personalization
- Consistency is key: Use stitch markers to keep track of edges and ensure your rows are straight.
- Use different colors: Experiment with stripes or color changes to add unique designs
- Prevent unraveling: Always double knot at the ends and weave them into the fabric for durability.
By following these steps, you'll master the art of making baby beanies and be ready to explore other crocheted items from the same techniques.