
Find a simple free crochet textured pillow pattern that offers comfort, beauty, and warmth, perfect to personalize your space with soft and stylish details.
A soft and beautifully textured pillow can make any room feel cozy and special. With unique patterns and charming details, it adds a warm and stylish touch to your home. This handmade pillow is full of amazing textures that make it not only look great but also feel extra snug and comfy. Perfect for decorating your living room, bedroom, or favorite reading corner, it instantly transforms ordinary spaces into something more inviting.
Crochet Textured Pillow Pattern for Any Style
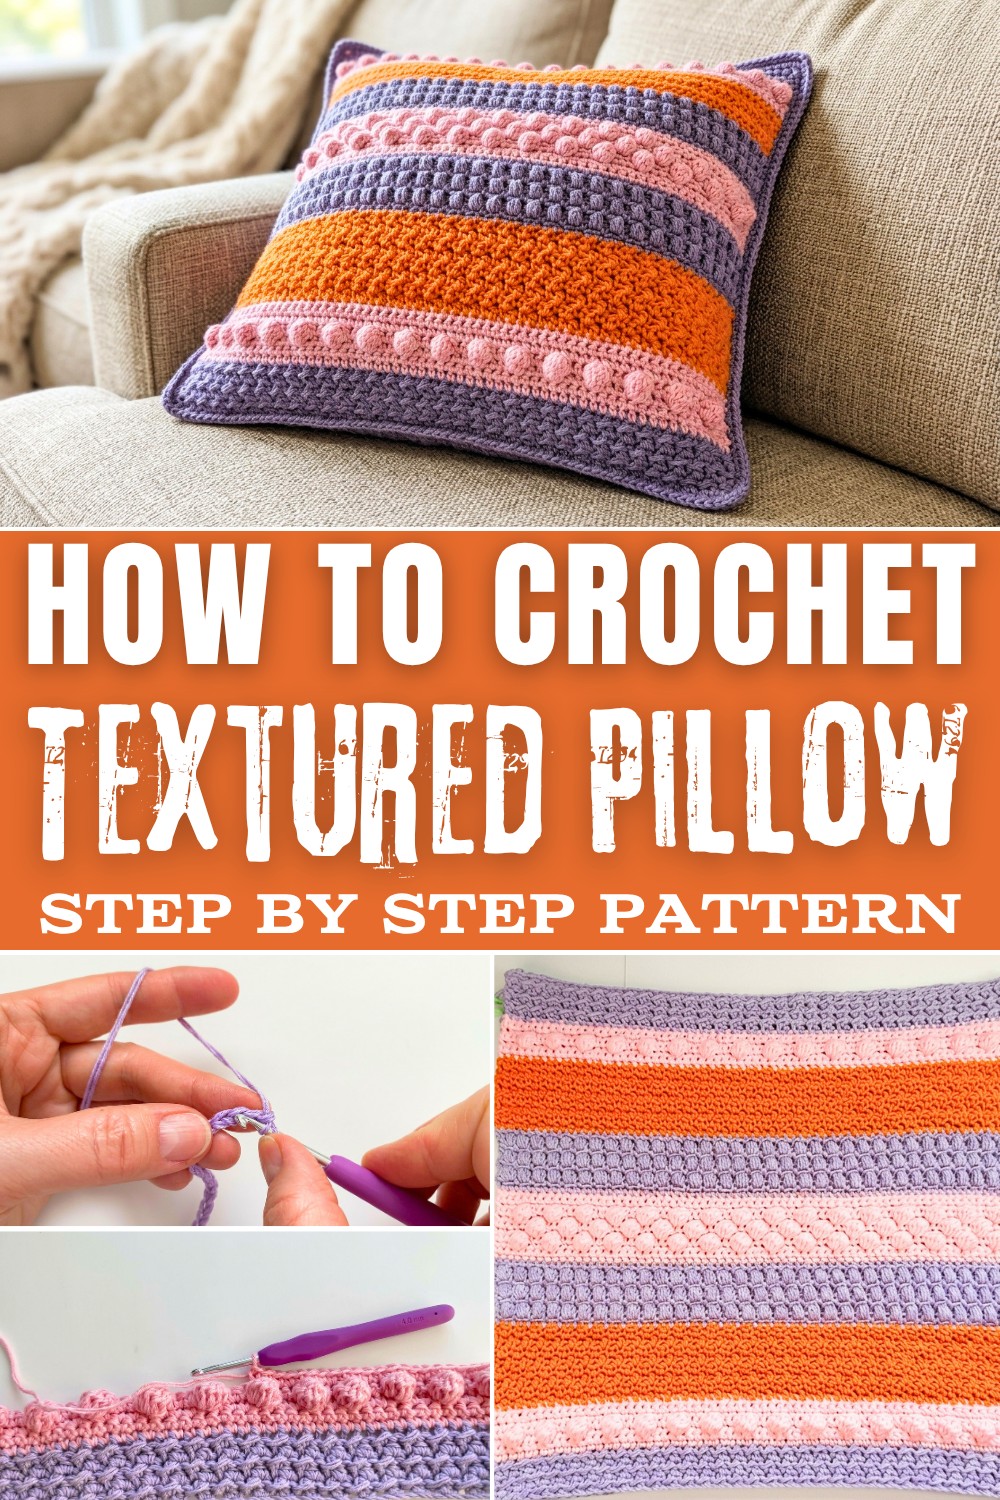
The design is simple yet elegant, making it suitable for both modern and traditional decor. Whether you choose vibrant colors to brighten up your room or soft, neutral tones for a calming vibe, this pillow offers many possibilities to match your style. It creates a statement piece for your couch or bed, while also being practical to lean on during a cozy evening.
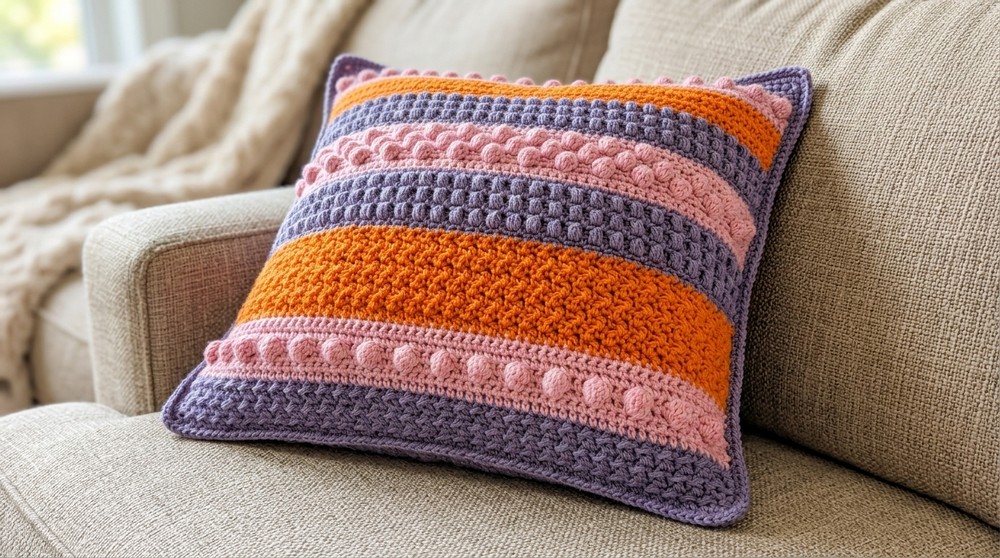
The soft textures make it stand out, with its unique stitches providing a one-of-a-kind appearance. This pillow is not only a beautiful decoration but also a thoughtful gift idea for loved ones. Its mix of comfort, style, and creativity makes it a wonderful addition to your home. Anyone can enjoy the beauty and charm it brings to a space.
Textured Crochet Pillow Cover Pattern
Skill Level
Intermediate to Advanced: Requires knowledge of basic crochet stitches, texture-building techniques (e.g., bobble stitch, puff stitch), reverse single crochet, working in rows, and changing colors.
Materials
- Yarn:
- Hobie Twister Solid Yarn (cotton/acrylic blend), light fingering weight #1 (approximately 3.5 balls for the project).
- The yarn is doubled throughout the project for appropriate thickness. You can use two ends from the same ball or two separate balls.
- Crochet Hook: 4 mm (G/6).
- 20x20 inch (50x50 cm) pillow insert.
- Stitch Markers: Optional, useful for counting.
- Scissors.
- Darning Needle: For weaving in ends.
Abbreviations (Using US crochet terminology)
- ch: Chain
- sc: Single Crochet
- dc: Double Crochet
- hdc: Half Double Crochet
- sl st: Slip Stitch
- st(s): Stitch(es)
- sk: Skip
- yo: Yarn Over
- sc2tog: Single Crochet Two Together (decrease)
Special Notes
- Gauge is not critical for this project as long as your finished size matches your pillow dimensions (17 x 17 inches or 43 x 43 cm). Use your measurements rather than stitch counts to ensure the correct size.
- Yarn is doubled throughout for added thickness and texture. Adjust your tension accordingly if needed.
- Customizable Sections: Feel free to modify colors and section lengths for a unique look.
- Finished Size: The pillow cover is designed to be slightly smaller than the pillow insert (17" cover for 20" insert) to ensure a snug and firm fit.
Pattern Instructions
Step 1: Section 1 - Textured Base
- Chain Foundation:
- With two strands of yarn held together, chain 72 (or approximately 17 inches / 43 cm) for the base. Adjust the number based on your measurement, ensuring a comfortable fit for your pillow insert.
- Ensure your stitch count leaves no gaps and is divisible by 2.

- Row 1 (Foundation Row):
- Begin in the 3rd chain from the hook.
- Alternate 1 hdc, 1 sl st to the end of the row.
- Last stitch should be a slip stitch.
- Row 2 (Pattern Row):
- Ch 2 (counts as hdc), turn.
- Work 1 hdc into the sl st from the previous row, and 1 sl st into the hdc from the row below.
- Alternate hdc and sl st across the entire row.
- Repeat Row 2 until the section measures 1.5 inches (4 cm).
Step 2: Section 2 - Color Transition
- Change to a new color (optional). Pull the new yarn through the last loop of the previous stitch. Cut the previous yarn, leaving a tail to weave in.
- Row 1: Work a row of sc across (70 sc or as many as your first section).
- Continue by working 3 rows of sc to create a solid section.
Step 3: Section 3 - Bobble Stitch Section
- Row 1 (Setup Row):
- Work 3 sc in the first 3 stitches, then a bobble stitch in the next stitch.
- For a bobble stitch:
- Yo, insert into the stitch, pull up a loop, yo, pull through 2 (repeat this 5 times in the same stitch).
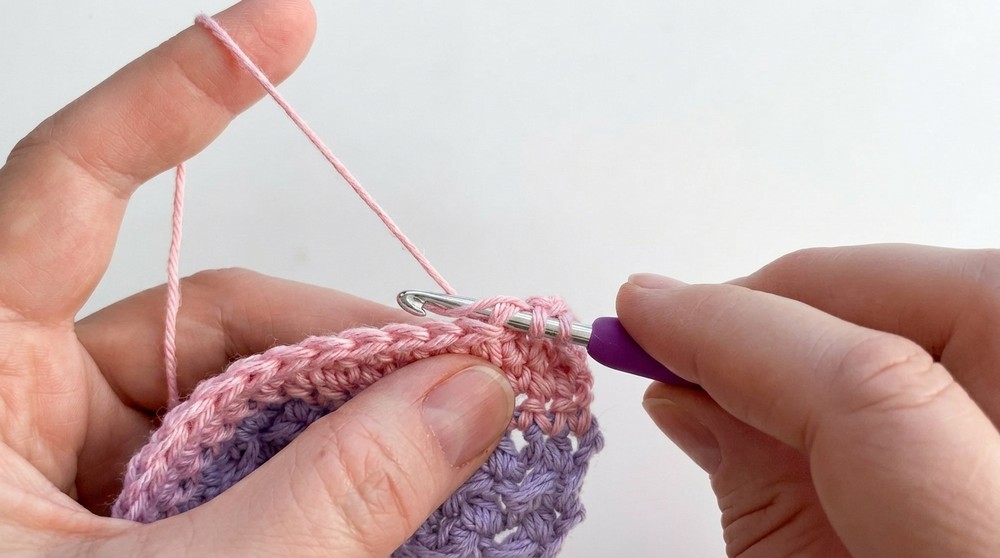
- You should have 6 loops on the hook. Yo and pull through all 6 loops.
- Push the bobble to the front and work a sc into the next stitch.
- Yo, insert into the stitch, pull up a loop, yo, pull through 2 (repeat this 5 times in the same stitch).
- Continue the (3 sc, 1 bobble stitch) pattern to the end of the row.
- Row 2 (Solid Row):
- Work sc across, ensuring stitch counts remain consistent.
- Row 3 (Offset Bobbles):
- Begin with 5 sc, then a bobble stitch in the stitch between two bobbles from the previous row.
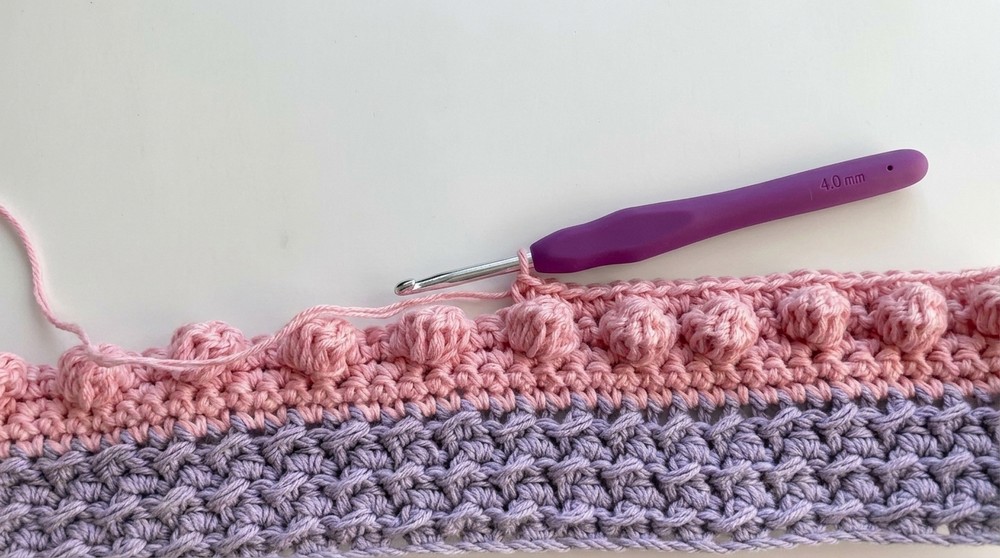
- Work (3 sc, 1 bobble) to the end of the row.
- Begin with 5 sc, then a bobble stitch in the stitch between two bobbles from the previous row.
- Repeat this pattern for 3 bobble rows, followed by 3 rows of sc. This section will measure approximately 3 inches (8 cm).
Step 4: Section 4 - Alternating Single and Double Crochet
- Row 1:
- Work (1 sc, 1 dc) alternately across the row, starting with sc.
- Row 2:
- Chain 1, turn. Work sc in each dc and dc in each sc from the previous row.
- Repeat this pattern for 5 inches (13 cm).
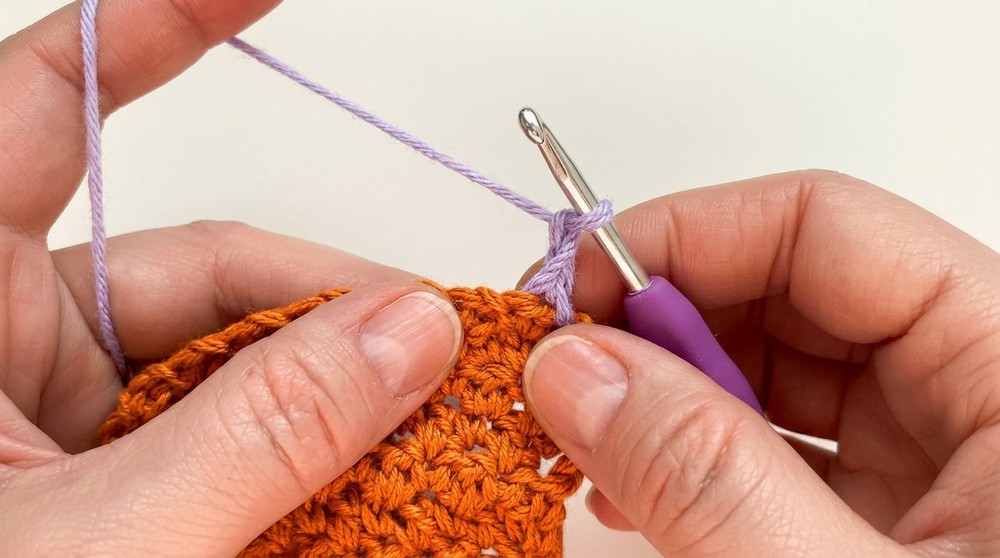
Step 5: Section 5 - Puff Stitch
- Row 1 (Setup Row):
- Work sc in the first st, ch 1, sk 1, then sc in the next stitch.
- Continue (sc, ch 1, sk 1) to the end of the row.
- Row 2 (Puff Stitches):
- Begin with ch 2, then work a mini puff stitch (yo, insert hook, pull up a long loop) 4 times in each chain space across, with a ch 1 between each puff. Close each puff with a single pull-through.
- Alternate sc rows with puff stitch rows until the section measures 3 inches (8 cm).
Step 6: Repeat Sections for the Other Half
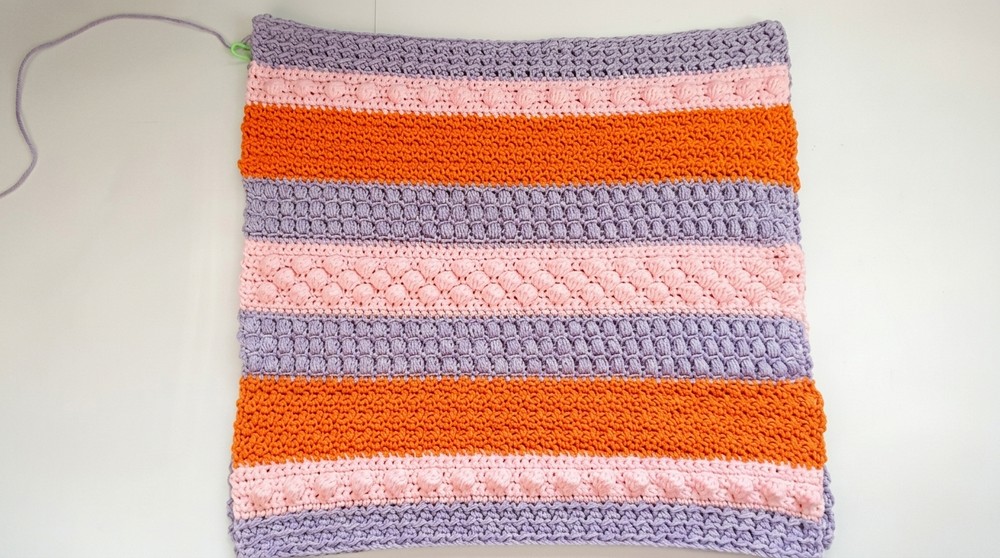
- Repeat Sections 4, 3, 2, and 1 in reverse to complete the second half of the cover.
- Ensure the total length of the cover is 17 inches (43 cm).
Assembly
- Place both squares together with the right sides facing out.
- Use single crochet to seam the edges together, working evenly around the sides.
- Place 3 sc in each corner for a clean edge.
- Leave an opening to insert the pillow insert, then close the remaining opening.
Final Edging (Optional)
- To add a decorative border, work Reverse Single Crochet (Crab Stitch) around the edge for a piping-like appearance.
Conclusion
Your beautiful crochet pillow cover is now complete! This tightly textured and versatile design works well with any home décor. Experiment with colors and textures to make it uniquely yours.
Pattern Correction
- Ensure the stitch count remains constant throughout, particularly when transitioning between sections.
- Adjust the number of rows in each section to maintain the 17 x 17-inch dimensions.
Tips
- Blocking: Lightly block the squares before assembly for even edges.
- Customization: Use a single color or alternate stripes to match your aesthetic.
- Seaming: Use stitch markers to align corners and edges during assembly for a professional finish.