
A free crochet wheat stitch hat pattern offers a soft textured look, making it a warm and comfy hat that you'll love to wear every day with ease.
The Free Crochet Wheat Stitch Hat Pattern is a simple and creative way to make a stylish and cozy accessory. This pattern is perfect for beginners and advanced crocheters alike, as it uses basic techniques to create a stunning design. With soft, medium size yarn and a comfortable crochet hook, you'll crochet a hat that feels as good as it looks. The wheat stitch gives the hat a unique texture, creating tiny raised details that resemble soft grains of wheat, making the hat not just functional but visually appealing too.
Learn how to make this priceless free crochet wheat stitch hat pattern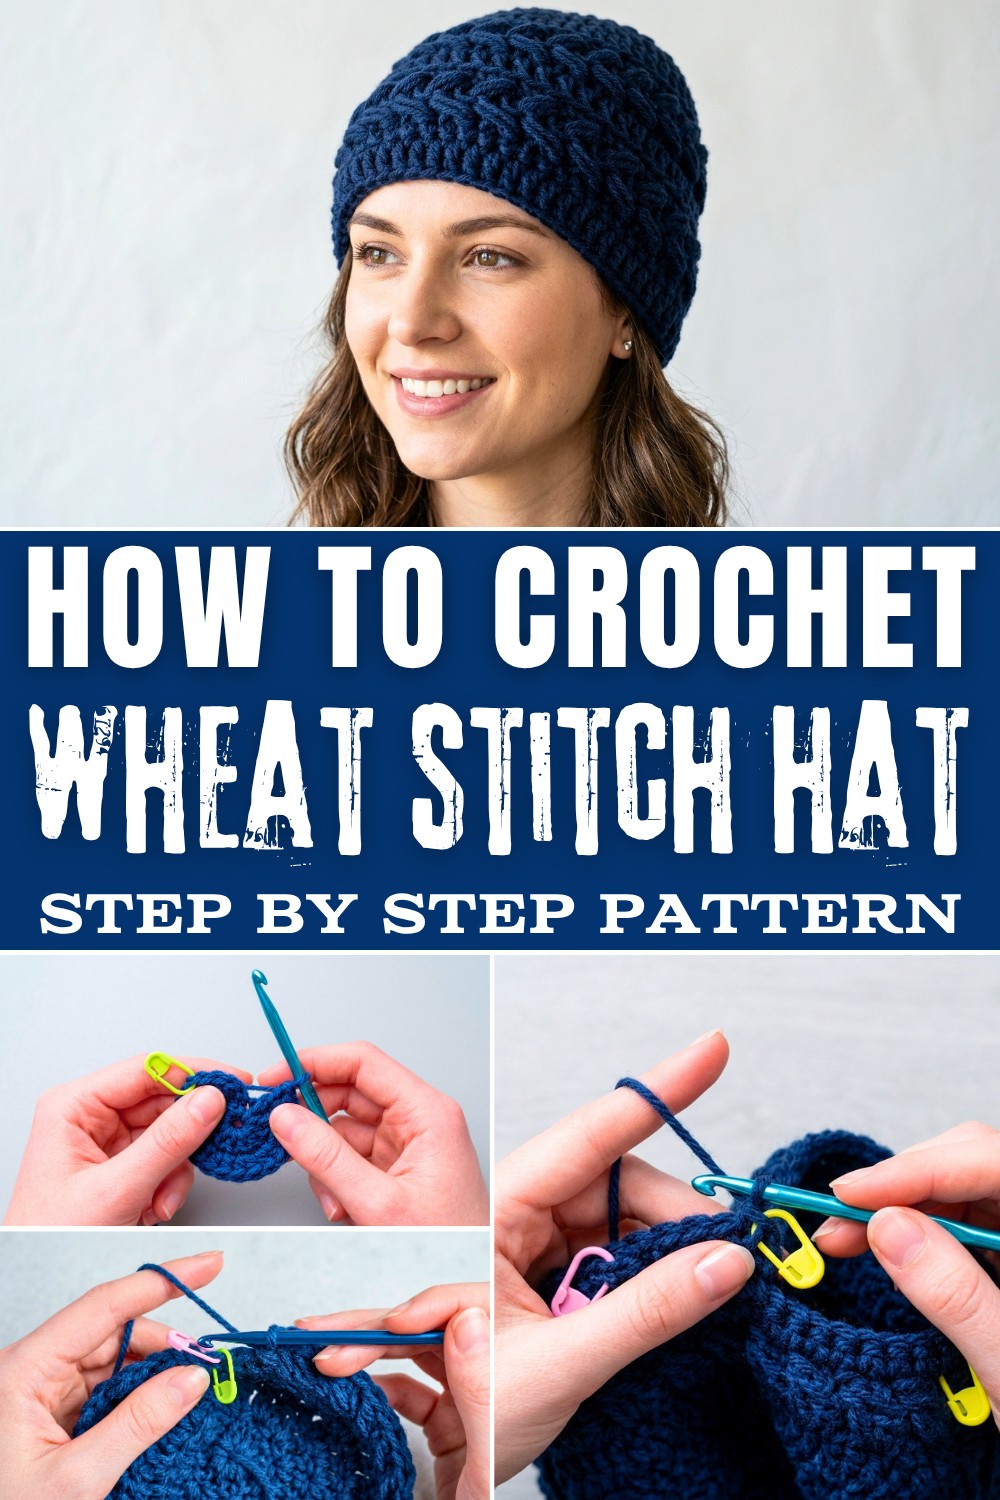
The hat is versatile and can be worn in any season, keeping you warm during cool weather while adding charm to your outfits. You can pair it with a matching scarf for a complete look or gift it to a loved one. Its elegant appearance and creative stitchwork make it a standout piece. Whether you're making it for yourself or as a gift, this pattern is a fun project to try. The steps are easy to follow, and the result is beautiful, making it ideal for all ages.

unique crochet wheat stitch hat pattern
Materials Needed
- Yarn: Medium (size 4) yarn in your preferred color.
- Crochet Hook: Size 5.75 mm (US J) hook.
- Scissors
- Darning/Weaving/Tapestry Needle
- Stitch Markers: A couple of these for marking key stitches.
Special Techniques
1. Slip Knot
- Wrap yarn around your finger, twist, and loop it.
- Pull one loop over the other and insert your hook through the loop. Pull to tighten.
2. Puff Stitch
- Yarn over and insert the hook into the designated stitch.
- Pull up a loop (you will have 3 loops).
- Yarn over, go back into the same stitch, and pull up another loop (you will have 5 loops).
- Yarn over, pull through the first 4 loops, and then yarn over again and pull through the last 2 loops.
3. Back Loop Single Crochet
- Insert your hook into the back loop of a stitch (the loop farthest from you) instead of going under both loops.
- Yarn over, pull through, and complete the single crochet.
Pattern Instructions
Step 1: Start with the Crown
- Slip Knot and Chain 4: Start with a slip knot and chain 4.
- Create a Circle: Join the beginning and end of your chain with a slip stitch to form a small circle.
- Round 1 Base of the Crown:
- Chain 3 (does not count as a stitch).
- Make 10 double crochets into the circle.
- Slip stitch into the first double crochet to close the round.
- Round 2 Increasing:
- Chain 3 (does not count as a stitch).
- Work 2 double crochets in each stitch around (total of 20 stitches in this round).

- To start making the wheat stitch crochet hat, take your medium four yarn and crochet hook and make a slip knot, then chain four. Join the chain into a ring and work 10 double crochet stitches into that first ring. Close the round with a slip stitch at the top, then chain three to start the next round. For round two, put two double crochet stitches into every stitch all the way around, doubling your total stitches. Slip stitch to join, chain three, and keep increasing by following the pattern: for round three, do one double crochet in one stitch, two in the next, repeat around.
- Place a stitch marker on the first double crochet of the round.
Step 2: Continuing the Crown Increases
- Round 3:
- Pattern: 1 double crochet in the first stitch, 2 double crochets in the next.
- Repeat this pattern (1, 2) around.
- Slip stitch to join at the end (30 stitches).
- Round 4:
- Pattern: 1 double crochet in the next two stitches, 2 double crochets in the third stitch.
- Repeat this pattern (1, 1, 2) around.

- In each new round, add one more single double crochet before the increase. Continue these rounds until the circle fits the crown of your head.
-
- Slip stitch to join (40 stitches).
Note: If a larger hat is required, continue increasing with the following pattern until you reach the desired diameter: 1, 1, 1, 2 | 1, 1, 1, 1, 2, etc. Ensure the crown fits comfortably on the top of the person's head.
Step 3: Adding the Wheat Stitch Section
- Wheat Stitch Base Round:
- Chain 1. Work 1 single crochet in the back loop only of each stitch around.
- Mark the first and last stitches of this round with stitch markers. Slip stitch to join.
- Round 1 of the Wheat Stitch:
- Chain 1 and turn your work.
- In the first marked stitch, work a single crochet.
- Skip the next stitch, place 1 single crochet in the following stitch, and then go back to the skipped stitch to add a puff stitch.
- Repeat the pattern: skip 1 stitch, single crochet in the next, puff stitch in the skipped stitch all the way around.
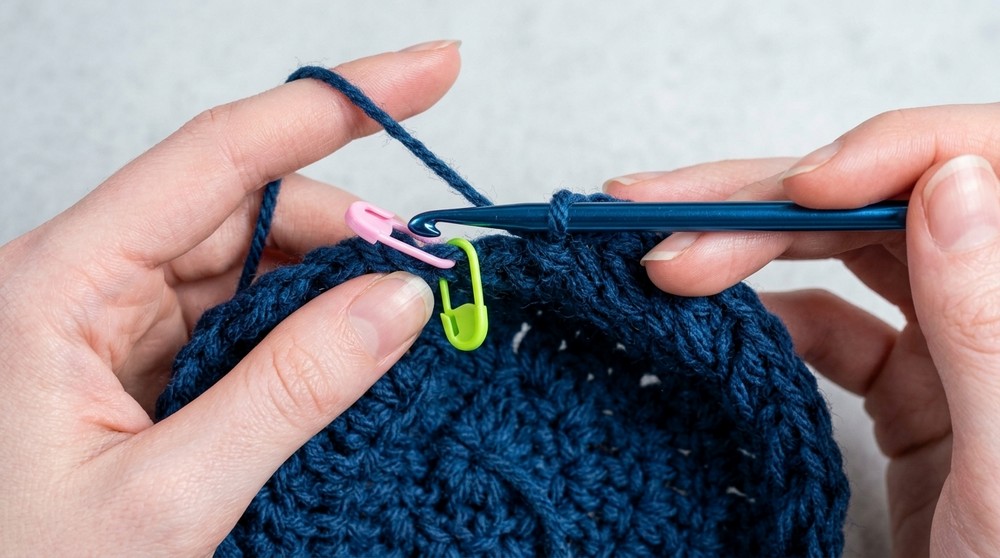
- Once the foundation is wide enough, move to single crochet stitches in the back loop only for one full round, which makes a neat edge and prepares for the wheat stitch. Now, turn your work and make a single crochet in the first stitch. Start the wheat pattern by skipping a stitch, placing a single crochet in the next, then going back to make a puff stitch in the skipped one.
-
- End with a single crochet in the last stitch. Slip stitch to join.
- Round 2 of the Wheat Stitch:
- Chain 1 and turn. Single crochet in the first stitch.
- Continue the wheat stitch pattern from Round 1:
Single crochet into a single crochet, puff stitch into a puff stitch.
Step 4: Adding Depth to the Hat
- Work additional wheat stitch sections in sets of two rounds followed by one round of single crochet in the back loop only to create a ribbed texture.
- Modify the height of the hat as desired by repeating this sequence.

- This is repeated around each round. On following rounds, always put single crochets into single crochet stitches and puff stitches into puff stitches, turning the work each round to keep the "wheat" texture going.
Step 5: Final Rounds
- Final Round Before Edging: After completing the desired height, work a full round of double crochet stitches in the complete top of each stitch.
- Edge Round: Slip stitch into the first stitch, chain 1, and work a final round of single crochets in the back loop of all remaining stitches.
Finishing the Hat
- Fasten Off: After completing the last round, cut the yarn, leaving a 6 inch tail.
- Secure the Tail: Using your darning needle, weave the tail into the inner stitches of the hat to secure it.
- Tidy Up: Gently cut any loose ends and steam block the hat, if necessary, to ensure the stitches look even and neat.
- After several repeats, work a round of single crochets in the back loop, then a round of double crochets to form the hat's brim. Fasten off your yarn, weave in any loose ends, and your wheat stitch hat is finished. You can adjust the size by adding more increase rounds or changing yarn and hook size, creating a matching and unique accessory that goes with your earlier wheat scarf.

Final Words & Helpful Tips
- Customization: Adjust the number of increase rounds and overall height to fit different head sizes.
- Practice Puff Stitches: If you are a beginner, practice the puff stitch on a small swatch before incorporating it into the hat.
- Tension Control: Maintain an even tension to prevent the hat from becoming too tight or loose.
- Matching Scarf: This hat is designed to match the Wheat Stitch Scarf. Create the scarf first if you want to familiarize yourself with the wheat stitch pattern.
Congratulations on completing your Wheat Stitch Hat, It's a stunning design that's both elegant and practical.