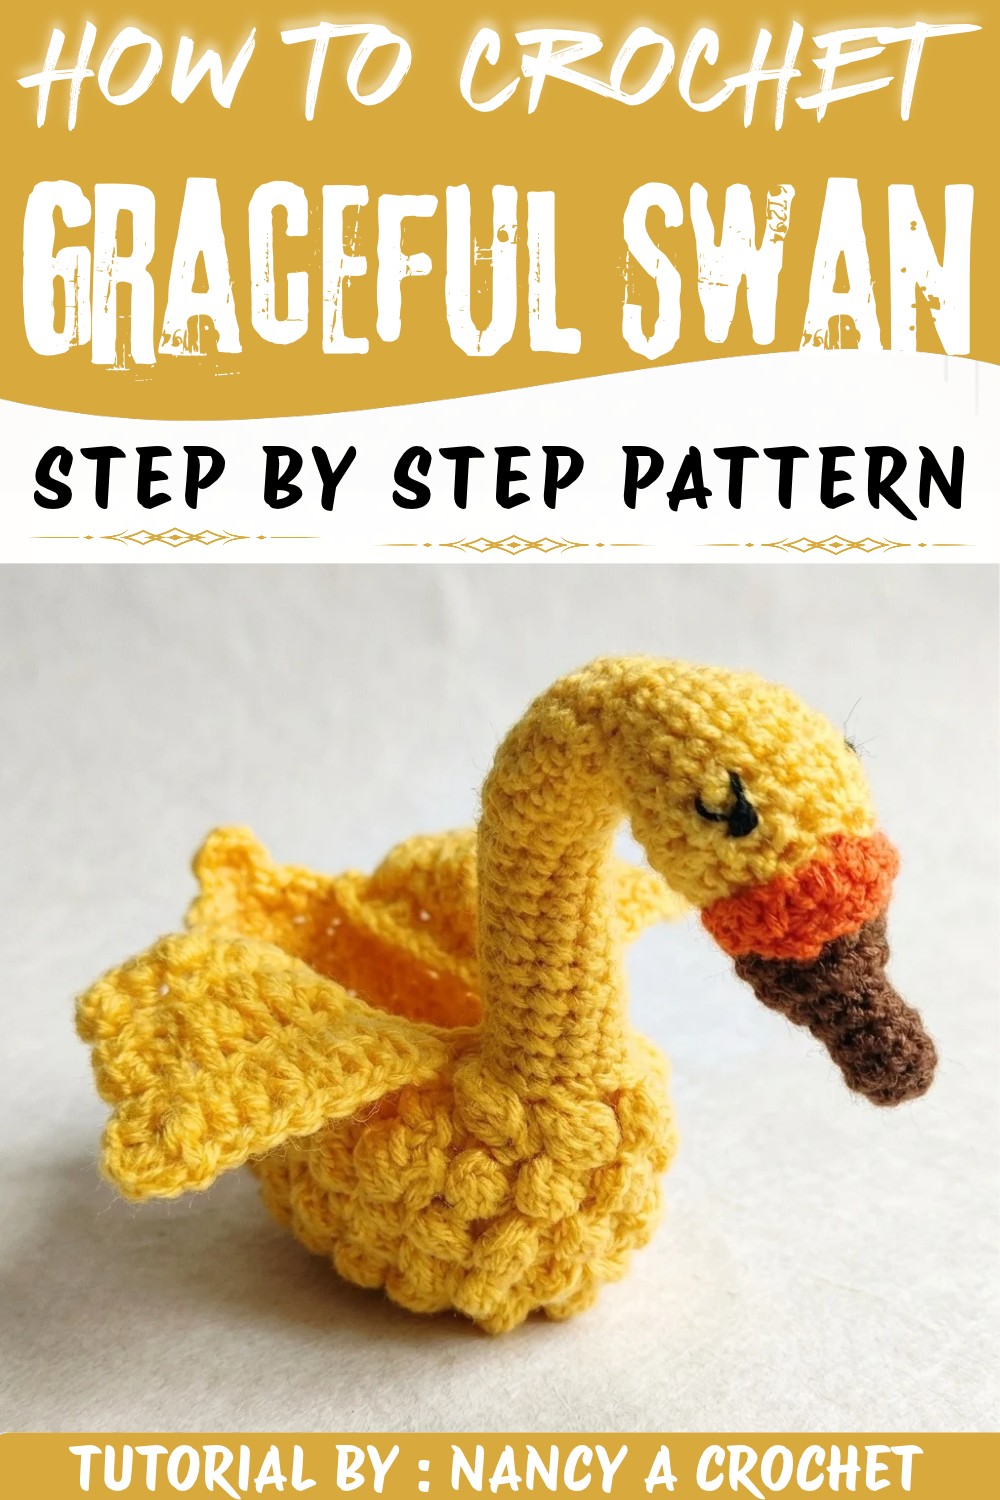
Place a gentle lake friend on your shelf with the Crochet Cute Swan Free Pattern, a lovely little figure for home decor and special gifts.
Find the enchanting beauty of creating your very own elegant swan with the delightful tutorial by Nancy a crochet on YouTube. This project is a heartwarming journey into making a charming and snug decorative swan that fits perfectly in various settings. Whether you are celebrating a baby shower, an anniversary, a 15th birthday, or simply looking for a sweet gift idea, this piece offers both style and thoughtful comfort.
Mini Crochet Cute Swan Free Pattern For Birthday Gifts
The Crochet Cute Swan Pattern is a versatile design that brings a gentle touch of grace wherever it is placed. Its compact size makes it ideal for use as a centerpiece on tables, a special container for sweets or candies, or a lovely detail in party decorations. Pair it with pastel-colored linens or soft floral arrangements to enhance its delicate appeal, making it especially suitable for spring and summer occasions when light, airy aesthetics shine.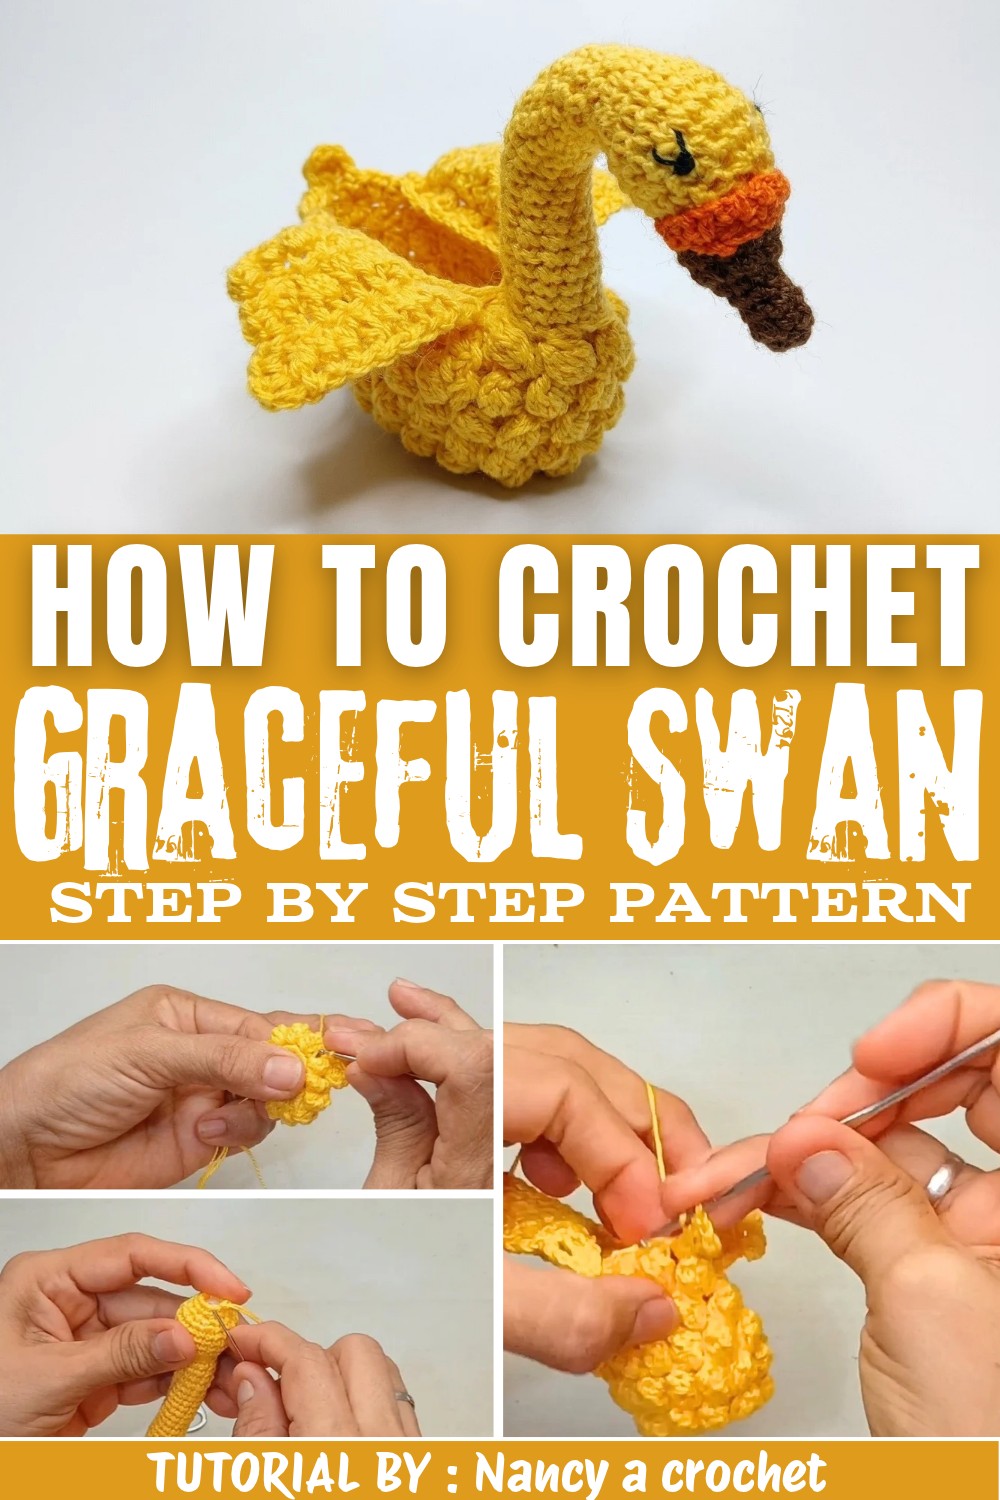
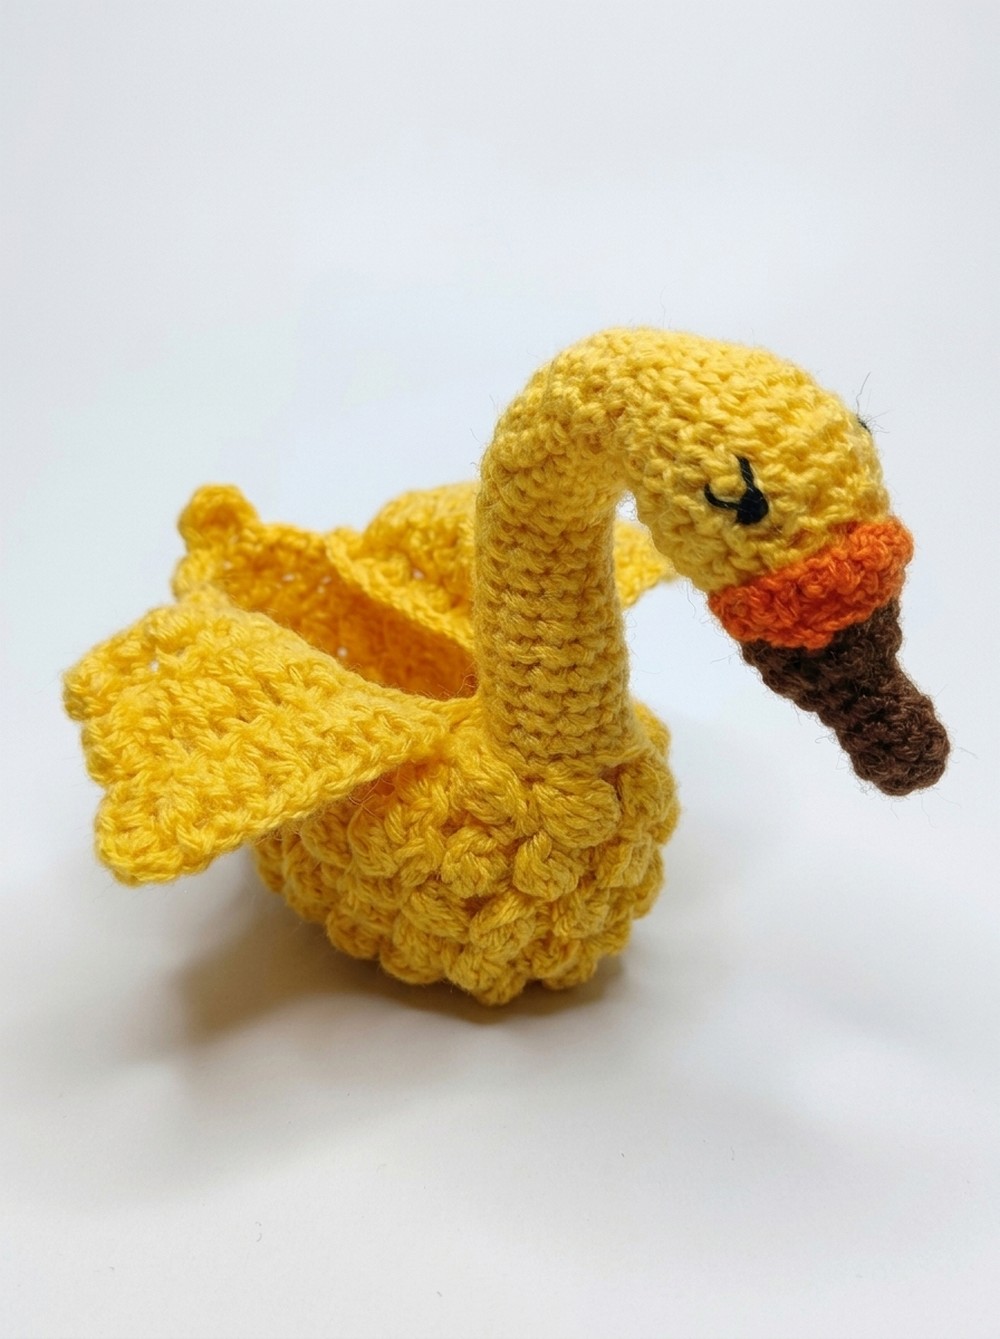
This crochet swan boasts a distinct texture, created through a combination of single crochets, puff stitches, and double crochets, resulting in a richly dimensional surface that invites touch and admiration. Its standout design features include a gracefully elongated neck, a finely stitched beak with a little crest, and intricately shaped wings that add to its lifelike charm. The subtle layering and thoughtful shaping techniques contribute to a balanced, elegant silhouette.
Try this lovely project and turn small recycled materials into a beautiful swan. It is a fun and simple way to reuse old items while helping reduce waste. For those wanting to dive into a rewarding and visually stunning endeavor, the complete pattern awaits your hands-unfold the full tutorial to bring your own Crochet Cute Swan Pattern to life.
Elegant Crocheted Swan Using Can Tabs
Recycled elements can often foster both resourcefulness and artistic expression, offering a captivating approach to fiber arts. Transforming everyday items like can tabs into a detailed swan not only reduces waste but also gives new life and texture to finished work. This project incorporates structured techniques and meticulous assembly, resulting in a piece with depth and sophistication. Critical to the process are the thoughtful shaping of the neck, strategic increases and decreases for contour, and the addition of individually worked wings and facial details for personality and charm. Whether displayed as a decorative centerpiece on a shelf or used as a unique thoughtful gift, this swan is sure to attract admiration for both its eco-conscious foundation and distinctive form. Every element, from the firm base to the refined beak and embroidered features, merges technical skill and sustainability for a truly remarkable result.
Quick Overview Of Pattern
- Crocheted base ring formed on a can tab provides structure and stability.
- Sculptural body is worked in rounds and puff stitch clusters.
- The neck is elongated through straight rounds, then increased and decreased to shape the head.
- Distinct beak, crest, and wings are created and sewn on separately.
- Embroidered eyes and a small tail complete the elegant form.
- The final swan is stuffed for firmness and sewn securely for lasting beauty.
Notes
- Use 1 mm mercerized cotton yarn with a 1.7 mm hook for well-defined stitches.
- Recycled can tabs provide a unique base and contribute to environmental sustainability.
- Stuffing the narrow neck firmly as you decrease ensures the swan stands elegantly without additional support.
- Utilize a stitch marker for tracking rounds and positions for increases/decreases.
- Careful placement of facial features and wings adds realism and character.
Skill Level
Advanced Beginner to Intermediate:
Suitable for crafters familiar with basic crochet stitches, increases, decreases, and working in rounds. Fine assembly skills are beneficial for neat finishing.
Materials
- Can Tabs: Recycled beverage can tabs for structural base.
- Yarn: 1 mm mercerized cotton yarn (white or desired body color, with contrasting yarn for beak and crest).
- Crochet Hook: 1.7 mm.
- Filling: Polyfill/cotton stuffing.
- Tools: Tapestry needle, thin stick/skewer for stuffing, scissors, stitch marker, embroidery thread for eyes.
Measurements / Sizing
- Finished swan stands approximately 10-13 cm tall depending on neck length and stuffing.
- Body circumference can be adjusted by modifying stitch and round counts.
- Wings span about 7-9 cm when fully extended.
Gauge (and Stitch Pattern if applicable)
- Gauge is not critical but stitches should be firm for optimal structural integrity.
- Main stitch patterns: Single Crochet (sc), Half Double Crochet (hdc), Double Crochet (dc), Puff (Cluster) Stitch.
Stitch Abbreviations
| Abbreviation | Meaning |
|---|---|
| MR | Magic Ring |
| ch | Chain |
| sc | Single Crochet |
| hdc | Half Double Crochet |
| dc | Double Crochet |
| tr | Treble Crochet (High Point) |
| sl st | Slip Stitch |
| inc | Increase (2 st in same st) |
| dec | Decrease (sc 2 together) |
| st(s) | Stitch(es) |
Special Stitches
- Puff (Cluster) Stitch: Yarn over, pull through several times, leaving loops on the hook, then yarn over and pull through all.
- Unfinished Double Crochet: Yarn over, insert in st, pull up a loop, yarn over, pull through two - leave final loop on the hook for later gathering.
The Crochet Pattern
Base Ring & Body Foundation
Round 1: Creating The Base
- Form a magic ring over the can tab.
- Work 12 sc into the ring.

- Join with a sl st.
- Create a second base by working another 12 sc, joining both to total 24 sc in the round.
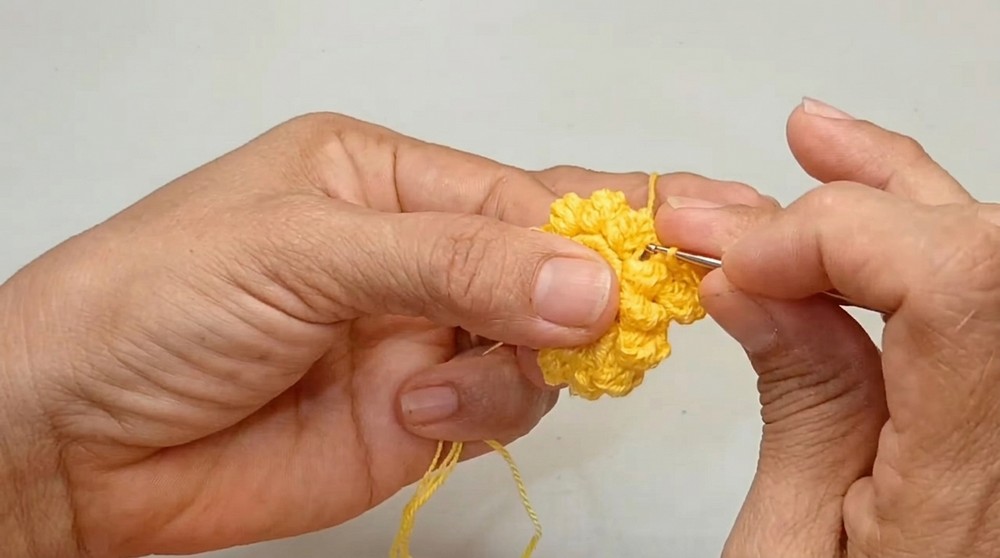
Round 2: Puff Stitch Clusters
- Ch 3 (counts as first dc), continue in same st with 3 more dc, forming the first puff (cluster).
- Ch 2, skip next base st, in next, work 4 dc, form next puff.
- Continue: [Ch 2, skip 1 st, 4 dc in next] around to form 12 puff stitches.
- Join with a sl st in the middle to close.
Round 3: Increasing
- Ch 3, start a puff in first st, inc (work 2 puffs in same base st) in designated increases, alternating sequence.
- Repeat pattern of 1 puff and 1 increase across the round.
- End round with 18 puff stitches, join with a sl st.
Rounds 4-5: Straight Rounds
- Ch 3, make puff in each st around (18 puffs per round).
- Continue for a total of 5 cluster/puff rounds for the body.
The Neck and Head
Foundation
- Center work on ring, skip to desired st, attach yarn.
- In six locations across half the body base, work 2 sc in each - for a total of 12 sc for the neck foundation.
- Join with a sl st.
Rounds 1-21: Shaping The Neck
- Work in continuous rounds: 1 sc in each st for each round.
- Repeat until you reach 21 rounds (adjust for longer/shorter neck as preferred).
Round 22: Increasing at Head Base
- Increase in each st: 2 sc in each st around (now 24 sc).
- Mark round start with stitch marker.
Rounds 23-26: Build Head Shape
- 1 sc in each st for 5 rounds, keeping count for head length and roundness.
Rounds 27-29: Decrease and Stuff
- Decrease pattern: 3 sc, 1 dec-repeat throughout round.
- Stuff as you work to keep neck and head firm.
- Continue decrease pattern for total of 3 rounds.
Closing Top
- Cut yarn, thread through front loops of final sts, pull tight to close, and weave in tail.

Beak
Foundation and Shaping
- MR, 6 sc into ring, close with sl st.
- Work 4 rounds: 1 sc in each st per round.
Increases
- Next round: [1 sc, 1 inc] around, ending with 9 sc.
- Next: [2 sc, 1 inc] around for 12 sc.
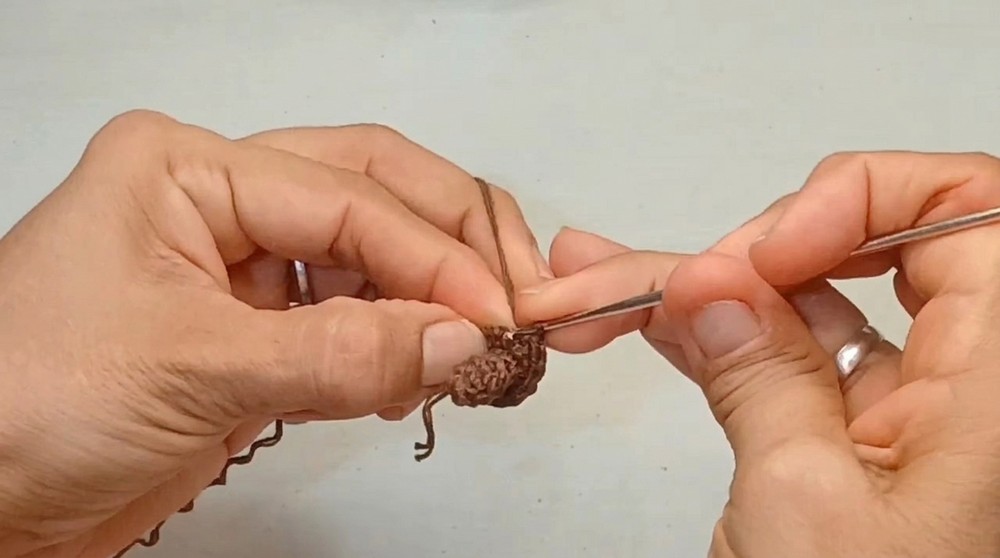
- Work 1 round: 12 sc.
Finishing
- Add a little stuffing for shape.
- Leave a long tail, sew beak onto head.
The Crest
Crocheting
- Ch 7.
- Starting in 2nd ch from hook, work hdc in each back loop to base for curved effect.
- Ch 1, turn, sl st across for textured finish.
- Fasten off, tack crest atop head, just behind beak.
Eyes
- Embroider with black or dark thread just below crest on both sides of the head.
- Form tiny triangular dots for lifelike expression.
Wings (Make 2)
Wing Base
- MR, 12 sc into ring, close with sl st.
Feather Rows
- Ch 8.
- Work unfinished dc (leave last loop of each on hook) across chain and base.
- After all stitches are worked, yarn over and pull through all loops.

- Repeat for total of 4 feathered rows.
Edging
- Work sl st and hdc along base of wing.
- Fasten off, leave a tail for sewing.
Assembly & Finished Size
- Attach Beak: Sew stuffed beak evenly at center of head's tip.
- Fasten Crest: Secure crest behind beak above head for a graceful touch.
- Embroider Eyes: Position eyes symmetrically on both sides.
- Attach Wings: Align and sew one wing to each side of the swan's body with slight backward tilt for realism.
- Tail Detail: At rear end, create a single small loop/stitch and secure inside for the tail.

Typical swan size: 10-13 cm high with a wingspan of 7-9 cm.
Conclusion and Ending Words
Stitch by stitch, this swan evolves into a striking display of precision, character, and innovative use of materials. The structured instructions ensure both durability and elegance, with every detail-from the gracefully arched neck to the expressive eyes-demonstrating careful planning and technique. Incorporating recycled can tabs is more than a functional decision; it's a nod to mindful making and the value found in everyday resources. Once assembled, the swan stands as a unique expression of both skill and creativity, its beauty accentuated by subtle touches such as sculpted wings and a delicately formed crest. This finished piece sits comfortably among treasured handmade items, a testament to dedication and artistic ingenuity. Every time it catches the light or draws attention in a room, it serves as a reminder of how thoughtful methods and sustainable materials can yield something truly impressive and meaningful.