
Refresh your home with a Free Crochet Cactus Amigurumi Pattern; bring a vibrant, eco-friendly twist to any room in just an evening.
I never thought I would become a fan of crocheting cacti, but this adorable crochet cactus amigurumi pattern completely changed my mind. The moment I saw it, I was struck by its charming pattern and vivid color combinations. This pattern uses lush green for the cactus, earthy brown for the soil, warm tones for the pot, and delicate pink hues for the embroidered cheeks and buds. It's like having nature's beauty crocheted into something soft, squishable, and perfect for gifting-or even decorating your workspace. What amazed me the most was how versatile this creation is. It could double as a decorative piece, a quirky pincushion, or a thoughtful gift for anyone who loves plants but can't seem to keep them alive.
Learn to Crochet a Mini Cactus Amigurumi Pattern for Chic Decor
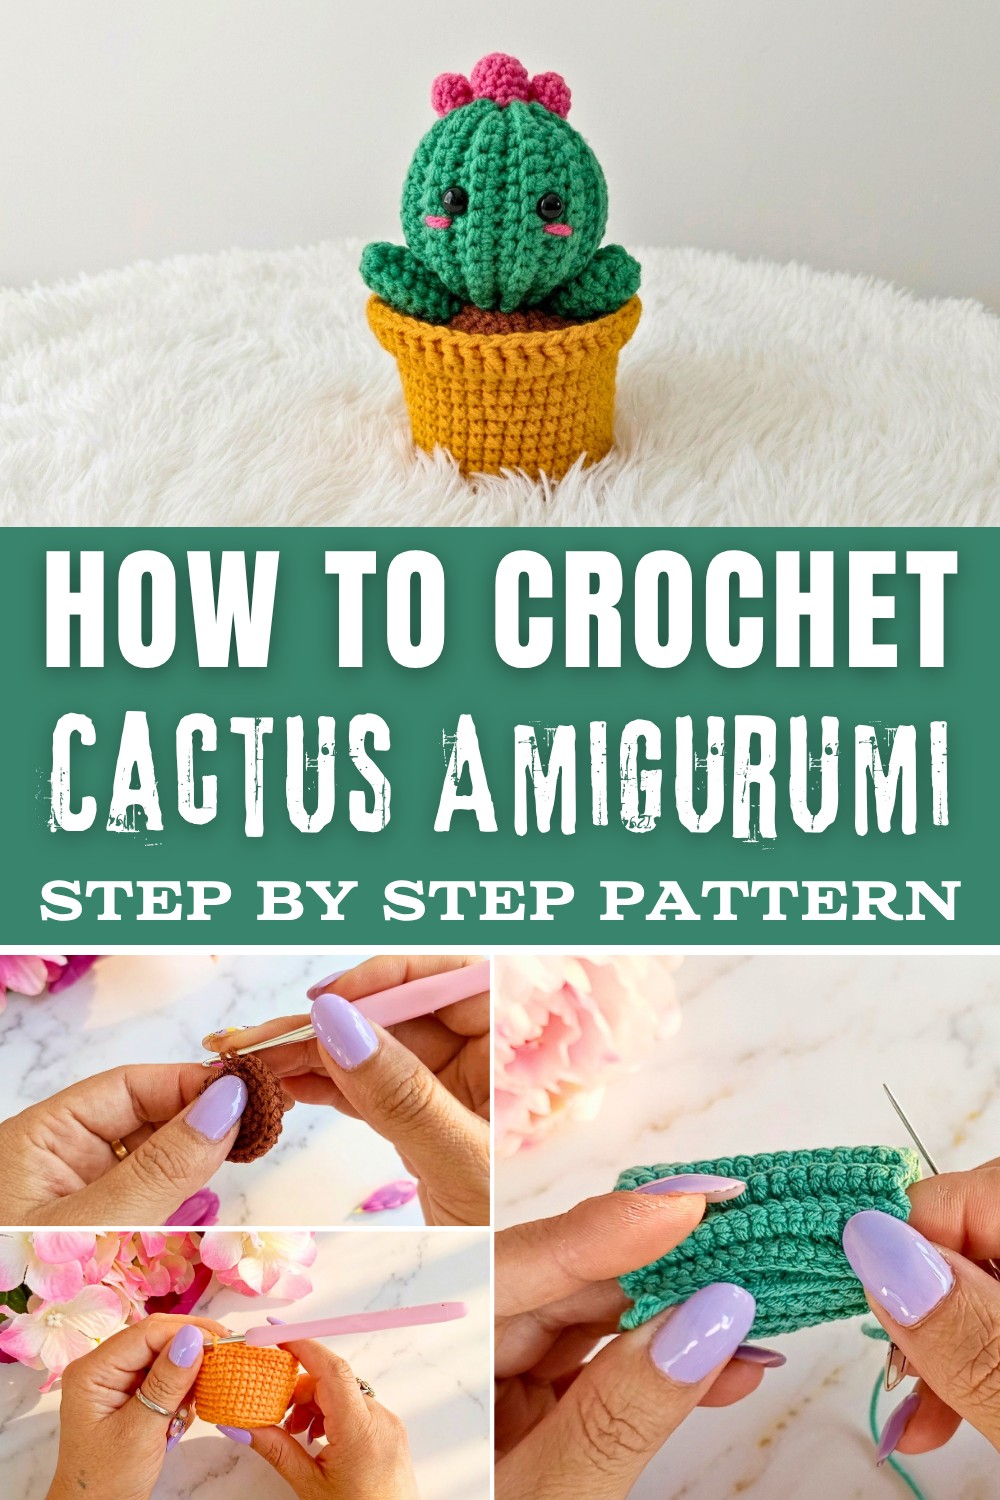
The pattern uses basic stitches like single crochet, slip stitches, and increases, making it beginner-friendly. It also introduces the back loop only (blo) technique, a clever method that creates beautiful textures and gives shape to the pot. Once you master this pattern, you can use those same stitches to make other fun projects like tiny succulents, mushrooms, or even plush animals.
By working through this pattern, you'll learn how to make a magic ring, neatly crochet textured rows with blo techniques, and assemble pieces like arms and buds for a polished final look. It's an excellent opportunity to improve your sewing skills and explore creative embellishments such as embroidered details. And the best part is that This pattern is adaptable. You can tweak the colors or add extra rows to design your own personalized cactus collection.
Here's a quick rundown of why you'll love this project:
- Fun and easy for beginners with step-by-step instructions
- Teaches versatile skills for crafting other amigurumi designs
- Perfect for gifts, decorations, or quirky pincushions
- A no-maintenance plant that adds charm to any space
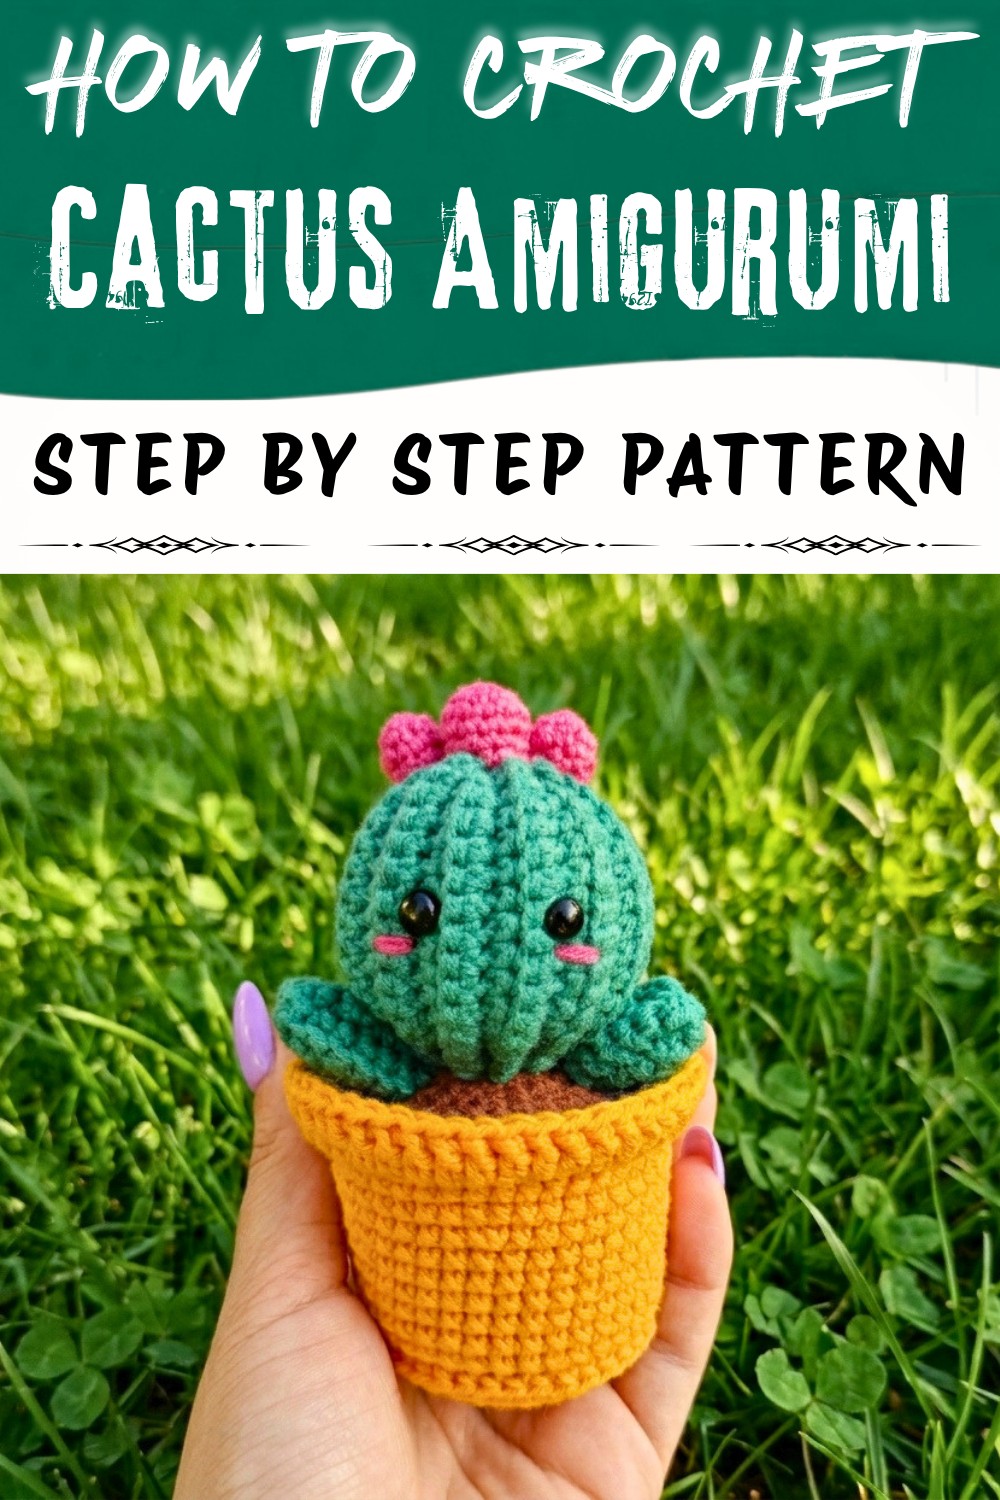
Crochet Pattern: Cute Self-Standing Cactus
Create a charming crochet cactus that stands tall and makes for a perfect gift or decorative item! With its adorable design, it measures 10.5 cm from crown to base and can be used as a pincushion or simply as an endearing keepsake. Beginner-friendly yet engaging for advanced crocheters, this step-by-step pattern uses single crochet, increase stitches, and slip stitches to form the soil, pot, cactus body, and buds. Whether you're crafting for yourself or a loved one, this project is sure to bring joy.
Skill Level & Terminology
- Skill Level: Beginner to Intermediate
- Terminology: US Crochet Terms
Materials & Tools
You'll need the following materials to complete this crochet cactus:
- Yarn:
- Green (for the cactus)
- Brown (for soil)
- Orange (for the pot/buds)
- Thin pink thread (for embroidery, cheeks, and small buds)
- Crochet Hook: Size 2.2 mm hook
- Safety Eyes: 6 mm eyes
- Plastic Acetate or X-Ray Film: To create a sturdy base for the pot and cactus.
- Stuffing: Silicone cotton filler.
- Pins: For securing parts during assembly.
- Scissors: To cut yarn neatly.
- Tapestry/Wool Needle: For weaving and sewing pieces together.
Gauge
Gauge isn't crucial for this project since it's small and decorative, but keeping tension consistent will result in more precise shapes.
Abbreviations List
- ch: Chain
- sc: Single Crochet
- sl st: Slip Stitch
- inc: Increase (two stitches worked in one stitch)
- blo: Back Loop Only
Special Stitch Instructions
- Magic Ring: Wrap the yarn around your fingers to create a loop. Work the required stitches inside the ring and pull to close tightly.
- Increase (inc): Crochet two single crochets into the same stitch to increase the stitch count evenly.
- Back Loop Only (blo): Work stitches into the back loop of the stitch for patterns requiring texture or separation.
Finished Size
The crochet cactus measures approximately 10.5 cm in height when completed, making it perfect for display or gifting.
Crochet Instructions: Step-by-Step Pattern
Starting: Easy Stitches for a Strong Foundation
The pattern begins with basic stitches, such as the magic ring and single crochet (sc), making it super beginner-friendly. The magic ring creates the base circles for the soil and pot while building a sturdy foundation for the cactus. For those unfamiliar with the magic ring, it might seem tricky, but a good tip is to practice wrapping the yarn loosely around your fingers to make pulling easier. Single crochet stitches are easy to master and offer control when shaping each row. Using incremental increases (e.g., 2 sc worked into one stitch) helps expand each round smoothly-ideal for beginners.
1. Soil Base
- Round 1: Start with a magic ring using brown yarn; crochet 6 sc into the ring. Close with a sl st to form the circle.
- Round 2: Work 2 sc into each stitch around (inc in all stitches) for 12 sc total.
- Round 3: Alternate 1 sc, inc around for 18 sc total.
- Round 4: Alternate 2 sc, inc around for 24 sc total.

- Round 5: Alternate 3 sc, inc around for 30 sc total.
- Round 6: Alternate 4 sc, inc around for 36 sc total.
- Round 7: Alternate 5 sc, inc around for 42 sc total. Leave a long tail to sew later.
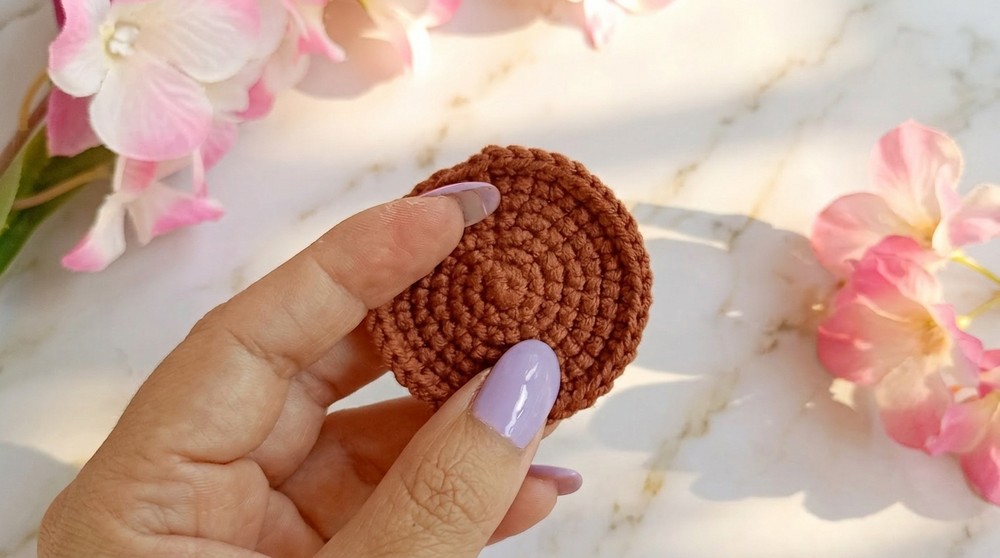
- Note: The soil base creates a sturdy foundation for your cactus. Double-check stitch counts.
2. Pot Base
- Round 1: Using orange yarn, make a magic ring and crochet 6 sc into it; close with a sl st.
- Round 2: Inc in all stitches to have 12 sc total.
- Round 3: Alternate 1 sc, inc for 18 sc total.
- Round 4: Alternate 2 sc, inc for 24 sc total.
- Round 5: Alternate 3 sc, inc for 30 sc total.
- Round 6: Alternate 4 sc, inc for 36 sc total.
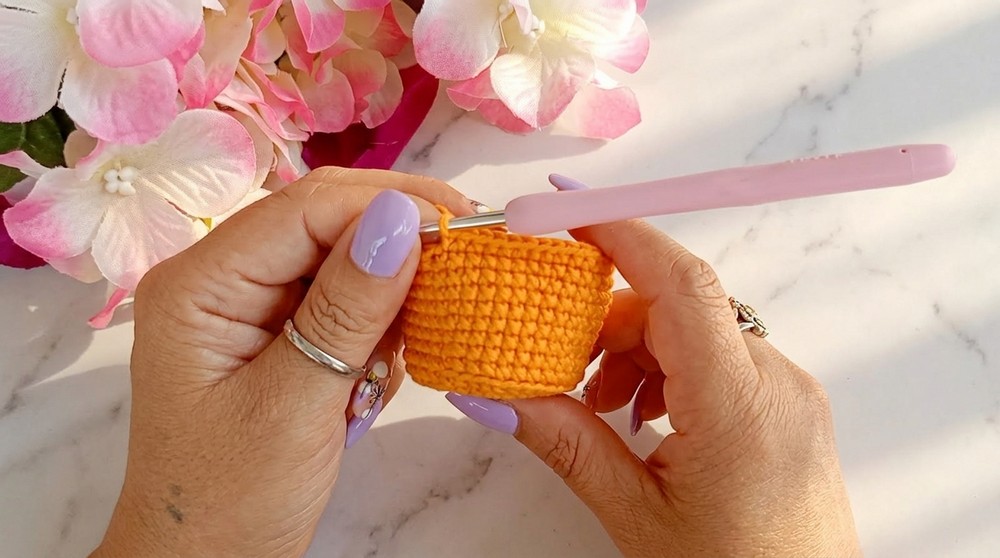
- Round 7: Work 36 sc in blo only to allow for texture and curvature.
- Tip for Beginners: Using back loops creates a clean separation for the pot edges and continue round untild desire shape get.
Midway: Texture Challenges with Back Loop Only
As you progress, the cactus uses the back loop only (blo) technique to add texture and differentiation in rows. This step may be a little challenging for those new to crocheting, as working into just the back loop can feel less intuitive at first. A helpful solution is to ensure you're holding your yarn and stitches lightly to avoid pulling too tightly. Take your time checking each stitch in detail before moving forward. The textured rows not only enhance the pot and cactus but also pave the way for creating beautifully ribbed designs for other projects.
3. Cactus Body
- Foundation: With green yarn, chain 16 ch.
- Row 1: Work 15 sc, starting in the second chain from the hook.
- Row 2-27: Work 15 sc blo in each row to form a ribbed texture for the cactus shape.
- Leave a long tail to sew when joining sides. Form a tube by sewing the edges together.
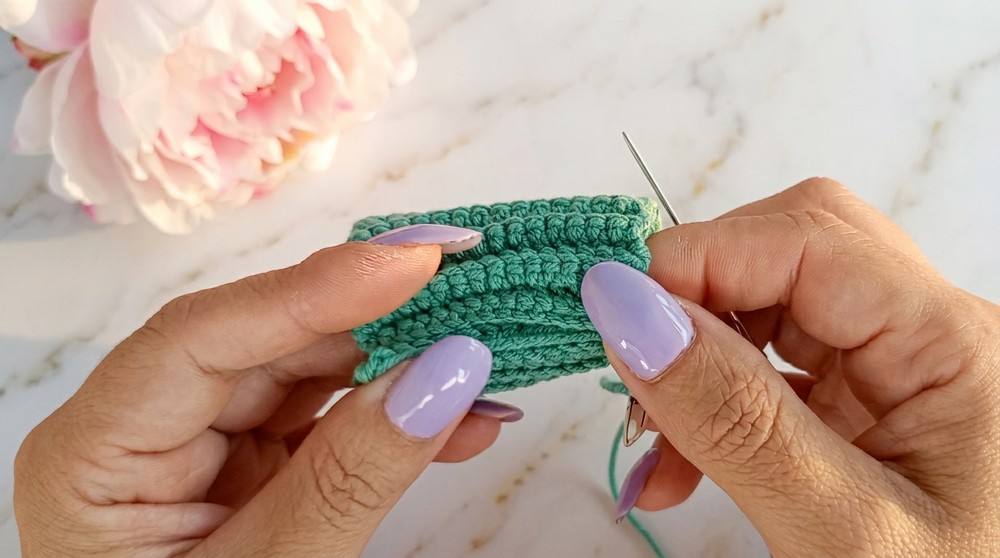
- Tube Closure: Gather the top and bottom edges by sewing uniformly around the foundation circle. Fill with stuffing before completely closing the bottom part.
- Extra Tip: Add safety eyes (6 mm) approximately 2 cm apart for a cute cactus face!
4. Cactus Arms
- Foundation: Chain 7 ch with green yarn.
- Row 1: Work 6 sc, starting from the second chain.
- Row 2-8: Work 6 sc blo in successive rows.
- Closure: Sew the edges into a tube, close the top, and sew onto the cactus body.
5. Buds
- Small Buds (2 pieces):
- Round 1: Make a magic ring; crochet 6 sc into it.
- Round 2: 1 sc, inc around for 9 sc total.
- Round 3-4: Work 9 sc per round. Close and leave a long tail for sewing.
- Large Bud (1 piece):
- Round 1: Make a magic ring; crochet 6 sc into it.
- Round 2: Inc in all stitches for 12 sc total.
- Round 3-4: Work 12 sc per round.
Assembly & Finishing
- Glue Acetate Base: Cut circular pieces of acetate to match the pot diameter. Glue them onto the base for stability.

- Secure Soil to Pot: Use the remaining yarn tail from the soil base to sew it onto the pot. Align the edges carefully.
- Attach Arms & Buds: Position cactus arms on either side and sew them securely. Add small buds on top for detail.
- Embroider Cheeks: Use thin pink thread to embroider small blush points below the safety eyes.
- Final Touches: Arrange all pieces evenly and make sure stuffing prevents awkward gaps.
Ending: Assembly and Small Details
The final portion involves sewing and shaping, which might be tricky for beginners due to alignment issues. The key is to pin the pieces into place before stitching to ensure symmetry. Stuffing is also an important step-use just enough filling to maintain shape without bulging. Adding small buds and embroidered details (like cheeks) can feel fiddly, but breaking them down into smaller tasks makes it manageable. For safety eyes or decorative stitching, marking the placement ahead of time can simplify alignment.
Quick Summary of Tips
- Stitches: Focus on mastering single crochet, increases, and back loop techniques for this pattern.
- Difficulties: The magic ring and back loops may challenge beginners.
- Solutions: Use light tension and practice techniques regularly; pin pieces before stitching.
This project is perfect for building your confidence as a crocheter while creating something delightful.