
Find the perfect accessory using the Free Crochet Daisy Purse Pattern for cute, trendy bags featuring fun daisy details and vibrant charm.
One sunny afternoon, I was inspired by the blooming flowers around me and decided to create something cheerful and practical-a Daisy Purse! This little pattern is brimming with charm, featuring a textured ribbed body, a secure flap, and adorable crocheted daisies to brighten up your day. Whether made in soft pastel hues or vibrant bursts of color, this purse pattern is perfect for carrying essentials like keys, some cash, or even a small notebook. With endless color combinations to choose from, you can personalize it to reflect your unique style.
Easy Crochet Daisy Purse Pattern for Young Creators
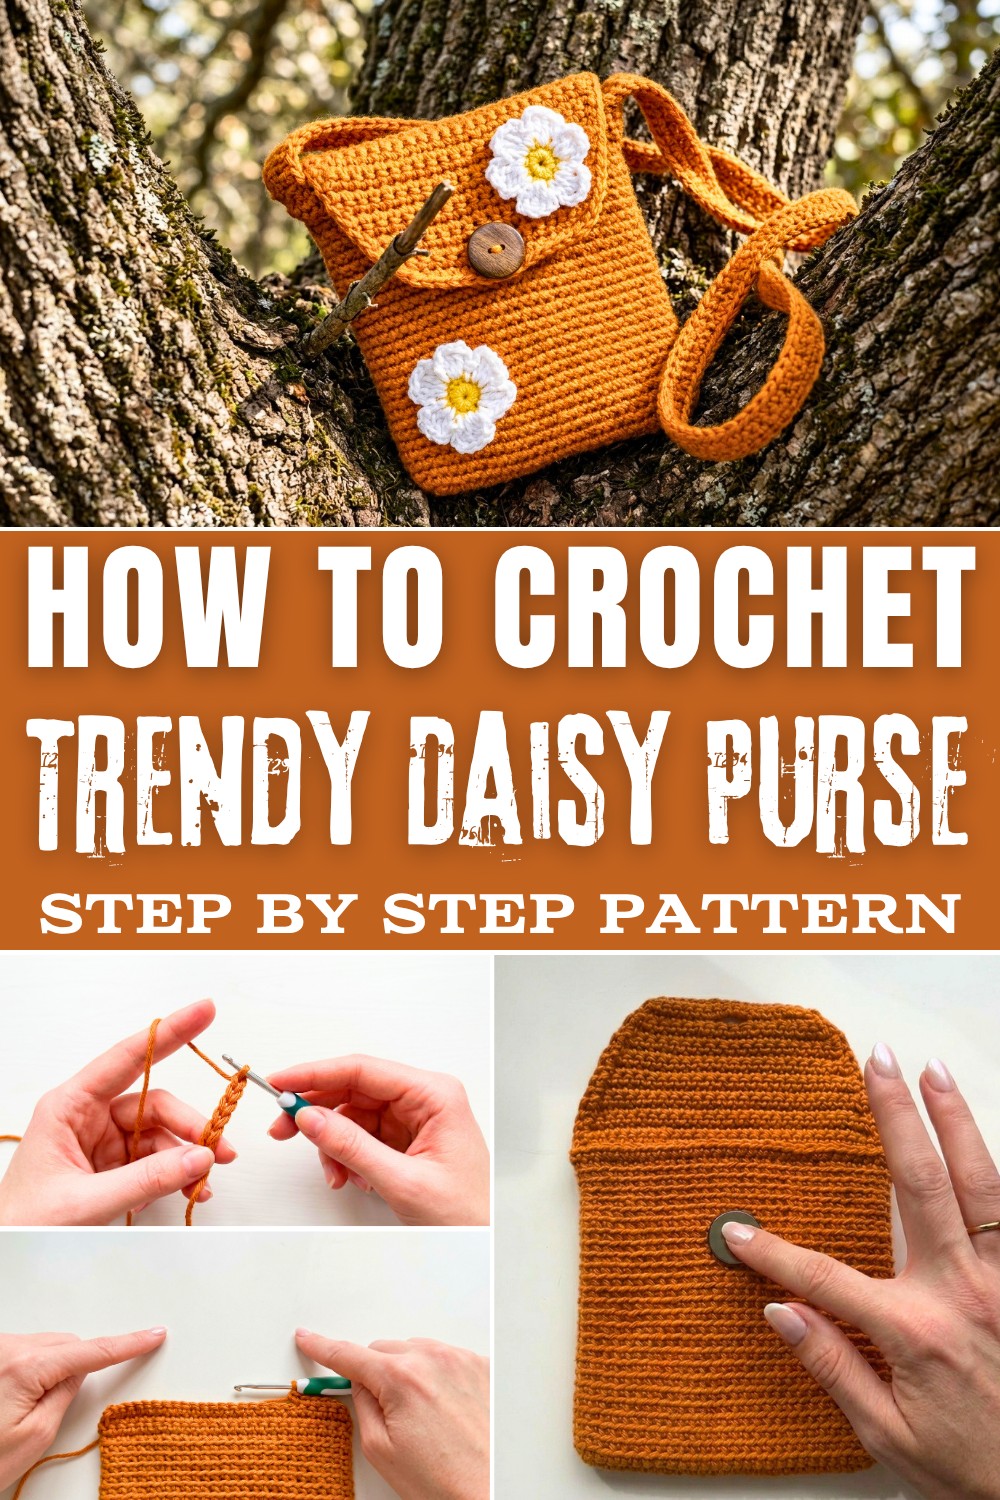
The pattern is designed with beginners in mind, using simple stitches like single crochet, double crochet, and back loop single crochet to create a lovely ribbed texture. The daisy applique adds a playful touch, making this purse both functional and decorative. Whether you're gifting it to friends, making it for kids, or creating one for yourself, this project is bound to bring smiles wherever you take it.

Other Things You Can Crochet From This Pattern
- Daisy headbands or hair clips: Add floral charm to any outfit.
- Small pouches: Perfect for makeup, trinkets, or travel gear.
- Tablet or phone covers: Protect your gadgets with a cheerful yet practical case.
- Garlands or wall hangings: For decorative home accents.
- Flower-themed bookmarks: Lovely gifts for book lovers.

Why You'll Love This Pattern
- Beginner-friendly and easy to follow.
- A fun way to mix and match yarn colors.
- Quick to make and perfect for gifting.
- A unique accessory to brighten any outfit!
Crochet Mini Purse with Daisy Flower Appliqué
What You'll Learn From This Pattern
- How to create a textured look using back loop single crochet.
- Shaping the purse flap and adding a button for a secure finish.
- Making and attaching delicate crochet daisies.
- Finishing tips for a professional and polished look.
Materials
- Yarn: Medium weight (Category 4) yarn in Pumpkin color or any desired colors. (About 1.5 balls for purse; scraps for flower)
- Hook: 4.5 mm (US 7) crochet hook
- Notions:
- Measuring tape
- Scissors
- Tapestry/darning needle
- Stitch markers (helpful but optional)
- Button (for flap closure)
Key Abbreviations (US Terms)
- ch = chain
- sc = single crochet
- dc = double crochet
- sl st = slip stitch
- st(s) = stitch(es)
- back bump = loop at the back of the chain (foundation row)
- back loop only (BLO) = work in the back loop of each stitch
Special Notes
- All rounds are worked continuously without joining unless specified.
- Stitches at corners are increased for shaping.
- Flap shaping is achieved by skipping the first stitch (decrease) of each row.
- Buttonhole can be adjusted for button size.
- Strap length is customizable.
- Magic ring is used for flowers.
Pattern Instructions
1. Purse Body
Foundation Chain
- With 4.5 mm hook, make a slip knot.
- Ch 25 loosely (approx. 6.5" / 17 cm for a 6" wide purse). Add more chains for a wider purse.

Round 1
- Sc in the second ch from the hook, working into the back bump.
- Sc in each back bump across until the last chain.
- In the last chain: Work 4 sc all into the same stitch (corner).
- Continue along the opposite side of foundation chain:
- Sc in each foundational stitch, going under the "V" (both loops).
- In the first stitch you worked (other end):
- Add 3 sc (so total of 4 sc on this end: 1 original + 3 added).
- Do not join. Place a marker after the corner to track the end of this round.
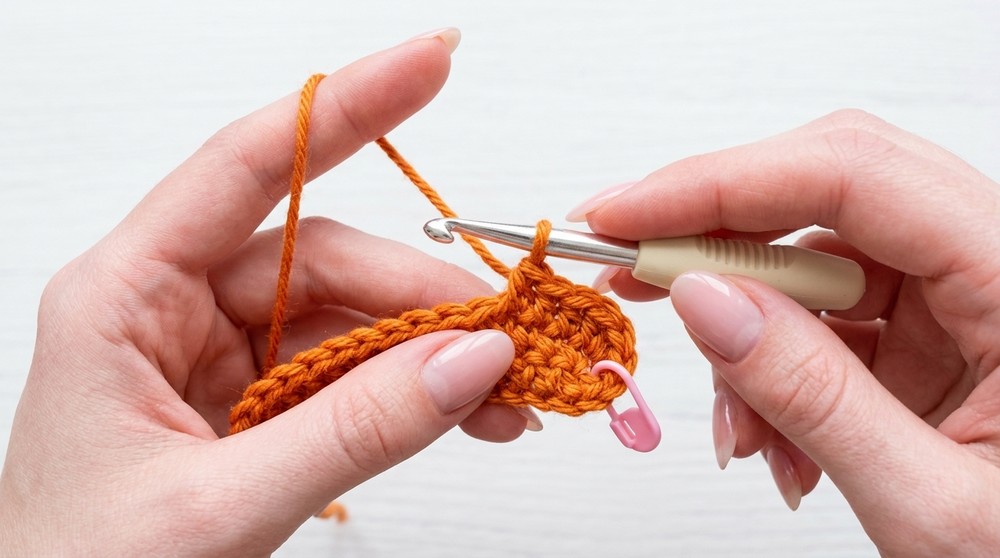
Rounds 2-? (Base & Sides)
- Sc in each st until you reach the four corner sts at one end.
- In each of the next four corner sts:
- Work 2 sc in each st (8 sc total on corner).
- Sc in each st along the side until you reach the other four corner sts.
- In each of these four corner sts:
- Work 2 sc in each st (8 sc total on corner).
- Continue stitching in a spiral.
- From next round onward:
- Work one sc in each st around (no increases).
- Back loop only (BLO): Insert in back loop of each st for purse sides.
- Continue in BLO without increasing, working around and around until the purse is the desired height.
- Sample: 6" (15 cm) tall.

- Sample: 6" (15 cm) tall.
2. Flap
- Decide which side will be the back.
- Place marker for flap, ensuring it's centered to the back.
Start the Flap
- Ch 1, turn.
- Sc through both loops in the very first st and each st across to the marker.
- Remove the marker and sc in the marked st as last st in row.
Repeat Rows
- Ch 1, turn.
- Sc in each st across, going under both loops.
- Repeat until desired flap length.
Flap Shaping (Decreases)
- Ch 1, turn.
- Skip the first st (decrease), then sc in next st and across.
- Repeat decrease rows (always skipping first st) until flap is desired length or shape.
3. Buttonhole
- Find the center (sample: 17 sts → st 8 is center).
- Place marker at center st.
- Ch 1, turn.
- Continue decreasing: skip first st, sc across until 1 st before center marker.
- Ch 4, skip 3 sts, sc in next st after skipped sts.
- Remove marker. Test button fit; adjust as needed.
- Complete row with sc to end.

Buttonhole Finishing Row
- Ch 1, turn.
- Decrease: Skip first st, sc across until you reach chain space.
- Sc 4 in chain space (or adjust to chain count).
- Sc in next st and to row end.
4. Purse Edging
- With RS facing, sc down the flap edge, around purse front, up the other flap edge.
- Sc 1 at end of each row (find the end and insert).
- At corners: sc in corner and in first st at front of purse.
- Continue sc around the entire edge until at the starting point.
- Fasten off and weave in ends.
- Invisible Join:
- Use needle to weave from front to back, then down into origin-creates a seamless finish.
5. Button & Final Weaving
- Sew button to purse, ensuring it aligns with buttonhole.
- Weave in all yarn ends securely.
6. Strap
- Leave a long tail for sewing.
- Slip knot, ch 120-150 (35-45" / 89-114 cm; adjust to desired length).
- Sc in back bump of second ch from hook, 2 sc in first st.
- Sc in each back bump to other end.
- 4 sc in last st.
- Turn, then sc in each st along opposite side (both loops) back to start.
- When back at the beginning: 2 sc in last st.
- Sl st to join in first sc.
- Ch 1. Start second row:
- Sc in first st.
- 2 sc in next st (corner).
- Sc in each st to next corner (four sc corner).
- At four corner sts: 2 sc in first, sc in next two, 2 sc in last.
- Continue along side with sc to beginning.
- At two end sts: 2 sc in first, sc in last.
- Leave a long tail, fasten off.
- Use darning needle to close strap end.
Attaching Strap
- Use tail to sew strap to purse side (about 4-5 stitches from edge under flap).
- Ensure strap is straight, stitch other end to opposite side.
- Weave in all ends.
7. Daisy Flower Appliqué
Center
- With scrap yarn, make a magic ring.
- Ch 1, then 11 sc in ring.
- Pull ring closed.
- Fasten off with invisible join (creates extra stitch for 12 total).
- Cut yarn and tie ends (don't need to weave).
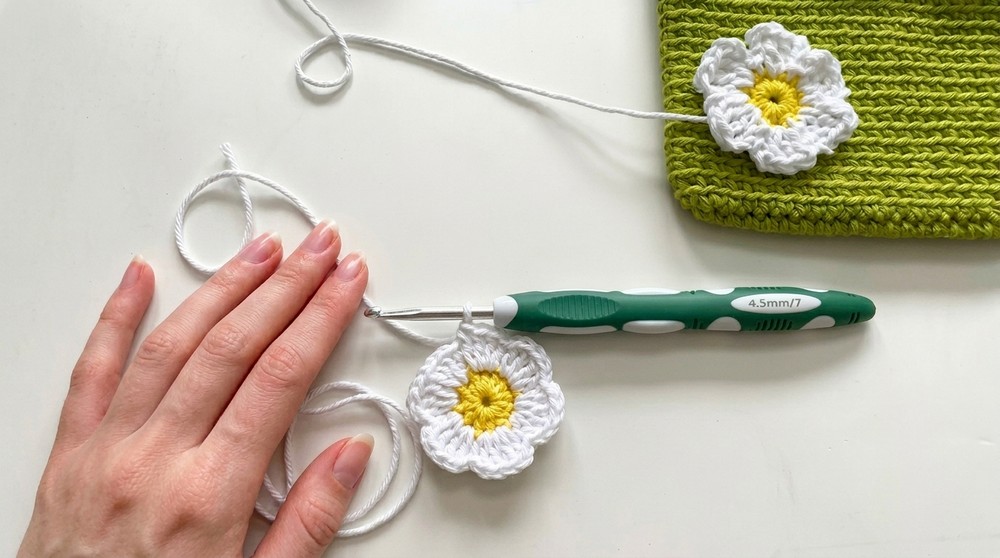
Daisy Petals
- Insert hook in any center st, join petal color, ch 3.
- 2 dc in next st.
- Ch 3, sl st in next st.
- Repeat:
- Ch 3, 2 dc in next st, ch 3, sl st in next st.
- Continue until 6 petals are made.
- Last petal: Ch 3, 2 dc in last st, ch 3, sl st to very first st.
- Leave tail for sewing.
- Tie beginning and ending petals' ends together; cut off excess.
- Make as many daisies as desired.
- Sew flower(s) onto purse.
Conclusion
This pattern creates a charming and functional mini crochet purse, complete with a shaped flap, button closure, sturdy strap, and a whimsical daisy applique. The pattern is seamless and beginner-friendly, with clear opportunities for customization in width, flap length, strap length, and decorations.
Pattern Correction & Tips
- Count your stitches after the foundation round to ensure symmetry.
- When forming the corners, be careful to distribute increases evenly for a rectangular shape.
- For a stronger purse, avoid overly loose stitches and use back loop only for sides.
- Strap length is customizable and can be reinforced by an extra row if preferred.
- Buttonhole opening must fit the button snugly; adjust chain and skip count as needed.
- Invisible join yields a tidy finish-do not skip this step!
- For flower petals, ensure even spacing by counting stitches carefully.
- Use a strong sewing technique when attaching the strap for durability.