
Try the Free Crochet Rose Keychain Pattern for a stylish, easy gift idea, giving your accessories a fun makeover in just a few steps.
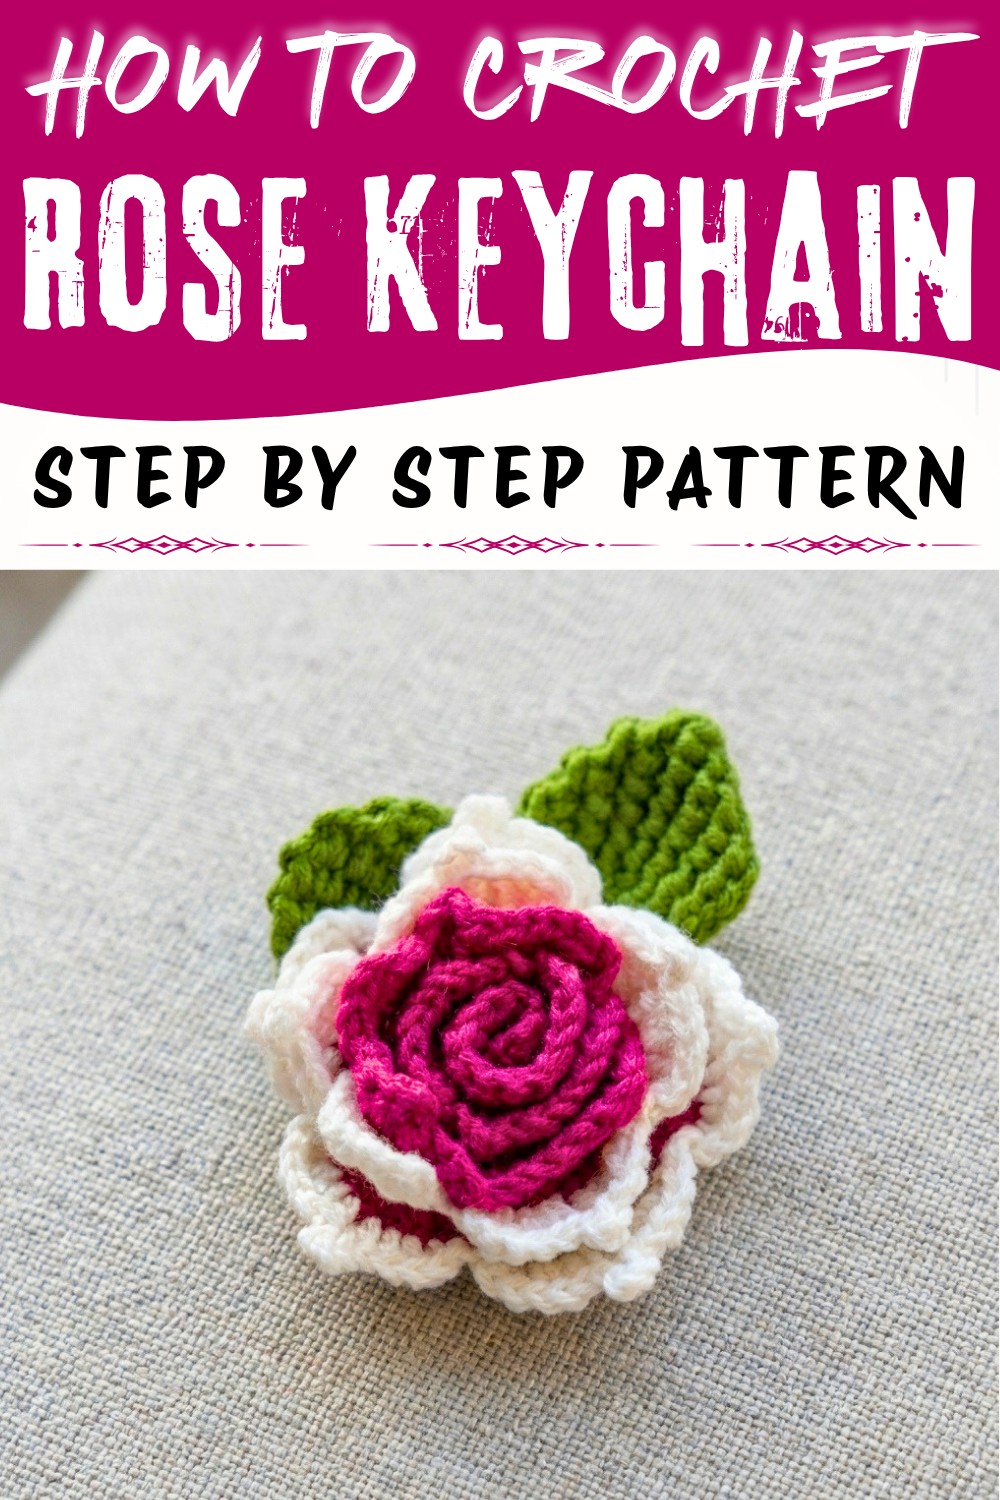
Sometimes a small handmade piece can bring a lot of joy, like a crochet rose keychain that's as delicate as it is delightful. This vibrant and fun pattern transforms simple yarn into an eye-catching design that you can carry with you every day. The beauty of the keychain lies in how it captures the essence of a blooming rose, with soft, layered petals and a seamless back. You can play with color combinations to create something that suits your personal style-go classic with red and green, or try pastel shades like blush pink and mint for a charming vibe. This small and lightweight project makes an excellent gift, a decorative accessory for your bag or keys, or even a thoughtful keepsake for someone special.
Eye-Catching Crochet Rose Keychain Pattern for Lasting Memories
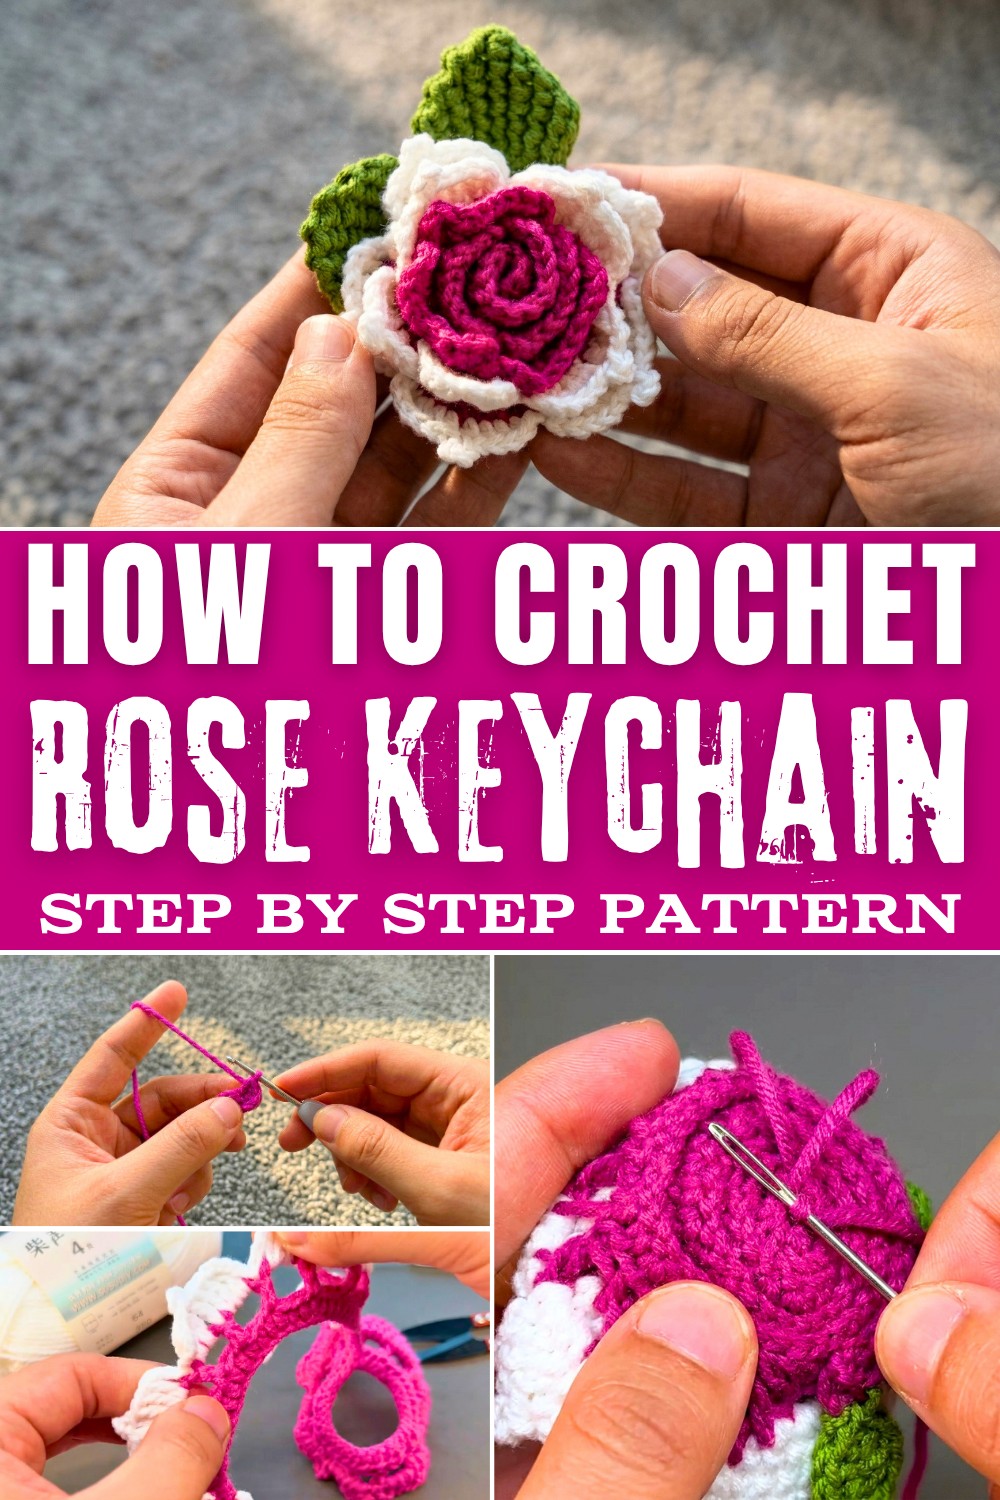
The crochet rose keychain combines beginner-friendly techniques with creative design. The pattern incorporates the cluster stitch, giving the rose realistic texture and fullness. Mastering this versatile stitch will not only help you make gorgeous roses but can also be used in other projects like blankets, shawls, or decorative appliqués. With clear instructions for creating petals, leaves, and a secure base, this is an ideal project whether you're learning crochet or simply want a quick and satisfying project.
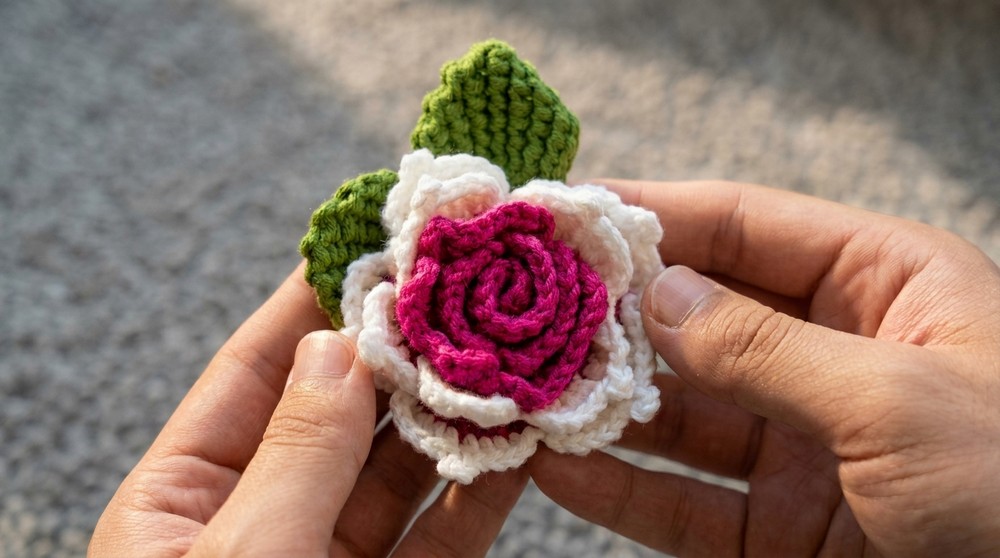
What You'll Gain From This Pattern
- How to crochet a realistic, multi-layer rose using the cluster stitch.
- Crafting detailed leaves with clean edges for a polished finish.
- Securing all parts to create a functional and durable keychain.
- Tips for color selection to make unique combinations that reflect your creativity.
Why You'll Love This Project
- Perfect for gifting and personal use.
- Fun and quick to make, even for beginners.
- Compact enough to crochet while traveling or relaxing at home.
- Teaches key crochet techniques you can use in other projects.
Materials List
- Yarn:
- 4-ply yarn in the following colors:
- Main Color for the petals (e.g.,Magenta used)
- Secondary Color for leaves (e.g., green)
- Optional Third Color (for an outline effect if desired).
- 4-ply yarn in the following colors:
- Hook: 2.0 mm crochet hook.
- Scissors: For cutting yarn ends.
- Tapestry Needle: To sew and weave in yarn tails securely.
Skill Level
Beginner-Friendly
Designed for crochet beginners, this pattern introduces color changes, cluster stitches, and pico edges while using basic crochet techniques (e.g., slip stitches, double crochet).
Key Abbreviations (US Terminology)
- CH: Chain
- SC: Single Crochet
- HDC: Half Double Crochet
- DC: Double Crochet
- TR: Treble Crochet
- SL ST: Slip Stitch
- INC: Increase (work 2 stitches into the same base stitch)
- Cluster Stitch: A group of DC stitches worked into the same stitch, pulling them together to create a cluster.
Special Techniques
Magic Ring
The magic ring creates a tightly closed center for crocheting projects that begin in the round.
- Wrap the yarn around your fingers to form a loop.
- Insert the hook into the loop, pull up a loop, and CH 1 to secure.
- Continue crocheting into the ring per the pattern instructions.
Cluster Stitch
Cluster stitches are decorative and dimensional. They are created by partially completing stitches in the same base loop and closing them together at the end. For example:
- Yarn over, insert the hook into the stitch, pull up a loop, YO, pull through 2 loops, and repeat that several times, leaving loops on the hook. Finally, YO and pull through all loops to close the cluster.
Pattern Instructions
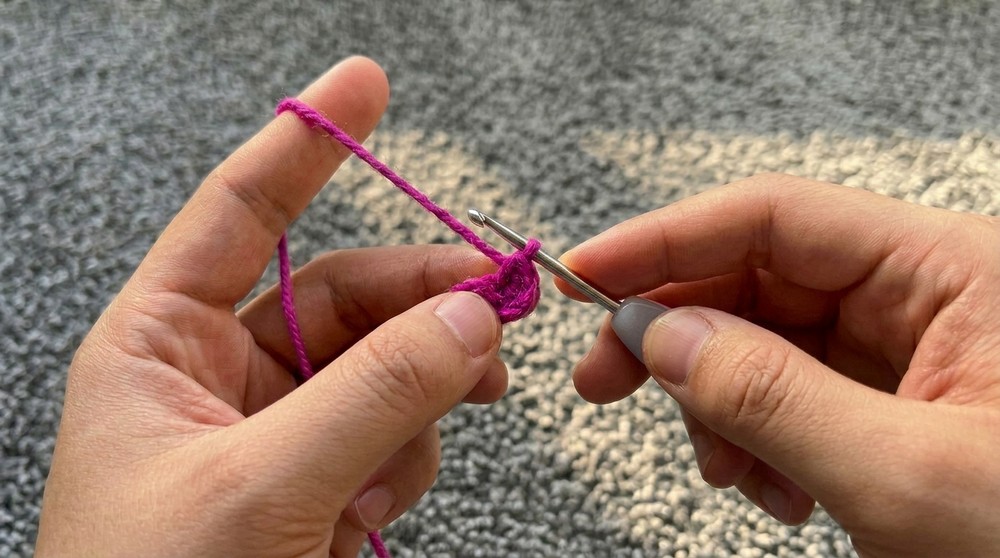
Step 1: Base Chain
- Foundation Chain:
- Start with a slip knot and CH 115. Ensure your chain is not too tight, as this will serve as the foundation for the petals and leaves.
Step 2: Half Double Crochet Foundation
- Yarn over, skip the first two CH stitches, and HDC into the third chain from the hook.
- Work 1 HDC into each chain across. (115 HDC total)
- At the end of the row, CH 6 and turn your work.
Step 3: Create the Open Grid for Petals
- Start Row 2:
- Yarn over, skip the first 2 stitches, and work 1 DC into the third stitch.
- CH 3, skip the next 2 stitches, and work 1 DC into the third stitch.
- Repeat the sequence of CH 3, skip 2 stitches, DC into the third stitch across the row.
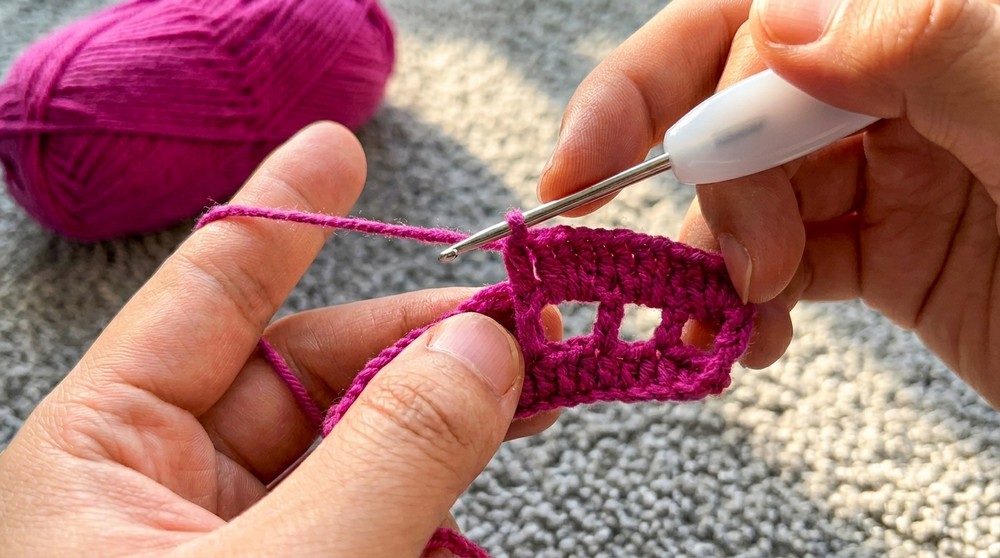
- You should have 38 "holes" or grid spaces by the end of this row.
- Finish Row 2:
- After the last "hole," CH 3, and DC into the last stitch.
Step 4: Small Petals
- Switch Yarn Color, if Desired: For a contrasting set of petals, change yarn color here.
- Start Row 3:
- Yarn over and work 3 DC into the first chain space ("hole"), followed by 1 DC into the next DC stitch.
- Work 3 DC into the next chain space, 1 DC into the next DC stitch.
- Repeat this process until you complete 3 groups of 3 DC in chain spaces and 1 DC in DC stitch.
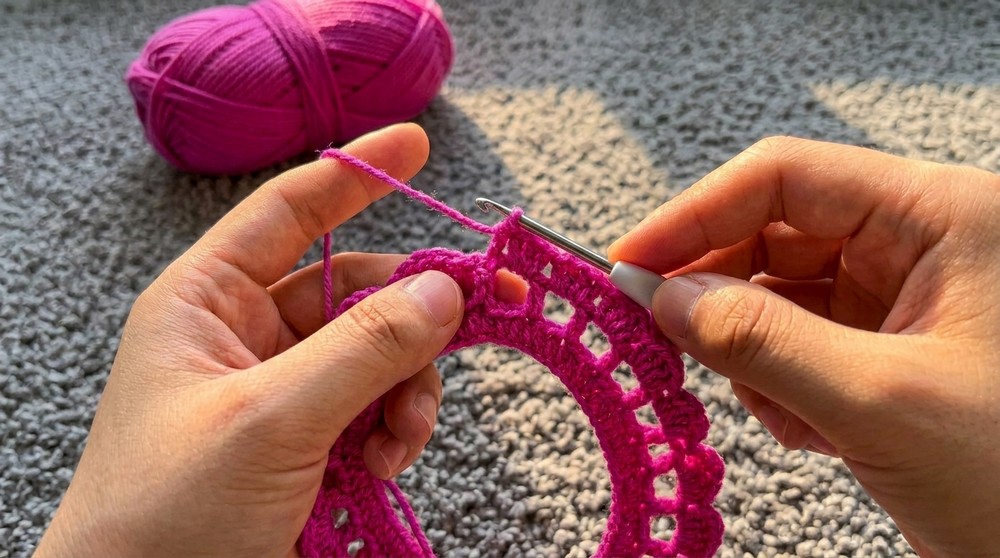
- Form the Small Petals:
- Chain 3, then SL ST into the next DC to form a pico edge on top of the petal. This creates a pointed edge to the petal.
Step 5: Medium Petals
- Chain 3: Start building the medium petals.
- In the next chain space, work 3 DC, 1 DC into the next DC stitch, and then 3 DC into the next chain space.
- Chain 3 and SL ST into the next DC to form the medium-sized petal.
- Repeat the Sequence:
- Each medium petal uses 2 adjacent chain spaces and 1 DC between them. You should complete 5 medium petals in this row.
- Finish the Medium Petals:
- After the fifth petal, CH 1, cut yarn, and pull it through to secure the end.
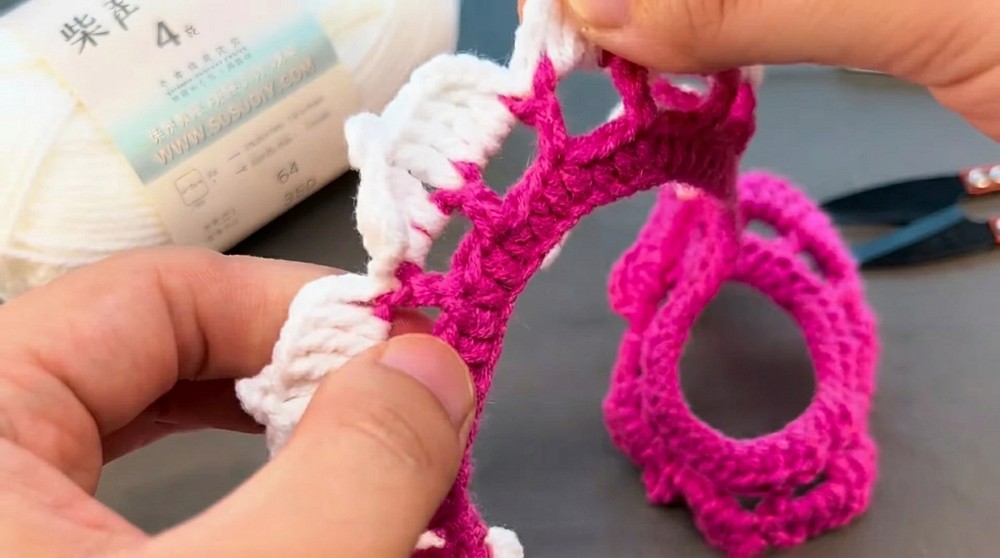
- After the fifth petal, CH 1, cut yarn, and pull it through to secure the end.
Step 6: Large Petals
- Switch Yarn Color (e.g., white): Insert your hook into any DC stitch on the base. Pull white yarn through and CH 4.
- In the next chain space, work 3 TR (treble crochet), followed by 1 TR into the next DC stitch.
- Chain 3 and SL ST into the same stitch to form a pointed pico edge on the large petal.
- Repeat Across: Complete 10 large petals in total, using each chain space and DC stitch. After the 10th petal, finish with a CH 1, cut yarn, and secure the end.
Step 7: Leaves
- Foundation for Leaves:
- Insert the hook into any remaining hole at the base foundation chain. Attach the green yarn, CH 4, and proceed to work cluster stitches for a leaf shape.
- Cluster Stitch Leaves:
- Work cluster stitches as instructed, pulling loops through chain spaces and large holes. Start each new leaf at the next available hole, repeating the cluster stitch method for symmetry.
- Create Additional Leaves:
- Continue until all remaining holes have at least one leaf attached. You can add more leaves by returning to the base chain and spacing them as desired.
Step 8: Assembly and Finishing
- Roll the Flower: Starting at the smallest petal end, carefully roll the piece into a spiral shape to form the flower.
- Secure the Flower: Use a tapestry needle and yarn to sew the layers together at the base. Stitch through each layer to ensure the flower remains secure.
- Secure the Leaf Base: Once the flower layers are secured, stitch the leaves into place underneath the petals for a cohesive design.
Final Words
Congratulations on completing your color-changing flower with leaves! This versatile pattern can be used for various projects, such as appliqués, brooches, or decorative accents. The polished back and seamless transitions between leaves and petals make this design both beautiful and functional.
Tips for Success
- Yarn Tension: Maintain consistent tension for clean edges and even petals. Use a smaller hook for tighter stitches if the petals appear floppy.
- Color Changes: Experiment with different color combinations for petals and leaves to suit your aesthetic.
- Blocking: Lightly block the finished piece to shape petals and leaves evenly.
- Securing Ends: Ensure all yarn ends are securely woven and tied off to prevent unraveling.