
Modernize your accessory drawer with the Free Crochet Lace Headband Pattern, infusing grace and versatility into every hairstyle.
I love how even the smallest crochet project can become something truly special! When I first came across this delicate lace headband, I couldn't believe how elegant and lightweight it turned out. It's the perfect accessory to add a touch of charm to any outfit, whether you're dressing up for a special occasion or going for a casual boho vibe. What makes this pattern extra special is its airy openwork design, which not only makes it visually stunning but also super comfortable to wear.
A Free Crochet Lace Headband for Fashion Statement Use
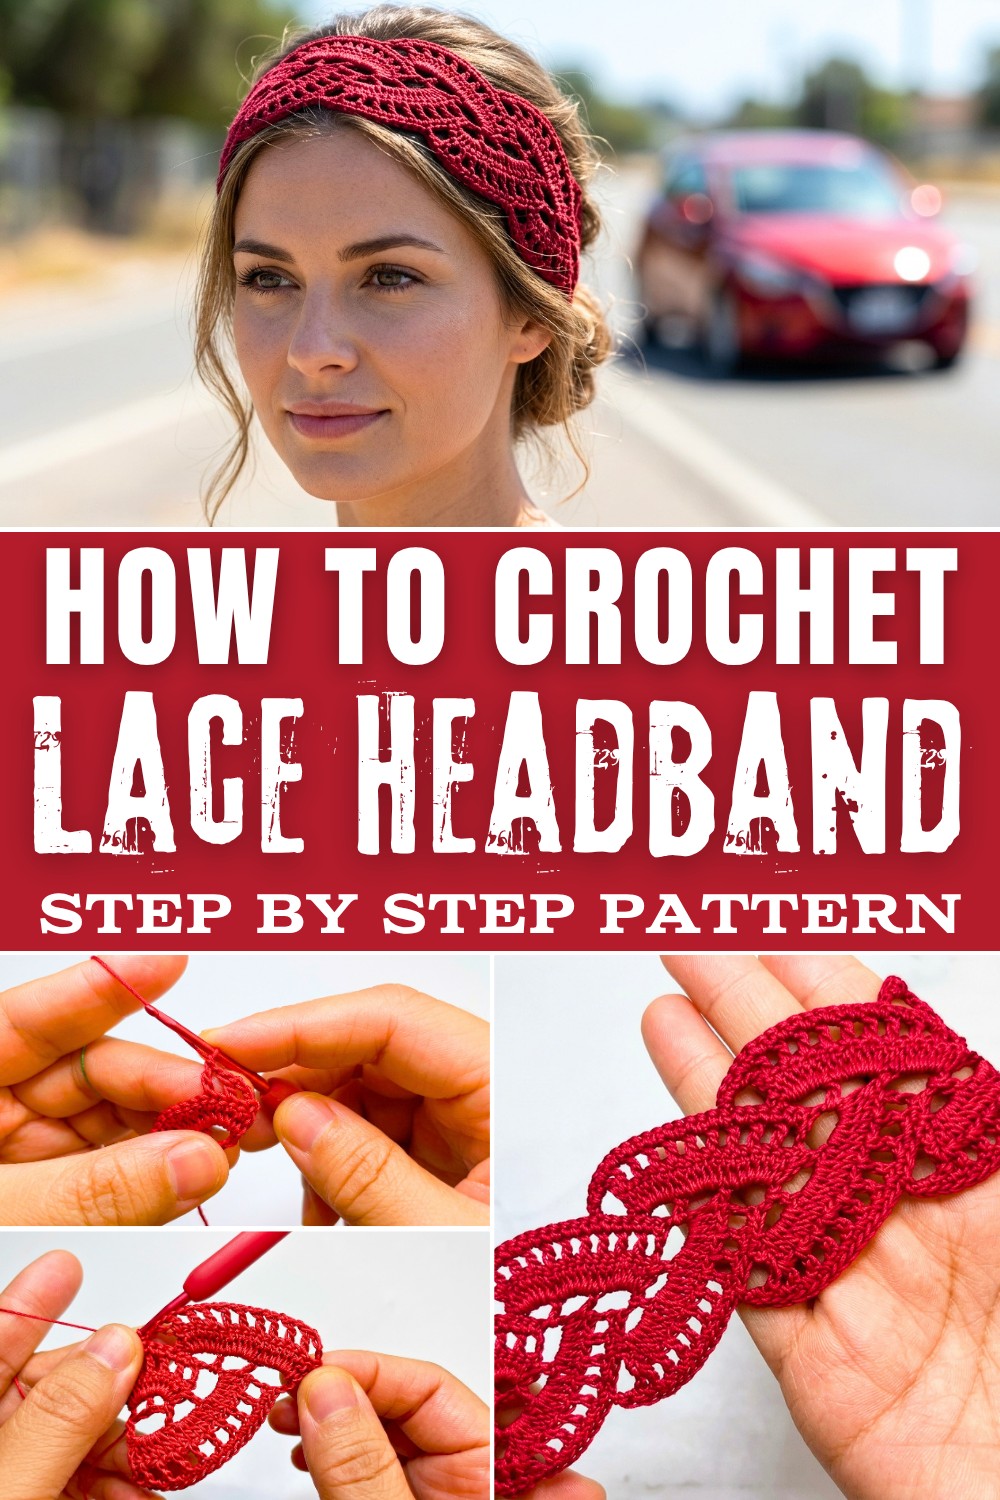
The pattern is surprisingly beginner-friendly, with the main stitch being the double crochet stitch, complemented by chain spaces to form a beautiful, lacy texture. What stands out is the clever use of single crochet rows to give the piece a neat, polished finish while also adding durability. The pattern is worked in rows with easy-to-follow repeats, and the length can be adjusted effortlessly to fit anyone. To make it even better, tie ropes are crocheted at the ends to ensure the headband fits snugly while adding an extra decorative flair.
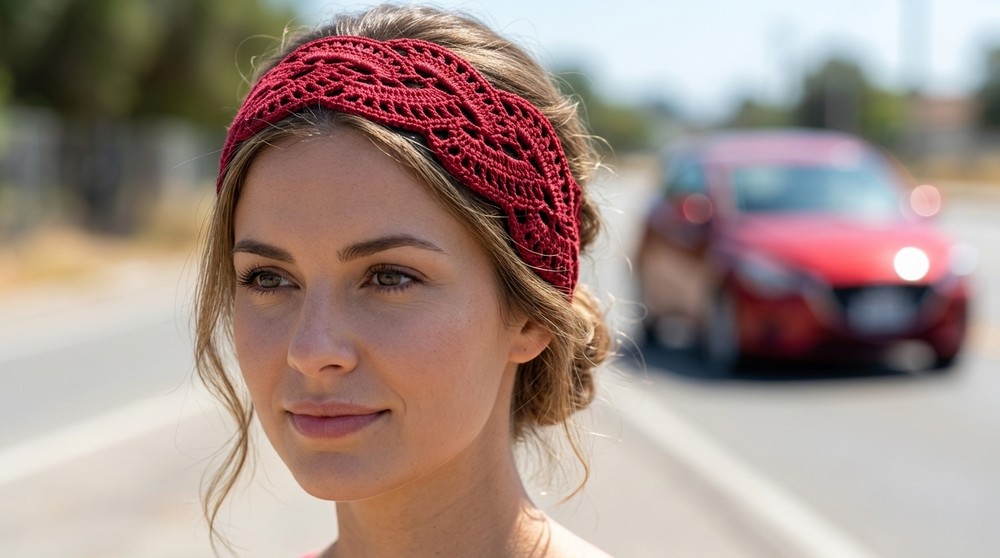
What You'll Learn and Create
- Master double crochet stitches and chain spaces to create delicate lacework.
- Explore crocheting into back loops for neat finishing techniques.
- Learn how to shape edges and add tie ropes for a perfect fit.
- Apply these skills to other crochet projects like lace scarves, shawls, or table runners.
- Create an elegant handmade accessory that's both functional and beautiful!
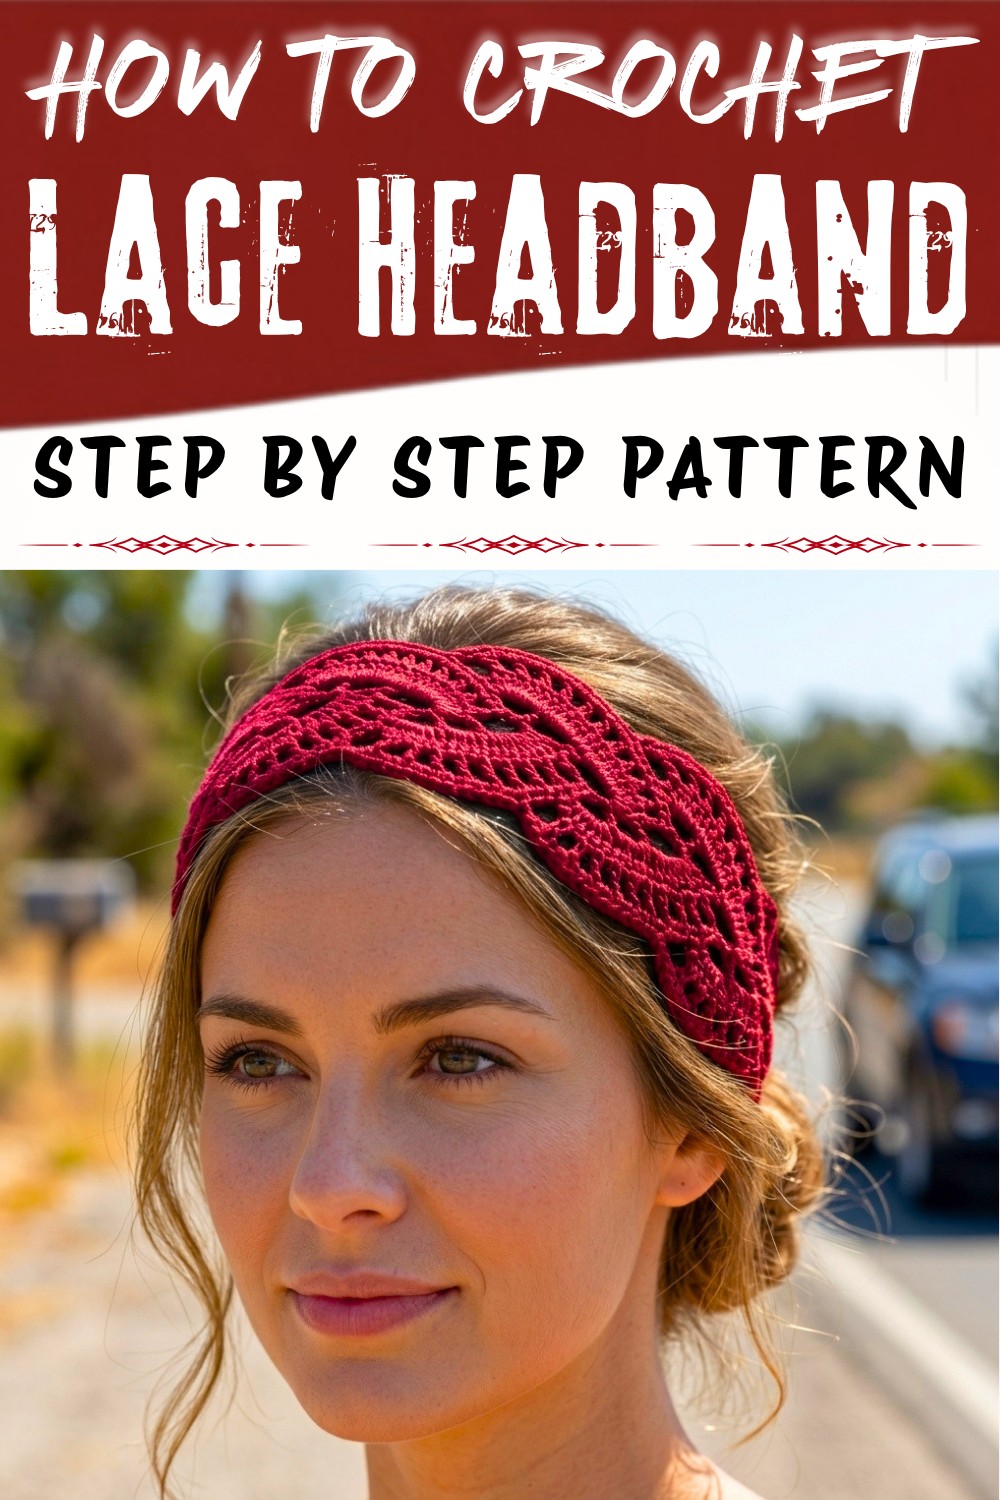
Adorable Crochet Lace Headband Pattern
Materials Needed
- Yarn: Lightweight yarn or crochet thread ideal for lacework. (red color used or Select the color of your choice.)
- Crochet Hook: Use a crochet hook size that complements the yarn weight. For lace patterns, smaller hooks are usually preferred (e.g., 2.0-3.5mm).
- Scissors: To cut the yarn at the end of the project.
- Tapestry Needle: To weave in ends neatly.
Special Techniques
- Slip Knot: A basic knot to start your crochet chain.
- Chain (ch): Loop created by pulling yarn through the previous loop.
- Back Bump: Refers to the loop on the back of the chain for more structured stitches.
- Double Crochet (dc): Yarn over, insert hook into the stitch, draw up a loop, yarn over, pull through two loops twice.
- Single Crochet (sc): Insert hook, draw up a loop, yarn over, pull through both loops.
- Slip Stitch (sl st): Insert hook, draw up a loop, pull directly through the loop on your hook.
Pattern Instructions
Step 1: Crochet the First Pattern Group
- Row 1:
- Make a slip knot.
- Chain 10.
- Turn the chain over to work into the back bumps.
- Insert hook in the 7th back bump and make 1 double crochet.
- Chain 2, skip 2 stitches, and make 1 double crochet in the last back bump.
- Row 2:
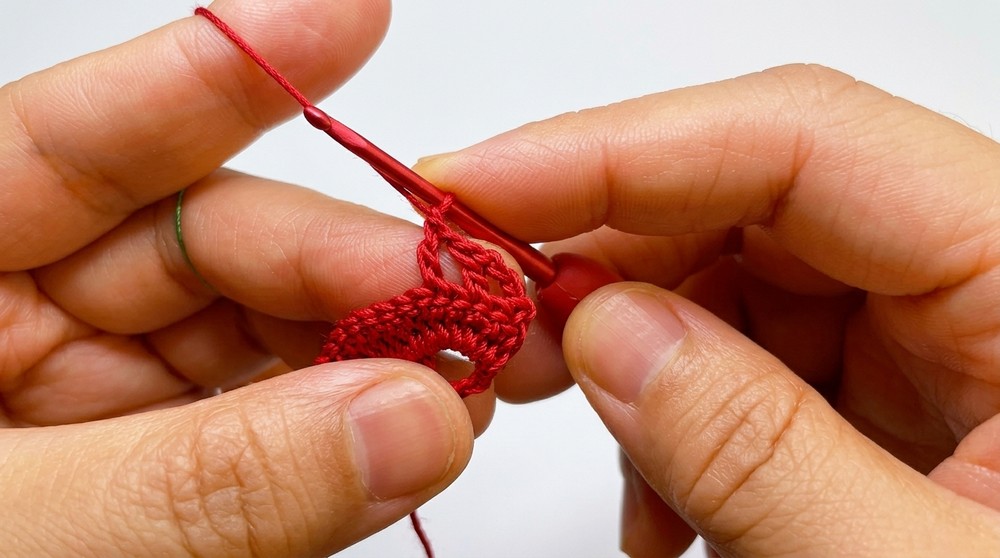
- Chain 3 as the starting double crochet.
- Turn your work.
- Make 5 double crochets into the first chain 2 space.
- Make 1 double crochet in the next double crochet stitch.
- Repeat this process in the next chain space.
- Make the last double crochet in the third chain stitch.
- Row 3:
- Chain 3 as the starting double crochet and chain 1.
- Turn your work.
- Skip 1 stitch and make 1 double crochet in the third stitch.
- Chain 1 and repeat this process 4 more times.
- End with 1 double crochet in the third chain stitch.
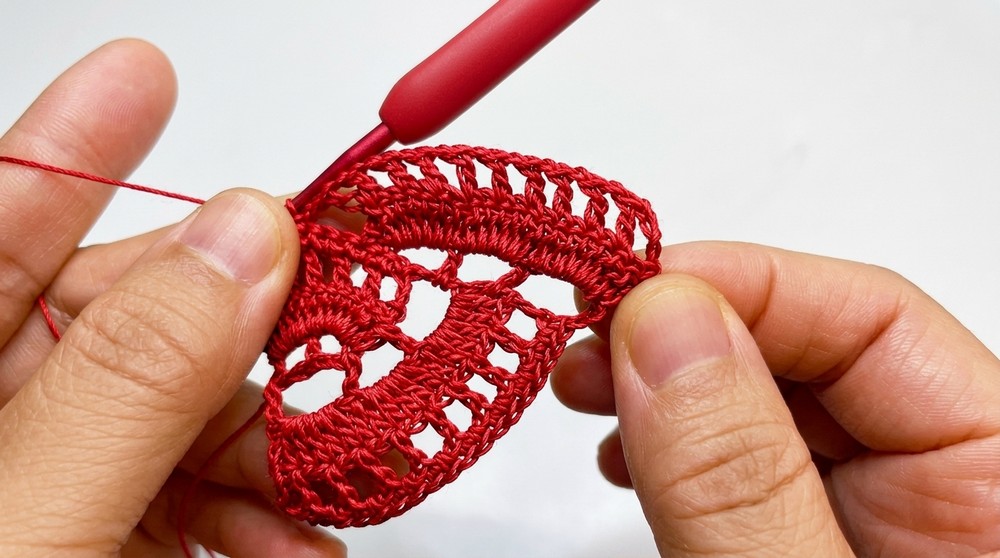
- Row 4:
- Chain 1, turn the work.
- Make 1 single crochet in the first stitch and in the first chain space.
- Continue making 1 single crochet in each stitch across.
- End with 1 single crochet in the third chain stitch.
Step 2: Crochet the Second Pattern Group
- Row 1:
- Chain 3 as the starting double crochet.
- Chain 3, then make 1 double crochet around the post of the edge double crochet.
- Chain 3 and repeat this process once more.
- Make 1 double crochet in the first stitch of the foundation chain.
- Row 2:
- Chain 3 as the starting double crochet.
- Turn your work.
- Make 5 double crochets in the first chain 3 space.
- Make 1 double crochet in the next double crochet stitch.
- Repeat this process twice more.
- End with the last double crochet in the third chain stitch.
- Row 3:
- Chain 3 as the starting double crochet.
- Chain 1, turn your work.
- Skip 1 stitch and make 1 double crochet in the third stitch.
- Chain 1 and repeat the process a total of 8 times across the row.
- End with 1 double crochet in the third chain stitch.
- Row 4:
- Chain 1, then turn your work.
- Make 1 single crochet in the first stitch and in the first chain 1 space.
- Continue making 1 single crochet in each stitch.
- Finish with 1 single crochet in the last chain stitch.
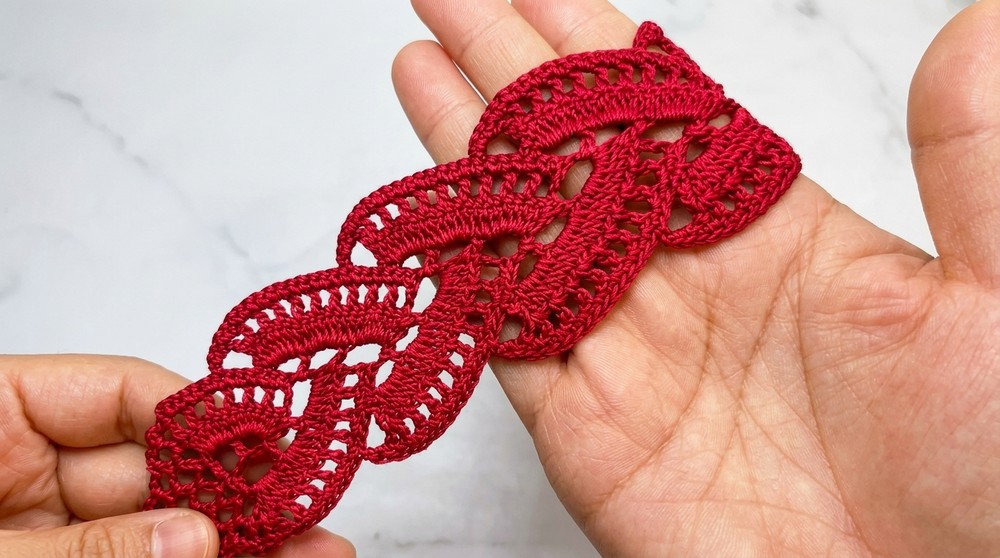
Step 3: Crochet the Third Pattern Group
- Repeat the steps from Step 2, working as instructed in Rows 1-4.
- This pattern is repeated 16 times to achieve the desired length of the headband. Adjust the number of repetitions to your preference for a shorter or longer headband.
Headband Tie Ropes
- Chain 80 (adjust the chain count for your preferred tie length).
- Chain 2, then return to the third stitch.
- Make 2 double crochets in the third stitch.
- Chain 2 and make 1 slip stitch in the same stitch.
- Repeat this process three more times.
- Cut the yarn and weave in the ends.
- Repeat this process for the other side of the headband.
Finishing
- Weave in all loose ends using a tapestry needle, ensuring the stitches are secure.
- Block the headband if needed to smooth the design and give it a polished look.
Final Words
This delicate lace headband is airy, elegant, and versatile for daily use or special occasions. Its openwork design allows for customization, and the lightweight construction ensures comfort. With some practice on basic crochet techniques, this pattern can be completed by beginner and intermediate crocheters alike.
Tips to Maintain the Pattern
- Storage: Keep the headband in a dry area to prevent stretching or damage.
- Washing: Handwash gently with mild soap and lay flat to dry.
- Customization: Experiment with different yarn colors or add beads or embellishments for a personalized touch.
- Adjustments: To make the headband suitable for various sizes, simply increase or reduce the number of pattern repeats.
With care and creativity, this lace headband can become a staple accessory in your wardrobe or a thoughtful gift for loved ones.
Possible Difficulties and Simple Solutions
Some beginners might find it tricky to keep the stitch count even in the lace rows, or to get the tension right so the headband is not too loose or too tight. A simple solution is to use stitch markers at the beginning and end of each repeat, and to count your stitches at the end of every row. If your edges start to wobble, gently block the headband by laying it flat and shaping it with your hands. Using a smooth, light-colored yarn also makes it easier to see each stitch clearly while you work.