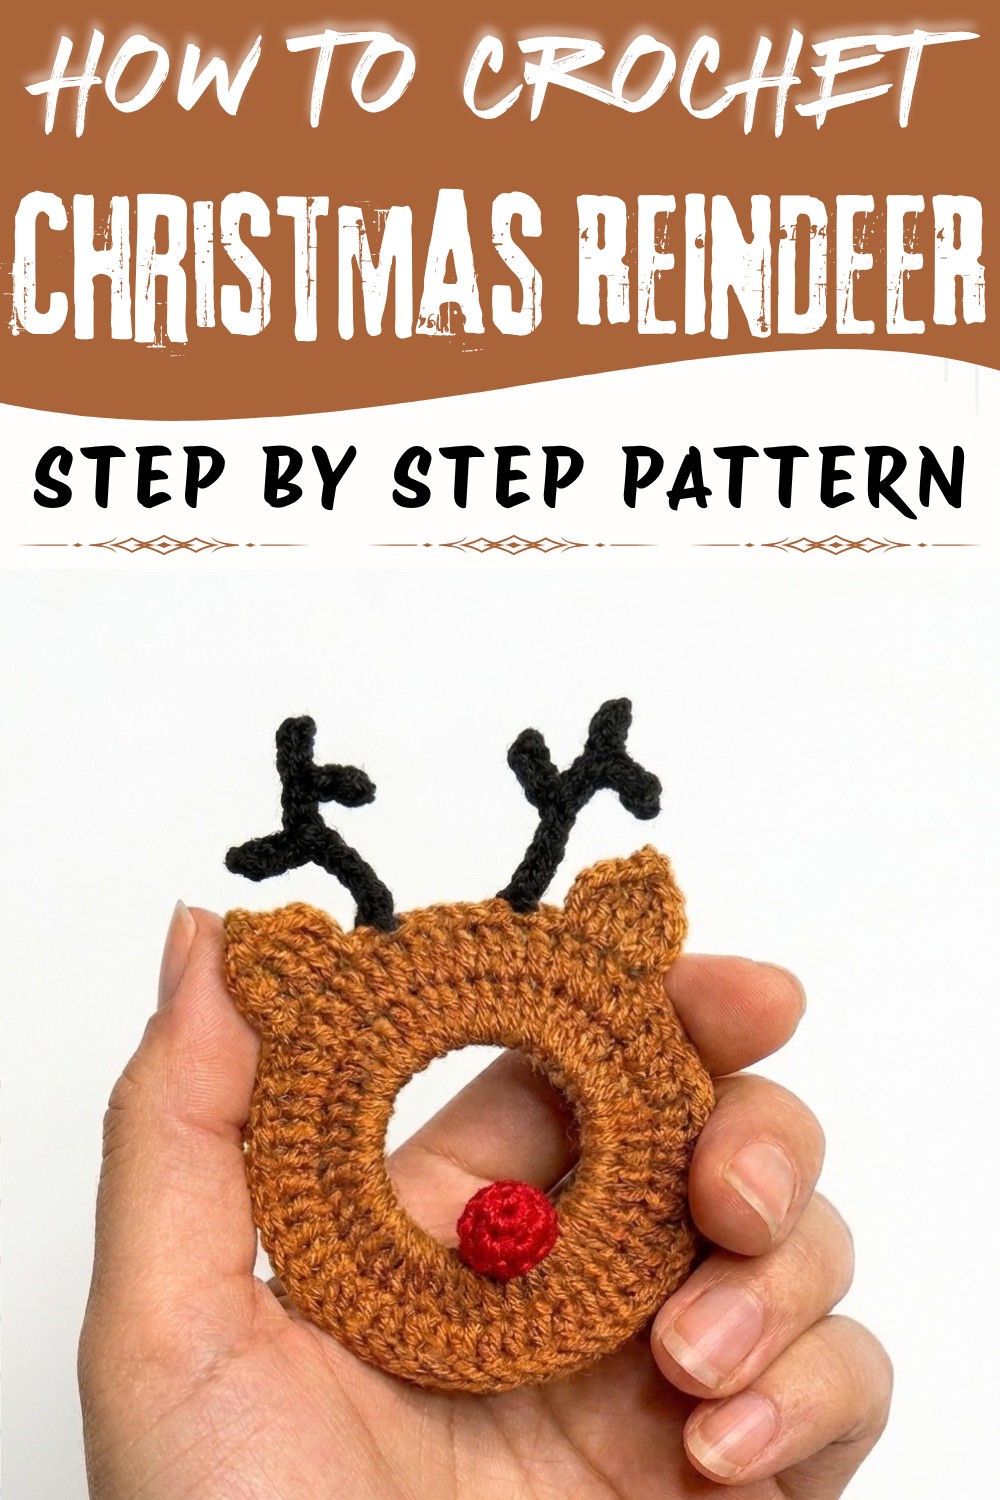
Dress up your festive table with the Crochet Christmas Reindeer Free Pattern, featuring a playful winter look that adds warmth to your home.
Snowy mornings and twinkling lights set a perfect scene for a lovely decoration, like this charming reindeer. Nancy A Crochet, who created the design and tutorial on her YouTube channel, brings a blend of whimsy and warmth to this finished piece. The Crochet Christmas Reindeer Pattern results in a delightful little figure with cute antlers, a round nose, and delicate ears. Its gentle colors and soft texture make it ideal for hanging on the tree, adding to a wreath, or gifting to friends and family as a handmade holiday treasure.
Festive Crochet Christmas Reindeer Free Pattern with Cute Antlers
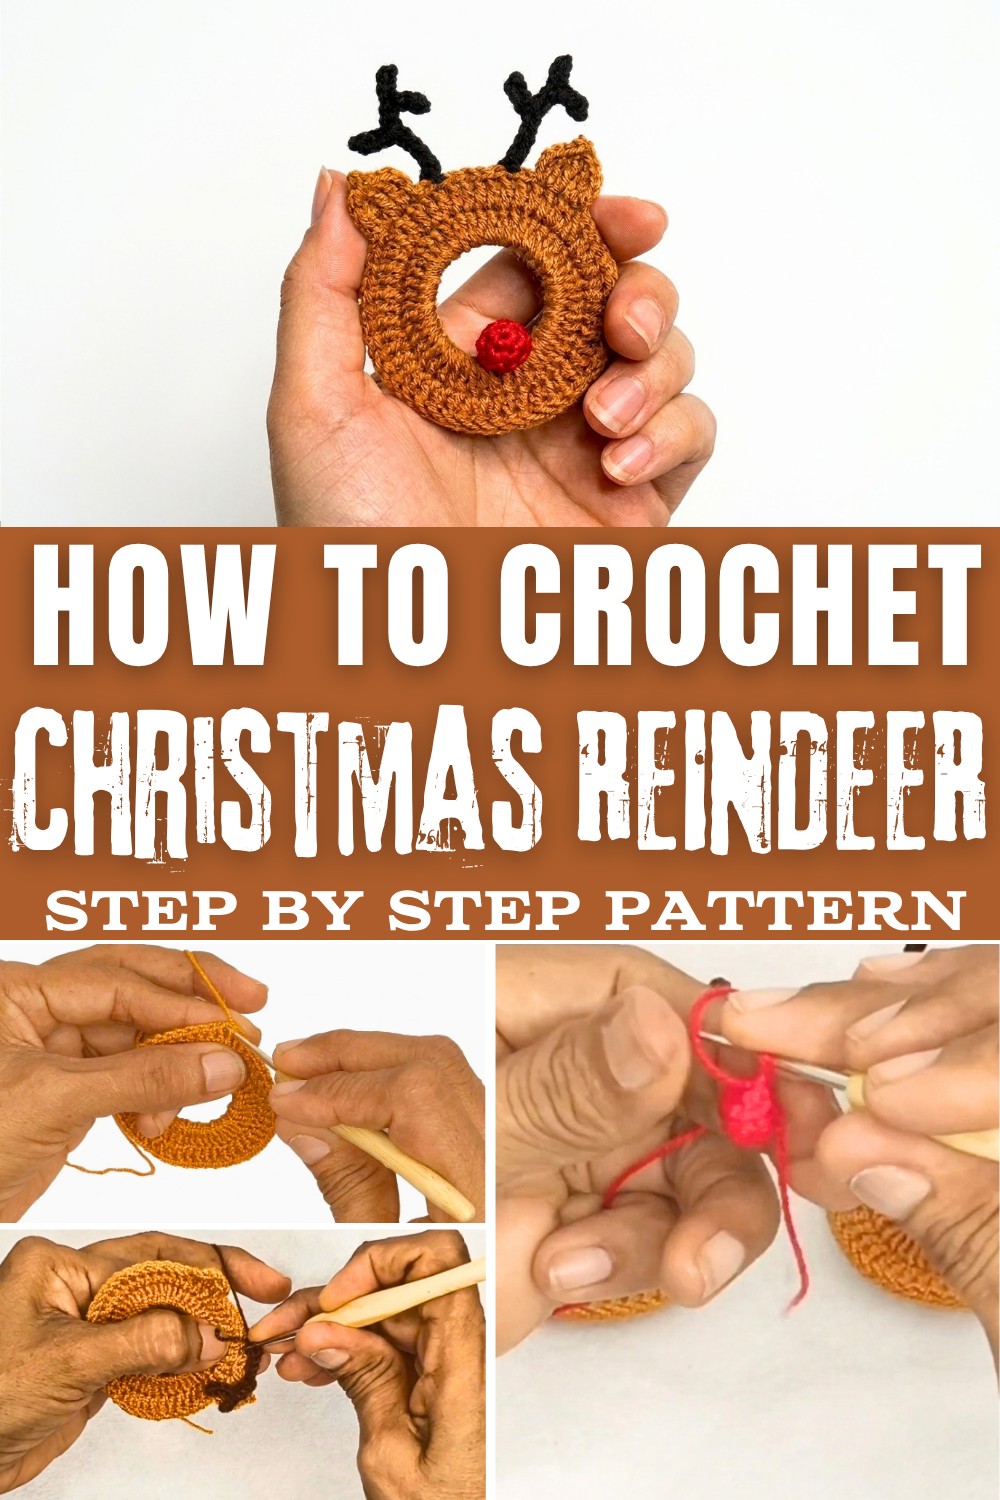
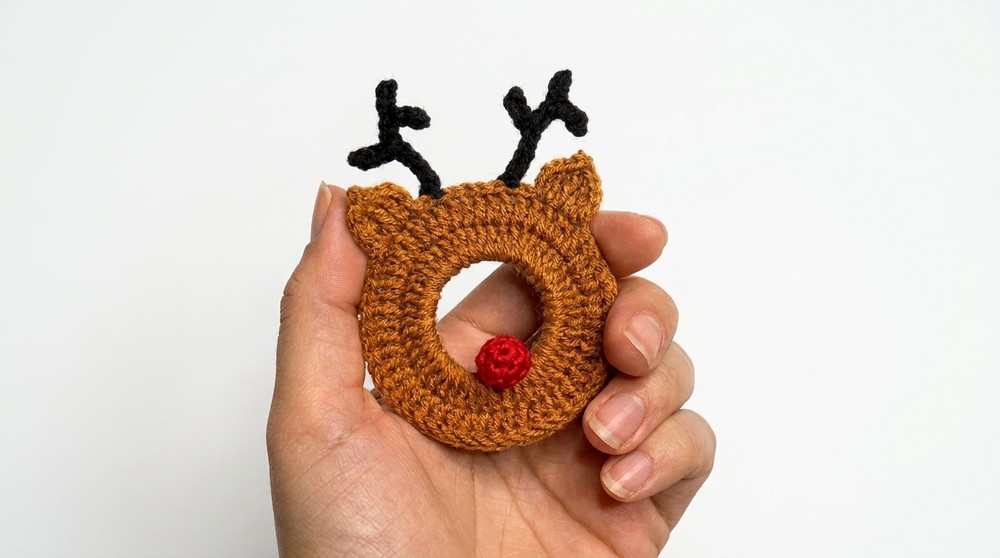
This reindeer stands out because it uses a recyclable ring as the base, giving it a neat circular frame covered in neat stitches. The horns peek out with a playful twist, making it feel alive and full of holiday cheer. Its size is just right-not too big, making it a sweet embellishment for any Christmas setting.
The simple yet eye-catching style brings joy and a cozy feeling to any corner of your home. Whether you place it on your mantel, hang it as an ornament, or add it to a gift tag, this little reindeer will brighten the space with its friendly look. If you want to create this holiday friend, check out the full free pattern. It's an easy-to-follow guide that helps you bring this lovely reindeer to life quickly. Jump into the holiday spirit with this sweet and simple Crochet Christmas Reindeer Pattern.
Holiday Crochet Christmas Reindeer Free Pattern
This festive reindeer ornament uses recycled plastic bottle rings as a unique base to create a sustainable, charming Christmas decoration. Blending resourcefulness and tradition, the project teaches how to build three-dimensional ears, antlers, and a bright red nose for an unmistakable reindeer look. Every element is constructed with mercerized cotton thread and a fine crochet hook for durability and detail, making it an ideal handmade holiday keepsake or thoughtful eco-friendly gift. The finished piece highlights not only your crochet skills but also your commitment to upcycled creativity.
Quick Overview Of Pattern
- Cover a recycled bottle ring completely with stitches for the base.
- Outline the ring with a round of double crochets for structure.
- Crochet sculpted ears and attach directly onto the base for dimension.
- Form branching antlers with slip stitches and chain arcs.
- Crochet a small nose with optional stuffing and attach at the center.
- Assemble securely with glue or hand-stitching.
Notes
- This project uses fine mercerized cotton and a small hook for crisp, durable detail.
- Tension matters when working around the ring; avoid cramming or stretching the thread so the base remains even.
- You can use any small hoop with similar proportions if plastic bottle rings are not available.
- If hanging is desired, additional chains can be added at the end for a loop.
- Fasten and weave in all ends neatly for stability.
Skill Level
- Beginner to Intermediate
- Basic rounds, single and double crochet, picots, advanced slip stitch shaping, and working in the round are required. Assembly is easy, but ear and antler shaping are best for crafters with a little experience.
Materials
- Recycled plastic bottle ring (serves as the ornament's base)
- Mercerized cotton thread or yarn:
- Brown for body, ears, and antlers
- Accent color (red or brown) for the nose
- 1.5 mm crochet hook
- Filling or stuffing (optional, for nose)
- Silicone glue (optional; for attaching pieces)
- Yarn needle and scissors
Measurements / Sizing
- Diameter of ring: 4-5 cm (standard bottle ring)
- Finished reindeer ornament (ears to base): ~7-8 cm across, 6-7 cm top to bottom
- Nose diameter: 1-1.5 cm
- Antler width: up to 2.5-3 cm each
Gauge
Gauge is not crucial for this project, but ensure the crochet fabric covers the ring tightly, and added features are proportional. Tight tension creates a more polished finish.
Stitch Abbreviations
- ch - chain
- sl st - slip stitch
- sc - single crochet
- dc - double crochet
- tr - treble (triple) crochet
- inc - increase (2 sc in same stitch)
- dec - decrease (sc2tog)
- MR - magic ring (adjustable ring)
Special Stitches
- Picot: Chain 3, slip stitch back into the same base stitch.
- Elongated dc: Yarn over, insert hook, draw up a taller than usual loop, complete as dc.
- Treble crochet (tr): Yarn over twice, insert hook, finish as a standard treble.
The Crochet Pattern
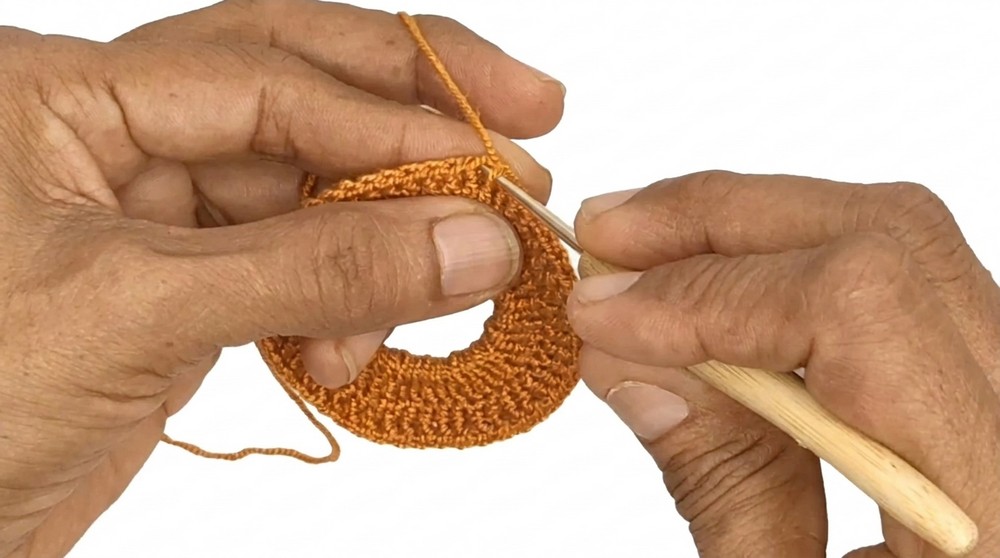
Covering the Base Ring
- Step 1:
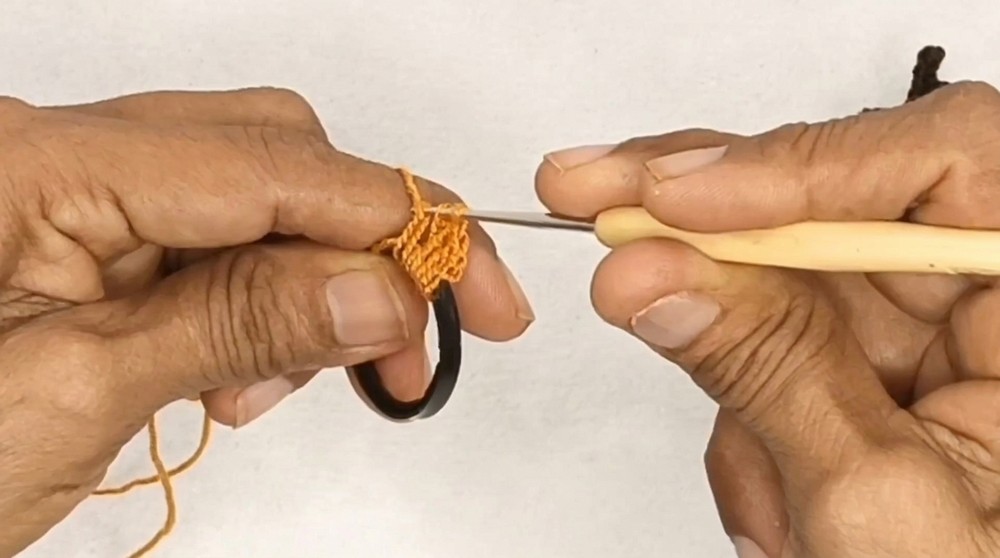
Take your recycled plastic bottle ring and your brown mercerized cotton thread. - Step 2:
With 1.5 mm crochet hook, work into and around the ring:- Work 50 sc evenly spaced around the ring, making sure the stitches are snug to fully cover all plastic.
- Step 3:
Continue and outline the base:- Ch 2, insert the hook into the first sc,
- Work 1 dc in each sc around the ring (maintain a total of 50 dc around the outline).
Shaping the Ears
After completing the base outline, do the following for each ear:
- Step 1:
Sl st across the next 10 stitches (work gently so the yarn does not pull too tight). - Step 2:
- Ch 3
- Make a tr in the next st
- Make an elongated dc (pulling the loop taller) in the next st
- Ch 1, then make a picot (ch 3, sl st to same stitch)
- Make an elongated dc in the next st
- Ch 3, sl st into the same base to form the ear tip.
- Step 3:
Sl st across the next 10 stitches to move to the position for the second ear. - Step 4:
Repeat the exact same series of steps as above for the second ear. - Step 5:
Sl st all the way back around to where you began.
Cut and weave in ends.
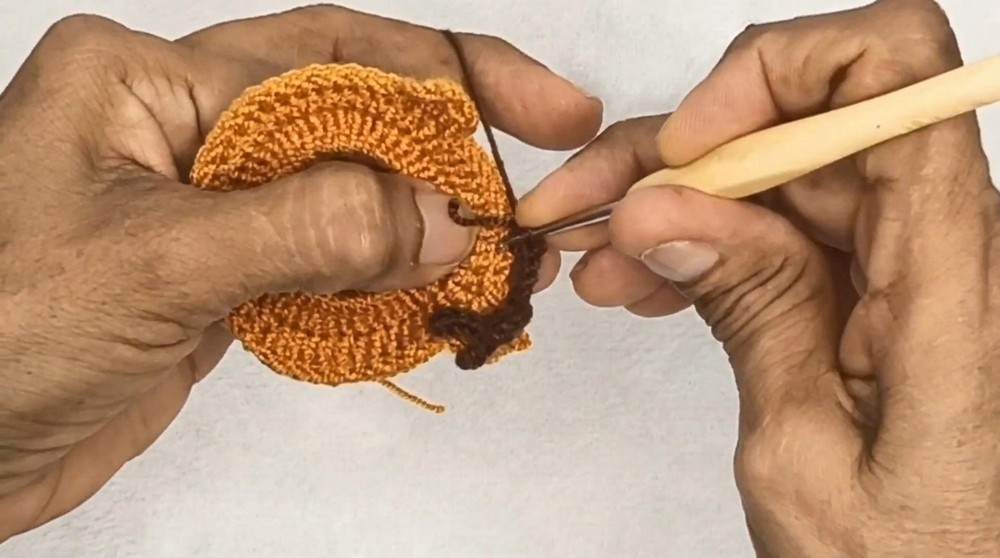
Crocheting the Antlers
For each antler (make 2, opposite sides):
- Attach thread to ring, skipping 2 base stitches from an ear.
- Step 1:
- Work 11 sc up and along the ring, catching the tail for a neat finish.
- Step 2:
- Sl st into next st, ch 3
- Sl st 3 times (over the next 3 stitches)
- Ch 3, sl st into the base of first sl st to form the main branch.
- Step 3:
Continue: sl st, ch 3, sl st, and repeat to make small forks/points.
Shape the antler until it resembles the desired branching structure. - Step 4:
Finish with a small chain, cut thread, and fasten off. - Step 5:
Repeat on other side with proper spacing for the second antler. - (Optional: Before fastening, add extra chains as a hanging loop if desired.)
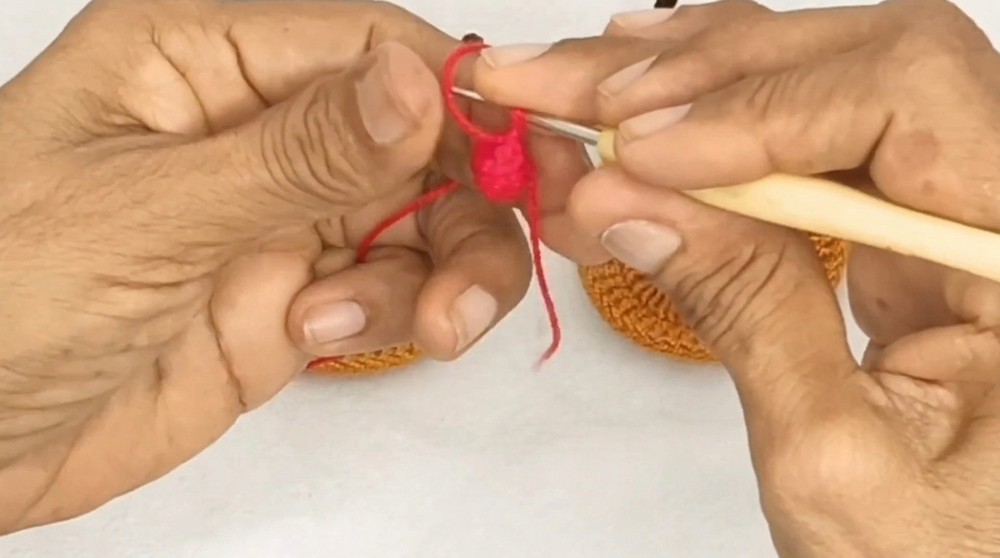
Crocheting the Nose
- Start with a MR.
- Work 6 sc into the magic ring; pull it tight.
- Sl st to close the round and ch 1.
- Increase round:
- Alternate 1 sc, inc (2 sc in next st) so you end with 9 sc.
- Next round:
- Work 1 sc in each st around (9 sc total, no increases).
- Final round (decreasing):
- Alternate 1 sc, 1 dec around to shape/taper the nose.
- Optionally, add stuffing before closing if a plump nose is desired.
- Fasten off and leave a tail for sewing.
Assembly & Finished Size
- Sew the finished nose to the bottom center of the covered ring.
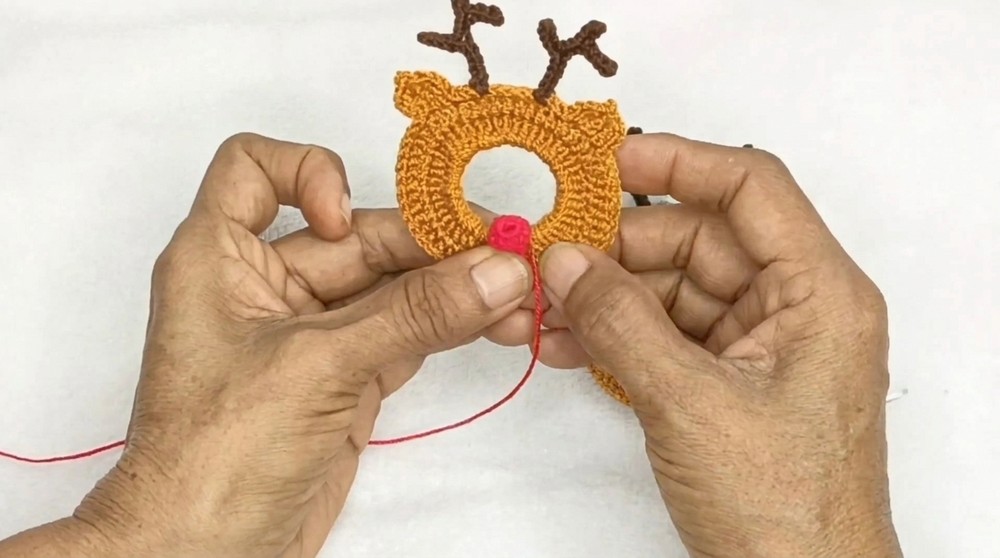
- Attach by hand-stitching firmly or use silicone glue for a secure hold.
- For a finishing touch, attach a hanging thread or ribbon to the top between the antlers.
- Tidy all loose ends.
- The completed ornament measures approximately 7-8 cm wide and 6-7 cm tall, with charming, dimensional features.
Conclusion
By combining upcycling and traditional crochet, you've created a sustainable ornament imbued with festive spirit and personality. This reindeer is a testament to the joy of handmade holiday décor and creative reuse. Carefully covering the ring, shaping the ears and antlers, and assembling all details ensures both durability and a professional look. You may personalize with different colored noses, accent ribbons, or tiny bells. Best of all, this project uses scrap materials while yielding something beautiful for your home or for gifting. Display your reindeer proudly as a symbol of your skill and care-for the holidays, and for the planet.