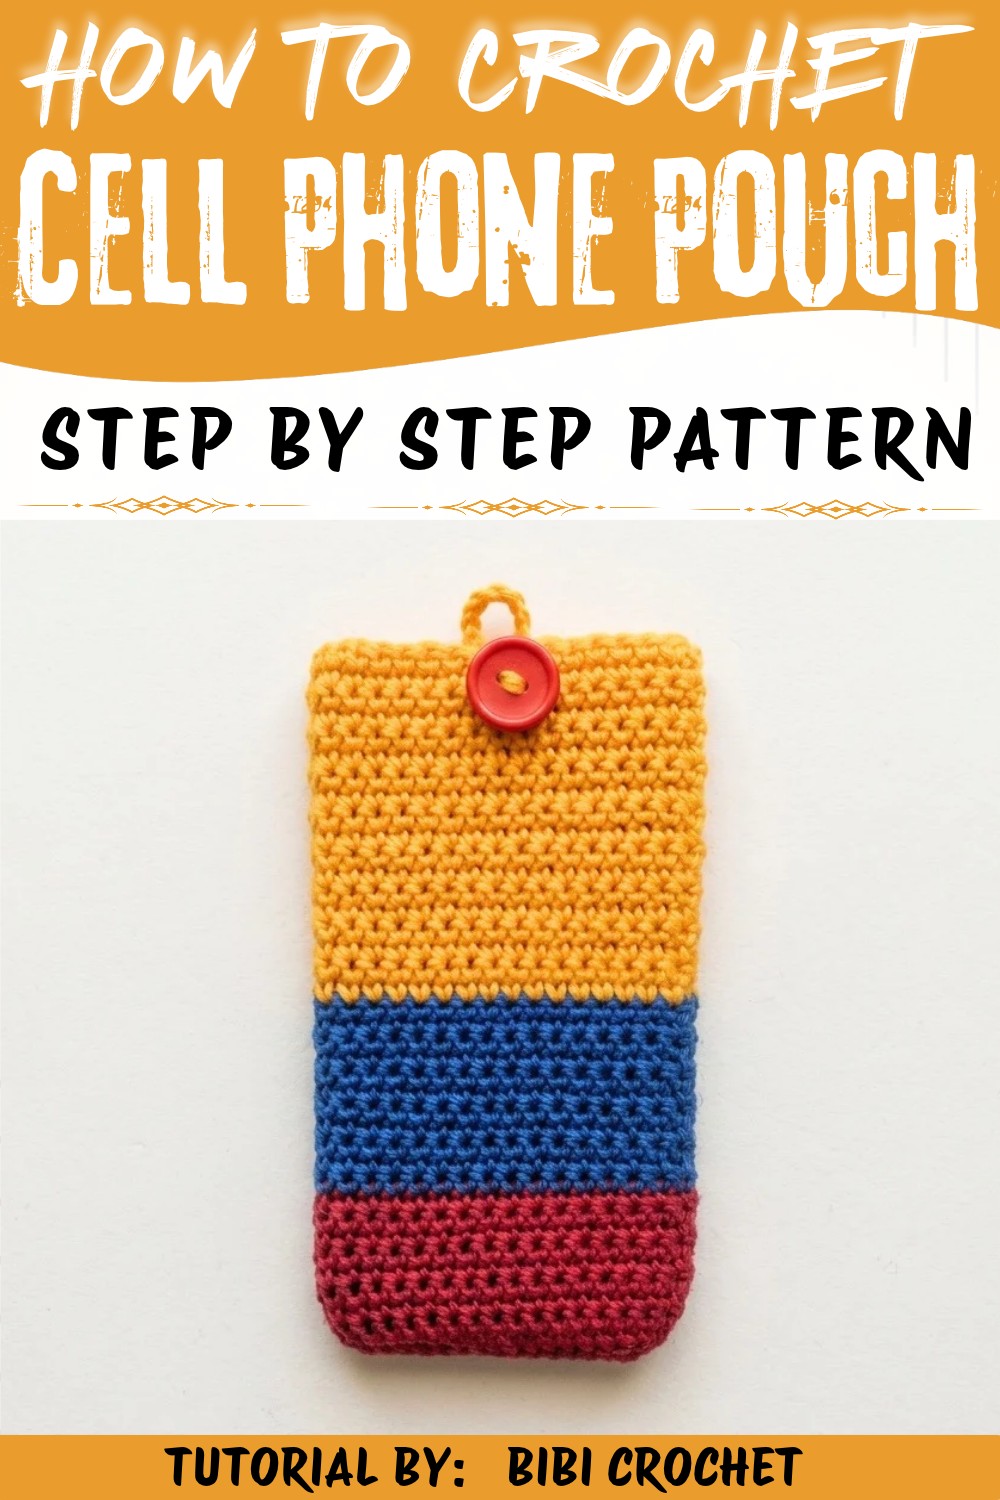
Stitch a phone accessory with this Crochet Cell Phone Pouch Free Pattern and keep your phone close while adding charm to daily outfits.
Find the charm and practicality of a beautifully designed accessory that merges style with everyday function. This project, presented by the talented Bibi Crochet, offers a delightful way to protect your phone with flair. Full credit goes to Bibi Crochet for sharing the tutorial and original design that make this creation a must-have for anyone looking to add a personal touch to their essentials.
Chic Crochet Cell Phone Pouch Free Pattern for Casual Outfits
With a snug yet comfortable fit, this pouch suits various phone sizes, making it a versatile choice for everyday use. The Crochet Cell Phone Pouch Pattern is perfect for year-round use, adapting effortlessly from warm summer strolls to cozy autumn outings. Whether you're heading to a casual brunch, a stroll in the park, or simply need a chic way to keep your phone handy, this pouch blends seamlessly with your lifestyle.
Its aesthetic appeal lies in its simplicity and the subtle elegance of its design, making it an excellent accessory to pair with casual outfits or even a more polished look. The pouch stands out as a statement along with your everyday belongings, enhancing your ensemble without overpowering it.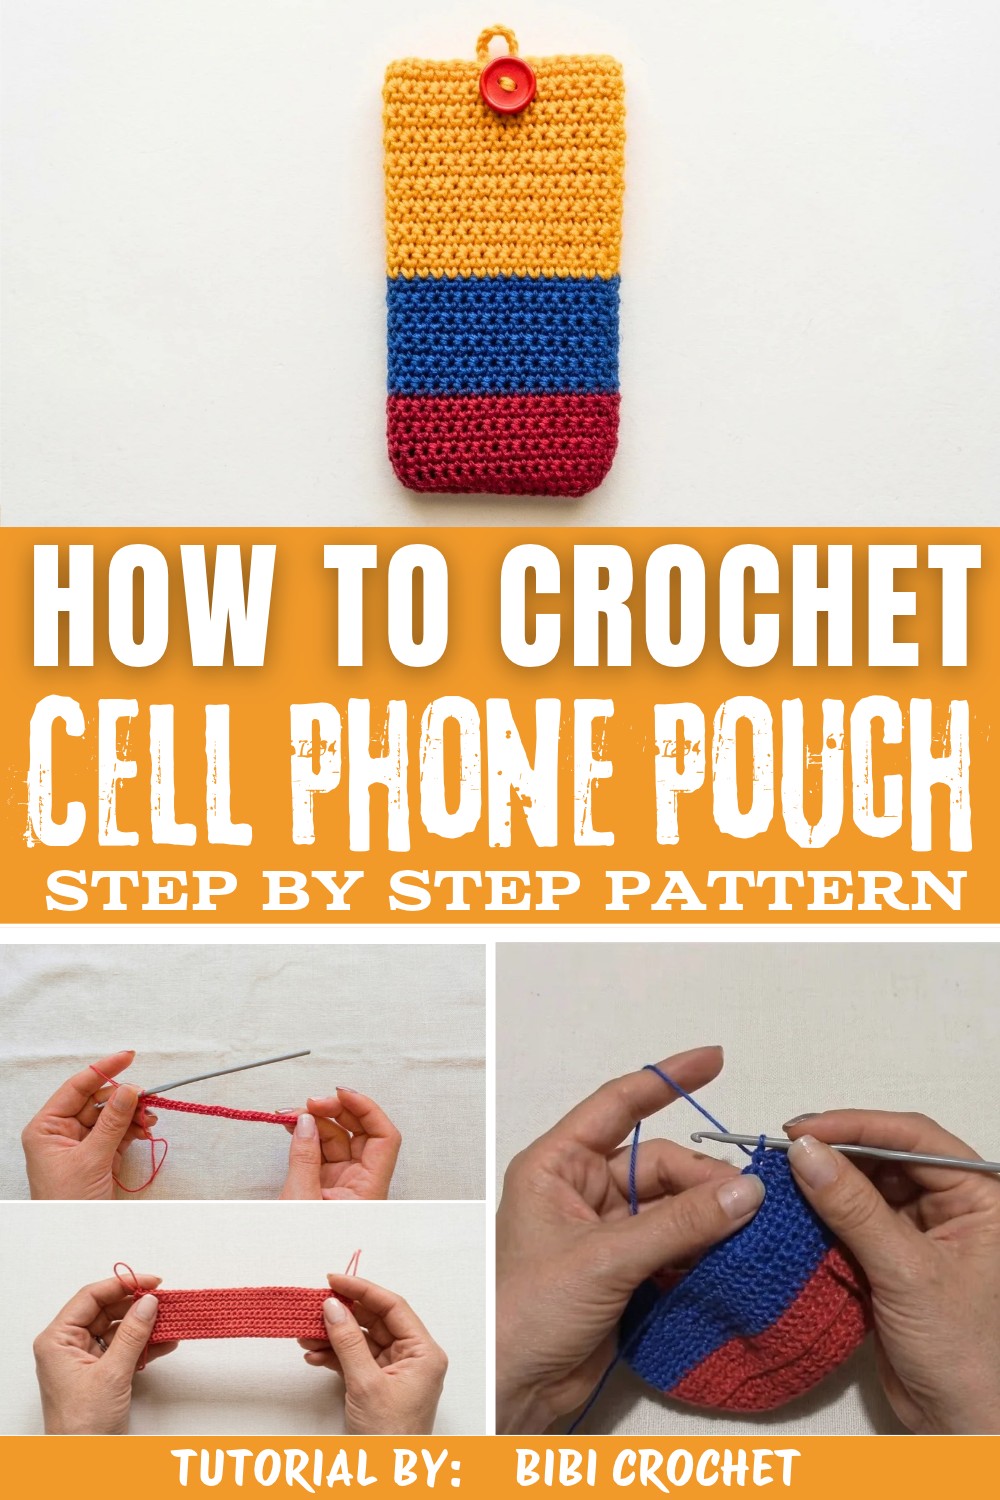
Texture is an inviting aspect of this creation, featuring a soft yet durable fabric that feels wonderful to the touch. The design incorporates distinct stitch patterns that add intricate detail and depth, giving it a sophisticated appearance while ensuring functionality. Small design elements contribute to both the pouch's charm and its practical usability, elevating it beyond a mere phone holder. Dive into the complete crochet pattern to unlock all the details and bring this stylish and practical accessory into your collection. Your phone deserves a pouch as unique and stylish as you are.
Crochet Cell Phone Pouch Free Pattern
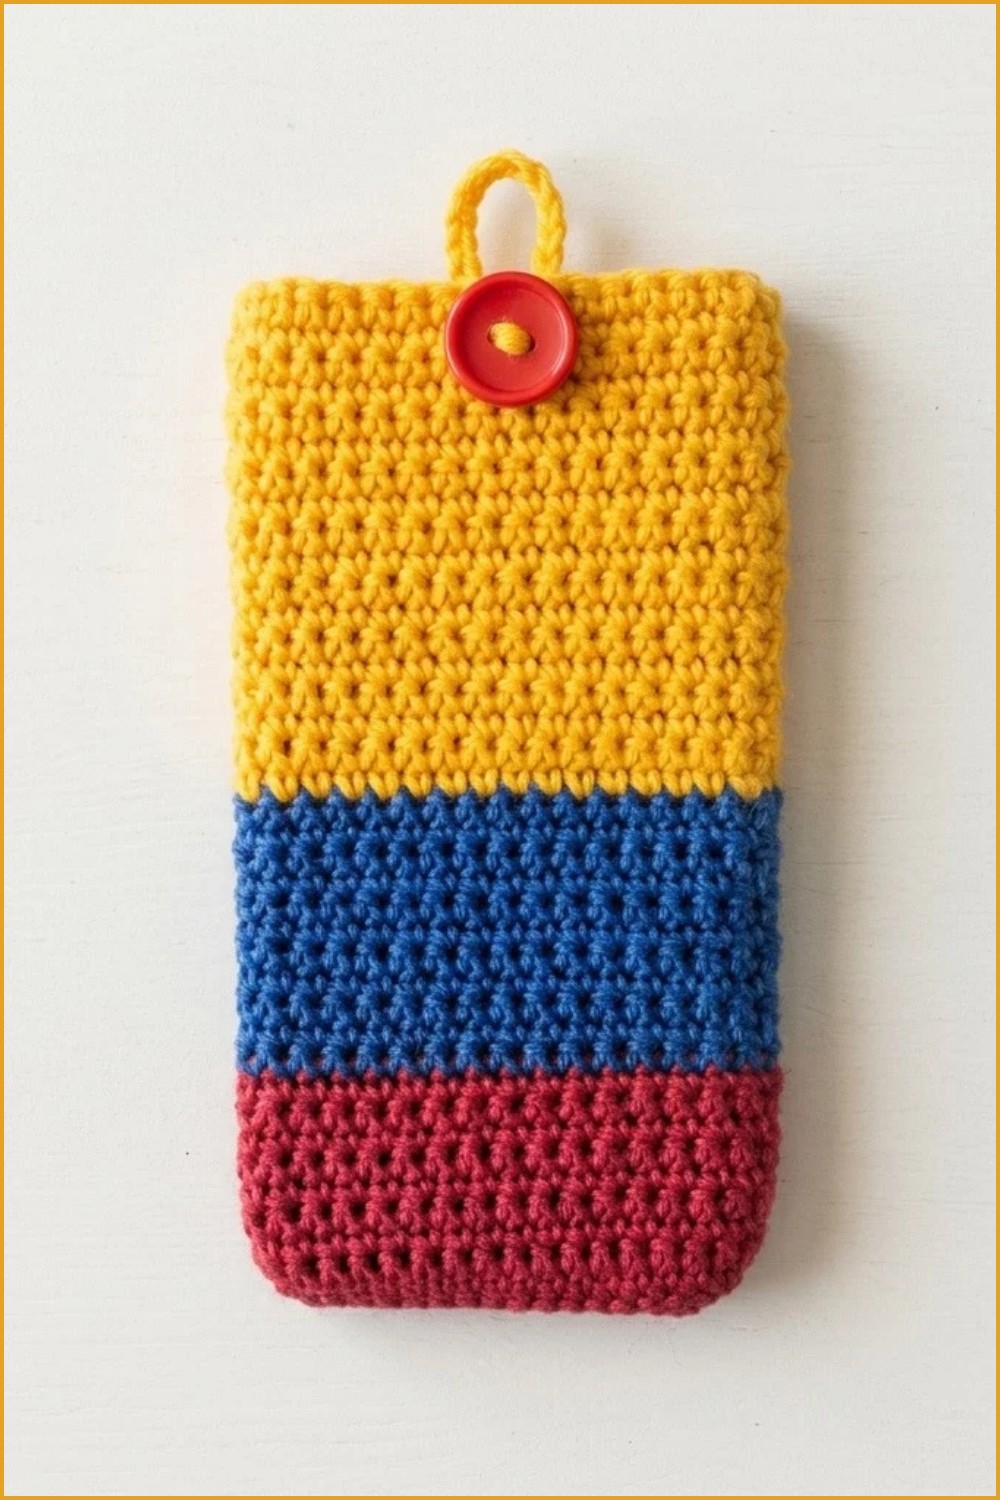
Handmade accessories often hold both utility and charm, and a colorful crochet cell phone pouch effortlessly demonstrates this balance. By combining three vibrant shades and basic stitches, this project results in a practical item suitable for daily use. This guide provides a clear, methodical approach that accommodates beginners while offering thoughtful details for those with more crochet experience. The end result features clean color transitions, a secure button closure, and neat seaming, making it both visually appealing and functional. With careful attention to each step, the process remains approachable and rewarding. The materials required are minimal, focusing on common yarns and tools, ensuring accessibility for all. This pouch not only serves as a sturdy sleeve for your device but also as a personalized accessory that can be tailored through yarn choices and size adjustments. Whether as a thoughtful gift or for personal use, the result is sure to please.
Quick Overview Of Pattern
- Worked flat in rows, then folded and joined
- Uses three colors: red, blue, yellow
- Single crochet throughout; color changes create stripes
- Button loop is integrated in the final row
- Button sewn on after assembly
- Suitable for most standard cell phones
Notes
- All instructions below use US crochet terms.
- The project is worked flat in rows and is later folded and slip stitched along two edges to form the pouch.
- This pattern is designed for thinner yarn, using a 3.5 mm or 3 mm crochet hook for tighter, neater stitches.
- When changing colors, leave short tails and weave them in as you crochet for a tidy finish.
- Stitch counts are crucial for consistent sizing. Always verify the count at the end of each row.
- The quantity of chains and rows may be adjusted for larger or smaller phones.
Skill Level
Beginner / Easy
Ideal for crocheters who are comfortable with the single crochet, basic color changes, and simple seaming.
Materials
- Yarn/Wool: Three colors (example: Red, Blue, Yellow); fingering to DK weight recommended
- Crochet Hook: 3 mm or 3.5 mm, according to yarn weight
- Button: One, medium size for closure
- Wool needle: For weaving in ends and sewing button
- Scissors
Measurements / Sizing
- Finished pouch size: Approximately 7.5 inches x 4 inches (19 cm x 10 cm)
- Schematic: (Optional)
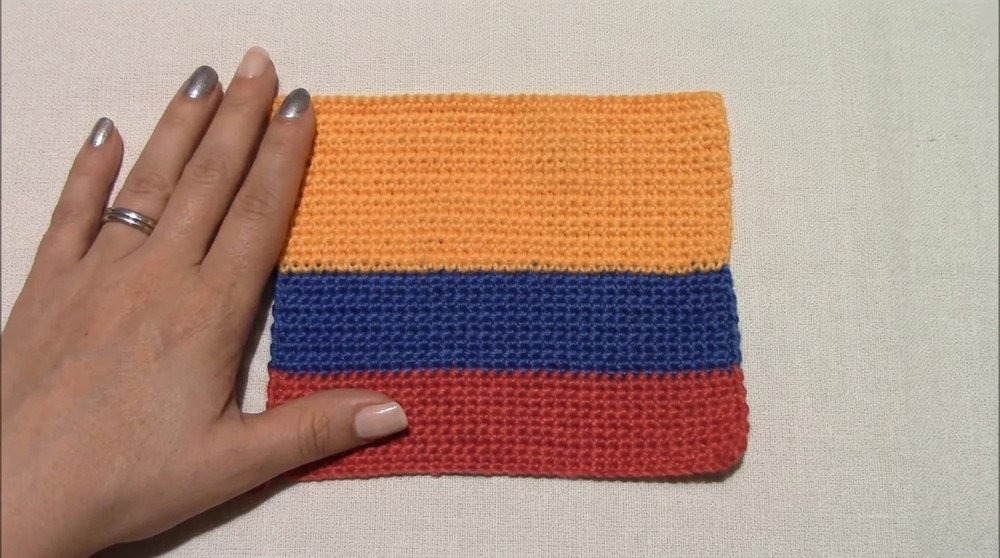
- Flat rectangle: ~7.5 x 8 inches before folding
- Folded in half: Pouch is ~7.5 x 4 inches
Gauge (and Stitch Pattern)
- Gauge: 37 single crochets over ~4 inches (10 cm)
- Stitch pattern: Single crochet (sc) throughout
- Adjust your hook size to achieve desired stitch density and pouch size.
Stitch Abbreviations
| Abbreviation | Stitch |
|---|---|
| ch | chain |
| sc | single crochet |
| sl st | slip stitch |
Special Stitches
- Single Crochet: Insert hook, yarn over, pull up loop (2 loops on hook), yarn over, pull through both loops.
- Slip Stitch for assembly: Insert hook through both layers, yarn over, pull up loop, pull through both loops.
The Crochet Pattern
Red Section - Foundation and First Color
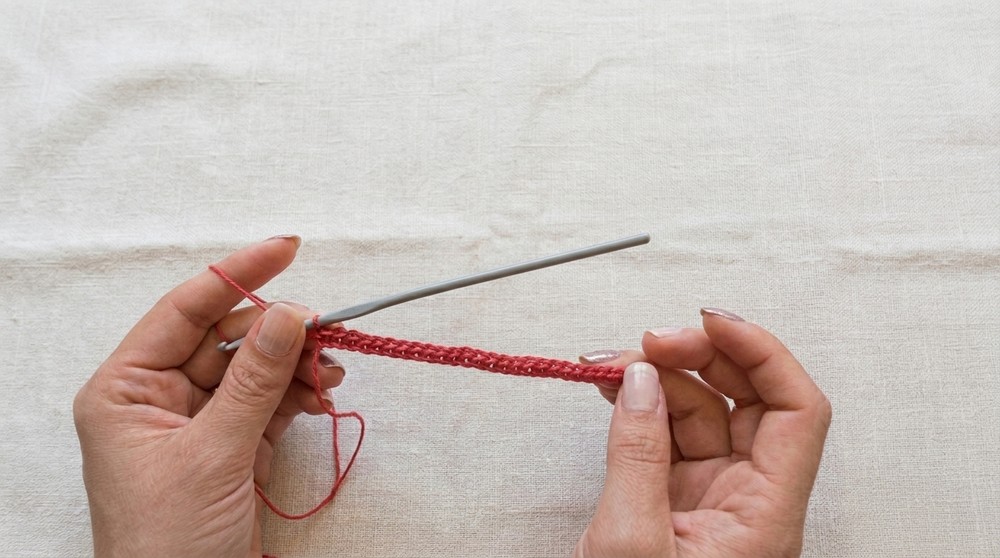
Round 1: Foundation Chain (Red)
- Begin with red yarn.
- Make a slip knot and place it on your hook.
- Ch 38.
- This forms the base of your pouch.
Round 2: First Row (Red)
- Skip the first chain nearest the hook.
- Begin in the second chain:
- Work 1 sc into each chain across.
- You should have 37 sc at the end of this row.
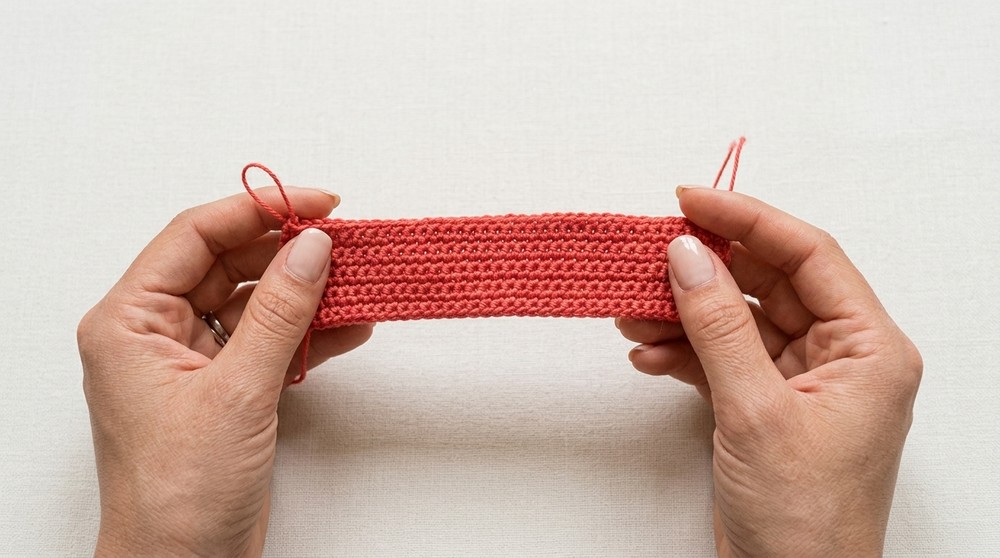
Rounds 3-12: Subsequent Rows (Red)
- Turn your work.
- For each row:
- Ch 1 (provides height).
- Work 1 sc in each stitch across (total 37 stitches).
- Continue for a total of 11 rows in red, counting the first row as your starting point.
- Cut the red yarn after completing 11 rows.
Blue Section - Second Color
Changing to Blue
- Attach blue yarn to the loop from the previous row.
- Turn your work.
- Begin with ch 1 for every new row.
- Starting at the first stitch, work 1 sc in each stitch across.
- As you crochet, weave in loose ends from the color change for neatness.
- Complete 11 rows (Rounds 13-23) in blue.
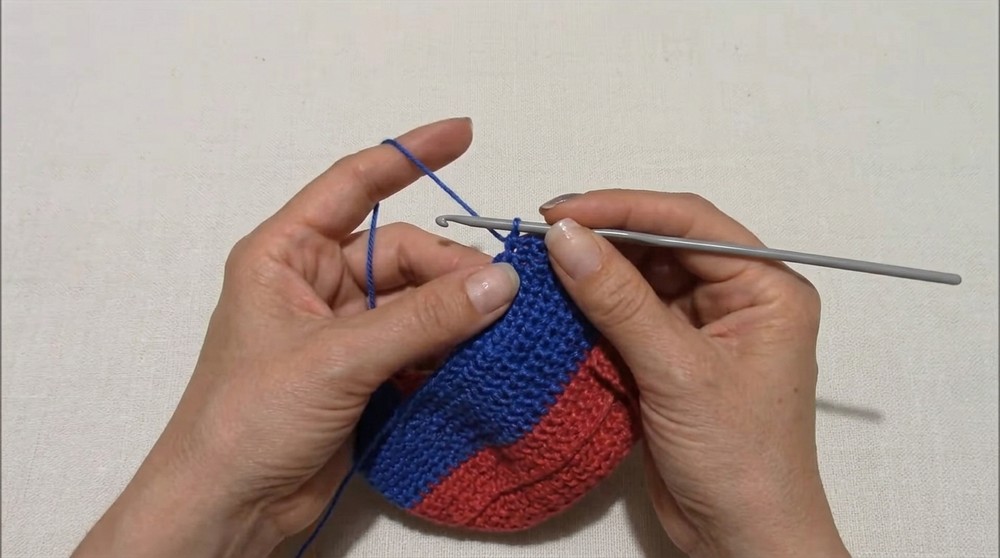
- Cut the blue yarn.
Yellow Section - Third Color and Button Loop
Changing to Yellow
- Attach yellow yarn, as before, pulling through the blue loop.
- Turn work.
- Begin each row with ch 1.
Rounds 24-40: Yellow Rows (Standard Pouch Rows)
- Work 1 sc in each stitch across for the next 17 rows (Rounds 24-40).
- Continue weaving in yarn tails for a neat back.
Round 41: Final Row, Button Loop
- Turn work, ch 1.
- Work 10 sc across (into first 10 stitches).
- Next, ch 9 to create the button loop.
- Insert the hook into the same stitch as the 10th sc, and work 1 sc to anchor the loop.
- Continue with sc in each stitch across for the remainder of the row.
Assembly & Finished Size
Folding and Joining
- Fold the rectangle in half, wrong side out.
- Align the colors and rows so that the stripes match at the seam.
- Insert hook through the matching stitches on both layers at the side and bottom.
Seaming With Slip Stitch
- Using yellow yarn and hook, work sl st through both layers along the side and bottom edges.
- At the end of the seam, cut the yarn, pull the tail through the last stitch, and secure tightly.
- Turn the pouch right side out.
Button Attachment
- Position button on the front body, aligned to the loop.
- Using yellow yarn and a wool needle, sew button securely onto pouch, passing through fabric multiple times.
- Knot the threads firmly inside.
- Weave in remaining ends and trim excess.
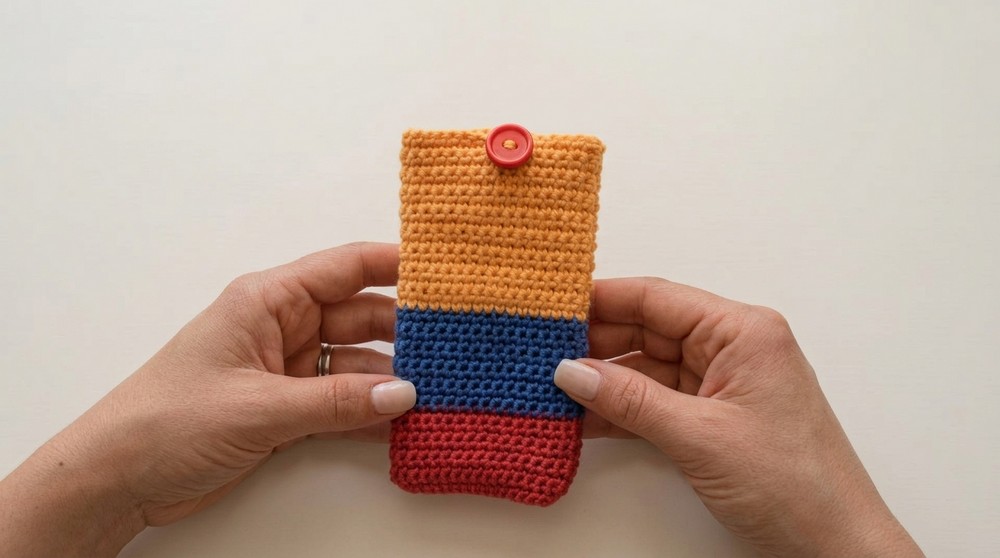
Finished Size:
- Approximately 7.5" x 4" when folded and sewn.
Conclusion
Upon completion of this project, you will have a durable and attractive pouch that offers protection and personality for your cell phone. Working through each section highlights the importance of neat stitching, properly executed color changes, and attentive finishing techniques. The slip-stitched seams and integrated button loop guarantee security and convenience in use. Even small adjustments allow for custom sizing to suit various devices, making this project versatile as well as straightforward. The result demonstrates how basic materials and fundamental stitches can yield a highly functional and visually engaging accessory. Thoughtful finishing touches, including careful weaving of ends and secure button attachment, add to the pouch's professional appearance. This project serves as an excellent opportunity to refine your single crochet technique while resulting in an accessory that combines practicality with cheerful color.