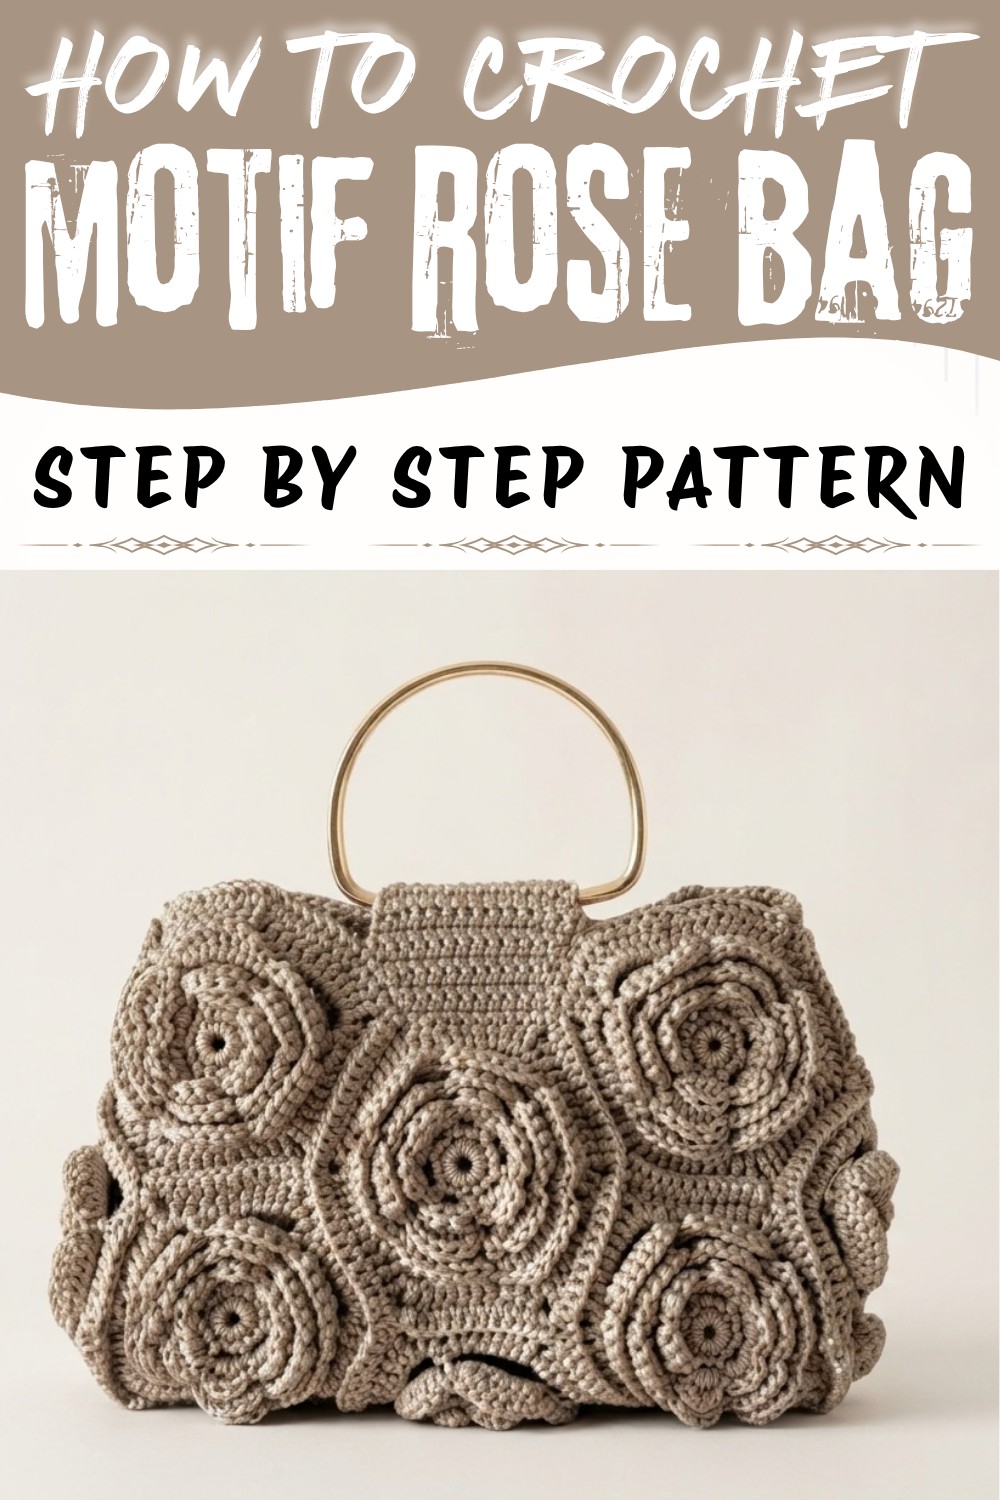
Refresh your handbag collection with the Crochet Rose Motif Bag Free Pattern, featuring a sweet floral look for parties and special gifts.
Carrying a bag that combines elegance and unique floral design adds a special charm to any outfit. The crochet bag is a stunning example that beautifully merges delicate rose shapes with practical style. This lovely Crochet Rose Motif Bag Pattern comes from the talented creator at GÖKTÜRK AİLESİ, whose detailed tutorial on YouTube brings the design to life with clear steps and inspiration, giving full credit for their creativity and guidance.
Beautiful Crochet Rose Motif Bag Free Pattern To Try At Home
This bag stands out as a delightful accessory featuring intricately formed rose motifs crocheted into a textured, dimensional surface. The circular rose patterns are joined skillfully to create a soft yet structured form that feels both sturdy and graceful. The use of medium-thickness macrame cord in light gray offers a balanced texture-substantial enough for daily use while still elegant enough for special events.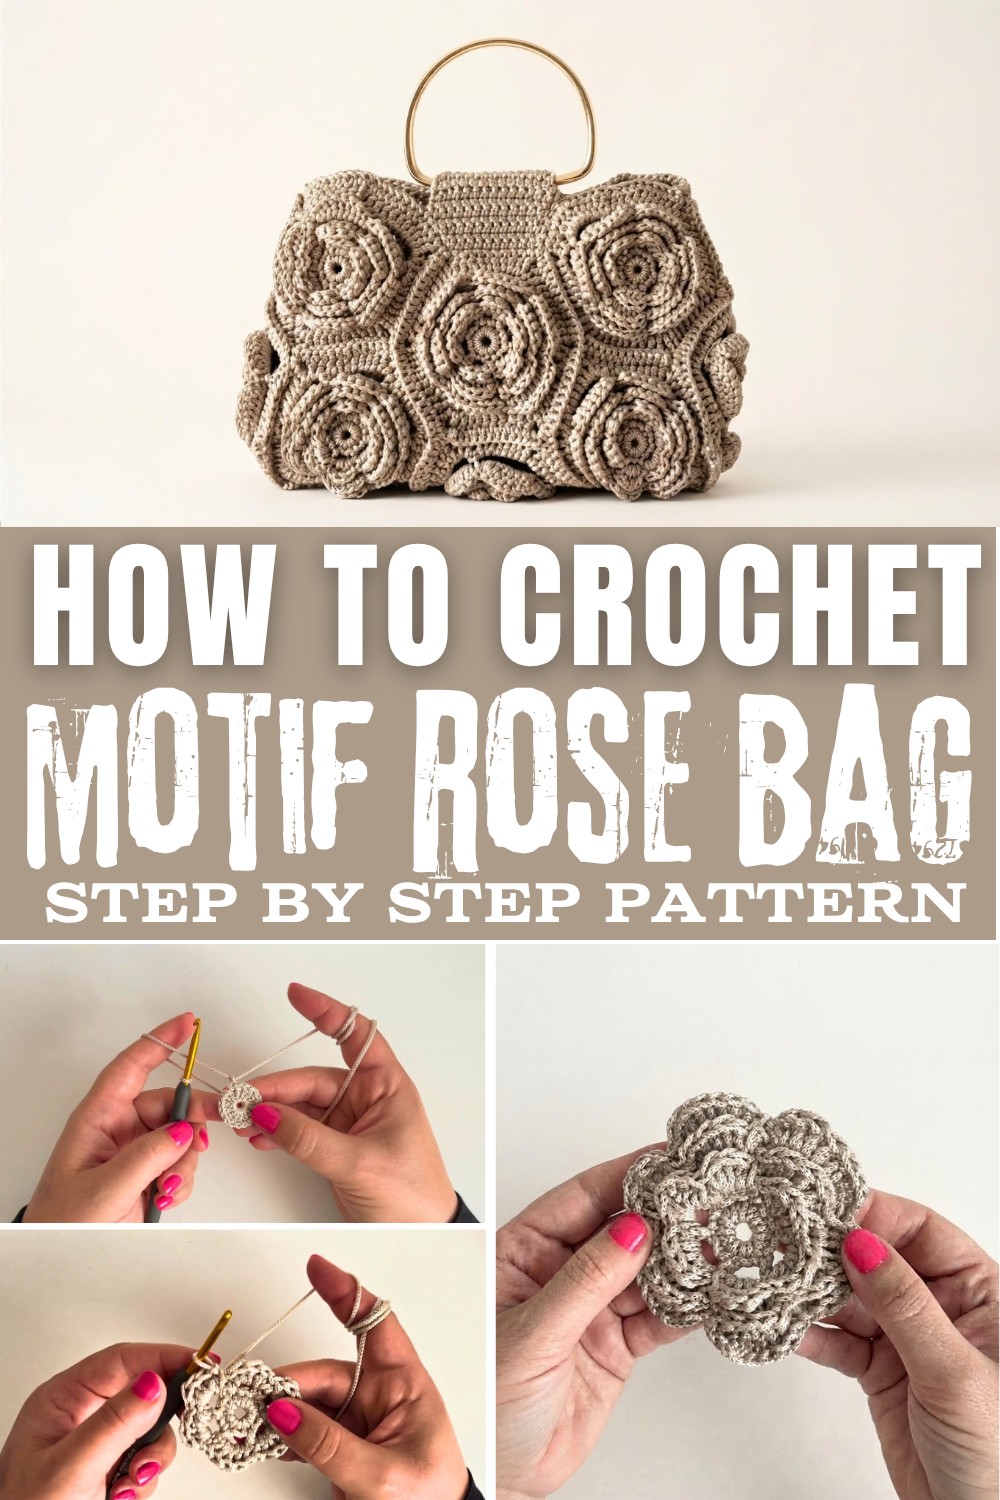
Beyond its captivating appearance, this bag holds great gifting potential. Its handmade floral design adds a thoughtful, personal touch that makes it an ideal present for friends and family who appreciate unique style. The sturdy metal handles not only enhance the bag's overall look but also provide practical ease for carrying, combining beauty and function seamlessly.
With its tactile texture, romantic rose shapes, and refined styling, this pattern is versatile for various occasions. Whether used as a chic handbag or a decorative fashion statement, the Crochet Rose Motif Bag Pattern is a perfect way to bring floral elegance into everyday life. The project's standout features-soft raised motifs, structured shape, and subtle color choices-make it an appealing creation prized for both its artistry and usability.
Stylish Crochet Rose Motif Bag Free Pattern
In this step-by-step guide, each detail of the rose-motif macrame bag will be described with clarity and completeness. The project focuses on a modular approach: you'll create multiple intricate rose-shaped motifs, then join them seamlessly to form an elegant, structured shoulder bag. The carefully selected polyester macrame cord, alongside precise joining and finishing techniques shared by Kadriye, ensure professional results that are practical and stylish. These instructions leave nothing to guesswork-all motif construction, assembly, and finishing steps are thoroughly explained. The design is intentionally accessible, so confident beginners and beyond can obtain a crisp, neat result. The finished purse demonstrates both structure and softness, with sturdy handles and a well-finished rim. Follow along for a cohesive and enjoyable experience constructing this showpiece bag.
Quick Overview Of Pattern
- Crochet 13 rose motifs
- Each motif is started with a magic ring, worked in layered petal rounds
- Motif layers: single crochet and double crochet stitches, with chain loops between rounds
- Motifs are joined in a set arrangement (4+3+4 and corners)
- Bag body is edged with rows of single crochet, slip stitch technique used at rim and handles
- Handles are attached using crocheted tabs
- Optionally, line the bag with satin
Notes
- Keep yarn tails long enough for burning and weaving after each motif and joining
- Use a lighter to secure macrame cord ends and prevent fraying-a crucial step for polyester cords
- Consistent tension results in even motifs and sturdy structure for assembly
- The bag can be lined, but it functions well unlined too
- Each motif should square up by the final round for proper joining

Skill Level
Confident Beginner to Intermediate.
Familiarity with foundation rings, single crochet, double crochet, chain stitches, and slip stitch joining is required.
Materials
- Yarn: Light gray polyester macrame cord, approx. 2 x 200g balls
- Hook: 3.5 mm crochet hook
- Accessories: Metal handles/straps
- Tools: Scissors, measuring tape, lighter
- Optional: Sewing needle and satin fabric for lining
Measurements / Sizing
- Each motif: approx. 9 cm (height) x 11 cm (width)
(final dimensions may vary with yarn tension and motif blocking) - Total bag: roughly 27 cm wide and 22 cm tall without handles
Gauge & Stitch Pattern
- Not critical; ensure all motifs are consistent in size
- Stitches used: single crochet (sc), double crochet (dc), chain (ch), slip stitch (sl st)
Stitch Abbreviations
| Abbreviation | Meaning |
|---|---|
| ch | chain |
| sc | single crochet |
| dc | double crochet |
| sl st | slip stitch |
| st(s) | stitch(es) |
Special Stitches
- Magic Ring: Loop yarn around finger, insert hook into ring, pull up a loop, chain to secure
- Slip Stitch Join: Insert hook through aligned loops/stitches, yarn over, pull through all loops on hook
The Crochet Pattern
Motif Construction (Make 13)
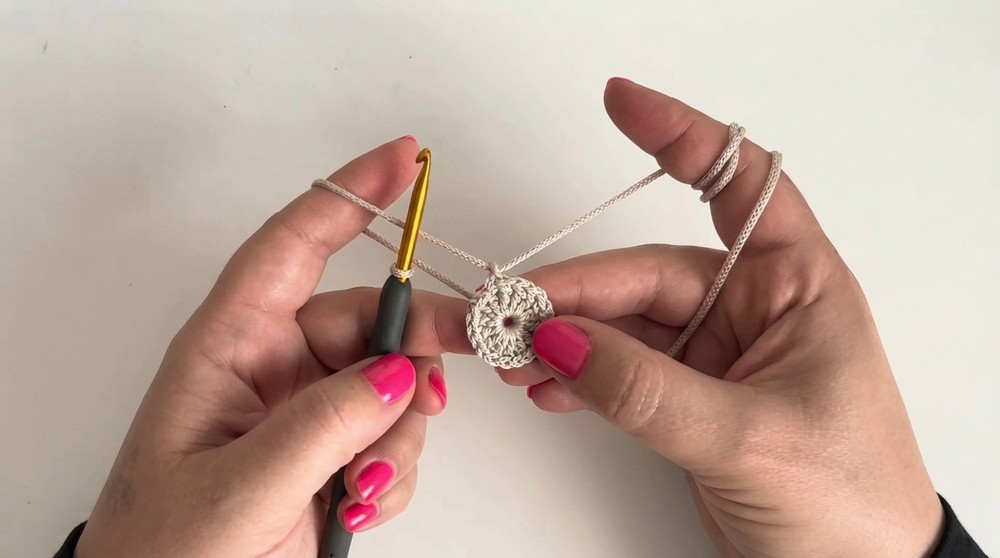
Round 1: Magic Ring & Base
- Leave a 10 cm tail, make a magic ring.
- Work 12 sc into ring, crocheting over tail for tightness.
- Tighten the ring. Sl st to first sc to close round.
Round 2: Foundation Loops
- Ch 3, skip next st, sl st into next st; repeat to make 6 loops.
- Close at base with sl st.
Round 3: First Petal Layer
- In first loop: sc, 3 dc, sc (all in same loop).
- Repeat for remaining 5 loops.
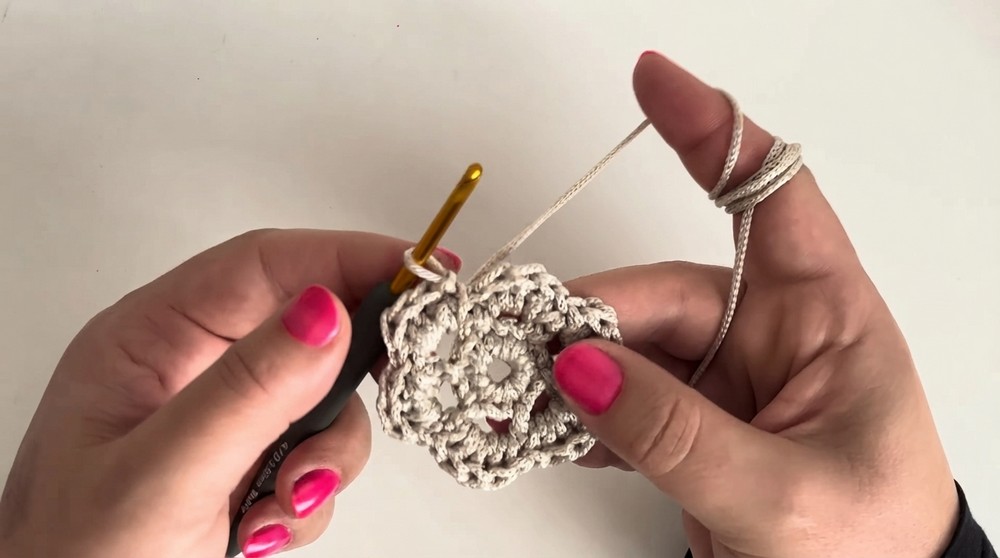
Round 4: Second Layer Loops
- Push petals toward the front.
- At back: ch 4, anchor with sl st to next joining point at base of petal; repeat 6 times.
Round 5: Second Petal Layer
- In first loop: sc, 5 dc, sc.
- Repeat for all 6 loops around.
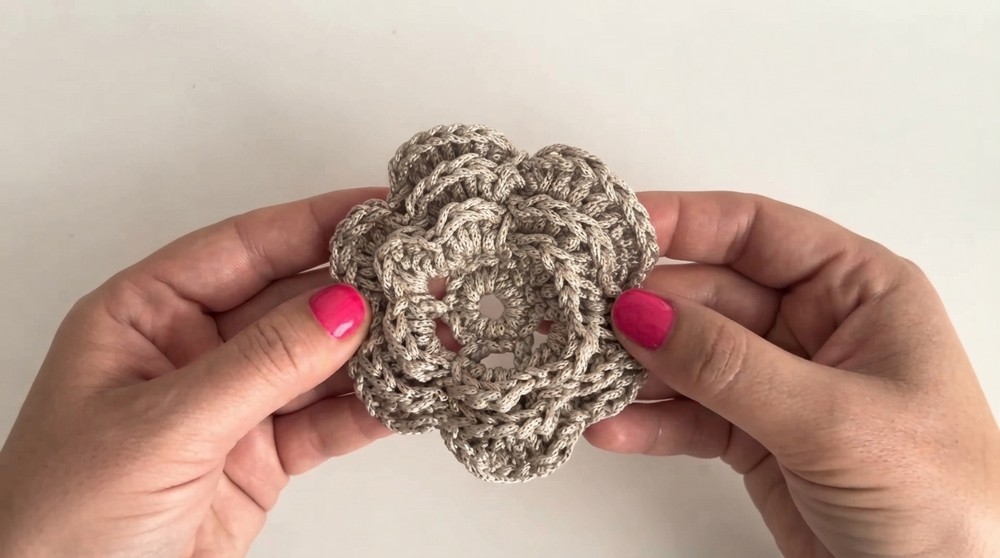
Round 6: Third Layer Loops
- At motif back: ch 6, sl st to next base join; work 6 loops.
Round 7: Third Petal Layer
- In loop: sc, 7 dc, sc.
- Repeat in all 6 loops.
Round 8: Fourth & Final Petal Layer (Corner Rounds)
- At back: ch 7, sl st at next join around (6 loops).
- In each loop: Begin with ch 3 (counts as dc), 7 dc, ch 2, 2 dc (total 8 dc, ch 2, 2 dc in each loop).
- Skip sc between petals; go straight to next loop.
- To finish: sl st to top of initial chain, cut yarn leaving a long tail, pull through, and melt end with lighter to secure.
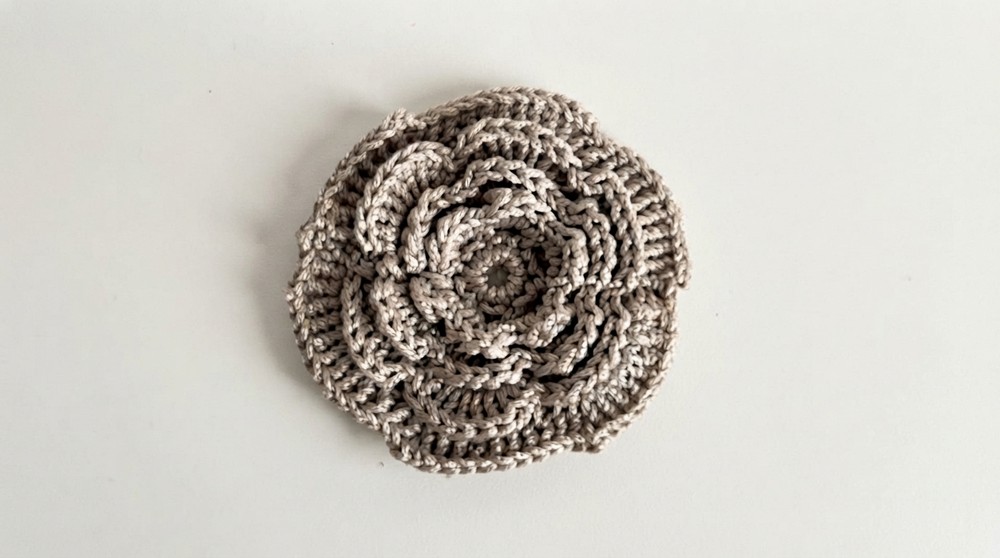
Assembly & Finished Size
Motif Joining
- Layout: Arrange motifs as follows:
- 4 motifs left
- 3 motifs center
- 4 motifs right
- 2 motifs at opposite corners
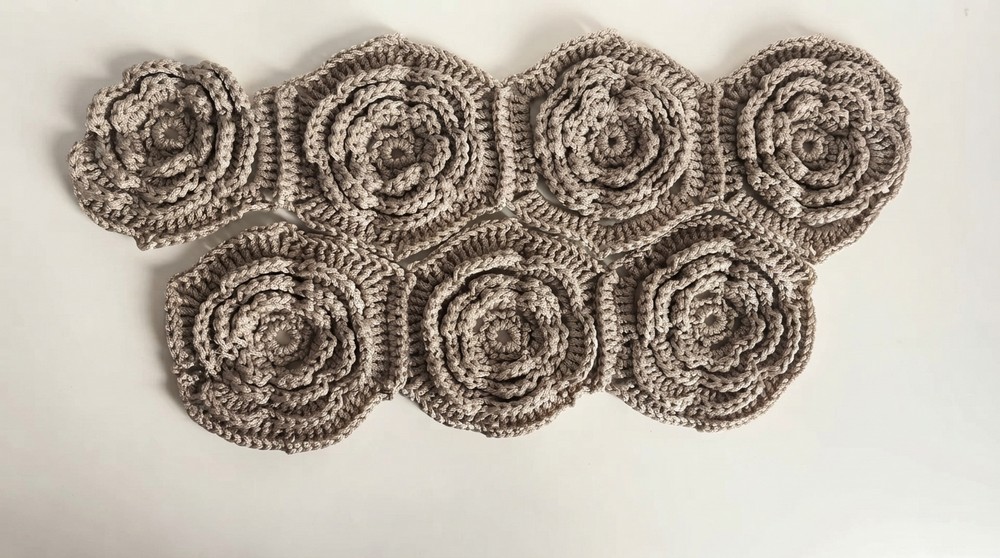
- Joining:
- Place two motifs wrong sides together, align chain-2 corner spaces.
- Beginning at corner, insert hook through both motifs' matching stitches.
- Work single crochet or sl st through matching stitches (across 10-11 dc) to connect edges.
- Secure yarn tails by weaving along back and melting ends.
- Repeat for each motif until all are connected (front, back, side panels).
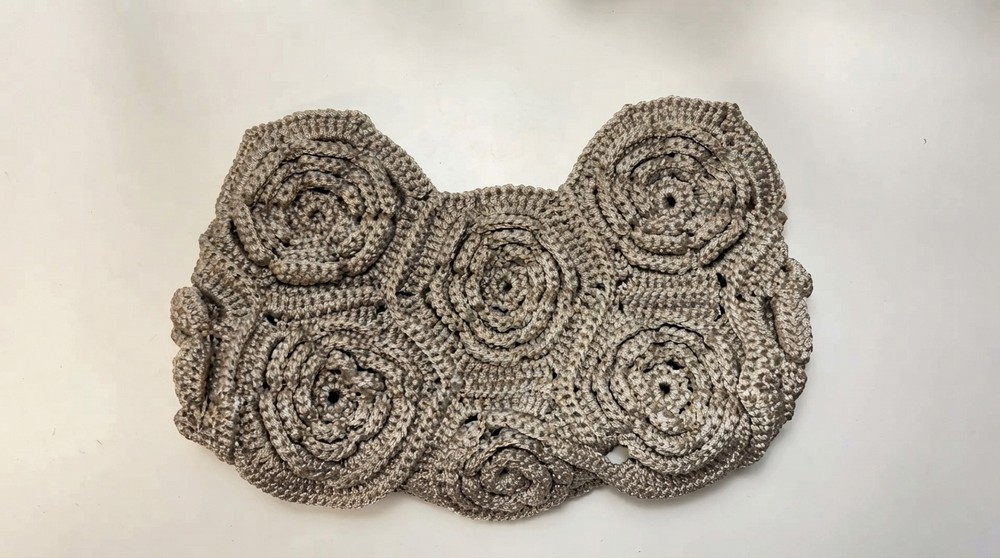
Upper Edging & Handles
- Edging:
- At bag opening: attach yarn and work 6 rounds of sc evenly around the rim.
- For a neat finish, work 1 additional round of sl st in each stitch at the rim.
- Handle Tabs:
- Where handles go, extend upwards with 4 rows of sc for each tab.
- Slip the handle ring through, fold strap over, secure with slip stitch or hand-sew.
- Final Finishing:
- Weave in and melt all loose ends.
- (Optional) Sew in satin lining.

Conclusion and Ending Words
This rose-motif bag is as durable as it is beautiful, thanks to the strong macrame cord, double-thickness motifs, and reinforced joining. Each step, from the tight magic ring to the solid slip-stitched corners and neat handle tabs, establishes both style and structure. The carefully graded layers of petals set into a squared motif give a rich, floral look without sacrificing function. Handle attachment, slip-stitch top edging, and motif arrangement allow practical use and long-lasting wear. Burned cord ends and optional satin lining contribute to lasting neatness and interior smoothness. The completed bag stands out for its handiwork and design clarity, making it a rewarding, sophisticated accessory. Those new to motif assembly or bag making will find the instructions adaptable and easy to follow, while seasoned crocheters will appreciate the finished product's crisp lines and graceful details.