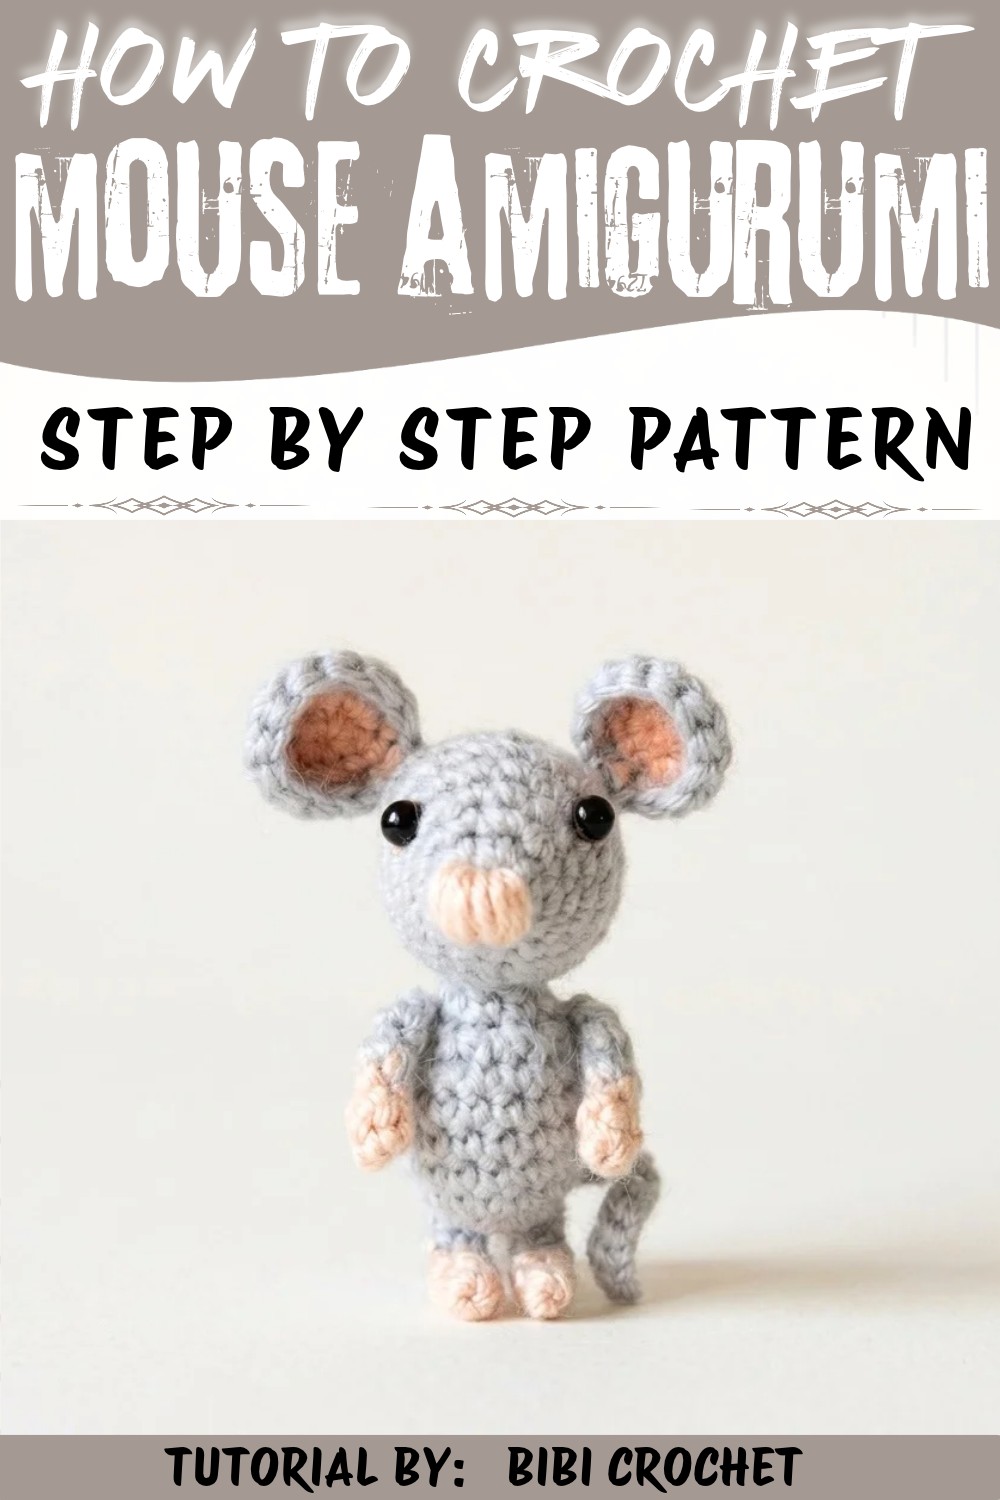
Surprise an animal lover with this Crochet Mouse Amigurumi Free Pattern and make a little mouse with cute ears and playful details.
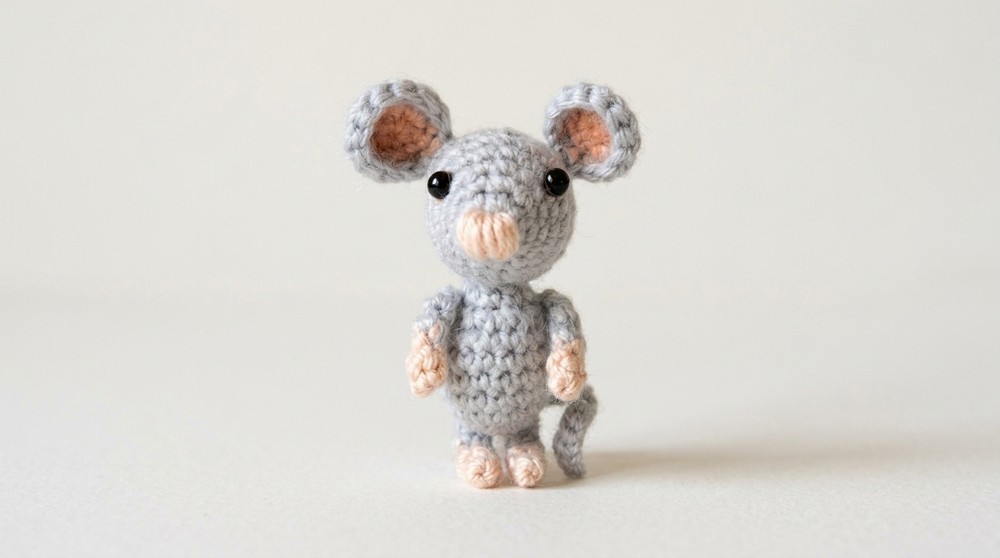
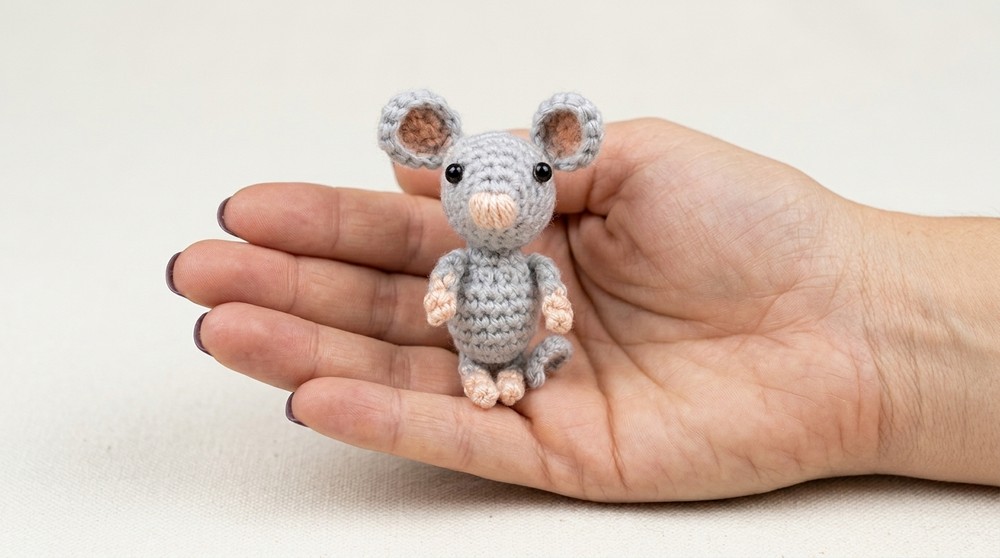
Have you ever wished for a tiny friend who fits right in the palm of your hand? A sweet little mouse with soft gray and beige colors, tiny ears blushed with a gentle pink, and a long, slender tail that gives it a lifelike charm. This adorable figure is not only cute but also full of personality, making it perfect as a thoughtful gift, a cheerful decoration, or a comforting companion on your shelf.
Free Crochet Mouse Amigurumi Pattern to Make a Sweet Little Friend
The Crochet Mouse Amigurumi Pattern, thoughtfully designed by Bibi Crochet and shared on her YouTube channel, brings this charming creation to life. Thanks to her clear and friendly tutorial, you can make this lovable mouse even if you are new to this joyful pastime. The mouse's rounded body and expressive face shine with a warm, handmade feel that fills any room with happiness.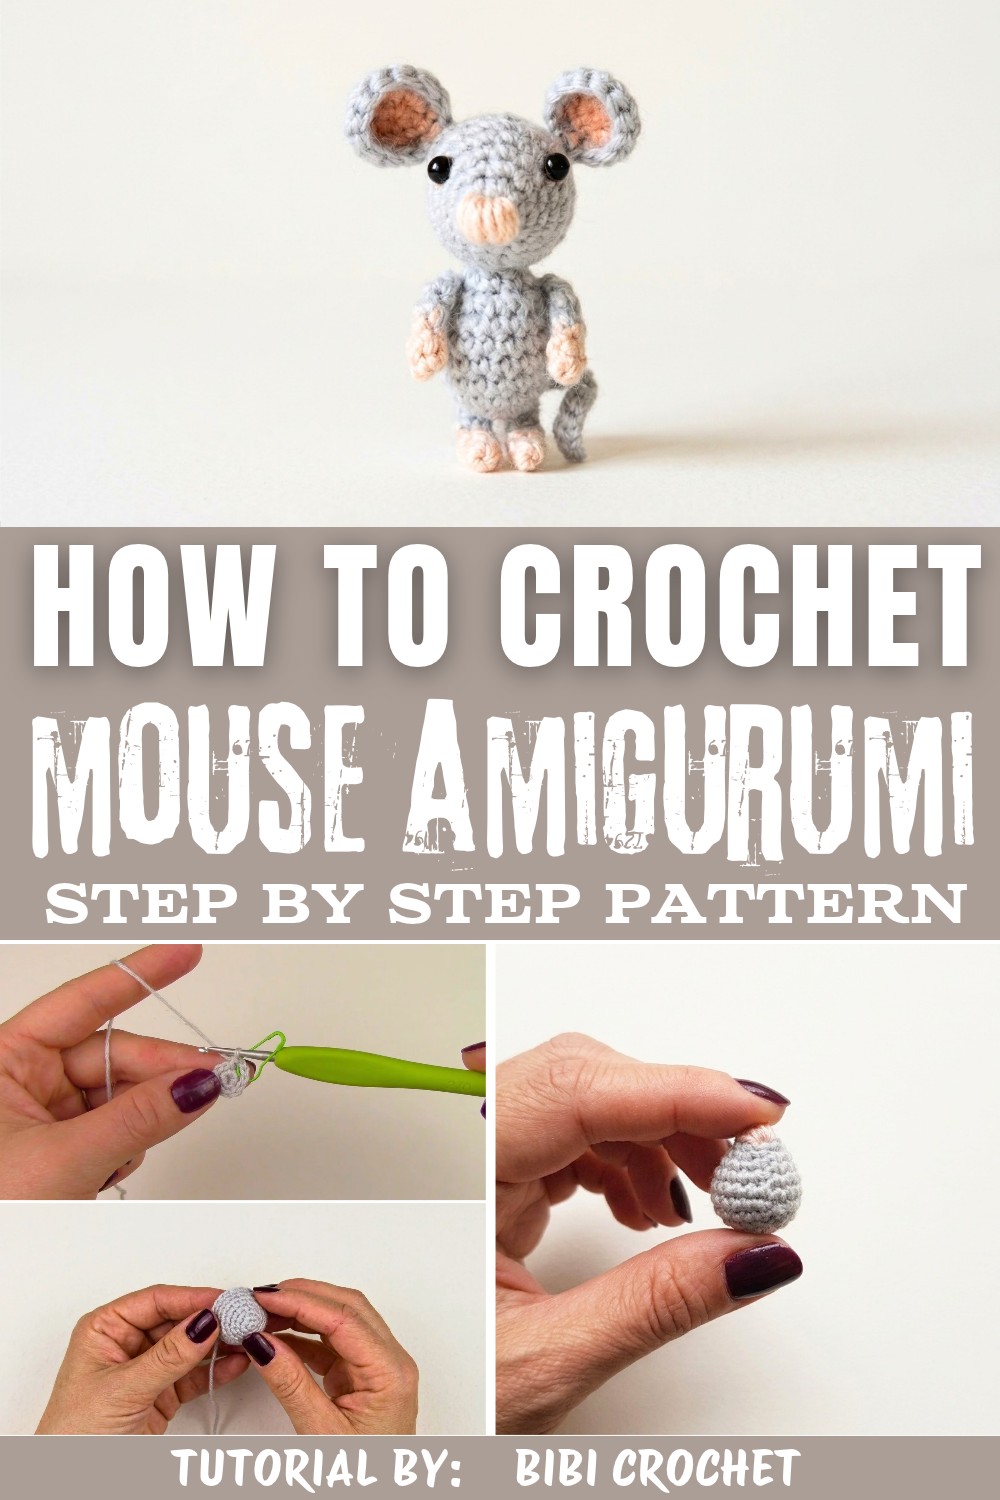
What makes this amigurumi especially special is the way the round stitches come together smoothly, avoiding visible spiral lines often seen in similar projects. This attention to detail makes the little mouse look even neater and more charming. Plus, its small size means you can carry it anywhere or display it in many places around your home. If you want to add a new darling to your collection or create a heartfelt gift for someone special, this free Crochet Mouse Amigurumi Pattern is a sweet place to start. Follow Bibi Crochet's wonderful video tutorial and enjoy every moment of making your own tiny, lovable mouse.
Cheeky Little Crochet Mouse Amigurumi Free Pattern
This compact mouse amigurumi pattern presents a highly detailed and clear stepwise structure using classic single crochet techniques. All parts are constructed in joined rounds, not spirals, allowing for nearly invisible round joins. The tutorial covers precise color changes, nose embroidery, and simple blush application for ears. The head, body, limbs, tail, and features are made individually, then sewn together for a tidy, stable finish. The style avoids visible round starts and seams, catering to those who prefer traditional amigurumi without spiral rounds. Each element is designed for maximum cuteness and minimal visible lines, resulting in a soft, playful character perfect for gifts or desk toys.
Quick Overview Of Pattern
- Mouse is worked in joined rounds (not continuous spirals) for discrete, subtle round joins
- Head, body, ears, arms, legs, tail each crocheted separately
- Color changes mark paw tips and nose detail
- Special invisible decrease for shaping
- Blush applied to inner ears for realistic effect
- Assembly uses sewing stitches for firm attachment
- Suitable for grey and beige color combinations, with safety eyes or embroidery
Notes
- Begin every round with the first stitch where the round is joined, ensuring cleaner transitions.
- Always use a stitch marker for the first stitch-this minimizes lost count and sharply defines rounds.
- Invisible decreases are used for shaping the head and body to avoid visible gaps; insert hook in front loops only.
- When changing color for paws, finish the last stitch of the beige round with new color (grey) for smooth transition.
- Blush or pink eyeshadow is lightly brushed onto ear centers for a lifelike touch.
- Avoid overstuffing; shape should remain soft and slightly squeezable.
Skill Level
- Confident Beginner-If you can make single crochet, increases, invisible decreases, and magic rings, you'll succeed. Simple color changes and basic sewing skills are needed for assembly.
Materials
- Yarn: Grey (main), Beige/Pinkish-beige (nose and inner paws)
- Crochet Hook: 2.0 mm (suitable for standard 3.5 mm yarn)
- Stitch Marker: Essential for round start
- Tapestry/Yarn Needle: For embroidery and sewing
- Fiberfill Stuffing: Soft synthetic or cotton
- Safety Eyes: 5-6 mm (or black thread for embroidery)
- Makeup Blush/Pink Eyeshadow + Brush: For ear shading
- Scissors
Measurements / Sizing
- Finished mouse: 7-8 cm (approx. 3") tall when seated
- Each ear: 1.2-1.5 cm wide
- Tail: 5-6 cm long
- Paw length: 1.2 cm each
Gauge & Stitch Pattern
- Gauge is not essential; maintain tight, even stitches so stuffing does not show.
- Main stitch: Single crochet (sc) in joined rounds
Stitch Abbreviations
- sc: single crochet
- inc: increase (2 sc in same stitch)
- dec: invisible decrease (sc 2 together, front loop only)
- sl st: slip stitch
- ch: chain
- st(s): stitch(es)
Special Stitches
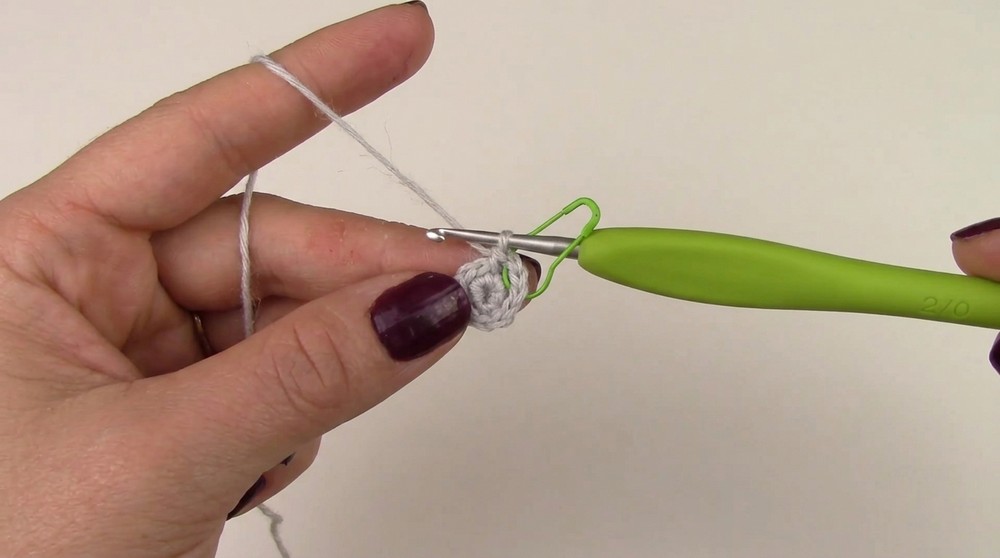
- Magic ring: Formed by wrapping yarn into a loop and working single crochet into it, then tightening.
- Invisible decrease: Insert hook in front loops of next 2 sts, yarn over, pull through both, yarn over, pull through remaining loops.
- Joined rounds: Each round joined with slip stitch for less visible round lines.
The Crochet Pattern
Head
- Round 1: Form magic ring, work 4 sc, join with slip stitch, place marker. (4 sts)
- Round 2: 2 sc in each st around. (8 sts)
- Round 3: [1 sc, 1 inc] repeat 4 times. (12 sts)
- Round 4: Pattern: 1 sc, 1 inc, 2 sc, 1 inc-ending with 1 sc. (16 sts)
- Round 5: [3 sc, 1 inc] repeat around. (20 sts)
- Round 6: Pattern: 2 sc, 1 inc, 4 sc, 1 inc-ending with 2 sc. (24 sts)
- Rounds 7-8: 1 sc in each st around. (24 sts)
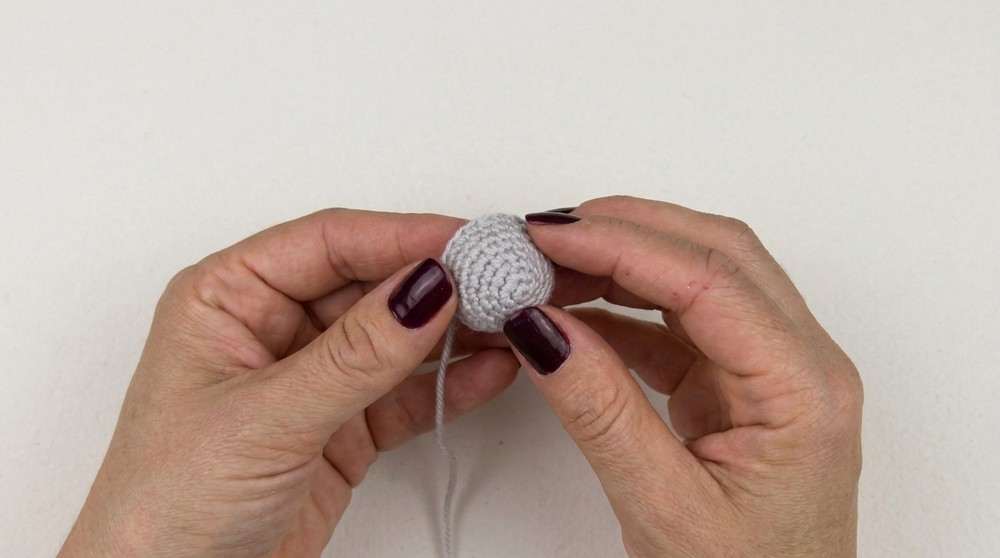
- Pause: Using beige yarn and needle, wrap stitches multiple times around tip of magic ring to embroider soft nose; tie off inside.
- Round 9: [2 sc, 1 dec] repeat, ending with 1 sc. (16 sts)
- Round 10: Work 8 invisible dec across all stitches. (8 sts)
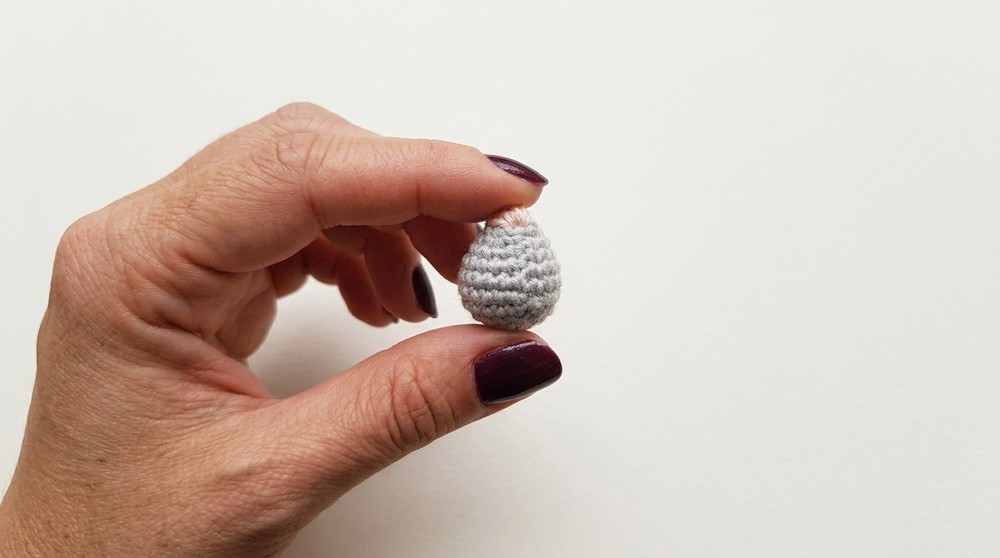
- Finish: Stuff. Leave tail, weave through front loops of remaining 8 sts. Pull tight to close, knot and hide yarn.
Body
- Round 1: Magic ring, work 6 sc, join. (6 sts)
- Round 2: 2 sc in each st around. (12 sts)
- Round 3: [1 sc, 1 inc] repeat 6 times. (18 sts)
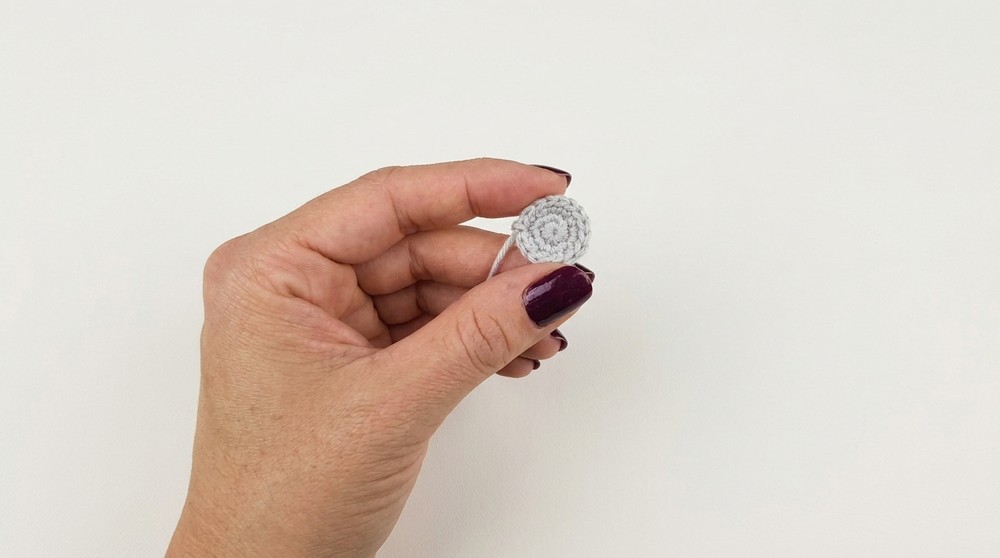
- Rounds 4-7: 1 sc in each st around. (18 sts)
- Round 8: 9 invisible dec across all stitches. (9 sts)
- Round 9: 1 sc in each st around. (9 sts)
- Finish: Stuff firmly. Leave tail for sewing.
Ears (Make 2)
- Round 1: Magic ring, 6 sc, join. (6 sts)
- Round 2: 2 sc in each st around. (12 sts)
- Round 3: 1 sc in each st around. (12 sts)
- Finish: Leave tail. Lightly brush blush or pink eyeshadow onto inner center.
Arms & Legs (Make 4, same method)
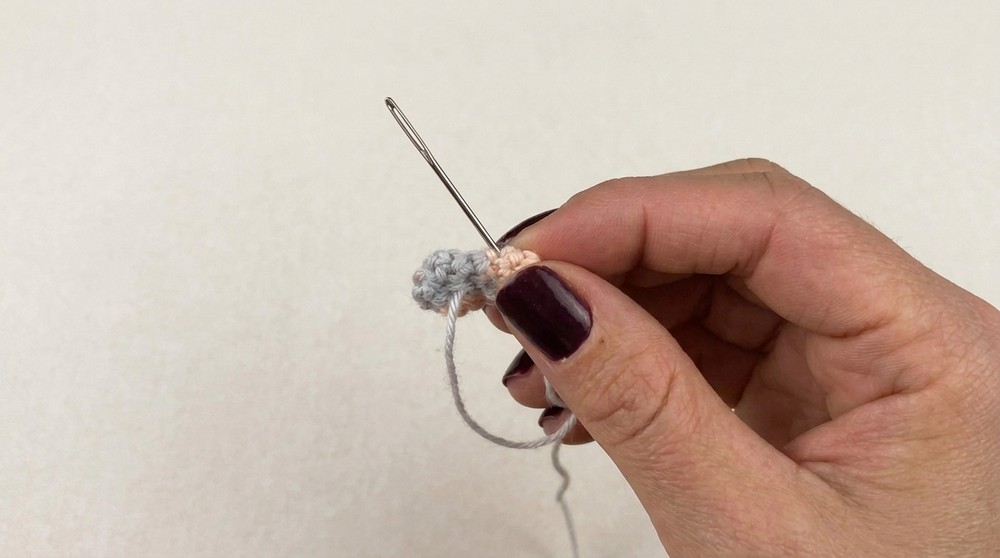
- Round 1: Magic ring, 3 sc in beige.
- Round 2: 1 sc in each st, on last stitch switch to grey. (3 sts)
- Rounds 3-4: With grey, 1 sc in each. (3 sts)
- Finish: Leave tail for sewing.
Tail
- Row 1: Attach grey yarn, chain 16.
- Row 2: From 2nd ch, 1 sl st in each chain back to base. (15 sl sts)
- Finish: Leave tail for attachment.
Assembly & Finished Size
Attaching Head to Body
- Use body's yarn tail, thread needle.
- Align body's top opening to head's lower section (stripe on bottom/back).
- Sew one body st to one head st, repeat around for a strong, tight join.
- Knot and hide thread.
Attaching Ears
- Position ears symmetrically between rounds 3 and 4 atop head.
- Sew bases into head stitches. Tighten and knot.
Attaching Arms & Legs
- Arms: Place on upper sides of body, just below neck. Sew securely.
- Legs: Place on bottom front sides, so mouse sits upright. Stitch firmly to body.
Attaching Tail
- Place tail at center lower back, between rounds 3 and 4.
- Use both yarn tails to sew and knot closely; weave in loose ends.
Final Details
- Attach safety eyes or embroider black eyes at sides of snout.
- Add blush to ear centers for realistic shading.
- Mouse stands/sits at 7-8 cm tall, proportions balanced.
Conclusion and Ending Words
This mouse pattern ensures precise shaping, compact sizing, and minimal round visibility through joined rounds. Black safety eyes and a carefully embroidered nose give gentle expression, while blush on ear interiors adds charm. Arms and legs are firmly attached for stable seating, and color changes create subtle, natural accents. Instructions guide color changes, invisible decreases, and seamless assembly, leading to an appealing finished figure. By focusing on joined rounds and invisible joins, the process results in a neat, polished toy that stands out with its soft, hand-crafted character. This pattern's techniques and structure offer lasting results, well-suited for gifts or playful desk companions.