
Don't let your dull keys dampen your holiday spirit! Instead, turning them into something festive and fun while giving them a touch of personality. A Crochet Christmas Tree Key Cover pattern is a creative way to protect keys from wear and tear while adding cheerful holiday vibes.
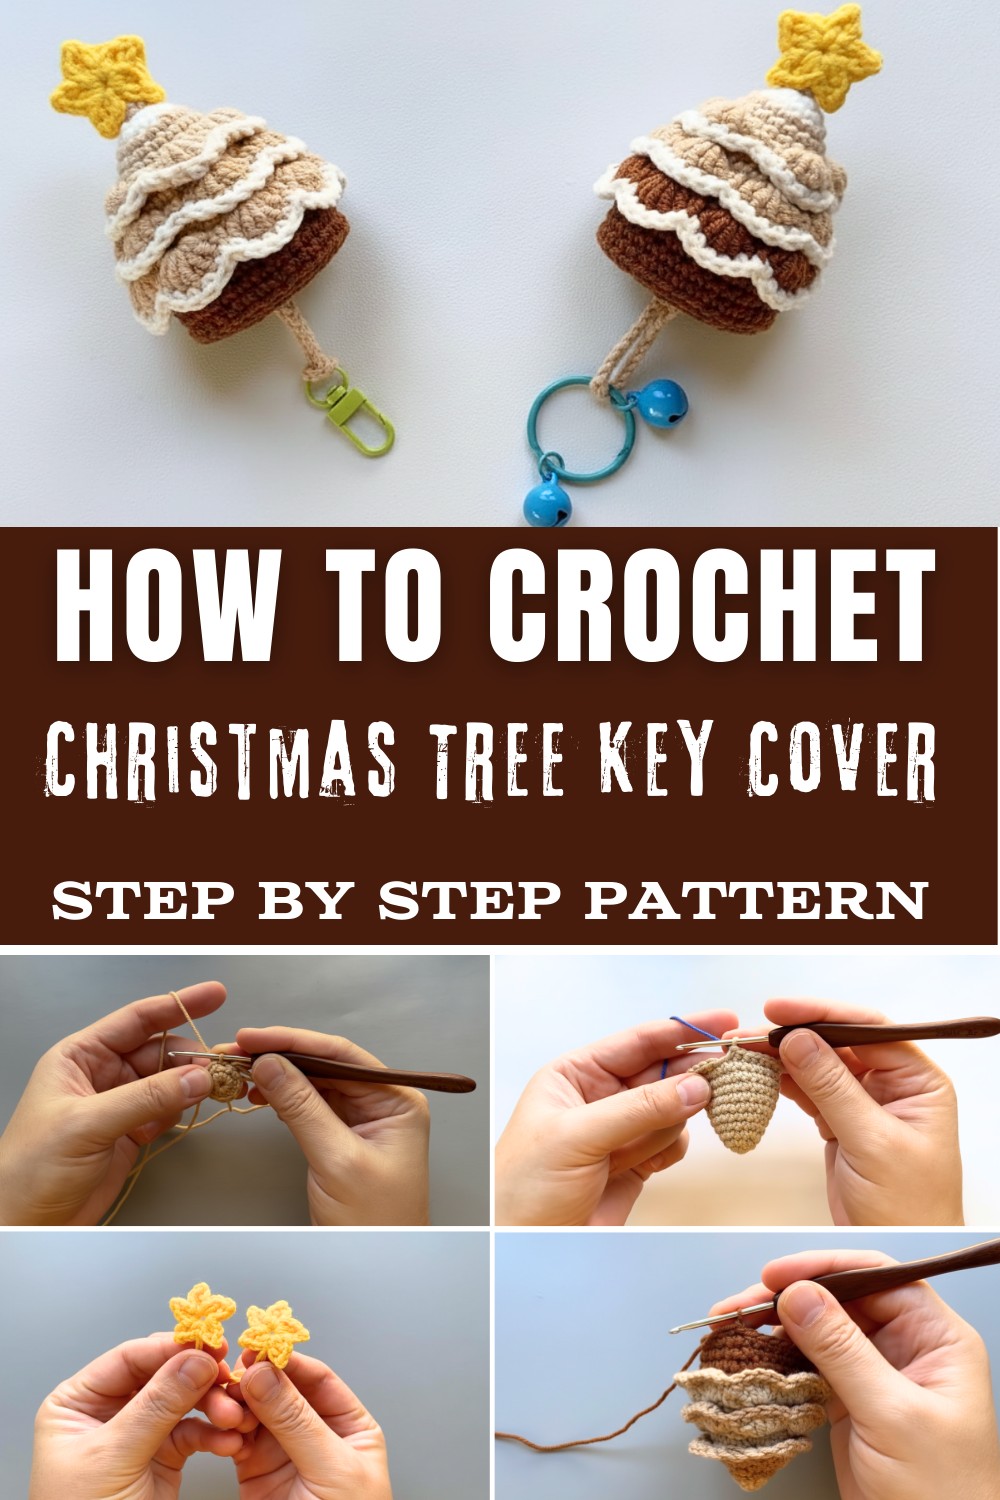
This versatile project isn't just practical, it doubles as a mini decorative piece or a heartfelt, handmade gift for loved ones. It's small, portable, and quick to make, perfect for beginner or advanced crocheters alike.
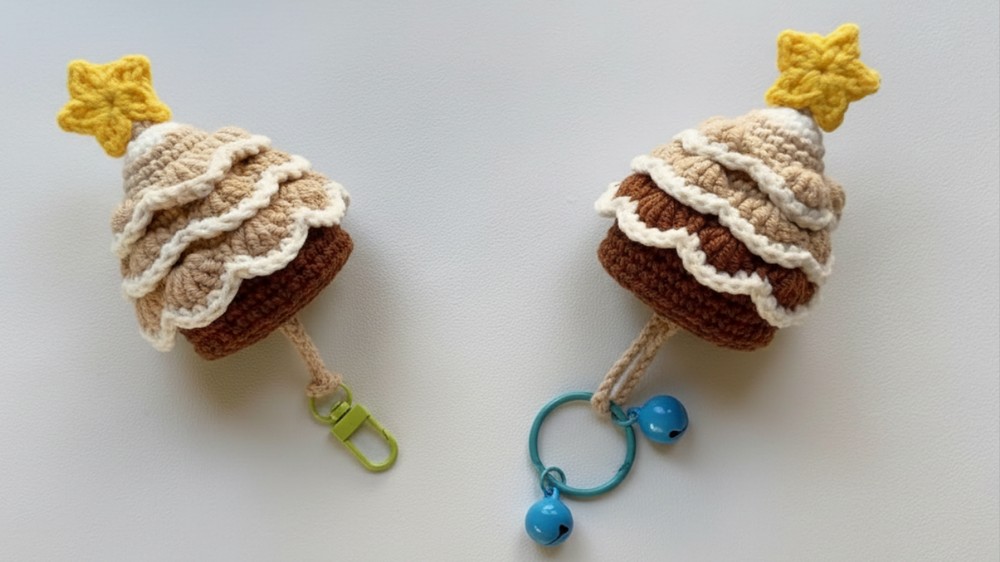
Crochet Christmas Tree Key Cover for Holiday Spirit
Whether it's dangling from your keyring, decorating a bag, or even hanging as an ornament, this design offers endless possibilities. Simple, stylish, and holiday-ready, this is a perfect seasonal crochet project you'll love making and sharing.
Supplies Required
- Yarn: 4-ply cotton yarn in your choice of colors (minimum three different shades for yarn changes).
- Hook: 2.5mm crochet hook (or adjust size based on your tension).
- Shears: To trim yarn ends neatly.
- Darning Needle: To weave in ends and attach pieces.
- Marker (optional): To keep track of stitch transitions in rounds.
- Stuffing Material (optional): For filling the finished object if it requires a 3D design.
Recommended Gauge
To ensure the correct size, aim for consistent, tight stitches as typically required for amigurumi projects. Suggested gauge:
- 16 sc × 18 rows = 4x4 inches (10x10 cm) using 4-ply cotton yarn and a 2.5mm hook.
Dimensions of the Finished Project
Using a 2.5mm hook and 4-ply cotton yarn, the completed project will measure approximately [insert size], depending on your crochet tension and yarn.
Key Guidance
- Work in spirals (continuous rounds) unless otherwise indicated to join and chain.
- Use a stitch marker for smoother tracking of rounds.
- This pattern presumes familiarity with fundamental techniques like slip stitches, single crochet, and increases.
- For personalization, experiment with different color combinations and embellishments.
Crochet Christmas Tree Key Cover
Starting Base
- Start by making a slip knot.
- Chain 5 to form the center of the base.
- Slip stitch into the first chain to create a loop.
Round 1 (R1)
- Chain 1 to start the round.
- Work 6 single crochets (6sc) directly into the loop.
- Slip stitch into the first stitch to close the round.

Round 2 (R2)
- Chain 1 to begin.
- Work 1 increase (inc) in each stitch around (6 increases = 12sc total).
- Change yarn if desired (use a Christmas-themed color, like green).
- Slip stitch into the first stitch to close the round.
Round 3 (R3)
- Chain 1 to start.
- Work the sequence (1 single crochet, 1 increase) repeated 6 times [(sc, inc) × 6 = 18sc].
- Slip stitch into the first stitch to close the round.
Round 4 (R4)
- Chain 1 to begin.
- Work 1 single crochet in each stitch around [18sc].
- Slip stitch into the first stitch to close the round.

Round 5 (R5)
- Chain 1 to start.
- Work the sequence (1 single crochet, 1 increase, 1 single crochet) repeated 6 times [(sc, inc, sc) × 6 = 24sc].
- Change yarn again (e.g., to alternate colors).
- Slip stitch into the first stitch to close the round.
Round 6 (R6)
- Chain 1 to begin.
- Work 1 single crochet in each stitch around [24sc], working into the back loops only.
- Slip stitch into the first stitch to close the round.
Round 7 (R7)
- Chain 1 to start.
- Work the sequence (5 single crochets, 1 increase) repeated 4 times [(5sc, inc) × 4 = 28sc].
- Slip stitch into the first stitch to close the round.
Round 8 (R8)
- Chain 1 to start.
- Work 1 single crochet in each stitch around [28sc].
- Change yarn again (optional for added texture or holiday colors).
- Slip stitch into the first stitch to close the round.

Round 9 (R9)
- Chain 1 to begin.
- Work the sequence (3 single crochets, 1 increase, 3 single crochets) repeated 4 times [(3sc, inc, 3sc) × 4 = 32sc], working into the back loops only for texture.
- Slip stitch into the first stitch to close the round.
Round 10 (R10)
- Chain 1 to start.
- Work 1 single crochet in each stitch around [32sc].
- Slip stitch into the first stitch to close the round.

Round 11 (R11)
- Chain 1 to begin.
- Work the sequence (7 single crochets, 1 increase) repeated 4 times [(7sc, inc) × 4 = 36sc], working into the front loops only to shape the tree.
- Slip stitch into the first stitch to close the round.
Tree Edges (Decorative Edging)
- Begin in Round 11's front loops. Work:
- 1 single crochet (sc) in the current stitch.
- Skip 1 stitch.
- Work 5 double crochets (5dc) into the next stitch.
- Skip 1 stitch again.
- 1 single crochet (sc) in the next stitch.

- Continue repeating: (skip 1, 5dc, skip 1, sc) around the edge to create the tree's decorative scalloped edges.
- Slip stitch into the first stitch to close the edge.
Adding Additional Layers and Key Cover Shape
- Return to Round 9 and crochet into the front loop.
- Repeat the same decorative edge sequence (1 single crochet, skip 1, 5 double crochets, skip 1, single crochet).
- Chain 1 and cut the yarn when finished.
- Return to Round 11 and crochet into the back loop to shape the tree base.
- Work 1 single crochet in each stitch for 6 rounds (36sc).
- Chain 1 and cut the yarn to close the base.
Finishing the Star
- Chain 1 to form a loop at the top.
- Alternate working:
- 1 double crochet (dc), chain 1, slip stitch (slst).
- Again, 1 double crochet (dc), chain 1, slip stitch (slst).
- Continue repeating (1dc, 1ch, slst) to form a star-like shape at the top of the tree.

Assembly Notes
- Attach the tree cover to your key by sliding the key inside the base.
- Add optional embellishments, such as beads, tiny pom-poms, or embroidery for ornaments on the tree.
Ideas for Personalization
- Color Variations: Choose bold, gradient, or pastel yarns to complement your design.
- Adjust Size: Use thicker yarn or larger hooks for a bigger output, or smaller ones for a miniature piece.
- Embellishments: Attach beads, small appliqués, or embroidery.
- Additional Functionality: Sew a loop for hanging or stitch onto items like bags or cushions.
Advanced Techniques Used
- Back Loop Only (BLO): Crochet into the back loop of stitches to create textural contrast.
- Front Loop Only (FLO): Adds decorative details and defines edges.
- Slip Stitch Seam: Provides a neat transition between rounds and decorative finishes.

Closing Remarks
Congratulations on your beautiful crochet creation! This project blends functional designs with delicate decoration, perfect for personal use or gifting. The intricate scalloped pattern adds charm, making this a memorable piece.
Optional Upgrades
- Attach other mini crochet characters (flowers or hearts).
- Stitch your completed piece onto larger projects like blankets or bags.
- Add glitter or shiny yarn for an extra sparkle!