
Boost your at-home style by trying the Free Crochet Ballet Slipper Pattern for flexible sizing and graceful, easy-to-make slippers.
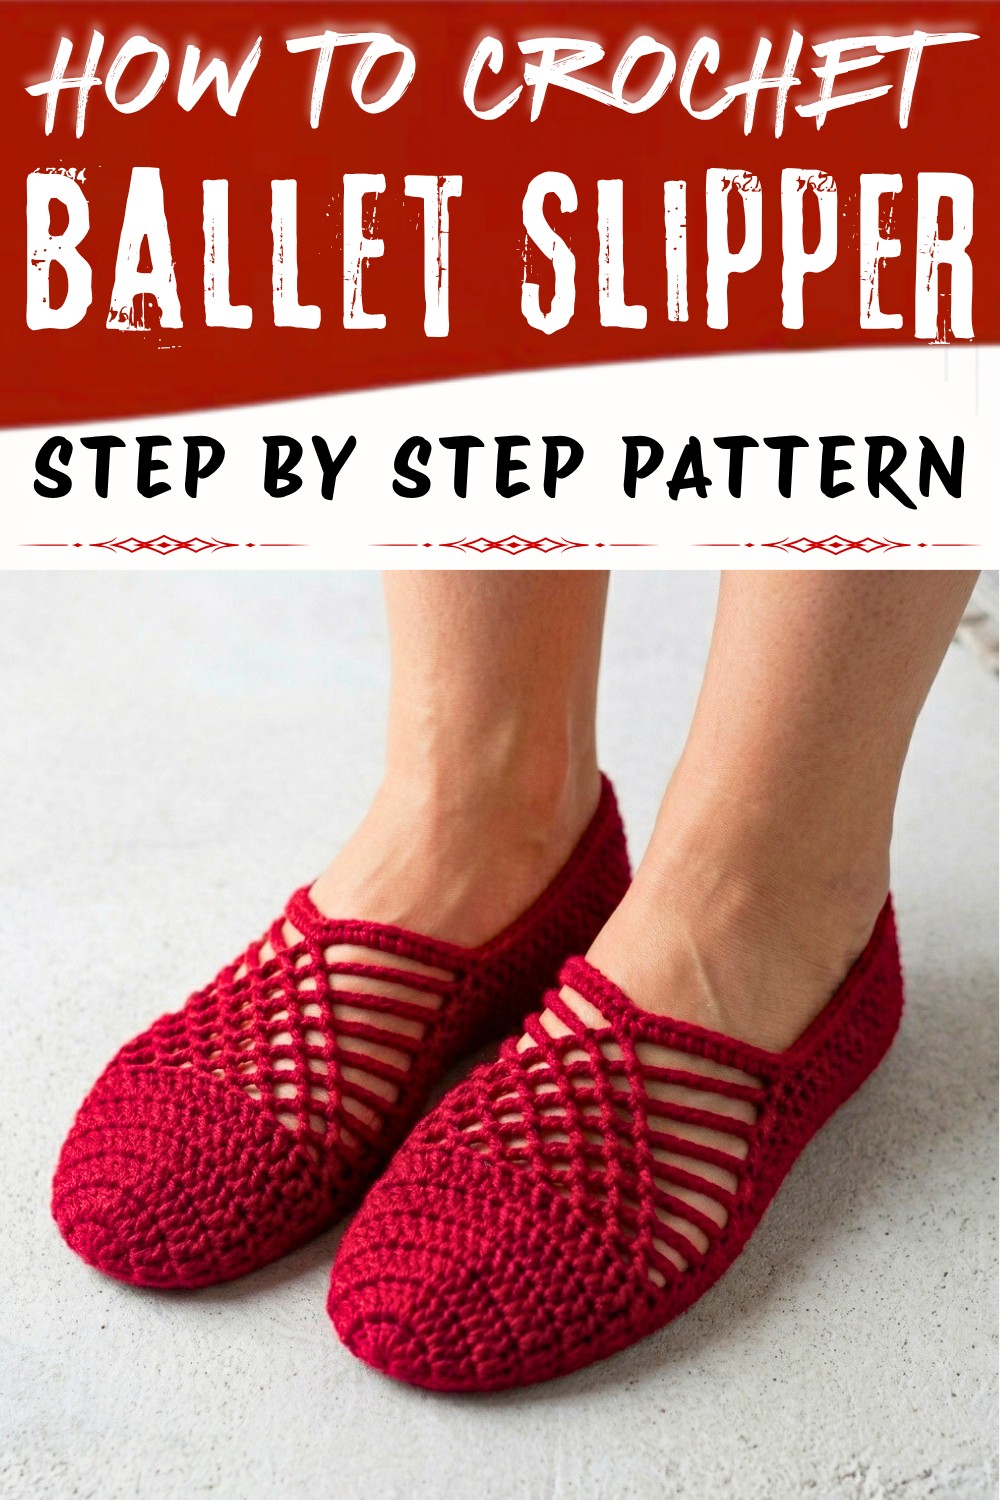
On a quiet morning, as I sat looking out the window, dreaming of something both elegant and functional to crochet, the idea of making ballet slippers popped into my head. These Crochet Ballet Slippers are a perfect blend of elegance and functionality. The pattern features a charming side-looped detail that adds delicate sophistication, complemented by a snug, perfectly shaped toe and heel. One of the most endearing elements is its customizability, you can easily adjust the length or width for a tailored fit. These slippers in soft pastel tones reminiscent of classic ballet shoes or bold, vibrant colors to reflect a modern flair. Whether for yourself or as a thoughtful handmade gift, this pa sure to impress with their beauty and comfort.
Free Crochet Ballet Slipper Pattern with Easy Fit for All Sizes
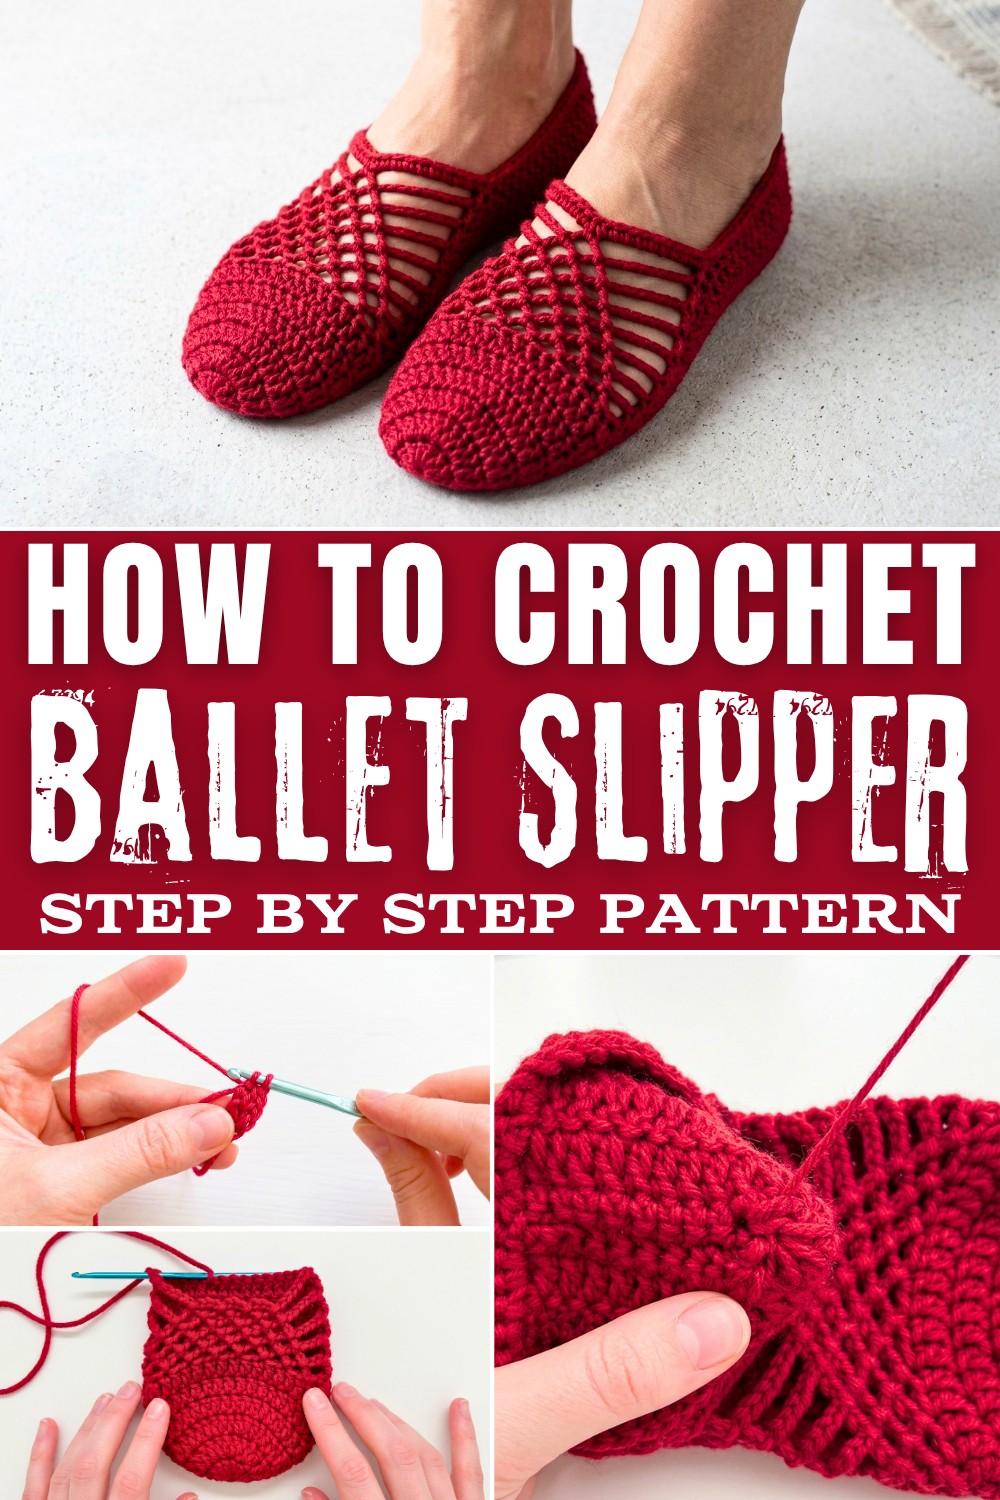
With a mix of easy and slightly intricate stitches, the pattern introduces delightful elements like chain loops, front-post half double crochet, and shaping techniques for a well-fitted slipper. Despite its delicate look, this pattern is beginner-friendly and works up quickly, making it the perfect project for anyone looking to create something both cozy and stylish. Beyond being visually appealing, they are versatile enough to wear as house slippers, comfy lounge footwear, or even spa slippers.

Creative Ideas From This Pattern
- Elegant home slippers: Skip the decorative loops for a sleeker slipper.
- Toddler and kid-sized slippers: Adapt the measurements for smaller feet.
- Comfy open-foot sandals: Stop short of closing the toe for a breezy look.
- Fingerless gloves: Adapt the loop pattern for chic wrist detailing.
- Decorative borders: Use the looped design as edging for shawls, blankets, or scarves.
Why You'll Love Crocheting These Ballet Slippers
- Unique and customizable design tailored to your preferences.
- Fast project that's satisfying and easy to complete.
- A perfect balance of elegance and comfort.
- Great for personal use, gifting, or even seasonal craft markets!
Crochet Ballet Slippers Pattern
Finished Sizes
The pattern includes instructions for three widths:
- Narrow width
- Medium width
- Wide width
- Toe Length: Adjustable by the number of rows worked.
- Foot Total Length: Leave about 1" (2.5 cm) shorter than the actual foot size for best fit.
- Gauge: Match your tension closely. Exact gauge isn't critical, but aim for approximately 6 rows of double crochet to measure the appropriate toe width for the size you're making.
Materials Needed
- Yarn: A #4 medium-weight acrylic yarn (approximately half a ball is needed for a pair of slippers).
- Crochet Hook: Size 3.75 mm crochet hook.
- Notions:
- Measuring tape
- Scissors
- Darning needle (for weaving in ends and seaming)
Special Techniques
- Magic Circle (Magic Ring): Used to start the slipper.
- Half Double Crochet Two Together (hdc2tog): Combine two stitches into one.
- Yarn over, insert hook into the first stitch, pull up a loop.
- Yarn over, insert hook into the next stitch, pull up another loop.
- Yarn over, pull through all five loops on the hook.
- Half Double Crochet Four Together (hdc4tog): Combine four stitches into one.
- Follow similar steps to hdc2tog but work through four stitches total.
Skills You'll Gain With This Pattern
- Crocheting decorative chain loops that elevate the design.
- Learning shaping techniques like half double crochet decreases for a snug heel and toe.
- Understanding how to adjust a project for different sizes while maintaining its structure.
- Mastering fundamentals like single and double crochet for a polished finishing touch.
Detailed Pattern Instructions
Step 1: Toe Section
- Begin with a magic circle, chain 2 (does not count as a stitch).
- Based on the size, crochet as follows:
- Narrow: 9 double crochets (dc) into the magic ring.
- Medium: 11 dc into the magic ring.

- Wide: 13 dc into the magic ring.
- Pull the magic circle closed and slip stitch to the first dc to join.
- Stitch Count for Round 1: Narrow - 9; Medium - 11; Wide - 13.
Round 2:
- Chain 2. Work 2 dc into each stitch around.
- Stitch Count: Narrow - 18; Medium - 22; Wide - 26.
- Slip stitch to join.
Round 3:
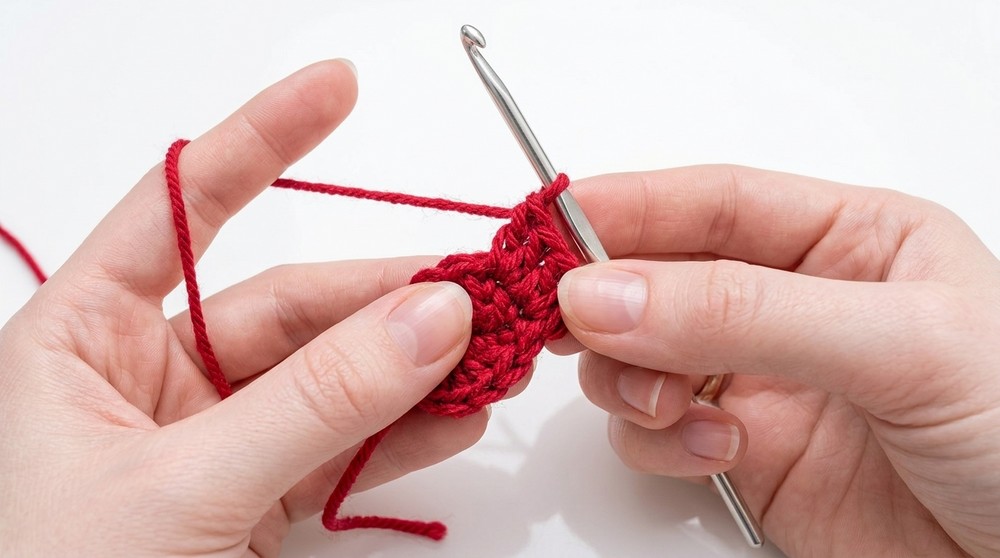
- Chain 2. [1 dc in the next stitch, 2 dc in the next stitch] repeat around.
- Stitch Count: Narrow - 27; Medium - 33; Wide - 39.
- Slip stitch to join.
Rounds 4-6:
- Even Rounds: Chain 2. Work 1 dc into each stitch around.
- This maintains consistency and builds the top section of the toe.
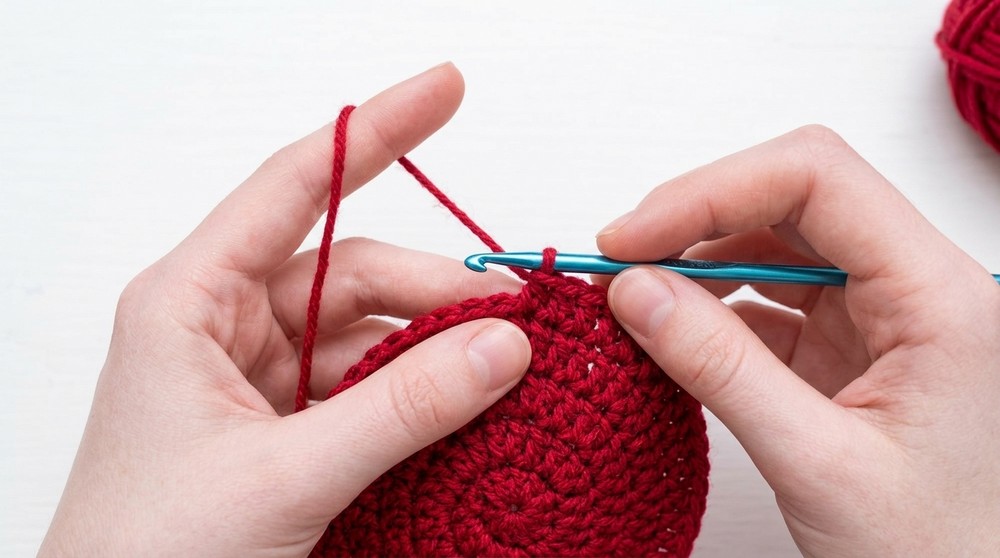
- This maintains consistency and builds the top section of the toe.
Custom Tip: Adjust the toe section length here by adding or subtracting rows. Match the slipper to just cover your big toe.
Step 2: Side Loops
- Row 1:
- Do 16 dc (or the row count for your size) across and chain 1, then slip stitch into the next stitch.
- Begin creating side loops: Chain 3, skip 1 stitch, slip stitch into the next. Repeat this 8 times to create 8 loops.
- Chain 1, slip stitch into the top of the first dc to close.
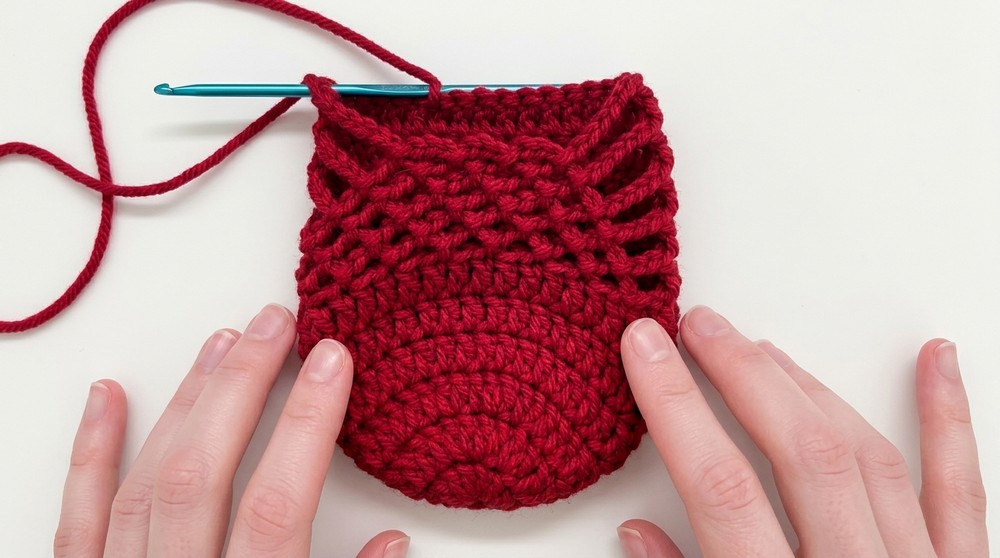
The chain loops will form a decorative edge along the opening of the slipper!
- Rows 2-9:
- Follow the same process by reducing the number of chain loops in each row as follows:
- Row 2: 7 loops
- Row 3: 6 loops
- Row 4: 5 loops
- Row 5: 4 loops
- Row 6: 3 loops
- Row 7: 2 loops
- Row 8: 1 loop
- Follow the same process by reducing the number of chain loops in each row as follows:
To transition down each side row, use an editable chain length (Chain 2, Chain 3, … up to Chain 8 as necessary).
Step 3: Heel Construction
- Shaping the Heel:
- Work three rows of double crochet (dc):
- Begin with an increase (2 dc in the first and last stitch of each row).
- Continue this until the desired heel height is reached.
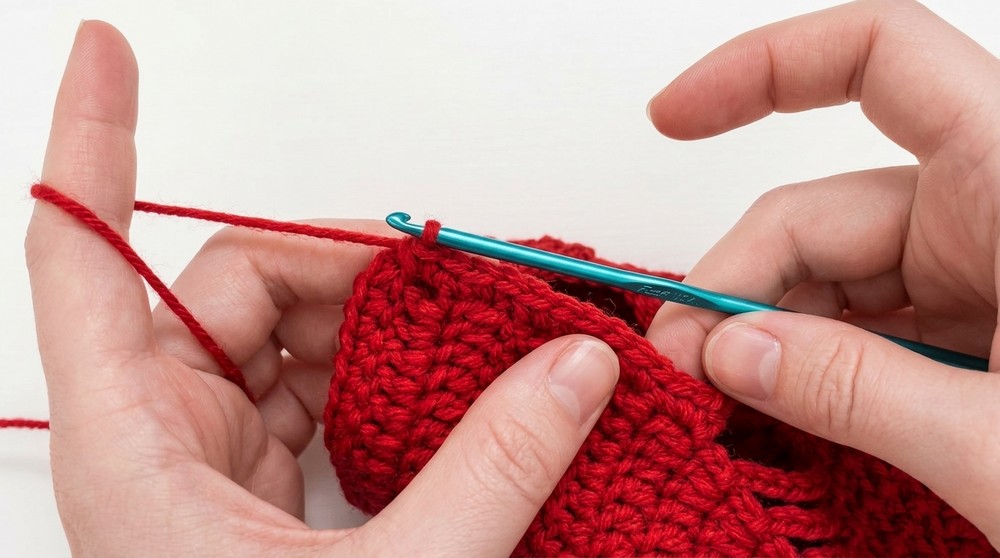
- Work three rows of double crochet (dc):
- Decreasing for the Heel: Use hdc2tog (Half Double Crochet Together) and hdc4tog to taper and shape the heel for a snug fit.
Step 4: Assembling the Slipper
- Edging: Work one round of single crochet around the opening of the slipper to give it a clean and polished look.
- Seaming: Use a darning needle to sew the back of the heel seam together.

Customization Ideas
- Color Changes: Create stripes or use variegated yarn for added flair.
- Edging Options:
- Replace single crochet with a scalloped or picot edging.
- Sole Padding: Add a soft fabric or rubber sole for durability.
- Personalized Fit: Extend or reduce the heel rows to customize accordingly.
Important Notes
- Measuring for Size: Have around 1" or 2.5 cm of negative ease (shorter than foot length) to ensure a snug and comfortable fit.
- Testing Fit: Check the slipper fit periodically as you work through the heel and side sections.
Conclusion
Congratulations! Your handmade crochet ballet slippers are complete. These slippers are cozy, stylish, and perfect to wear around the house. The adjustable toe and heel ensure you can tailor the fit for maximum comfort. Experiment with colors and patterns to make each pair unique.
Challenges and Solutions While Crocheting
For beginners, managing the chain loop segments and ensuring consistent tension can be tricky, especially in creating side details that align perfectly. You might also encounter difficulty with stitch counting during the heel shaping increases.
Solution: Keep a stitch marker handy to mark rows and loops as you work, and don't hesitate to pause and recount your stitches to ensure accuracy. For uneven tension, practice working the stitches in repetitive rows before continuing the decorative loops-you'll find your rhythm in no time!