
Stay warm and trendy with this beginner-friendly Free Crochet Mittens Pattern, offering comfort and charm in every stitch.
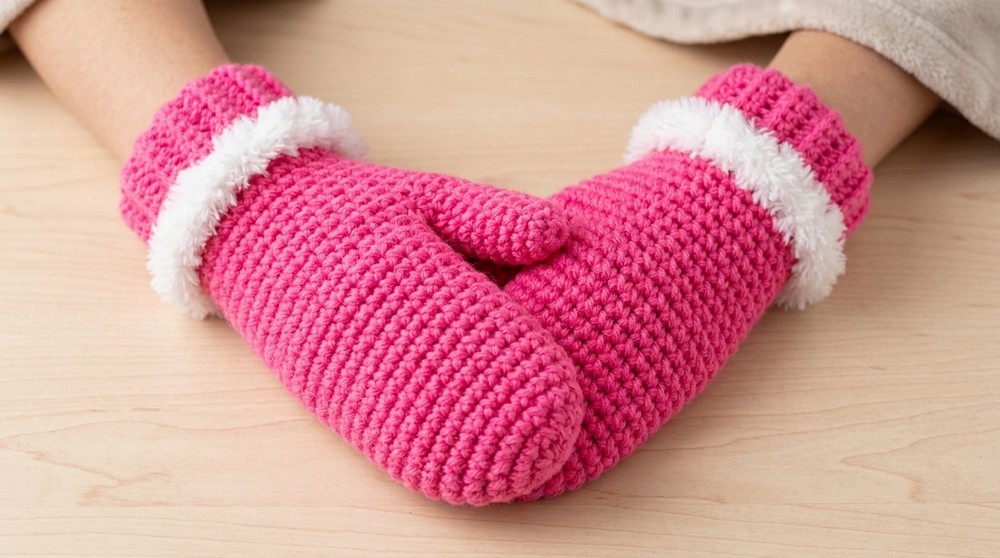
Crocheting a pair of mittens is such a fun and fulfilling project, especially when the pattern is as simple and stunning as this one. This Free Crochet Mittens Pattern combines functionality with beauty, featuring a stretchy ribbed cuff that's created using single crochet in the back loop, adding a lovely texture and snug fit. The mittens can be crocheted in a variety of color combinations-soft pastels, earthy tones, or vibrant hues-perfectly suited to match any winter wardrobe. Designed to keep hands warm and cozy, they are ideal for chilly mornings, outdoor walks, or as a thoughtful handmade gift for loved ones.
Winter Perfect Free Crochet Mittens Pattern for You
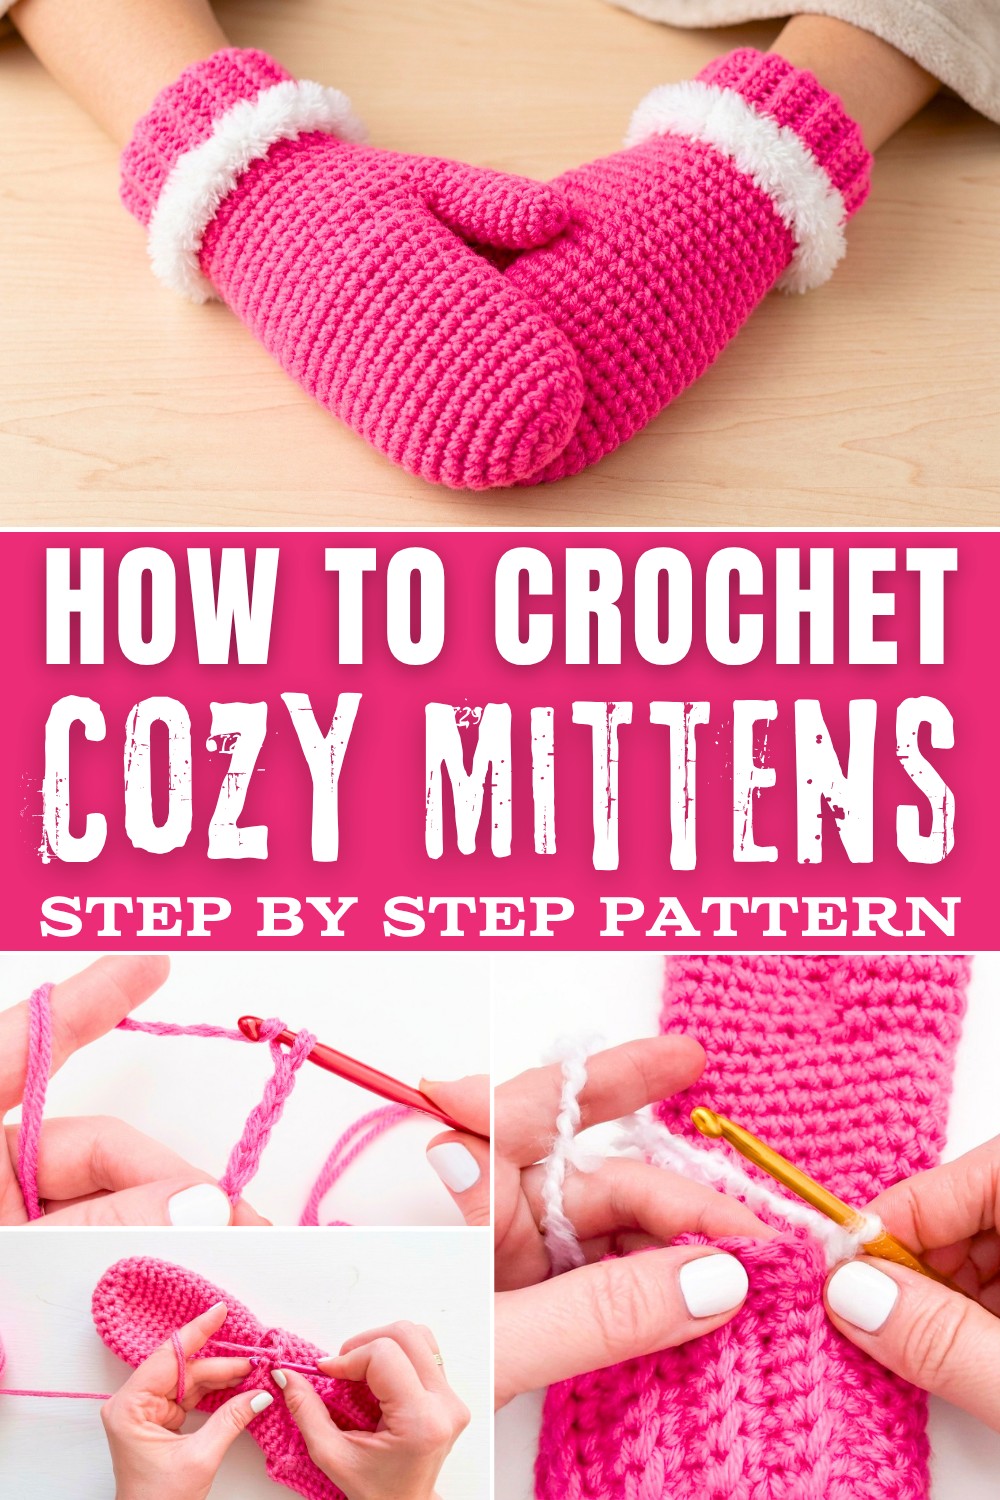
The pattern mainly utilizes basic stitches, like single crochet, slip stitches, and easy increases and decreases, which makes it beginner-friendly while still being fun for seasoned crocheters. The cuff's ribbed texture not only looks stylish but also ensures a comfortable and flexible fit around the wrist. Using the same techniques from this pattern, it's possible to make other cozy accessories, such as matching scarves, hats, or pair these mittens with a crochet headband.
What You'll Learn and Where It Can Take You
Following this pattern, you'll learn more than just how to make mittens. Important techniques such as working in spiral rounds, creating thumb holes using chain stitches, and shaping the top with decreases are all included, helping to sharpen overall crochet skills.
Here's what else you can create using these techniques:
- Matching scarves and hats to complete a winter set.
- Fingerless gloves for a lightweight, modern accessory.
- Amigurumi toys, as the shaping techniques are versatile.
- Small crochet baskets using the same principles of structure.
This mitten pattern is an excellent choice for beginners to build confidence or for experienced crocheters looking for a fast, stylish project. Its simplicity and charm make it a perfect addition to any crochet collection!
Materials & Tools
- Yarn:
- Option 1: 2 strands of #4 Medium Weight Yarn bright pink color
- Option 2: 1 strand of bulky weight yarn (e.g., #5)
- Hook: 6.5mm (K-10.5) crochet hook
- Tapestry/Darning Needle
- Scissors
Gauge
12 stitches x 15 rows with single crochet (sc) using a 6.5mm hook = a 4x4 inch swatch.
Gauge is not crucial for this project but can help ensure your mitten fits properly.
Abbreviations List
- ch: Chain
- sc: Single Crochet
- sl st: Slip Stitch
- sc2tog: Single Crochet 2 Together (decrease)
Special Stitch Instructions
- Single Crochet 2 Together (sc2tog): Insert hook into the stitch, yarn over, draw up a loop, insert hook into the next stitch, yarn over, draw up another loop (3 loops on hook), yarn over, pull through all three loops. This reduces two stitches into one.
Finished Size
This pattern makes a pair of unisex mittens with customizable measurements. You can adjust to fit various hand sizes by increasing or decreasing the number of stitches and rows.
Skills and Techniques
- Basic Crochet Stitches: Slip knot, chain, single crochet, and slip stitch.
- Special Techniques: Working in back loop only for a ribbed effect, decreasing using single crochet two together.
Pattern Instructions
Cuff
- Initial Set up:
- Start with a slip knot on your hook.
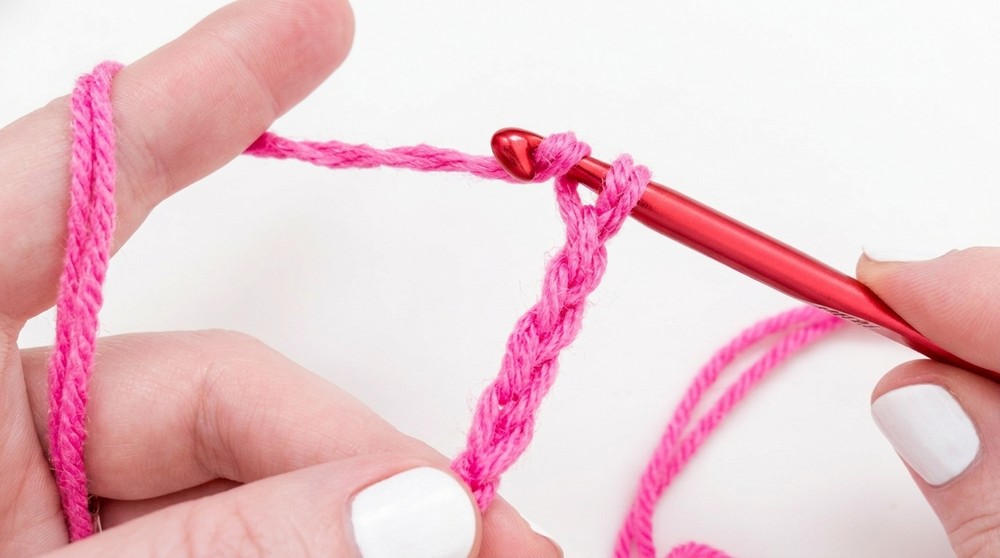
- Chain a length of 5 to 6 inches (13 to 15 cm) for the cuff, or longer if desired, like a chain of 21 stitches for a longer cuff.
- Row 1:
- Begin single crochet in the second chain from the hook and continue single crocheting in each chain across.
- Row 2 and Beyond:
- Chain 1, turn your work.
- Work in back loops only: Single crochet into each stitch across, forming a ribbing texture.
- Repeat until the desired cuff circumference is reached, approximately 8 inches (20 cm) or as needed to fit around the wrist.
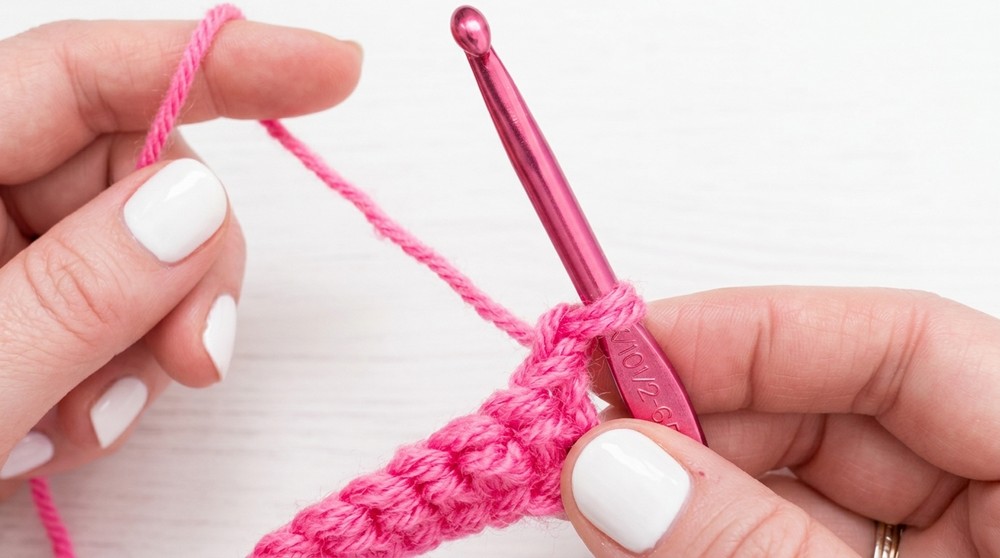
- Form the Cuff Tube:
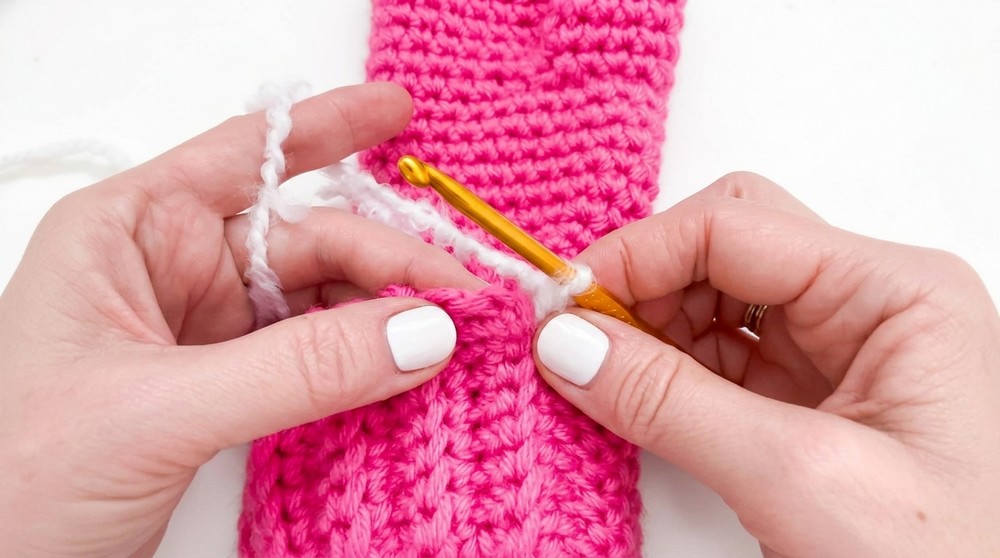
- Bring both short ends of the cuff together, and slip stitch through the corresponding starting chain and edge stitch to form a tube.
The cuff forms the stretchy ribbing at the wrist of the mitten. Continue crocheting rows of single crochet in the back loop until the cuff fits snugly around your wrist, then join the edges to form a tube.
Palm
- Set up:
- Slip stitch all the way down to join the cuff edges, creating a tube.
- With the seam inside, turn your work to the right side and weave in any initial yarn ends.
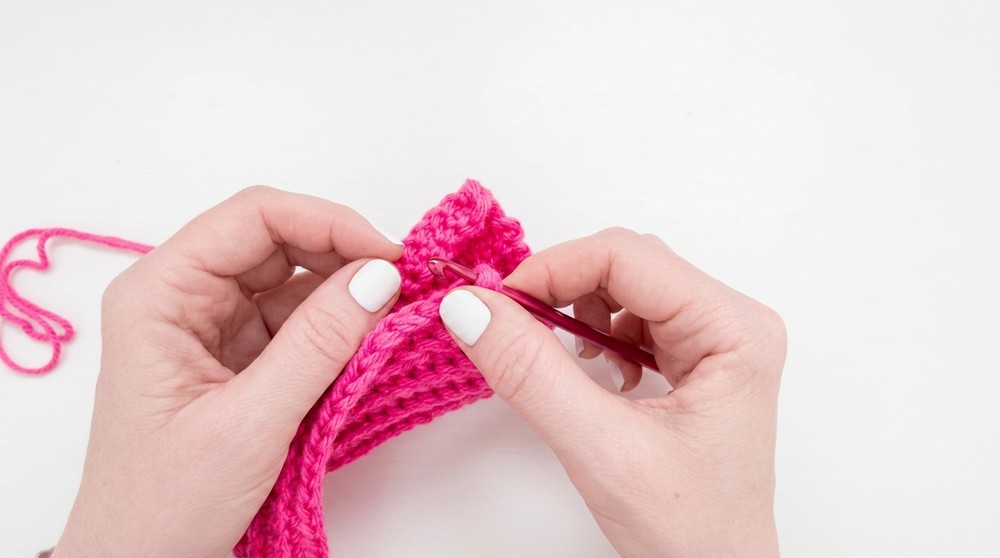
- Single Crochet Foundation:
- Begin at any point along the edge and single crochet evenly around the edge of the cuff, placing one single crochet into the edge of each row to establish the palm's base.
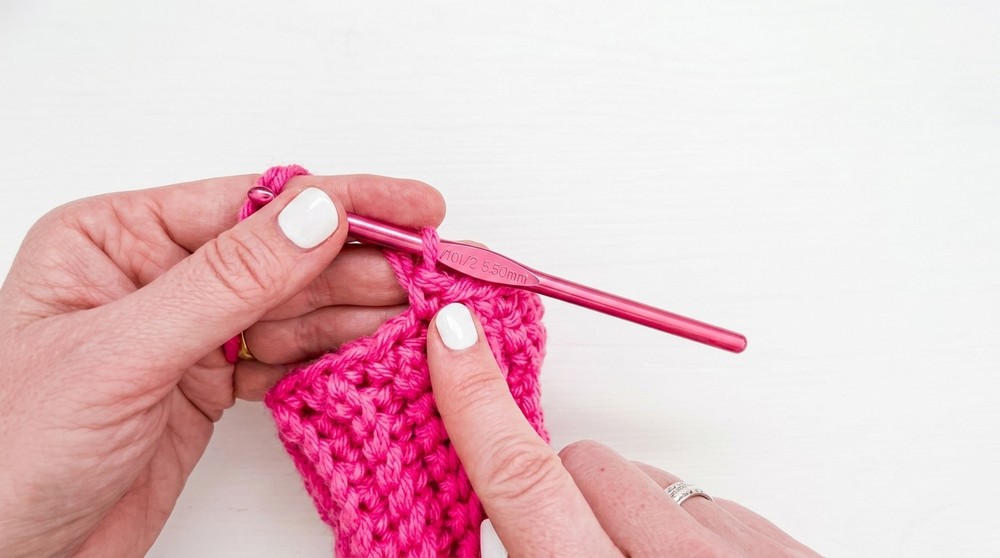
- Begin at any point along the edge and single crochet evenly around the edge of the cuff, placing one single crochet into the edge of each row to establish the palm's base.
- Build the Palm:
- Continue working single crochet in spiral rounds (do not join at the end of rounds).
- Increase strategically to fit the palm by adding two single crochets at both ends of the round or as needed for hand fit.
Explanation : This part adds the section that covers the palm. After connecting the cuff, work single crochet stitches around the edge evenly and continue spiraling upward without joining until reaching the bottom of your thumb.
- Thumb Opening:
- Continue crocheting until you reach the bottom of the thumb.
- Compute the number of stitches needed for the thumb gap (e.g., six slip stitches).
- Perform six slip stitches then chain six to form the thumb gap, aligning them to ensure symmetry.
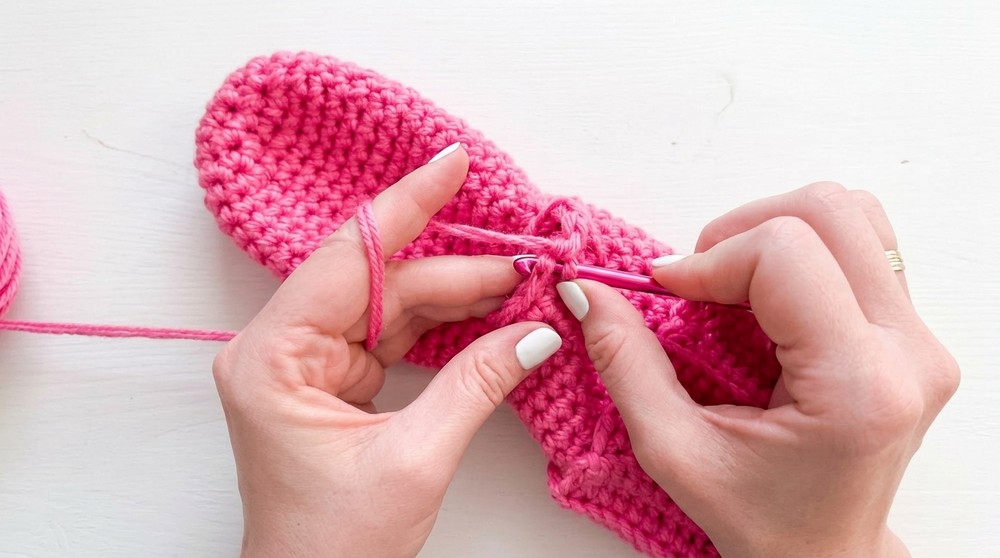
- Post thumb Opening:
- Single crochet around the thumb opening, placing single crochet into each chain across the gap.
- Continue in rounds until reaching the fingertips.
Decrease for Top of Mitten
- Tapering the Mitten:
- Begin decrease by single crocheting the first two stitches together, followed by two single crochets across; repeat this pattern around.
- Reduce until approximately eight stitches remain.
- Finish Top:
- Fasten off, leave a tail for sewing.
- Weave the yarn through the remaining stitches using a darning needle, pull tight to close, then secure and weave in the end.
Explanation for Non-Readers: Continue crocheting the body of the mitten until it's long enough to cover your fingers. Then follow the instructions to gradually close it at the top.
Thumb
- Thumb Opening:
- Attaching yarn to any stitch on thumb opening edge.
- Single crochet around, placing one single crochet in each available stitch.
This is where you create the hole for the thumb! This is done by skipping a section with slip stitches and making a chain to go over the hole.
- Decrease and Close Thumb:
- Continue single crocheting around in the thumb until reaching the top.
- Decrease by crocheting two stitches together, repeat this pattern until four stitches remain.
- Fasten off, leave a tail, weave through remaining stitches to close thumb, and weave in ends.
After the main body of the mitten is done, pick up stitches around the thumbhole and work in a spiral until the thumb is complete. Use decreases to finish the top of the thumb, then weave in the ends.
Finalizing
- Finish Off: Weave in all yarn ends securely and trim the excess.
- Blocking (if needed): Lightly steam or wet block to set the shape and even out stitches for a professional finish.
Final Tips
- Consistency: Ensure even tension is maintained throughout for uniform shaping.
- Customization: Adjust the length and fit by adding or reducing rows; consider hand tracing for a custom fit.
- Care: Wash your mittens gently and lay flat to dry to maintain their shape and elasticity.
By attending closely to these instructions, you can crochet stylish, well fitting mittens with a professional appearance.
Pattern Summary & Notes
- How to Start: Begin with the ribbed cuffs using simple rows of back loop single crochet (BLO sc). This creates a stretchy texture that fits nicely on the wrist. Customize the size by adjusting the length of the foundation chain for the cuff or the number of rows worked for the circumference.
- Stitches Used: Basic stitches are used, including single crochet (sc), slip stitch (sl st), chain (ch), and single crochet 2 together (sc2tog) for decreases.
- Customizations: You can adjust the width by adding or subtracting stitches in the initial rows and increasing or decreasing stitches in the palm or thumbhole for a tailored fit.
Enjoy creating your pair of crochet mittens! Whether for a holiday gift or personal use, these mittens are sure to be a hit. Don't forget to embellish them with buttons, tassels, or embroidery for an extra special touch.