
Effortlessly combine warmth and elegance with versatile free crochet scarf pattern perfect for beginners and seasoned crocheters.
I still remember the first time I picked up a crochet hook and a ball of yarn to make my very first scarf. Watching the yarn turn into something soft and beautiful felt almost creative. This pattern is perfect for creating a stylish and cozy scarf that's easy to personalize. With calming, neutral tones or bold, vibrant colors, you can blend your favorite shades to reflect your personality. The free crochet scarf pattern is simple yet elegant, combining a balance of texture and warmth that is perfect for chilly days or as a gift for someone special.
Free Crochet Scarf Pattern for 150cm Long Stylish Wraps
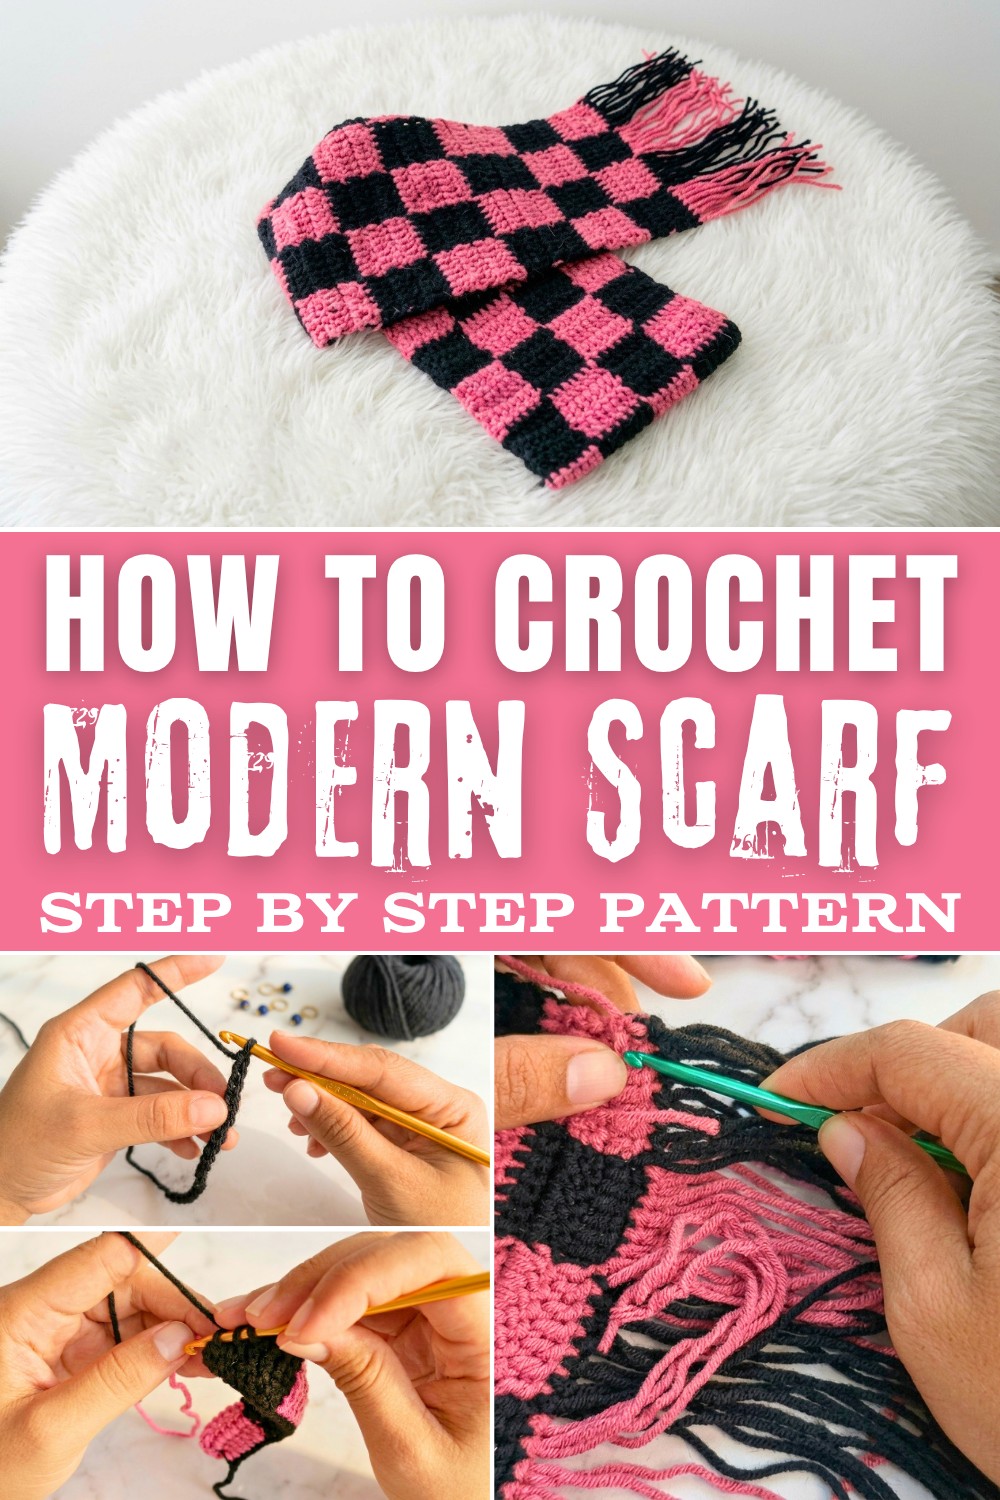
The featured stitch in this pattern is likely a classic single crochet or half-double crochet, which gives the scarf a clean and timeless look. It's beginner-friendly, easy to learn, and creates a smooth fabric that is both durable and soft. Once you've mastered this stitch, you can expand your creativity and use the same techniques to make other items like headbands, wraps, or decorative pieces for your home.

Here's what you'll learn and create from this pattern:
- Understand the basics of crochet, starting with forming an initial chain and progressing into neat and even rows.
- Explore color combinations to make your scarf uniquely yours.
- Gain skills to crochet additional items, such as headbands, stylish wraps, or pillow covers.
- Build a foundation in crochet to unlock endless creative opportunities.

Grab your hook, pick your favorite yarn, and enjoy turning your creativity into something warm and beautiful!
Two-Color Checkered Crochet Scarf with Tassels
Materials Needed
- Worsted weight yarn in two colors (e.g., black and pink)
- Crochet hook (size recommended for your yarn, typically 4mm-5mm)
- Scissors
- Yarn needle for weaving in ends
- Measuring tape or ruler
Pattern Instructions
Foundation Chain
- Make a Chain:
Chain 28 or adjust for your desired width.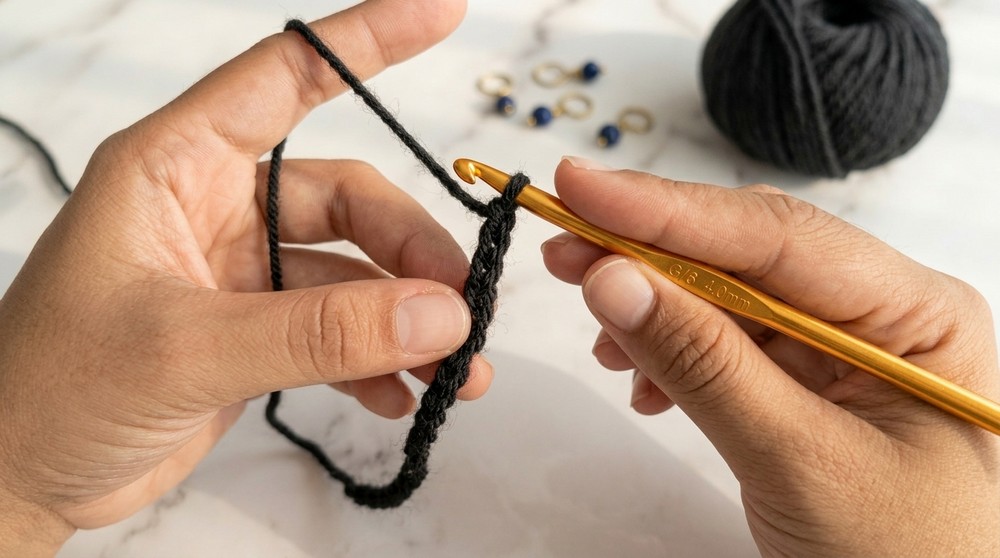
(The sample uses 28 chains. If making for a child or for a narrower scarf, chain fewer; for a longer or wider scarf, chain more.)Explanation:
The chain determines how wide your scarf will be. You can measure around your neck and estimate the width you like, or follow the pattern and chain 28 for a standard width.
Row 1: Set Up with Double Crochet and Start Color Pattern
- Double Crochet Row:
- Yarn over, and insert your hook into the fourth chain from the hook (this chain and the next two count as your first dc).
- Double crochet (dc) in the same chain.
- Continue making 1 dc in each chain across until you have made 7 dcs including the turning chain at the start. You will now have used up 7 stitches.
- On the seventh dc, stop with two loops left on your hook.
- Prepare to change color: with new color (e.g., pink), yarn over and pull through both loops on your hook to finish the stitch (this switches your yarn to pink).
Explanation:
You start with one color (black) and do 7 stitches. On the last step of the 7th stitch, you bring in the second color so you can continue crocheting with it.
-
- With the new color (e.g., pink), yarn over and make dc in the next stitch. Continue 6 more dcs in the next 6 stitches (total 7 pink dcs).
- On the 7th dc, again stop with two loops on your hook. Switch back to your first color (black) and finish the stitch by pulling through with black.

- Continue this across the row, alternating colors every 7 dcs. You will end with 4 color blocks.Continue Row 1 with Alternating Colors:
Every set of 7 stitches forms one color "block." At the end of each block, switch colors so the checker pattern starts forming.
- End of Row 1:
- At the end of the row, fasten off if changing color, but leave both color yarns attached and bring the unused color up the side as you work to avoid lots of loose ends.
Explanation:
Carrying the yarn up the side saves time and makes finishing neater. Keep the yarn secure and don't pull too tight.
Row 2 and Beyond: Creating the Checkered Pattern
-
- Chain 3 and turn.
- If your next color block is black, crochet 7 dcs across with black. On the last black dc, change to pink on the last pull-through.
- Crochet 7 dcs with pink, switching back to black after each color block.

- Work across the row, always changing colors every 7 stitches to create the checkerboard.
- At the end of the row, chain 3 and turn.Turning and New Row:
Each new row begins as the previous one ended, but the colors alternate to make a checkered (plaid) pattern, so keep counting 7 stitches per color.
- Maintaining the Pattern as You Crochet More Rows:
- Continue in this pattern, always making 7 dcs of one color, switching to the other for the next 7 dcs, and so on.
- On the very last yarn over of the 7th dc, swap to the next color by picking up the new yarn and pulling through.
- Carry the unused yarn along the side or crochet over it to help minimize loose ends.
Color changes at the last "yarn over" of the block keep the lines crisp and keep the back of the scarf neater.
- Continue Rows to Desired Length:
- Repeat the above color pattern for each row until your scarf reaches about 150 cm (about 60 inches), or your preferred length.

The scarf is typically about 150 cm long, but you can adjust to your needs-kids' scarves can be shorter, adults' scarves longer.
- Repeat the above color pattern for each row until your scarf reaches about 150 cm (about 60 inches), or your preferred length.
Finishing & Tassels
-
- When your scarf is the desired length, finish with a final row and fasten off both yarns.
- Use a yarn needle to neatly weave in any yarn ends along the edge.Fasten Off and Weave in Ends:
You're almost done! Weaving in ends tidies up your work and prevents unraveling.
- Tassel Preparation:
- Cut lengths of yarn about 30 cm (12 inches) long; use both colors (about 14 strands per color for each end-adjust to your taste).
- Group 2-3 strands together for each tassel. Fold them in half.
- Use your hook to pull the folded end through a stitch at the end of the scarf; thread the tails through the loop and pull to secure (making a "lark's head knot").
- Repeat across each narrow edge for a full row of tassels.
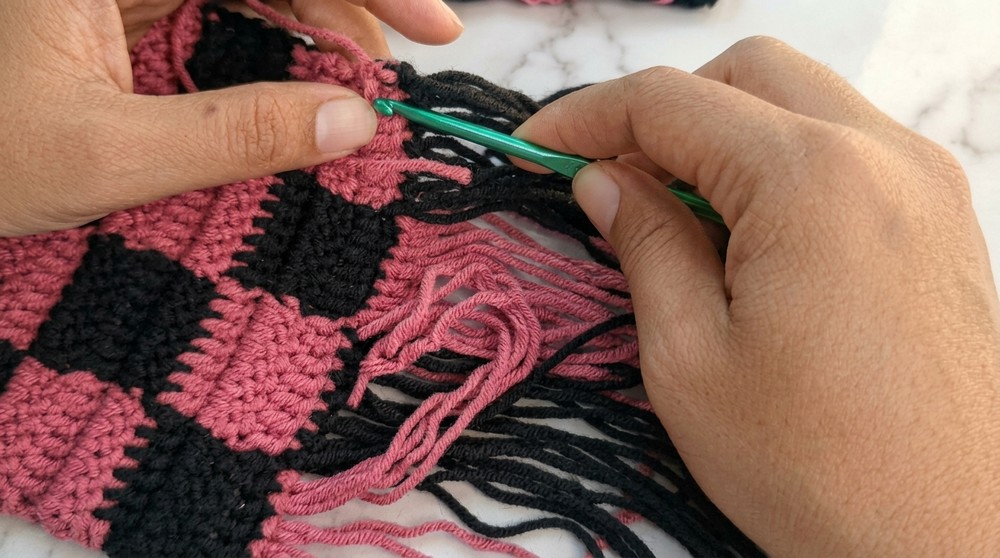
Explanation:
Tassels add a decorative, finished look. You can alternate colors or mix them for a playful look.
- Trim Tassels Evenly:
- Lay the scarf flat and trim the tassels so they're all the same length.
This step makes the ends of your scarf neat and professional looking.
Pattern Recap In Simple Steps
- Chain and set up the width of your scarf.
- Double crochet in blocks of 7 stitches per color.
- Switch colors on the last yarn over of each 7th stitch.
- Keep going, maintaining the 7-stitch color blocks for a checker effect.
- Work to your desired scarf length.
- Finish by weaving in ends and adding tassels.
Summary (for each row):
- Crochet 7 dcs (color A), swap to color B on last pull-through. Crochet 7 dcs (color B), and continue alternating.
- At the end, chain 3, turn, and continue.
- Always swap to the new color on the last yarn over of the color block.
- Continue alternating colors every 7 stitches and every row for a checkerboard look.
With this method, you create a beautiful, checkered, two-color scarf finished with tassels. This technique is easy and repetitive-great for beginners and produces a stylish result perfect for gifts or personal use!