
Instantly solve your need for sun-smart fashion with the Free Crochet Fisherman Hat Pattern, perfect for modern style and all-day comfort.
There's something incredibly satisfying about crocheting a classic piece, and this fisherman hat is no exception! The charm of this pattern lies in its simplicity and versatility. Crocheted with a beautiful ribbed texture using single crochet stitches worked in the back loop only, this pattern is perfect for beginners yet stylish enough for experienced crocheters to enjoy. It can be made using bold, vibrant colors for a trendy look or soft neutrals like beige, gray, or ivory for a classic touch. Whether you're heading out for a chilly morning walk, planning a cozy outfit, or gifting a handmade creation, this pattern fits the bill perfectly.
Simple Free Crochet Fisherman Hat Pattern Using Single Crochet Stitches
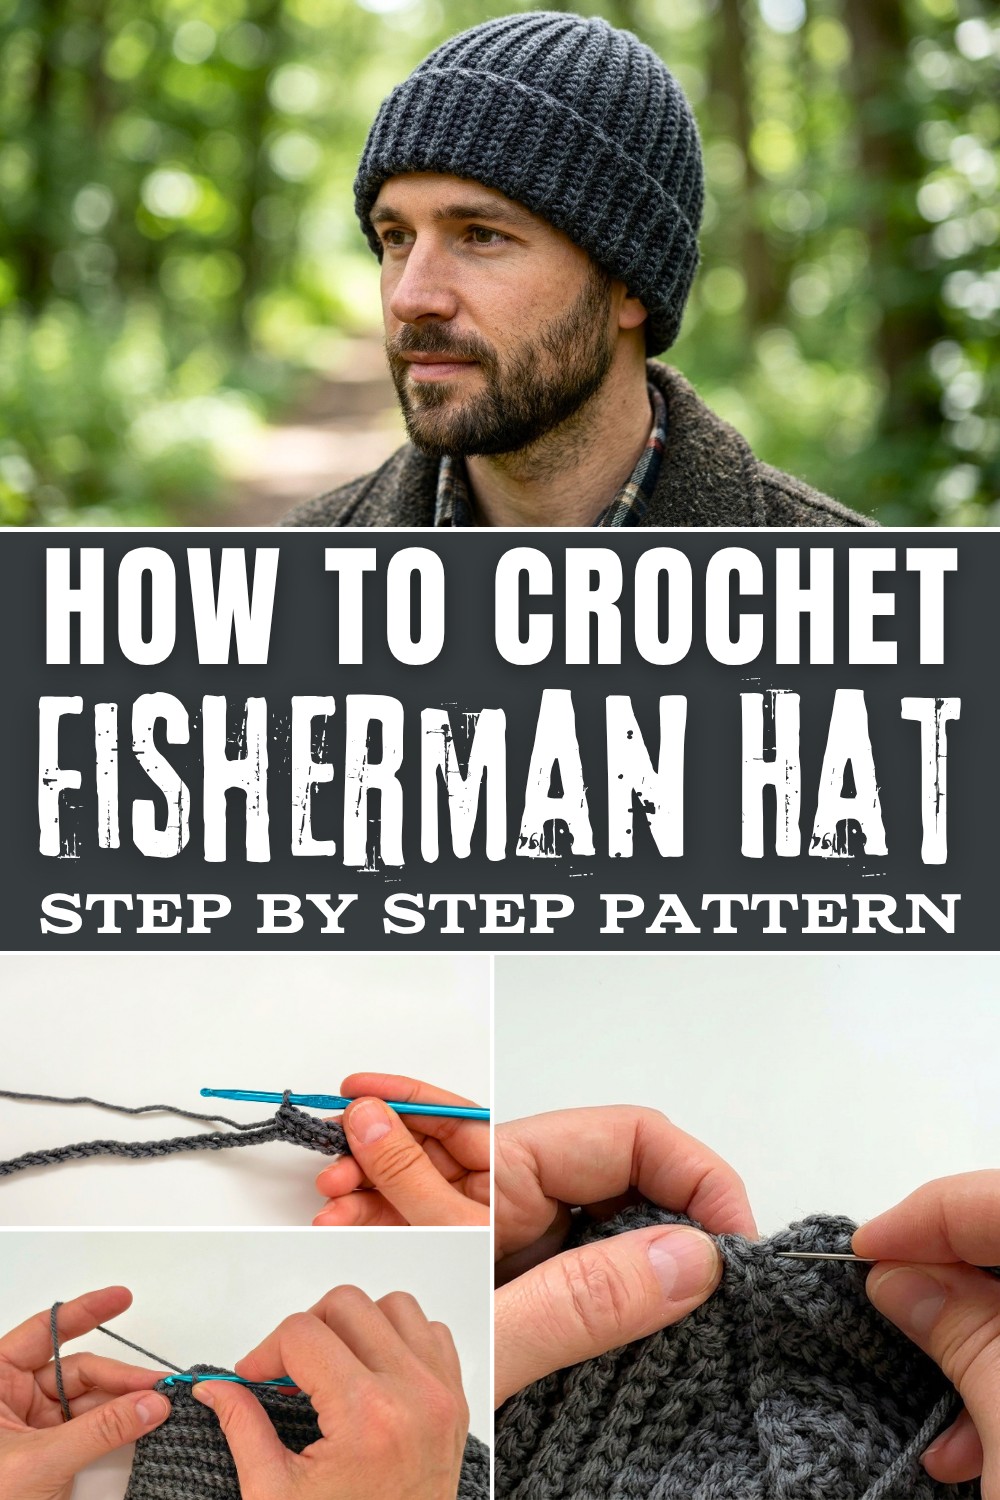
The process starts with crocheting a rectangular panel using rows of single crochet worked in the back loop only, which gives the fabric its stretchy and ribbed feel. Once the rectangle is done, it's joined to form a tube that tapers at the top to create the crown of the hat. What I love most about this pattern is how easily you can customize it-experiment with different yarn weights for a tighter or looser fit, or add stripes for a pop of color! It's a functional yet stylish accessory that works for all seasons, making it a must-try project.

With this free crochet fisherman hat pattern, you'll master essential skills such as creating ribbed fabric, shaping the crown with stitch placement, and finishing with slip-stitch seams and decorative touches. The techniques used here can easily be adapted to make other fun and practical items for your wardrobe or home.
What You Can Make With These Skills
- Stretchy beanies or slouchy hats
- Ribbed scarves or infinity cowls
- Warm headbands or ear warmers
- Textured wrist warmers or mittens
- Fitted sleeve cuffs or sweater edges
- Decorative bag straps or handles
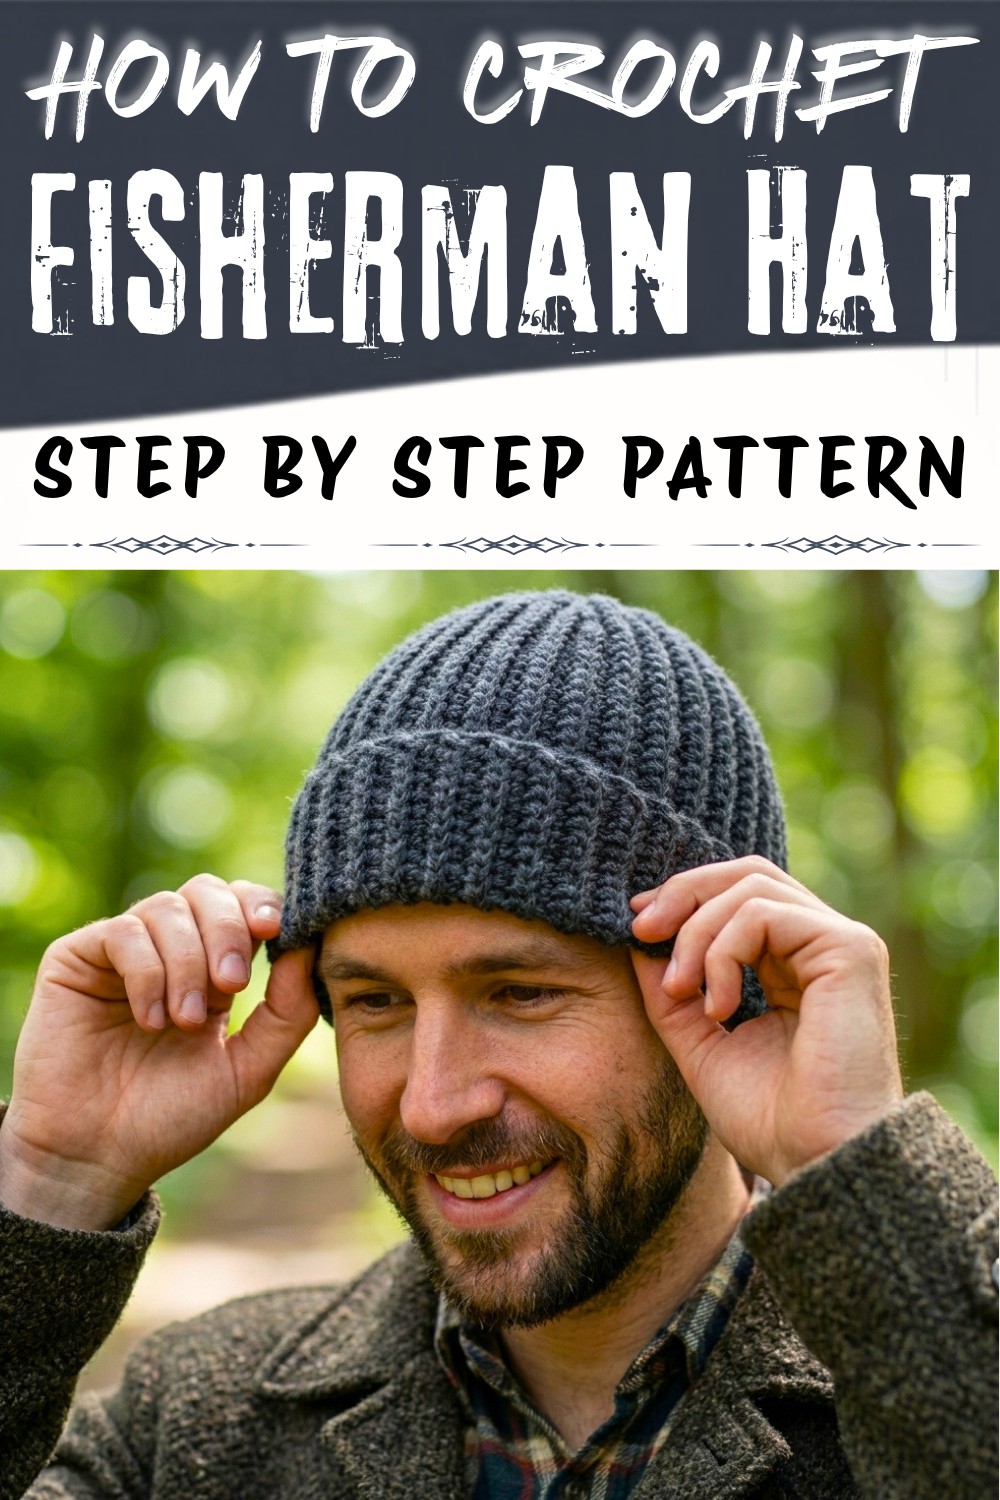
Crochet Pattern: Fisherman's Hat (Beanie)
Skill Level
Beginner to Intermediate: Basic knowledge of single crochet, slip stitches, and stitching in the back loop is required.
Finished Size
- Hat Width (Circumference): Approximately 19 inches (48 cm) when stretched.
- Hat Height: Approximately 6.5 inches (16.5 cm) for each section (final height depends on the number of sections).
- Adjustable Sizing: Additional sections can be made for a larger fit or finer yarn can be used for smaller stitches.
Materials
- Yarn:
Worsted-weight (#4) yarn in dark gray color.- Note: If using finer yarn, you may need to crochet four sections instead of three for the proper fit.
- Hook Size:
- 5.0 mm Crochet Hook.
- Additional Tools:
- Darning Needle: For sewing and weaving in ends.
- Scissors.
- Measuring Tape: To check the dimensions.
Abbreviations (US Terminology)
| Abbreviation | Description |
|---|---|
| ch | Chain |
| sc | Single Crochet |
| sl st | Slip Stitch |
| BLO | Back Loop Only |
| st(s) | Stitch(es) |
Special Techniques
- Back Loop Only (BLO): Insert your hook into the back loop of the stitch instead of both loops. This creates the ribbed texture used throughout the hat.
- Joining Sections: Use slip stitches to connect the adjoining sections of the hat for a seamless and professional finish.
Pattern Instructions
Step 1: First Section
Foundation Chain:
- Begin with a slip knot on your hook.
- Chain 41 (or a chain measuring 12 inches / 30 cm).
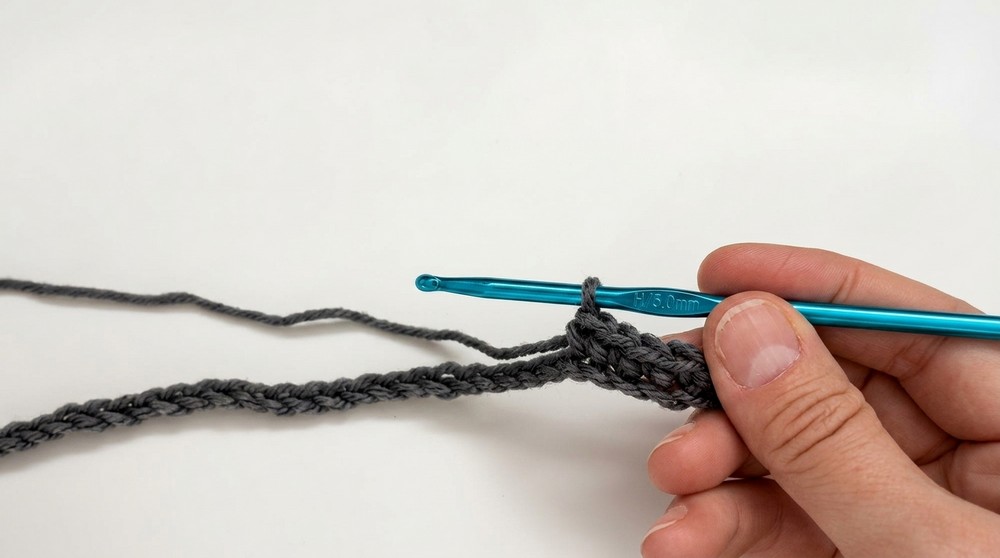
Rows 1-25: Working the Ribbing Pattern
- Row 1:
- Start in the 2nd chain from the hook and work 40 sc across.
- Chain 1, turn.
- Row 2:
- Work in the BLO of the stitches for this row.
- Single crochet into the BLO across the row until 2 stitches remain.
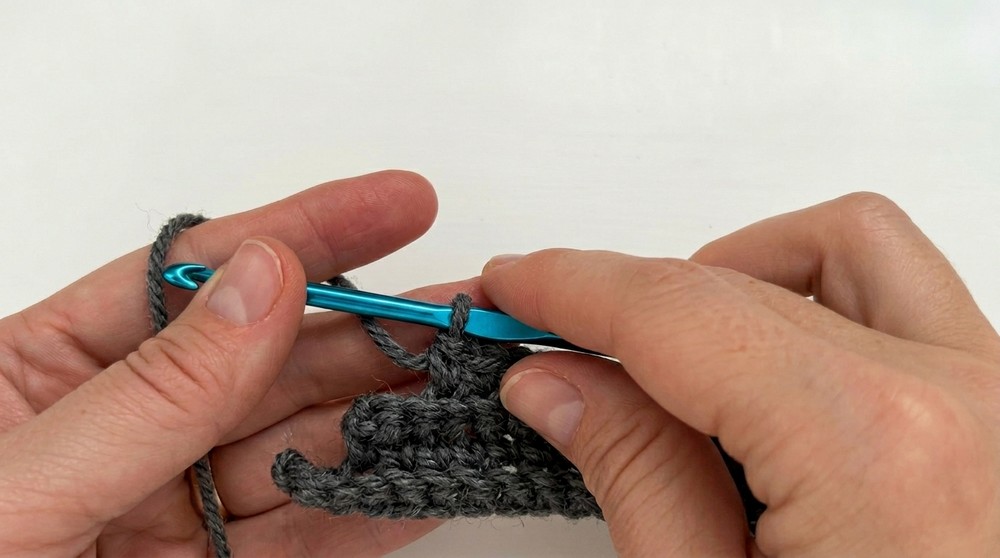
- Chain 1, turn.
- Row 3:
- Work in the BLO for 37 sc, leaving 1 stitch at the end.
- For the 38th stitch, insert your hook into both loops and finish a normal single crochet.
- Chain 1, turn.
- Row 4:
- Work in the BLO for 36 sc, leaving 2 stitches unworked at the end.
- Chain 1, turn.
- Row 5:
- Work in the BLO for 35 sc, leaving 1 stitch at the end, then insert your hook into both loops for the final stitch (36th stitch).
- Chain 1, turn.
- Rows 6-11:
- Continue this decreasing pattern, reducing the number of stitches worked by 2 every other row while alternating between 1 stitch through both loops and the rest in BLO.
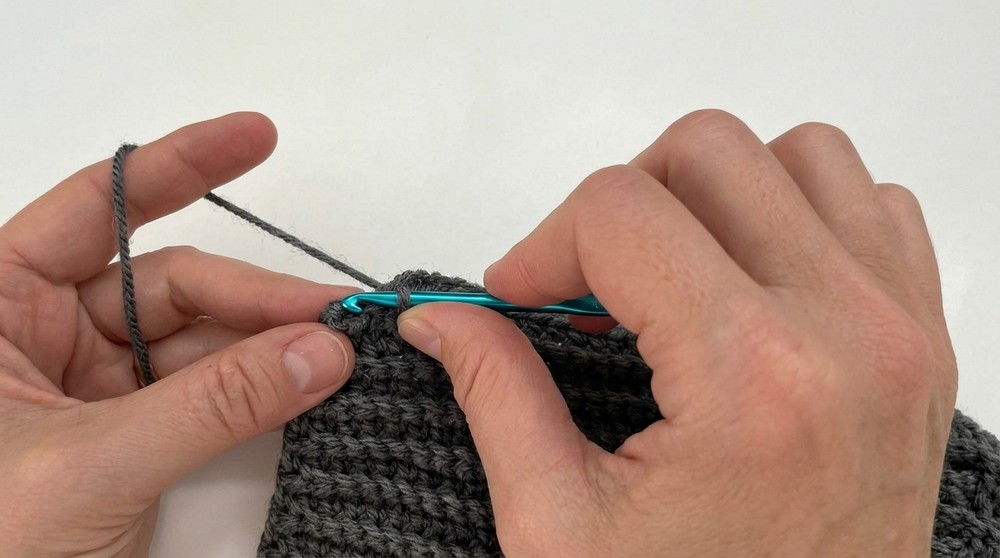
- Continue this decreasing pattern, reducing the number of stitches worked by 2 every other row while alternating between 1 stitch through both loops and the rest in BLO.
- Rows 12-25: Reverse the process and begin increasing the stitches that are worked:
- On every alternate row (Rows 12, 14, 16, etc.), increase the number of stitches by joining the edges of previous rows with two extra stitches.
- Always work new stitches in BLO, but use both loops for the final stitch of each row.
- Continue until the last row (Row 25) reaches 40 stitches to complete the section.
- Chain 1, turn.
Step 2: Additional Sections
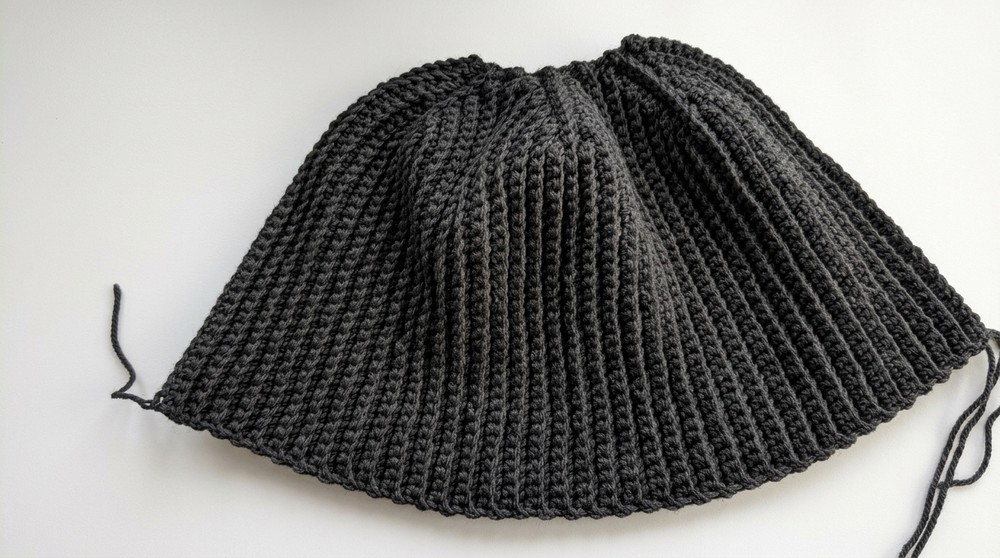
- Repeat Rows 2-25 two more times to create three total sections for a proper-sized hat.
- If a finer yarn is used, consider adding a fourth section.
- Ensure that the measurements and stitch patterns align properly as you progress, and use measuring tape for accuracy.
Step 3: Assemble the Hat
Joining the Sections:
- Fold the Hat in Half:
- Align the starting chain (foundation chain) and the last row of the final section.
- Slip Stitch to Join:
- Insert your hook into the first chain from the start edge, and into the back loop of the opposite edge.
- Pull through all loops to create a seamless join.
- Continue this slip stitch seam method all the way to the top of the hat.
Finish the Crown (Top):
- Weave the Crown Closed:
- Thread the darning needle with a long tail of yarn from the seam.
- Weave the yarn in and out of the stitches at the top of the hat.
- Pull Snugly:
- Tighten the yarn to gather the crown and close the opening securely. Tie off firmly.
- Weave in Ends:
- Securely weave in all loose ends to the inside of the hat for a clean finish.
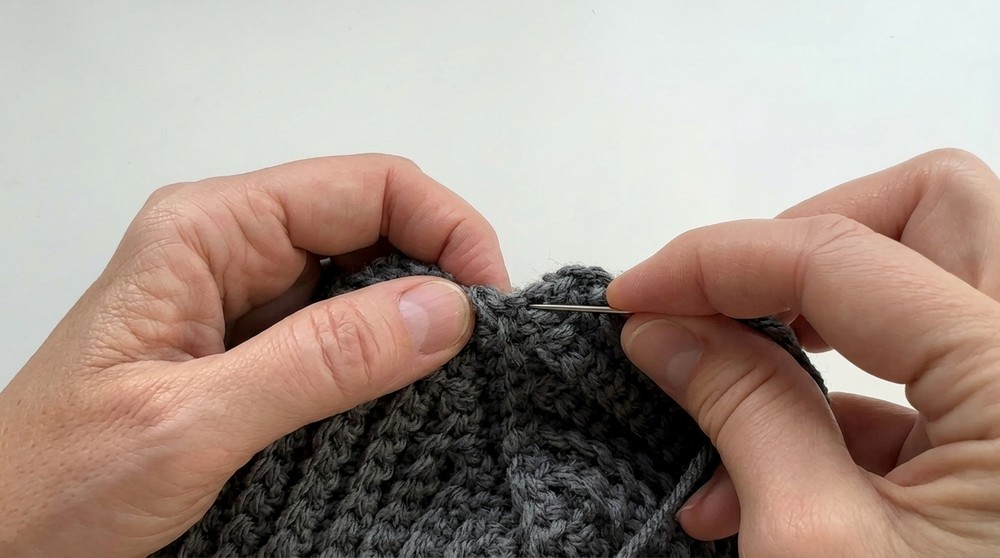
- Securely weave in all loose ends to the inside of the hat for a clean finish.
Finishing and Customization
Tips for Success:
- Consistency:
- Keep your tension even throughout to maintain uniform rows and a professional look.
- Customize Fit:
- Adjust the number of sections for a smaller or larger hat.
- Additions:
- Add a pom-pom to the top for added flair or use contrasting yarn for the seam for a decorative feature.
Final Look and Remarks:
Your completed Fisherman's Hat (Beanie) will have a ribbed texture that fits snugly yet comfortably, thanks to its stretchy construction. The hat elegantly balances simplicity with functionality, suitable for both casual and stylish uses. The seamless join and gathered crown ensure that both the inside and outside look polished and professional.
Conclusion
Thank you for following this pattern! We hope you enjoy crocheting this timeless design and experimenting with variations to suit your style. Don't forget to weave in all loose ends securely and inspect your finished hat for proper fit.
Overcoming Challenges with Ease
While this fisherman hat pattern is relatively beginner-friendly, there are a few common challenges you might encounter, especially if you're new to crochet. One difficulty could be maintaining consistent tension throughout the project, as uneven stitches can affect the stretchy ribbed texture. A helpful solution is to practice your single crochet stitches before starting and periodically check the width of your rectangle as you work. Another tricky part might be working in the back loop only, but don't worry-it becomes second nature after a few rows. You can use a stitch marker or slow down to ensure you insert your hook into the correct loop. Lastly, shaping the crown and seaming the edges neatly may feel intimidating at first. To make it easier, simply follow the tutorial step by step, and use pins or clips to align the edges before sewing them together with slip stitches or a yarn needle.