
Fix wardrobe dullness fast with the Free Crochet Wave Sweater Pattern for stylish layers that keep you cozy and fashionable.
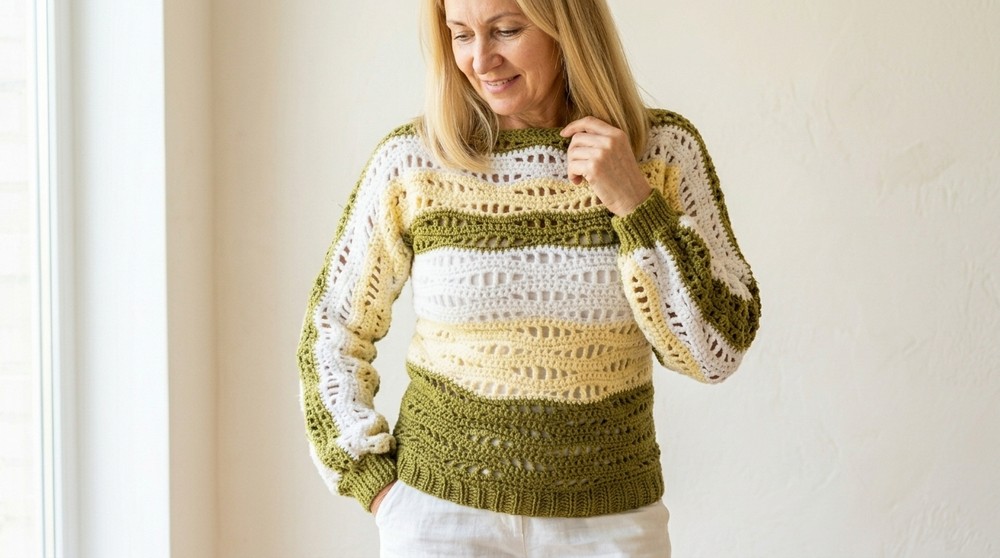
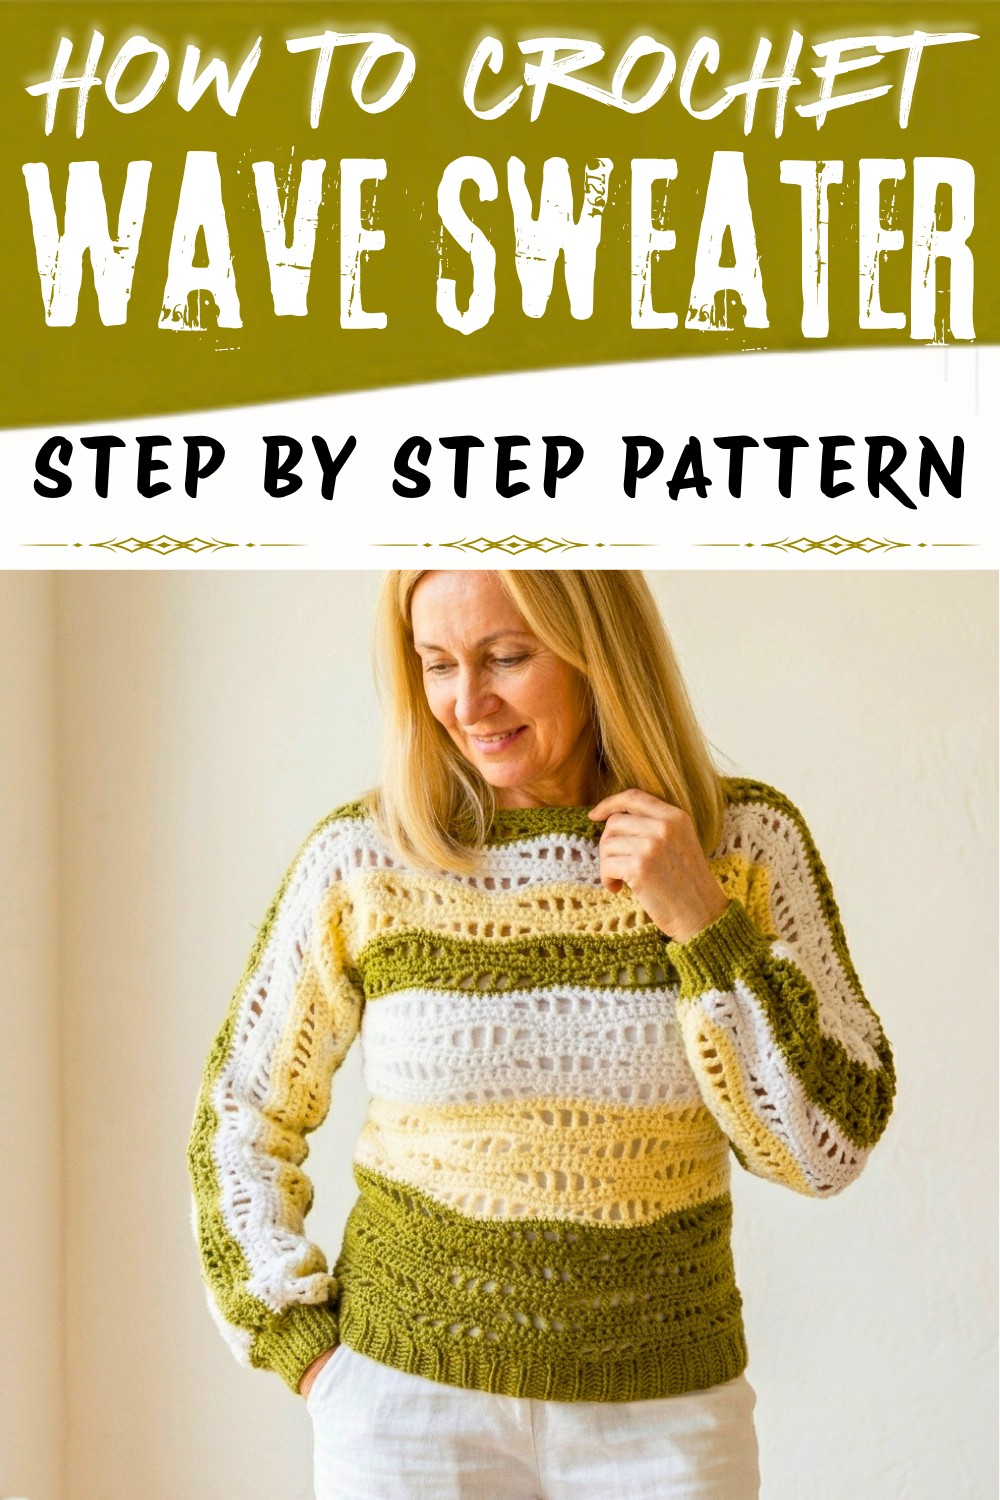
One breezy autumn morning, my favorite cardigan just didn't feel cozy enough. That's when I thought, "Why not crochet a sweater that wraps me in all the warmth and beauty of gentle waves?" This is how the idea for the Wave Sweater came alive. Designed with a stunning ripple effect, this crochet wave sweater pattern is a perfect balance of texture, comfort, and style! The beauty of the wave stitch combined with three harmonious color tones makes this pattern a versatile outfit, ideal for cool days, layering under jackets, or simply lounging around. You can custom mix your colors, from classic neutrals like beige, white, and brown to vibrant pops of your favorites. The sweater's ribbed cuffs and bottom edge tie the piece together with a polished, professional finish.
Cozy Pullover Free Crochet Wave Sweater Pattern for Cold Weather

This pattern uses a unique wave stitch technique, starting with foundation half double crochet for a neat and stretchy base. The wave pattern alternates between simple stitches like single crochet, double crochet, and treble crochet to create a flowing, rippled effect. Whether you're crocheting in lightweight yarn for a breezy spring feel or a heavier yarn for winter coziness, the result will be stunning. This pattern is perfect to pair with jeans, skirts, or even over casual dresses.
Other Things You Can Crochet From This Pattern
- Ripple blankets: Perfect for nursery décor or as cozy throws.
- Wave scarves or shawls: Add warmth with unmatched elegance.
- Textured pillow covers: Elevate your home décor style.
- Striped skirts: A playful, feminine outfit idea.
- Short-sleeve or cropped tops: Use this pattern to create seasonal variation.
Why You'll Love This Pattern
-
- Beginner-friendly, yet looks like an advanced project.
- Fully customizable in size and color.
- A cozy addition to your wardrobe.
- Easy to adapt for different weather and occasions!
Materials Needed
- Yarn:
- Option 1 (Heavier Pullover): #4 Medium Weight Yarn
- 2 skeins of olive yarn.
- 1 skein of beige yarn.
- 1 skein of white yarn.
- Option 2 (Lighter Pullover): #3 Lightweight Yarn
- 1 skein of Bernat Baby Sport (used almost the entire ball with a bit extra for cuffs and bottom ribbing).
- Option 1 (Heavier Pullover): #4 Medium Weight Yarn
- Crochet Hook: 4 mm (G/6).
- Additional Supplies:
- Measuring tape (to determine body and arm measurements).
- Stitch markers (for marking edges and openings).
- Scissors.
- Darning needle (for weaving in loose ends).
Sizing and Customization
- Measure the widest part of your body (hips or chest) and add 2-4 inches (for a snug or looser fit, respectively).
- Divide this measurement by two (front and back pieces are equal in width).
- Adjust starting foundation stitch count to match this measurement, ensuring the foundation is divisible by 16 for the wave pattern.
Special Techniques
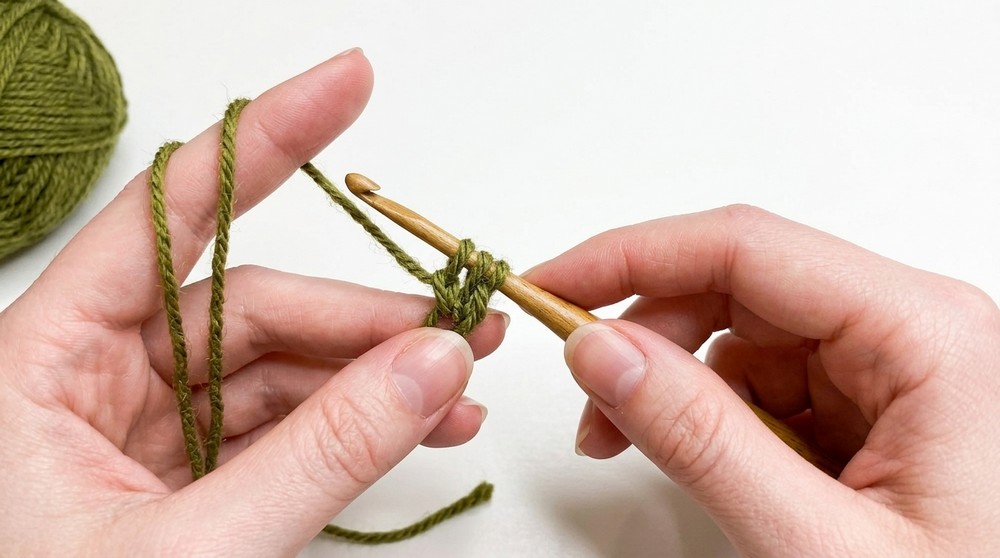
- Foundation Half Double Crochet (Fhdc):
- Chain 2, insert the hook into the bottom bump of the first chain, and pull through (3 loops on the hook).
- Yarn over and pull through the first loop only (creates the "chain").
- Yarn over again and pull through all three loops (creates the hdc stitch).
- Repeat in the bottom of the previous stitch.
- Creates a stretchy and neat foundation row.
- Back Loop Only (BLO):
- Insert the hook into the back loop of the stitch (leaving the front loop unworked).
- Used for ribbing and cuffs to create texture and stretch.
- Decreases (sc2tog):
- Insert the hook into the first stitch, pull up a loop.
- Insert the hook into the next stitch, pull up a loop.
- Yarn over and pull through all three loops on the hook.
Stitch Abbreviations (US Terms)
- ch: Chain
- sc: Single Crochet
- hdc: Half Double Crochet
- dc: Double Crochet
- tr: Treble Crochet
- sl st: Slip Stitch
- Fhdc: Foundation Half Double Crochet
- BLO: Back Loop Only
- sc2tog: Single Crochet Two Together
What You'll Learn From This Pattern
- How to create a flawless wave stitch with alternating heights for texture.
- Working with foundation half double crochet, which provides a stretchy finish.
- Adding sleeves flawlessly to the body of a crocheted garment.
- Techniques for creating ribbed cuffs, bottom edges, and a clean neckline.
Pattern Instructions
1: Body Panels (Make 2 Identical)
- Foundation Row (Start of Bottom Edge):
- Use Foundation Half Double Crochet to create the base edge in multiples of 16, plus 1 extra stitch.
 Approximate stitch counts: e.g., 65 for smaller sizes, 81 for larger sizes.
 - Adjust length to desired width of the sweater's front or back panel.
- Use Foundation Half Double Crochet to create the base edge in multiples of 16, plus 1 extra stitch.
- Row 2 (Single Crochet):
- Ch 1, turn.
- Sc in the first stitch and each stitch across.
- Mark this row as Row 2 (this will be the starting row for the wave repeat).
- Rows 3-7 (Wave Pattern):
- These rows create the wave pattern. Complete as follows:Row 3:
- Ch 1, turn. Sc in the first two sts.
- Repeat the following pattern across:
(Ch 1, skip 1 st, hdc in next st, ch 1, skip 1 st, dc in next st, ch 1, skip 1 st, tr in next st, ch 1, skip 1 st, tr in next st, ch 1, skip 1 st, dc in next st, ch 1, skip 1 st, hdc in next st, ch 1, skip 1 st, 3 sc in next 3 sts). - End with ch 1, skip 1 st, and sc in the last 2 sts.

Row 4 (Filling Row):
- Ch 1, turn.
- Sc in the first and second sts, then sc in each st and ch-1 space across.
- Ensure you have the same number of total stitches as the starting stitch count.
Row 5:
- Ch 1, turn. Sc in each stitch across.
Row 6 (Opposite Wave):
- Ch 4 (counts as tr), turn.
- Tr in the second st, then work downward on the wave:
- Ch 1, skip 1 st, dc.
- Ch 1, skip 1 st, hdc.
- Ch 1, skip 1 st, 3 sc in the next 3 sts.
- Work upward on the wave:
- Ch 1, skip 1 st, hdc.
- Ch 1, skip 1 st, dc.
- Ch 1, skip 1 st, tr.
- Repeat this pattern across.
- End the row with two tr in the last two stitches (no ch in between them).
Row 7:
- Ch 1, turn. Sc in each stitch and chain-space across.
- These rows create the wave pattern. Complete as follows:Row 3:
- Repeat Rows 2-7 until the desired body length is achieved (typically from chest to hips). For the sample, 25 rows total were completed.
- Follow the same steps to make the second panel.

2: Sleeves
- Measure from the underarm to your wrist for the desired sleeve length.
- Create a Foundation Single Crochet of the desired length (ensure stitch count is divisible by 8 or 16).
- Attach the sleeve foundation to the sweater body along the edge, using single crochet as Row 2 of the wave pattern.
- Repeat the Row 2-7 Wave Pattern for all sleeve rows. For the sample, 21 rows were completed (adjust as needed).
3: Assembly
- Shoulder Seams:
- Use stitch markers to pin front and back panels at the shoulder, leaving the desired neck opening.
- Stitch or slip stitch shoulder seams together.
- Side and Sleeve Seams:
- Align the edges and use the same yarn color as the panels for invisible seaming.
- Slip stitch or whipstitch from the body's edge to the sleeve's cuff.
4: Neckline
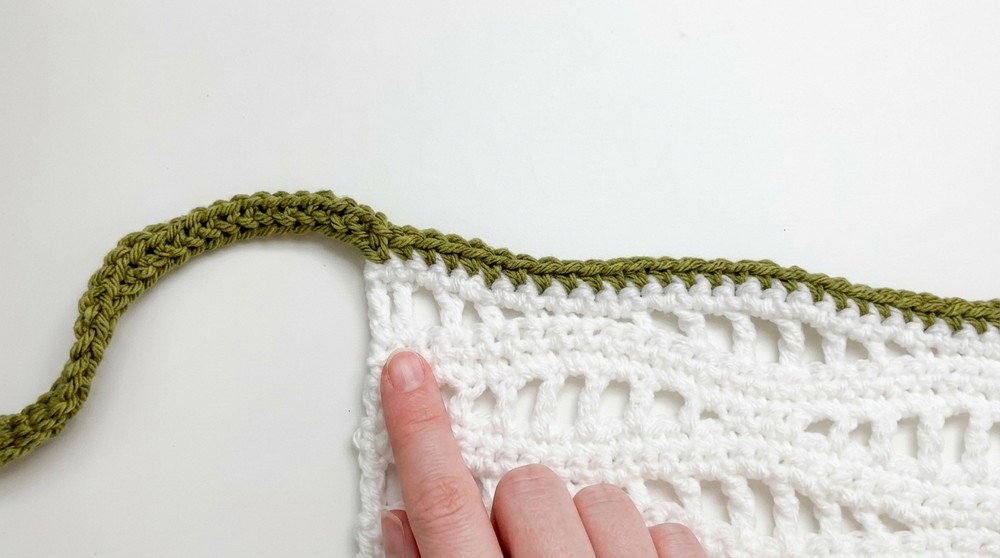
- Work single crochet around the neck opening.
- Decrease every 6th stitch by working sc2tog.
- Repeat for two more rows, adding decreases at the shoulder seams to gather neatly.
- For the final row, slip stitch in each stitch around for a smooth edge.
5: Cuffs
- Attach yarn to the wrist of the sleeve.
- Work 8 single crochet stitches (or desired cuff length) in back loop only (BLO).
- Slip stitch into the next two stitches on the sleeve and turn.
- Continue working in BLO rows back and forth, attaching to the sleeve edge as you go.
- Slip stitch the two short ends of the cuff together to close the loop.
6: Bottom Ribbing
- Attach yarn to the bottom edge of the sweater.
- Chain 9 (or desired length of ribbing).
- Work single crochet into BLO rows, slip stitching into every third stitch on the sweater body.
- Repeat until the ribbing completes the bottom edge. Join ribbing ends with slip stitches.

Finishing the Sweater
- Weave in all loose ends using a darning needle.
- Block the sweater gently for the perfect fit and even stitch texture
Final Words and Tips
- Customization: Feel free to modify sleeve length, body width, or color combinations to suit your style.
- Maintenance: Use gentle machine washing for cotton yarn or follow specific care instructions on yarn labels. Lay flat to dry to maintain the shape.
- This Wave Pullover is versatile for different seasons; use lighter or heavier yarn based on your climate.