
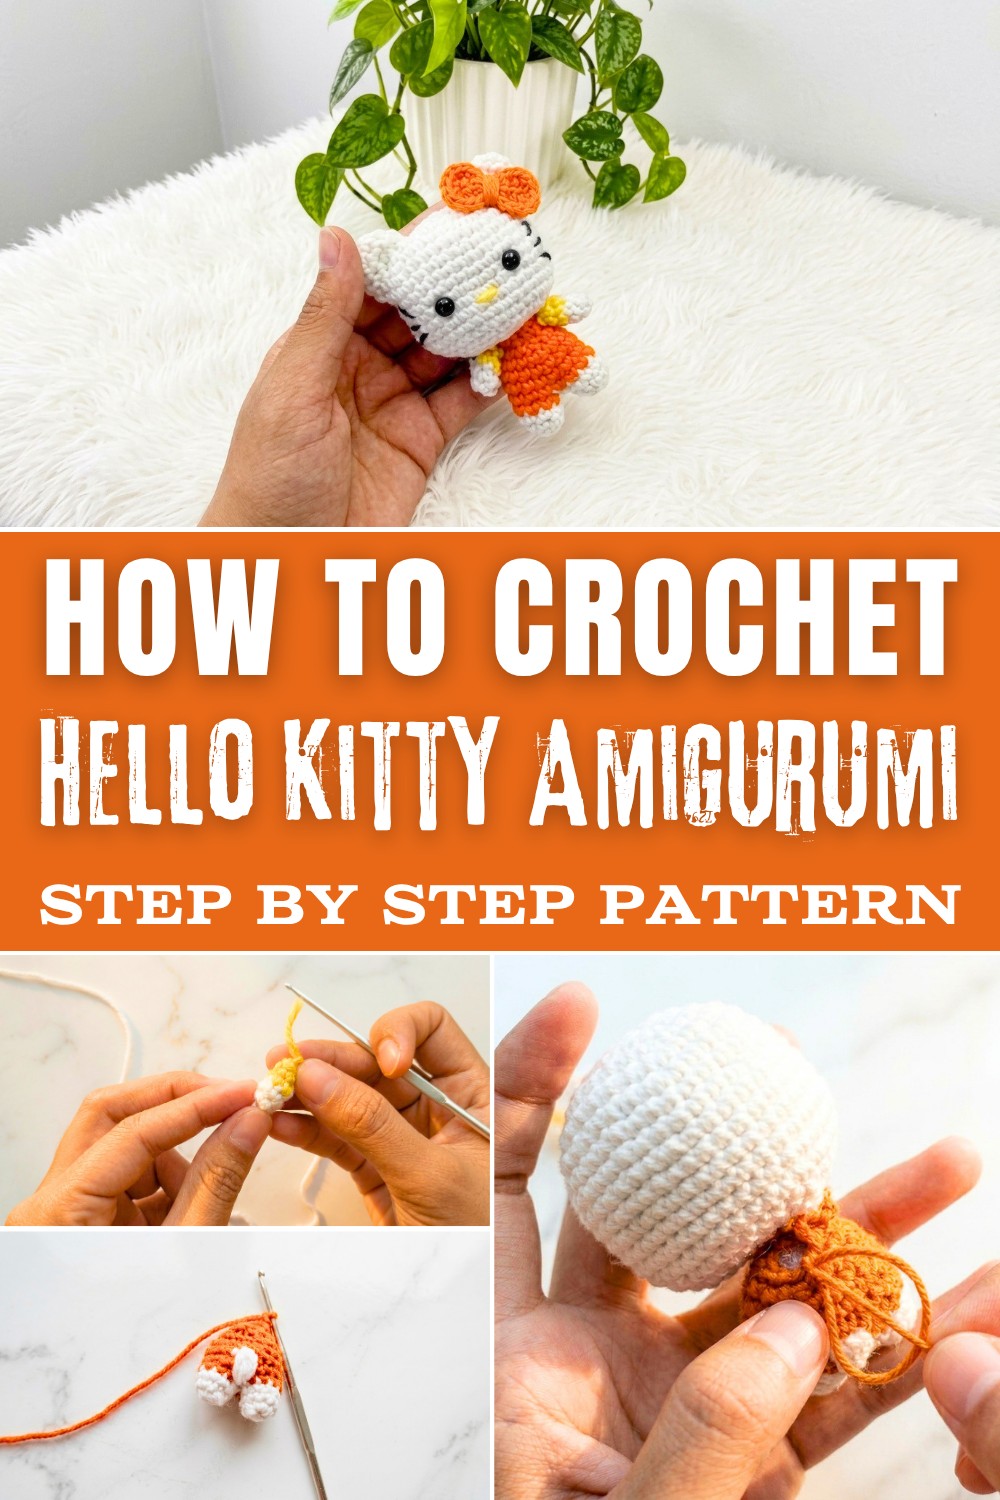
Stitch a cute Crochet Hello Kitty Amigurumi Pattern and personalize outfits, bows & colors for heartfelt gifts that shows off creativity.
It's hard to resist the charm of creating something as adorable as a crochet Hello Kitty amigurumi! This little project is a must-try for both fans of the iconic character and anyone who loves fun, playful crochet patterns. With its simple yet elegant design, this amigurumi brings Hello Kitty to life with precise details like her signature bow and sweet facial features. Whether it's for gifting, decorating, or simply adding to a collection, this pattern offers a way to craft something truly delightful.
Cute Crochet Hello Kitty Project That Sparks Creativity
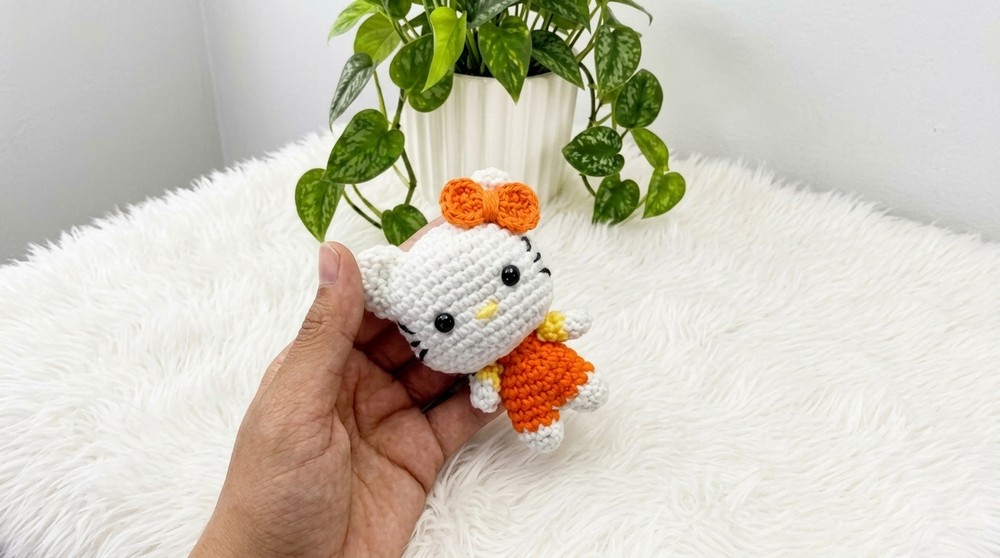
The beauty of the pattern lies in its simplicity. Single crochet (SC) is the primary stitch used to create the seamless round shapes of the body, head, and limbs. Beginner crocheters will find this an excellent way to strengthen their skills in working in the round and using basic increases and decreases to shape their creation. These techniques aren't just limited to making Hello Kitty-they can also be used in countless other amigurumi projects, like animals, dolls, and custom toys.
Using a combination of colorful yarns, you can customize Hello Kitty's outfit, bow, or even give her a fun scarf! This creative freedom makes the project uniquely yours and lets you add a personal touch to a beloved character.
What You'll Learn and What You Can Make With These Skills:
- Master the art of working single crochet stitches in the round to create amigurumi shapes.
- Learn to increase and decrease stitches for shaping the head, body, and limbs.
- Practice adding small details, like bows and facial features, to bring the character to life.
- Use these foundational amigurumi techniques to create other fun projects, such as stuffed animals, custom dolls, or even keychain-sized toys.
This Hello Kitty crochet pattern is the perfect mix of creativity, cuteness, and skill-building, making it a joy to create for beginners and experienced crocheters alike!
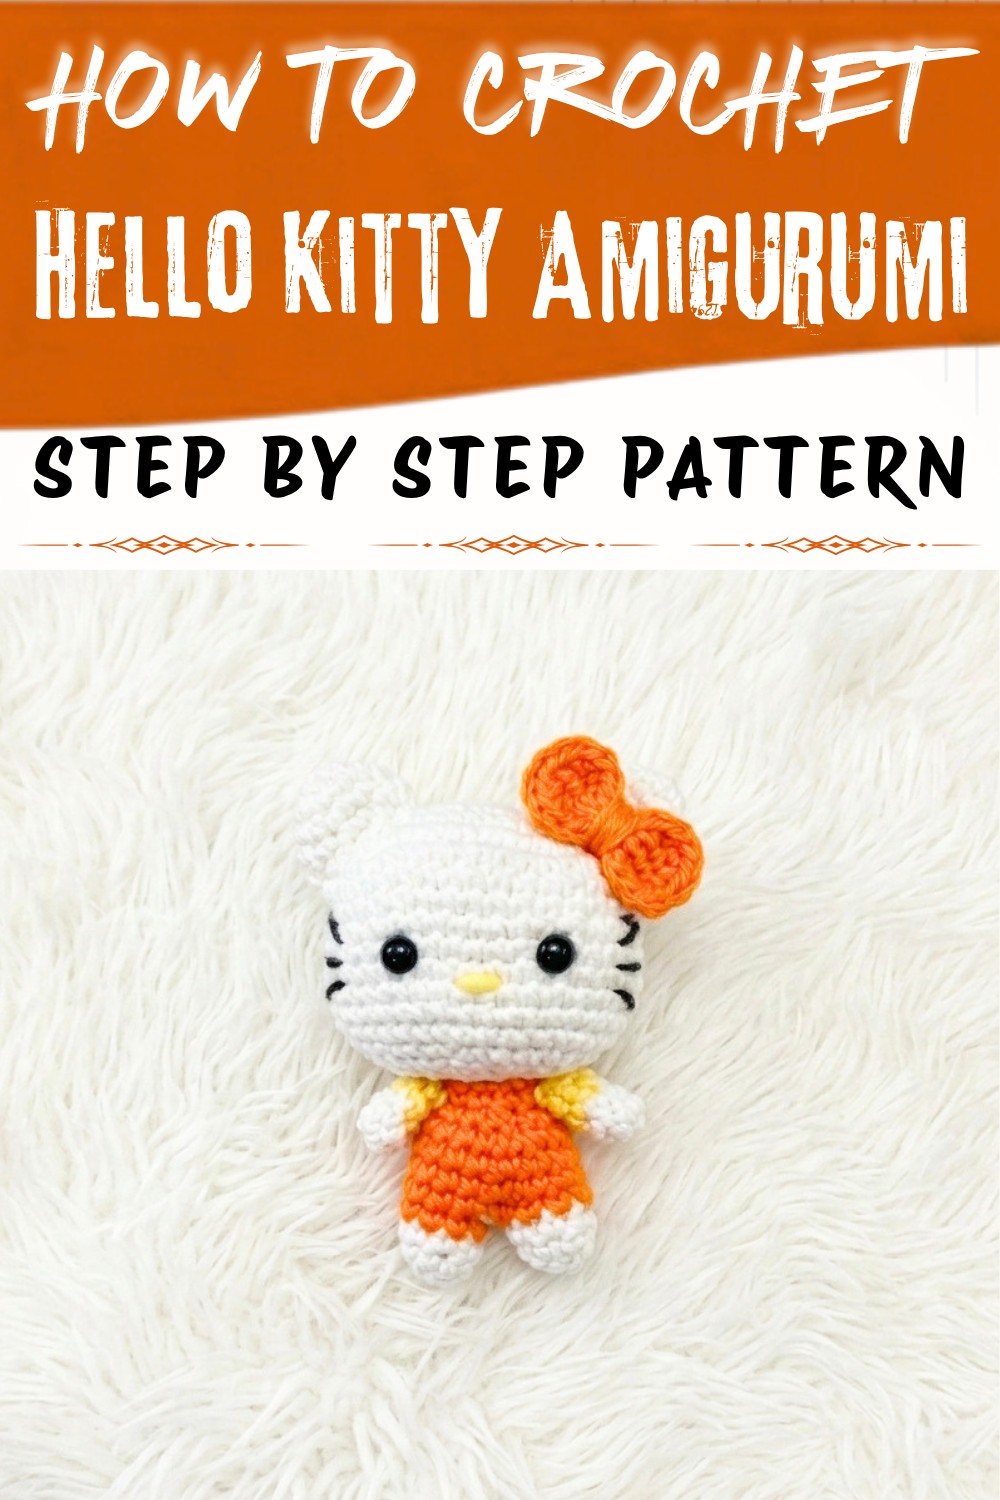
Crochet Hello Kitty (Amigurumi) - Step-by-Step Pattern
Materials Needed
- Yarn: DK or light worsted weight yarn in White (main body), Yellow (nose), Orange (bow/dress), and Black (for eyes/whiskers). Small amounts are sufficient.
- Crochet Hook: 2.5 mm
- Polyester Fiberfill: For stuffing
- Stitch Marker: Highly recommended for marking the start of each round
- Tapestry Needle: For assembly and embroidery
- Scissors
- Optional: Thin wire (for reinforcement if desired), Fabric glue (to set wire)
Abbreviations (US Terms)
- MR: Magic Ring
- sc: Single Crochet
- inc: Increase (2 sc in the same stitch)
- dec: Decrease (sc two stitches together)
- sl st: Slip Stitch
- ch: Chain
- dc: Double Crochet
- hdc: Half Double Crochet
- st(s): Stitch(es)
Special Techniques
- Working in continuous rounds: Use a stitch marker to keep track of your rounds.
- Magic Ring: For a tight, gapless start.
- Invisible decrease: Insert hook into front loops only of next 2 stitches, yarn over and pull through (for neater shaping).
Step-by-Step Pattern
EARS (Make 2)
In White:
- Make a MR, ch 1. Work 6 sc in ring. (6)
- Round 1: [inc in each st around] (12)
- Round 2: [sc in next st, inc] around (18)
- Rounds 3-4: [sc in each st around] (18 per round)
- Fasten off, leaving a long tail for sewing.
ARMS (Make 2)
In White:
- MR, ch 1. Work 6 sc in ring. (6)
- Rounds 1-3: sc in each st around. (6 per round)
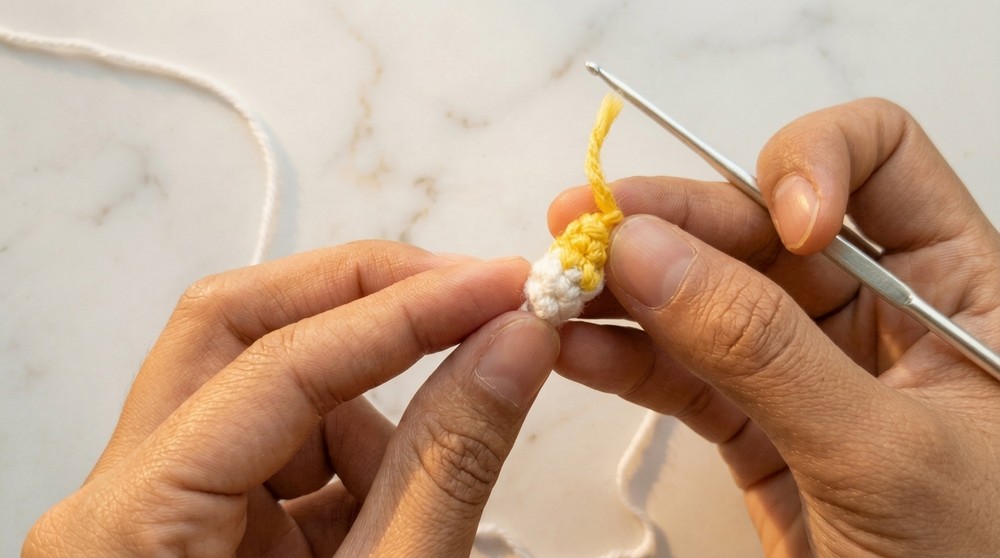
- Fasten off, leaving a long tail for sewing.
LEGS (Make 2)
In White:
- MR, ch 1. Work 8 sc in ring. (8)
- Rounds 1-3: sc in each st around (8 per round)

- Fasten off, leaving a long tail for sewing.
BODY (worked in two joined pieces, then in the round):
Start with White:
- Make 2 separate legs per above instructions.
- Join: With legs side by side, join yarn in any st.
- [Optional: After joining legs, you should have 16 sc around the combined legs.]
- Rounds 1-3: sc in each st around (16 per round)
- Round 4 and onward: If tail is required, attach at the back by taking a small length of white yarn, make a tight knot, and stitch in place.
- Rounds 4-8: sc in each st around (16 per round)

- Stuff as you go.
- When done, fasten off, leaving a tail for sewing.
HEAD
In White:
- Ch 7. Starting in 2nd ch from hook:
- Row 1: 2 sc in same st, sc in each of next 4 ch, 3 sc in last ch.
- Rotate work, sc in each of next 4 ch on opposite side, 1 sc in last ch. [14]
- Round 2: inc in first st, inc in next, sc in next 4, [inc in next st] x3, sc in next 4, inc in next 2 sts. [20]
- Round 3: [sc, inc], sc in next 4, [sc, inc] x3, sc in next 4, [sc, inc] x2 (Increase as the base broadens-should reach 26 sts.)
- Round 4: Repeat above pattern, increasing, so the head becomes rounded. You should reach about 32 sts.
- Rounds 5-6: sc in each st around (32 each)

- Rounds 7-12: Continue even or, if desired, increase up to 38-40 sts for a larger head, then work even to maintain the shape.
- Decrease over next rounds as shape curves in:
- [sc 3, dec] around and then [sc 2, dec] around etc., until about 14 sts remain.
- Stuff head well, then bind off, closing gap neatly.
BOW
In Orange:
- MR, ch 2. Work 4 dc in ring, ch 2, sl st into MR, ch 2, 4 dc into MR, ch 2, sl st into MR.
- Tighten ring, fasten off. Use tail to wrap around center for cinching bow. Sew to one ear.
NOSE
In Yellow:
- Embroider a small oval or satin stitch between the eyes (when adding facial features).
ASSEMBLY
- Sew the ears to the top of the head.
- Attach the head to the body securely, making sure it is centered and well-stuffed.

- Attach the arms/legs in appropriate positions.
- Attach the tail at the back if desired.
- Sew the bow above the left ear.
- Embroider or sew on black safety eyes (or use black yarn for eyes), spaced evenly, with a small gap between them.
- Embroider the nose and whiskers.
Finishing
- Weave in all ends.
- Shape as needed and fluff up the stuffing.
- Use fabric glue to secure the wire or reinforcement, if used in legs/neck for more stability.
Final Words & Tips
- Work tightly for a firm, neat fabric.
- Use a stitch marker for tracking rounds to keep increases and decreases aligned.
- Personalize by changing bow color, adding small details (e.g., dress, shoes).
- For larger Hello Kitty, use a thicker yarn and hook; for miniature, use thread/yarn and a smaller hook.
- Stuff arms, legs, and head firmly especially if for keychain use.
Some Challenges and Their Solutions
While this Hello Kitty amigurumi pattern is beginner-friendly, like any crochet project, it may come with a few challenges. One common difficulty could be shaping the small parts like the arms, legs, or bow, as their size requires a bit more precision and patience. Attaching these small pieces securely to the body can also feel tricky for beginners. The solution lies in taking your time and using stitch markers to keep track of rounds, ensuring every piece is consistent and proportional. Remember, practice makes perfect, and even small mistakes can add a handmade charm to the final piece.