
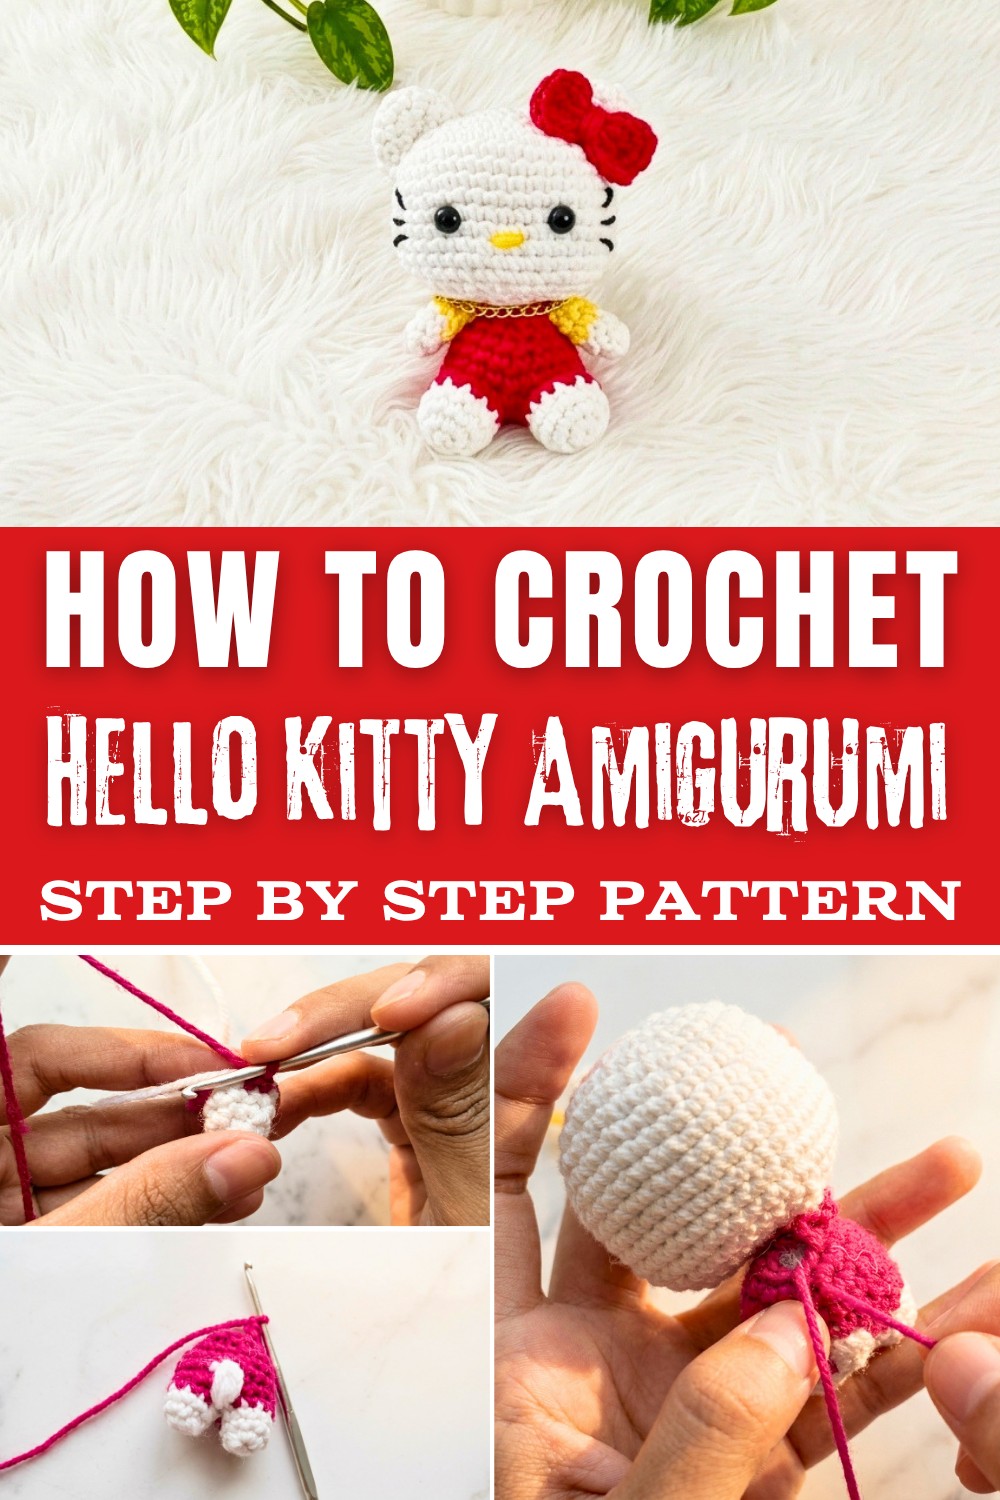
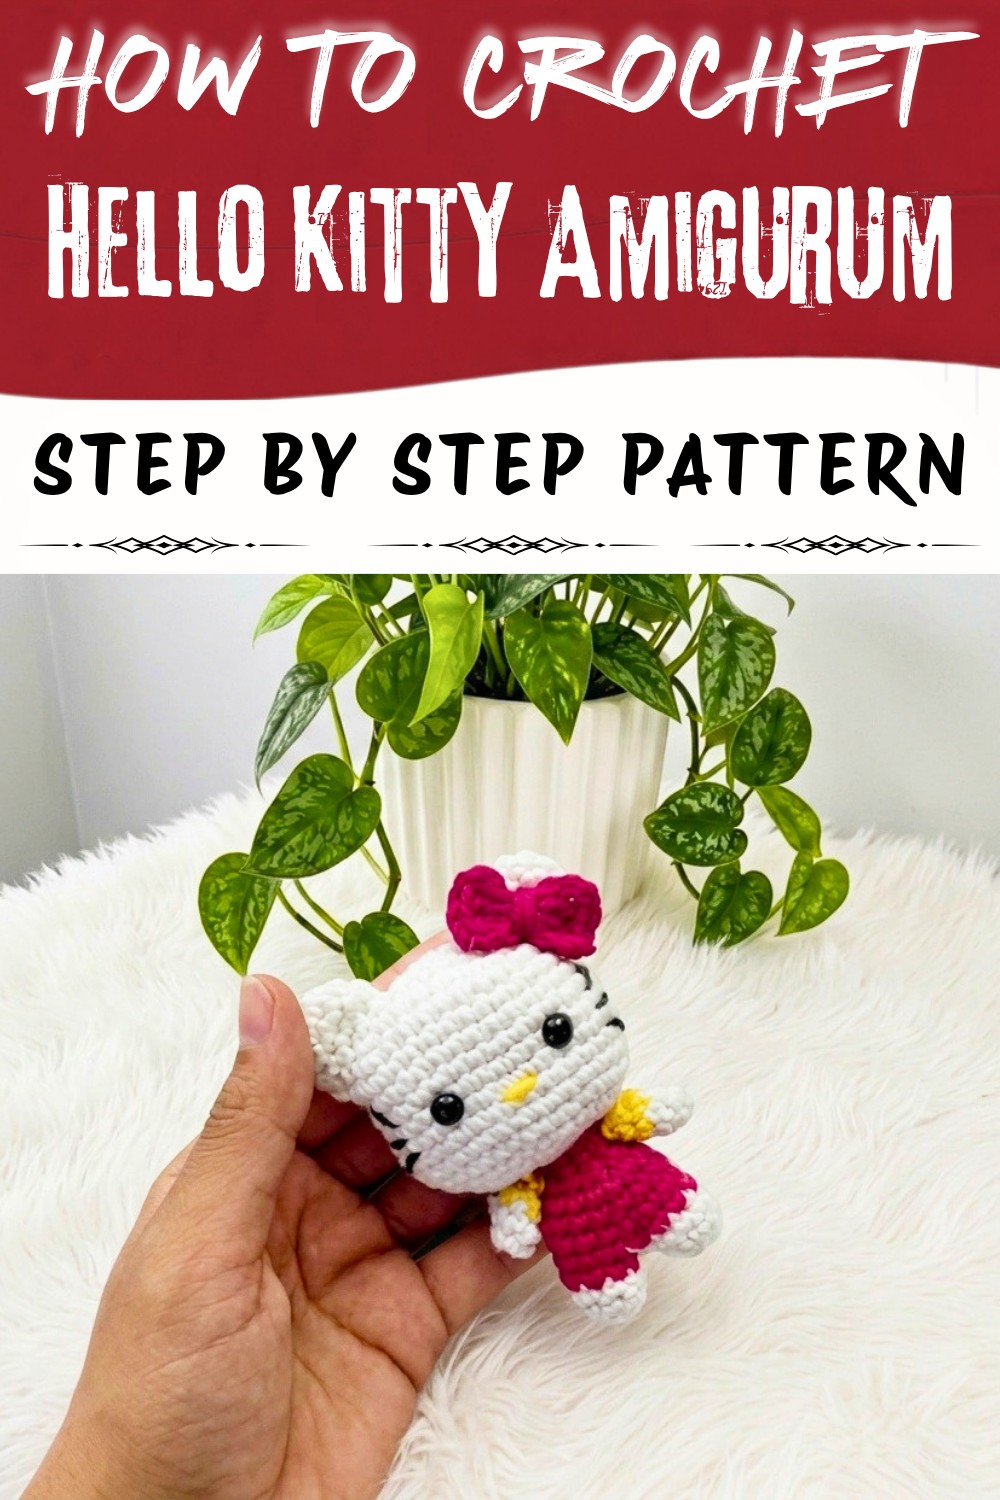
Stitch a cute Crochet Hello Kitty Amigurumi Pattern and personalize outfits, bows and colors for heartfelt gifts or decor that shows off playful creativity.
An iconic character loved by millions, this amigurumi project offers the chance to recreate a soft, handmade version of Hello Kitty in all her charm. A Crochet Hello Kitty Amigurumi Pattern focuses on her signature bow, minimalist features, and compact design, making it a rewarding yet straightforward project for crocheters of all skill levels.
Cute Crochet Hello Kitty Project That Sparks Creativity
The end result isn't just adorable, it's versatile too. Use it as a heartfelt gift for fans, an eye-catching decor piece for nurseries, or even a whimsical bag charm. With room to personalize accessories or clothing, this project invites creativity while helping refine shaping and detail-focused techniques, making it both enjoyable and a valuable addition to any crochet repertoire.
Crochet Hello Kitty (Amigurumi) - Step-by-Step Pattern
Materials Needed
- Yarn: DK or light worsted weight yarn in White (main body), Yellow (nose), Pink (bow/dress), and Black (for eyes/whiskers). Small amounts are sufficient.
- Crochet Hook: 2.5 mm
- Polyester Fiberfill: For stuffing
- Stitch Marker: Highly recommended for marking the start of each round
- Tapestry Needle: For assembly and embroidery
- Scissors
- Optional: Thin wire (for reinforcement if desired), Fabric glue (to set wire)
Abbreviations (US Terms)
- MR: Magic Ring
- sc: Single Crochet
- inc: Increase (2 sc in the same stitch)
- dec: Decrease (sc two stitches together)
- sl st: Slip Stitch
- ch: Chain
- dc: Double Crochet
- hdc: Half Double Crochet
- st(s): Stitch(es)
Special Techniques
- Working in continuous rounds: Use a stitch marker to keep track of your rounds.
- Magic Ring: For a tight, gapless start.
- Invisible decrease: Insert hook into front loops only of next 2 stitches, yarn over and pull through (for neater shaping).
Pattern
EARS (Make 2)
In White:
- Make a MR, ch 1. Work 6 sc in ring. (6)
- Round 1: [inc in each st around] (12)
- Round 2: [sc in next st, inc] around (18)
- Rounds 3-4: [sc in each st around] (18 per round)
- Fasten off, leaving a long tail for sewing.
ARMS (Make 2)
In White:
- MR, ch 1. Work 6 sc in ring. (6)
- Rounds 1-3: sc in each st around. (6 per round)
- Fasten off, leaving a long tail for sewing.
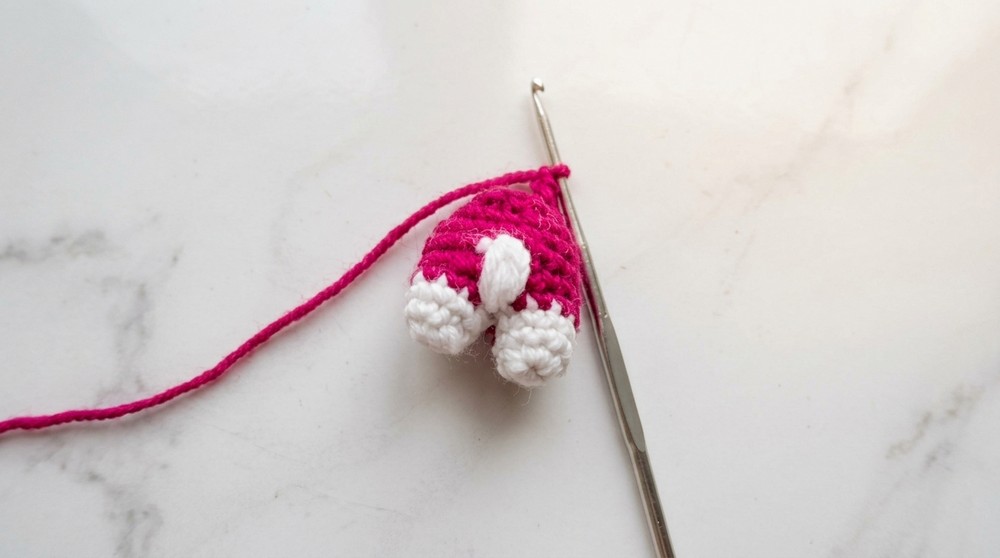
LEGS (Make 2)
In White:
- MR, ch 1. Work 8 sc in ring. (8)
- Rounds 1-3: sc in each st around (8 per round)
- Fasten off, leaving a long tail for sewing.
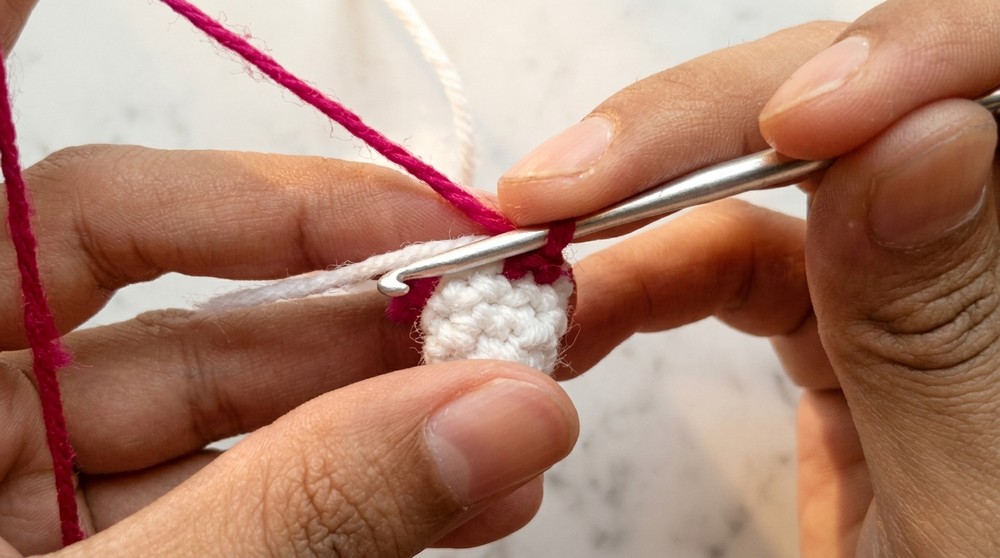
BODY (worked in two joined pieces, then in the round):
Start with White:
- Make 2 separate legs per above instructions.
- Join: With legs side by side, join yarn in any st.
- [Optional: After joining legs, you should have 16 sc around the combined legs.]
- Rounds 1-3: sc in each st around (16 per round)
- Round 4 and onward: If tail is required, attach at the back by taking a small length of white yarn, make a tight knot, and stitch in place.
- Rounds 4-8: sc in each st around (16 per round)
- Stuff as you go.
- When done, fasten off, leaving a tail for sewing.
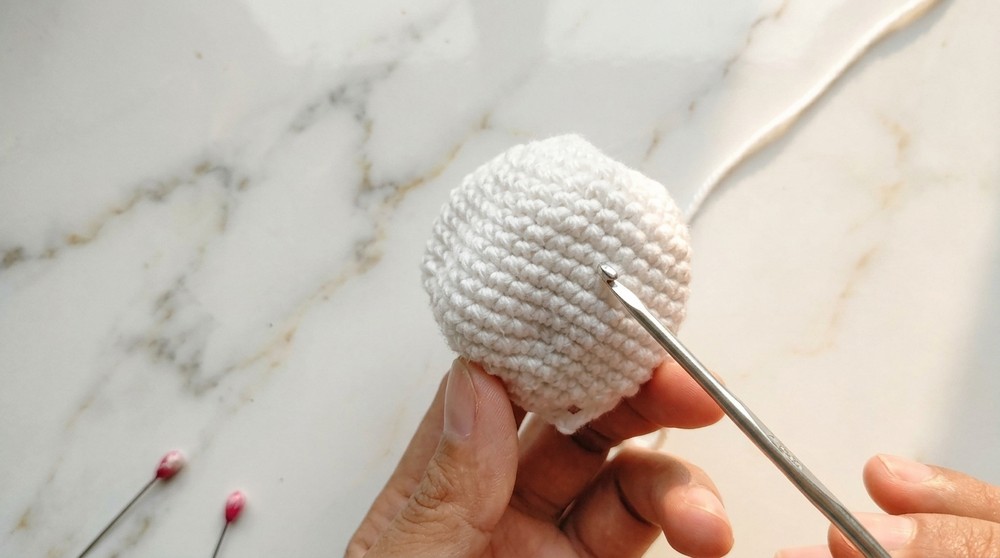
HEAD
In White:
- Ch 7. Starting in 2nd ch from hook:
- Row 1: 2 sc in same st, sc in each of next 4 ch, 3 sc in last ch.
- Rotate work, sc in each of next 4 ch on opposite side, 1 sc in last ch. [14]
- Round 2: inc in first st, inc in next, sc in next 4, [inc in next st] x3, sc in next 4, inc in next 2 sts. [20]
- Round 3: [sc, inc], sc in next 4, [sc, inc] x3, sc in next 4, [sc, inc] x2 (Increase as the base broadens-should reach 26 sts.)
- Round 4: Repeat above pattern, increasing, so the head becomes rounded. You should reach about 32 sts.
- Rounds 5-6: sc in each st around (32 each)
- Rounds 7-12: Continue even or, if desired, increase up to 38-40 sts for a larger head, then work even to maintain the shape.
- Decrease over next rounds as shape curves in:
- [sc 3, dec] around and then [sc 2, dec] around etc., until about 14 sts remain.
- Stuff head well, then bind off, closing gap neatly.
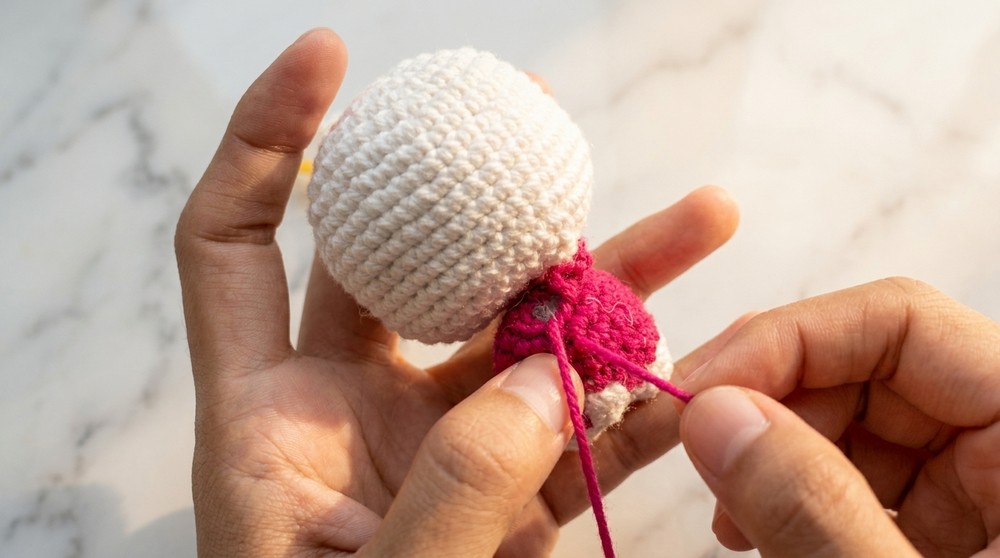
BOW
In Pink:
- MR, ch 2. Work 4 dc in ring, ch 2, sl st into MR, ch 2, 4 dc into MR, ch 2, sl st into MR.
- Tighten ring, fasten off. Use tail to wrap around center for cinching bow. Sew to one ear.
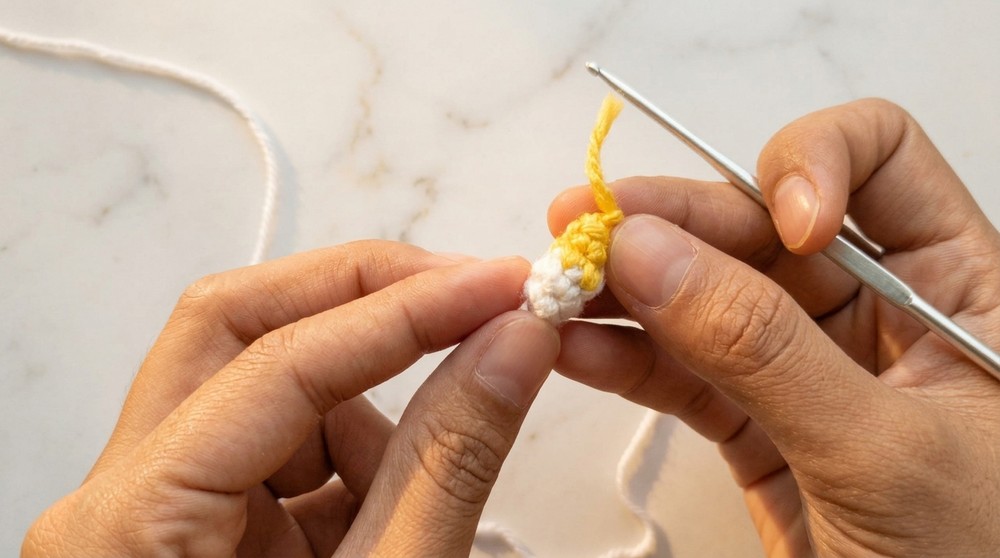
NOSE
In Yellow:
- Embroider a small oval or satin stitch between the eyes (when adding facial features).
ASSEMBLY
- Sew the ears to the top of the head.
- Attach the head to the body securely, making sure it is centered and well-stuffed.
- Attach the arms/legs in appropriate positions.
- Attach the tail at the back if desired.
- Sew the bow above the left ear.
- Embroider or sew on black safety eyes (or use black yarn for eyes), spaced evenly, with a small gap between them.
- Embroider the nose and whiskers.
Finishing
- Weave in all ends.
- Shape as needed and fluff up the stuffing.
- Use fabric glue to secure the wire or reinforcement, if used in legs/neck for more stability.
Final Words & Tips
- Work tightly for a firm, neat fabric.
- Use a stitch marker for tracking rounds to keep increases and decreases aligned.
- Personalize by changing bow color, adding small details (e.g., dress, shoes).
- For larger Hello Kitty, use a thicker yarn and hook; for miniature, use thread/yarn and a smaller hook.
- Stuff arms, legs, and head firmly especially if for keychain use.