
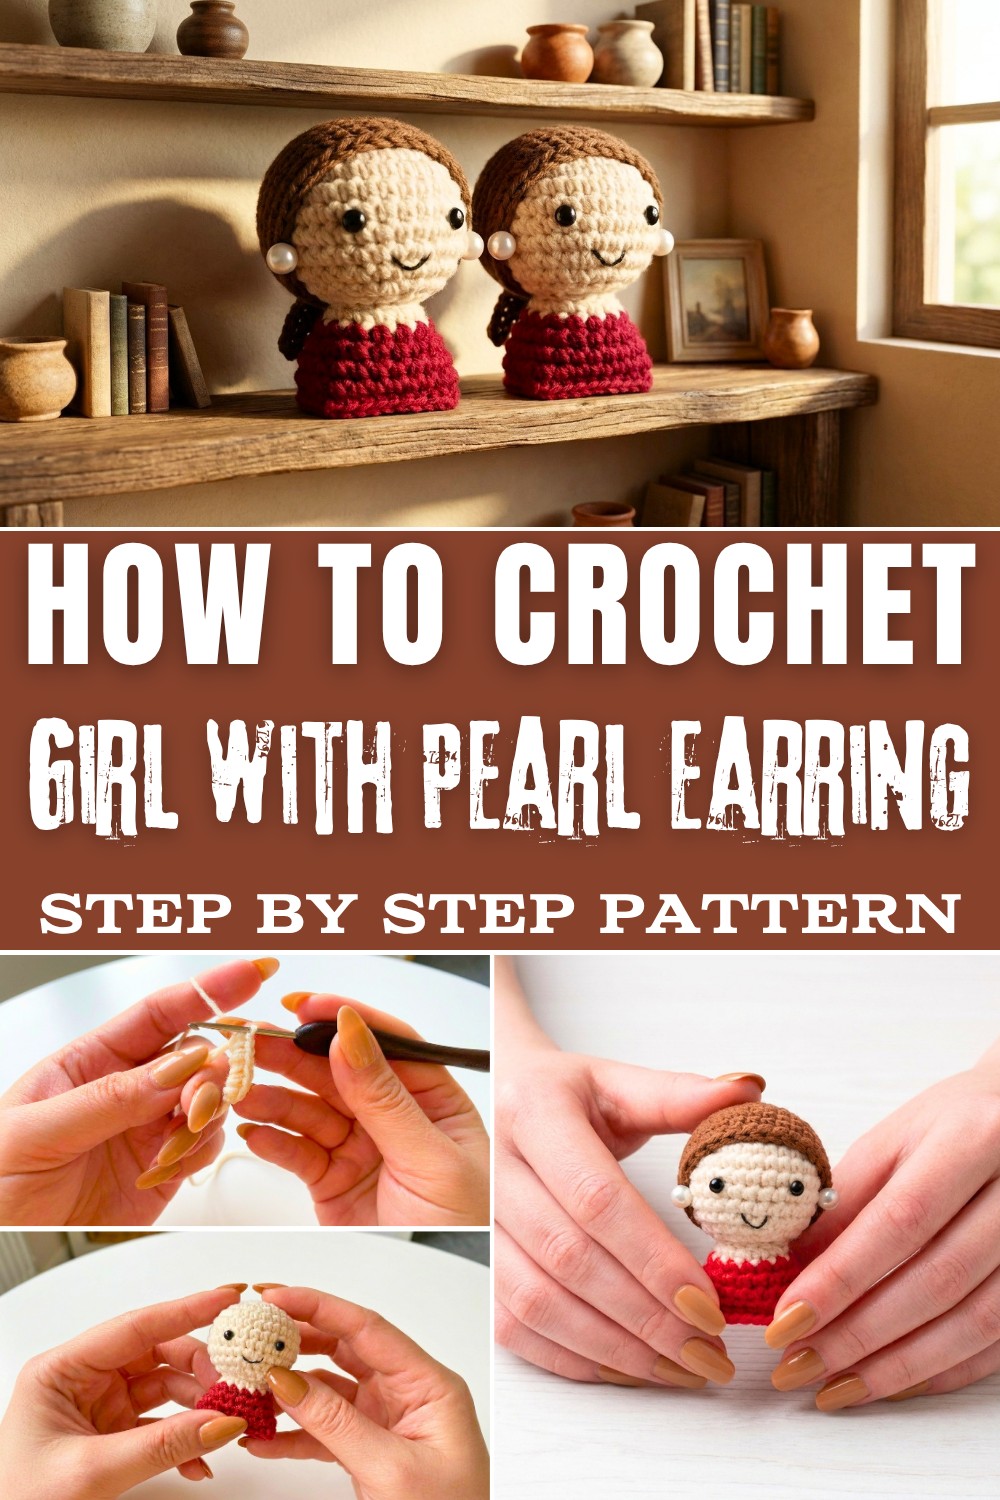
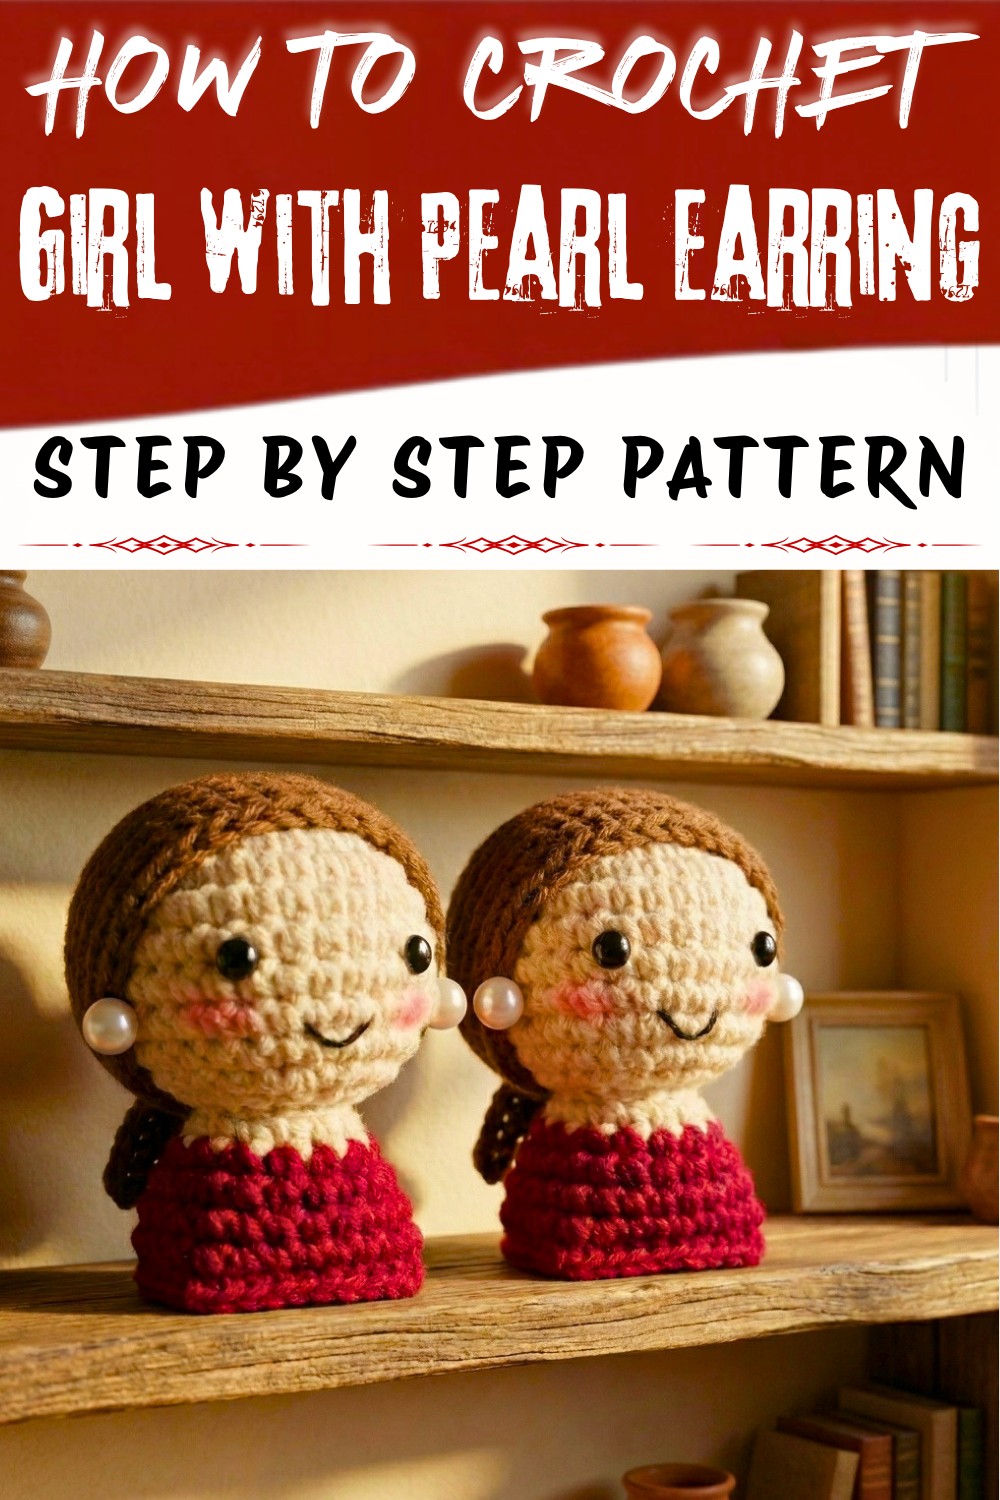
Solve display problems fast by crocheting the Free Crochet Girl with Pearl Earring Pattern for standout style in any room.
Do you love art and want to bring it to life with yarn and a crochet hook? This "Girl with a Pearl Earring" crochet pattern is an absolute delight. Inspired by the famous painting, this pattern allows you to recreate an elegant figure with a delicate scarf, a graceful expression, and, of course, the signature pearl earring. The mix of soft colors like gentle blues, creams, and striking accent tones makes this piece truly charming. It is perfect as a shelf display, a gift for art lovers, or even as a unique decoration for your workspace.
Cute Crochet Girl with Pearl Earring Pattern for Lovely Result
The pattern is crocheted using basic yet effective techniques like single crochet (sc), increases, and decreases, making it beginner-friendly while also introducing you to some techniques for shaping. This small amigurumi-style project is worked in the round, starting with a magic loop, which lays the foundation for its structured and clean appearance. The headscarf, with its smooth form and easy finishing touches, brings out the character's iconic look. You'll also find opportunities to experiment with creative color changes and details, which elevate the simple stitches into a piece of art.
If you've been wanting to try crochet art that's both achievable and fun to make, this pattern is a must. You'll not only create something stunning but also learn techniques that open up a world of possibilities for future projects.

You'll Get Other Creative Ideas
- Master Shaping Techniques: Practice increases, decreases, and seamless rounds with a magic loop.
- Craft Clean Details: Learn how to create precise edges and details like back-loop-only rows.
- Add Color Changes: Gain confidence in switching yarn colors while maintaining a neat design.
- Explore Amigurumi Possibilities: Once you complete this pattern, you can use the same skills to make dolls, figurines, keychains, or even custom characters.
What Makes This Pattern Perfect
- Easily customizable with different colors or accessories.
- Beginner-friendly with clear and repetitive steps to build skills.
- A timeless gift idea for friends, art lovers, or collectors.
- A fun introduction to the world of amigurumi and crochet art!
Materials Needed
- Hook size: 2.15mm crochet hook
- Yarn: 4-ply cotton yarn in the following colors:
- Flesh tone for skin
- Brown color for the headscarf
- Red tone for the dress and nueutral tone for body
- Red yarn for Head band Accent.
- Pearl-like bead (or small round bead)
- Fiberfill stuffing
- Yarn needle for sewing pieces together
- Scissors
Gauge
Using 4-ply cotton yarn and a 2.15mm hook, 6 single crochet stitches per inch should be achieved. Gauge is not crucial for this project as long as stitches are consistent.
Abbreviations
- sc: single crochet
- inc: increase (2 single crochets in the same stitch)
- dec: decrease (single crochet 2 stitches together)
- sl st: slip stitch
- ch: chain
- xN: repeat instructions in parentheses N times
- (...): total stitch count at the end of the round
Special Techniques
- Magic Loop: Create a tight, seamless starting circle for the base.
- Invisible Decrease: Work into the front loops of the next two stitches to create a cleaner decrease.
Detailed Instructions
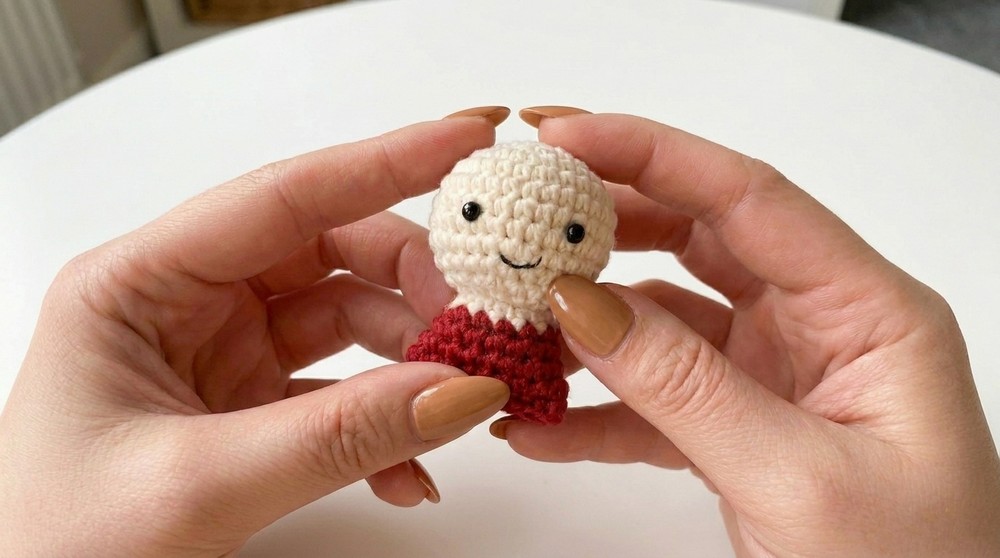
Doll's Head and Body
- Start the Head:
- R1: 6 sc into a magic loop (6).

- Pull the yarn to tighten the loop.
- R2: 2 sc in each stitch around (12).
- R3: (sc, inc) × 6 (18).
- R4: (sc, inc, sc) × 6 (24).
- R5: (3 sc, inc) × 6 (30).
- R1: 6 sc into a magic loop (6).
- Build the Head's Shape:
- R6-R9: 1 sc in each stitch around (30 per round).

- R6-R9: 1 sc in each stitch around (30 per round).
- Decrease for the Neck:
- R10: (3 sc, dec) × 6 (24).
- R11: (2 sc, dec) × 6 (18).
- R12: (sc, dec) × 6 (12).
- Stuff the head with fiberfill.
- R13: Dec × 6 (6).
- Finish the Head:
- Sl st in the first stitch of the round.
- Leave a long tail for sewing.
- Neck and Body:
- Begin as for the head (R1-R5), continuing as follows:
- R6-R10: 1 sc in each stitch around (30 stitches).
- Finish the body by repeating key rounds and shaping it according to your desired proportions.
Headscarf
- Base of the Scarf (Follow the Head Pattern):
- R1-R5: Same as the head instructions. (6 → 30 stitches).
- R6-R10: 1 sc in each stitch (30).

- Head Band Accent:
- Attach red yarn to the front loops from Round 4, and work a slip stitch into the next 4 stitches.
- Row 1: ch 1, then sc into the next 4 stitches. Turn.
- Continue until you have 3 rows of sc.

- Knot Tails of the Scarf:
- R1: Crochet 12 chains, then join with sl st to the starting stitch.
- R2-R5: Work single crochet rounds, increasing every round to expand the band (e.g., R2: 5 sc, inc × 2).
Pearl Earring
- Use a small pearl-like bead, sew it in place on the girl's ear area using a yarn needle.
Finished Size
With a 2.15mm hook and 4-ply cotton yarn, the finished size of the doll is approximately X inches tall (size may vary depending on tension and material used).
Tips for Success
- Maintain Tension: Work tight stitches for a neat and professional finish.
- Customize Colors: Experiment with different yarn shades for unique variations of the headscarf and dress.
- Precise Stuffing: Add stuffing incrementally to prevent lumps.
Customization Ideas
- Add facial features using embroidery or yarn to give the doll a charming expression.
- Include embroidered details on the headscarf to mimic artistic flourishes.
- Attach a small stand or keychain loop for display or utility.
Conclusion & Important Remarks
Congratulations on completing the crocheted "Girl with a Pearl Earring"! This timeless and iconic pattern pays tribute to the classical painting through the creativity of crocheting. The final doll showcases intricate artistry with its sculpted headpiece, delicate body, and the iconic pearl earring. This pattern makes a wonderful addition to any handmade collection or a thoughtful gift.
Difficulties You Might Face and Solutions
While working on this pattern, beginners might find shaping and maintaining tension to be challenging. For example, creating smooth decreases in round sections can sometimes leave gaps, and color changes might feel tricky to manage at first. To overcome these, try practicing decreases on scrap yarn before starting the project, ensuring you work tightly to avoid gaps. For color changes, pull each new yarn securely and weave in ends as you go to maintain a clean design. Using stitch markers can also help you track rounds and increases, making shaping more manageable.