
Instantly brighten your décor with the Free Crochet Rabbit Amigurumi Pattern, making adorable handmade style effortless for everyone.
I didn't expect to have so much fun working on this crochet rabbit amigurumi! There's something truly special about creating a soft, fluffy bunny that comes to life right in your hands. What makes this project so enjoyable is its simplicity and charm. The combination of pastel colors like baby pinks, gentle whites, and soft grays gives the bunny a cozy and adorable look. This pattern is perfect for making heartfelt gifts, whether for a child's toy, nursery decor, or even an Easter centerpiece. You can also make it mini-sized and turn it into a keychain or bag accessory.
Crochet your own rabbit amigurumi with free pattern for cozy vibes
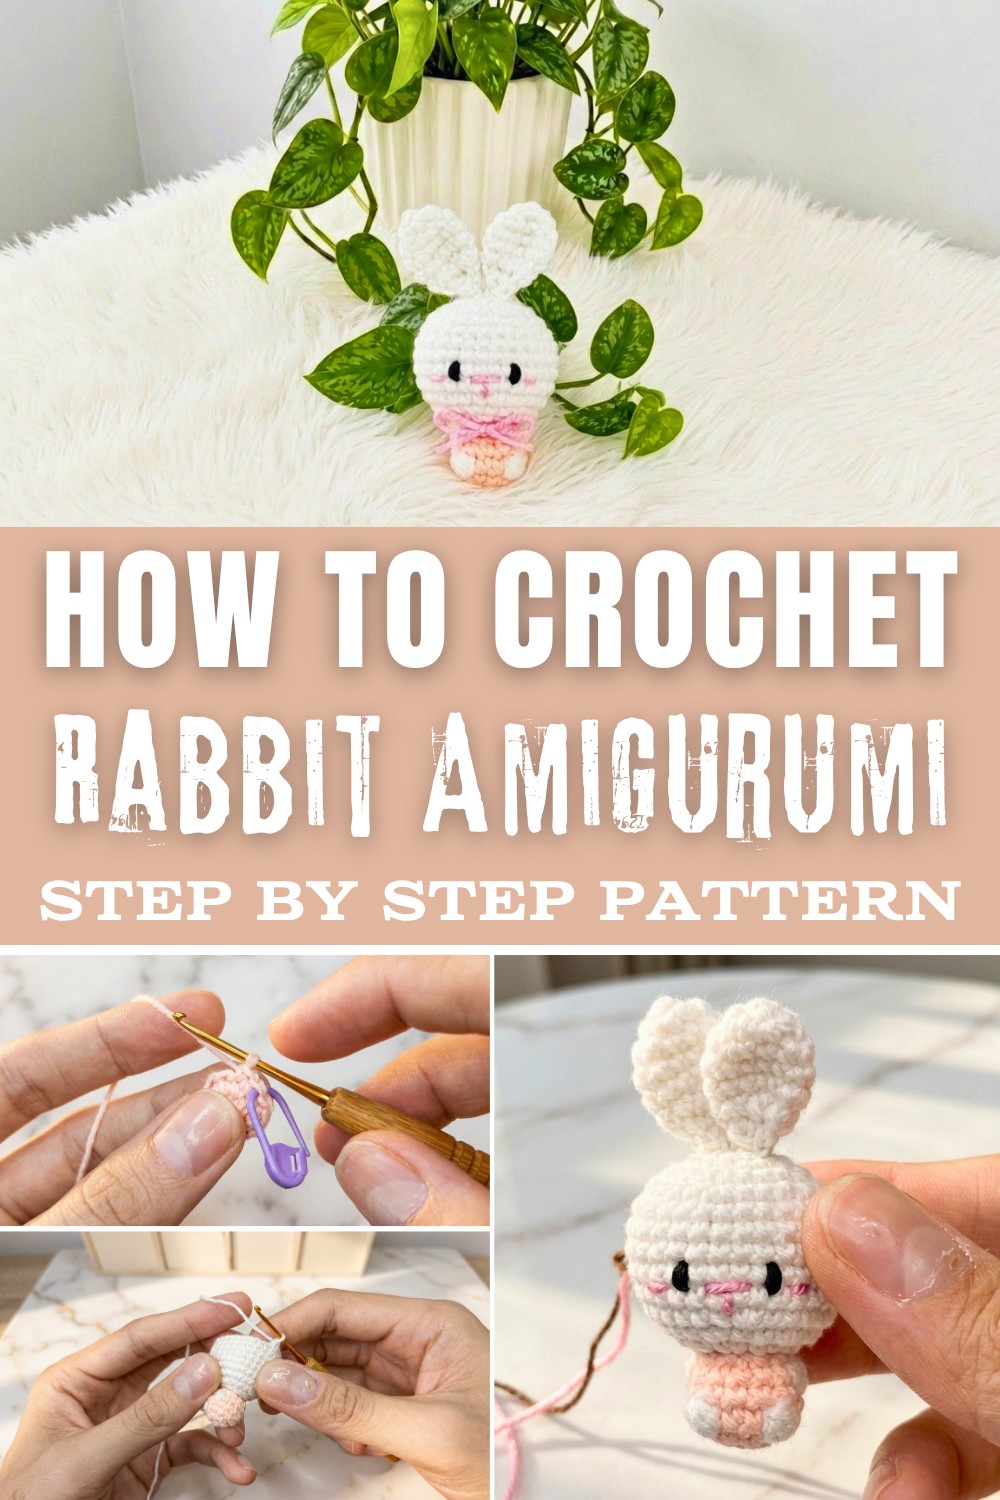
What really makes this pattern unique is the clever use of basic stitches and techniques. You'll be working with single crochet stitches, a magic ring, increases, and decreases to shape the bunny's body. The bubble stitch adds texture and dimension, making elements like the arms stand out. These same stitches can be applied to countless other creations, like bears, cats, or even tiny decorative ornaments. Even though the pattern looks advanced, it's crocheted in a beginner-friendly way that encourages creativity with color changes and little details like embroidered noses or cheeks.
What You Will Learn From This Pattern
From this crochet pattern, you'll learn how to work in the round to create a seamless shape, switch colors smoothly for clothes or accents, and embroider facial features like eyes and cheeks. The techniques can easily be adapted for other small projects, allowing endless possibilities for creative crocheting.
Ideas to Try Using These Skills:
- Create adorable amigurumi animals like bears, turtles, or cats.
- Make mini ornaments or charms for holidays and celebrations.
- Design tiny keychain buddies or handmade gifts for loved ones.
This rabbit amigurumi is an enjoyable way to learn crochet as both a relaxing hobby and a rewarding creative outlet.
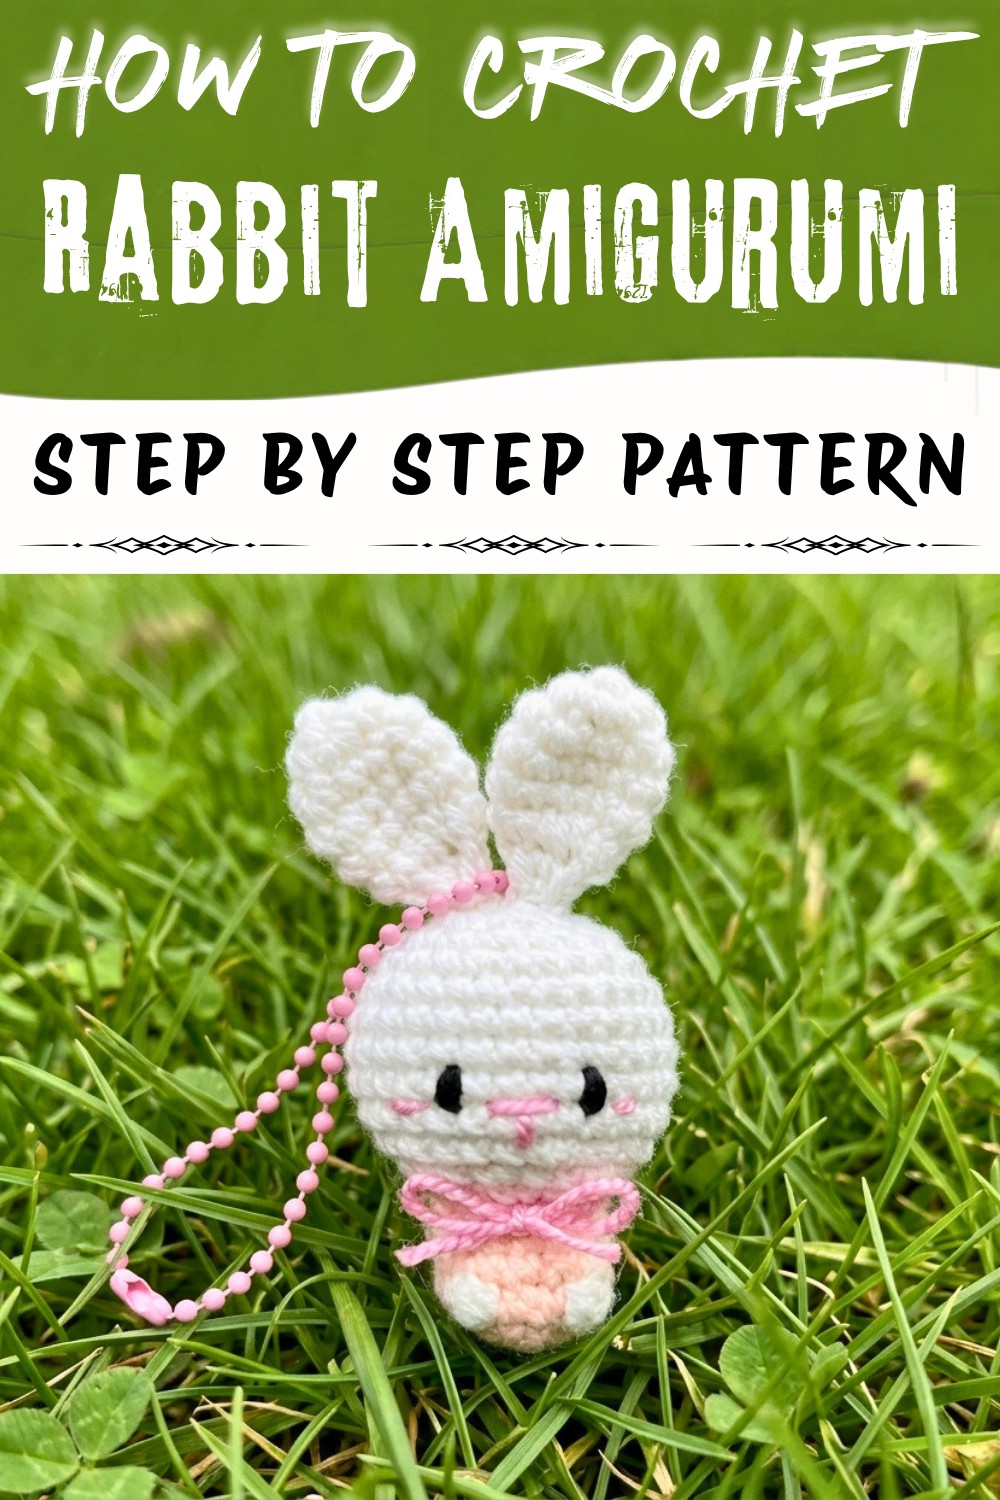
Crochet Mini Bunny Amigurumi with Pendant/Keychain Option
Create this adorable mini bunny amigurumi in a pendant version or turn it into a cute keychain accessory! This beginner-friendly pattern uses simple stitches and minimal materials, making it a fast and rewarding project. With attention to small details like bubble stitches for the arms and charming embroidery for the face, this bunny pattern combines simplicity and elegance. You can customize the size by adjusting the yarn thickness, and the final result is perfect as a gift, decor, or adorable accessory.
Skill Level & Terminology
- Skill Level: Beginner to Intermediate
- Terminology: US Crochet Terms
Materials & Tools
- Yarn:
- White (color for bunny body)
- Pink (color for outfit/accent details)
- Black (for face embroidery)
- Optional: other colors for additional customization
- Crochet Hook: 2 mm hook (or adjust for yarn weight)
- Tapestry Needle: For finishing and embroidery.
- Stuffing: Small amounts of fiberfill stuffing.
- Pendant or Keychain Rings: To attach your bunny.
- Optional Tweezers: For adjusting small details like embroidery thread.
Gauge
Gauge isn't critical for this project, but aim for a tight tension so stuffing doesn't show between your stitches.
Abbreviations List
- ch: Chain
- sc: Single Crochet
- sl st: Slip Stitch
- inc: Increase (2 sc in the same stitch)
- dec: Decrease (2 sc together)
- magic ring: A loop to start crocheting in the round.
- blo: Back Loop Only
Special Stitch Instructions
- Magic Ring: Wrap yarn around fingers to form a loop, crochet into the loop, and pull to close tightly.
- Bubble Stitch: Yarn over and draw up several loops from the same stitch, yarn over, and pull through all loops. Adds texture to the bunny's arms.
Finished Size
Approximately 5 cm tall using 2 mm yarn and hook. Adjust sizing by changing the yarn thickness and hook size.
The Pattern Itself
1. Bunny Body
- Round 1: Start with a magic ring. Crochet 6 sc into the ring. Pull tight to close.
- Round 2: Inc in each stitch (2 sc in each) for a total of 12 sc.
- Round 3: Alternate 1 sc, inc around (total: 18 sc).
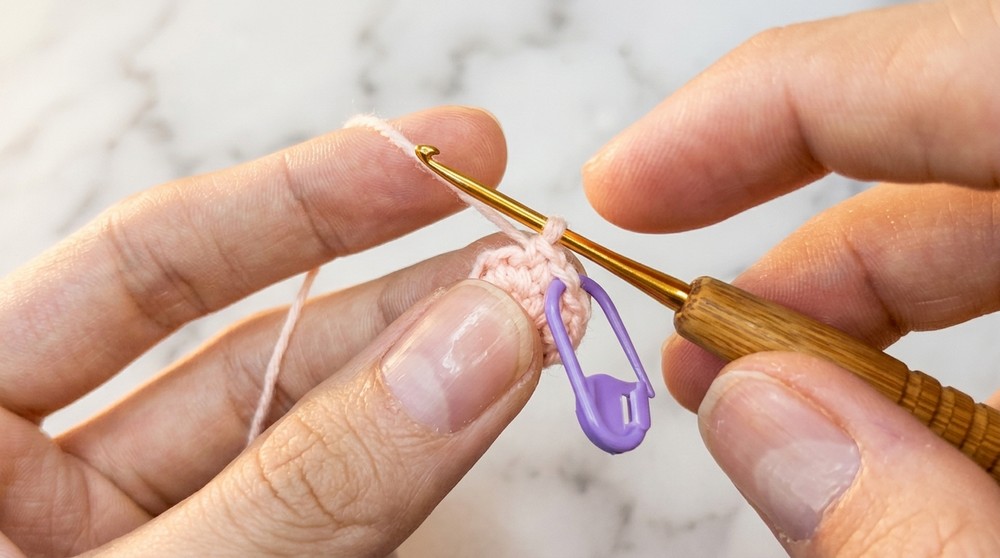
- Round 4: Sc in each stitch with pink yarn for a total of 18 sc to form the bunny's outfit.
Tip: Switch to the white yarn for the bunny's body as you complete certain stitches, creating a smooth transition using color changes.
2. Bubble Stitch Arms
- Work 4 bubble stitches using white yarn at appropriate points on the body.
- For each bubble stitch, yarn over and draw up loops four times in the same stitch. Pull through all loops to complete the stitch.
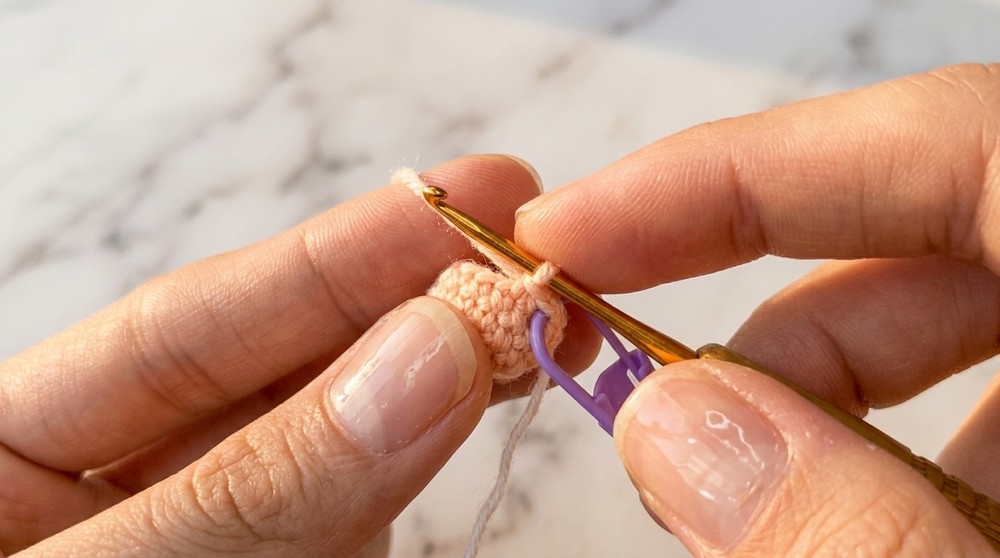
- Continue with rows of sc to shape the body, alternating between bubble stitches and sc.
- Stuff lightly as you proceed to maintain the bunny's shape.
Tip: Bubble stitches create the bunny's arms. Practice making clean increases and ensure your loops are even.
3. Closing the Body
- Final Rounds of the Body:
- Alternate sc and dec every few stitches until the body narrows to 9 sc in the last round.
- Add stuffing before fully closing the body.
Make sure to use small, even decreases for a seamless round shape.
4. Bunny Head
- Round 1: With white yarn, start with a magic ring and crochet 6 sc.
- Round 2: Inc in each stitch for a total of 12 sc.
- Round 3: Alternate 1 sc, inc (total: 18 sc).
- Round 4: Alternate 2 sc, inc for 24 sc.
- Round 5-9: Sc in each stitch evenly for head height (total: 24 sc per round).
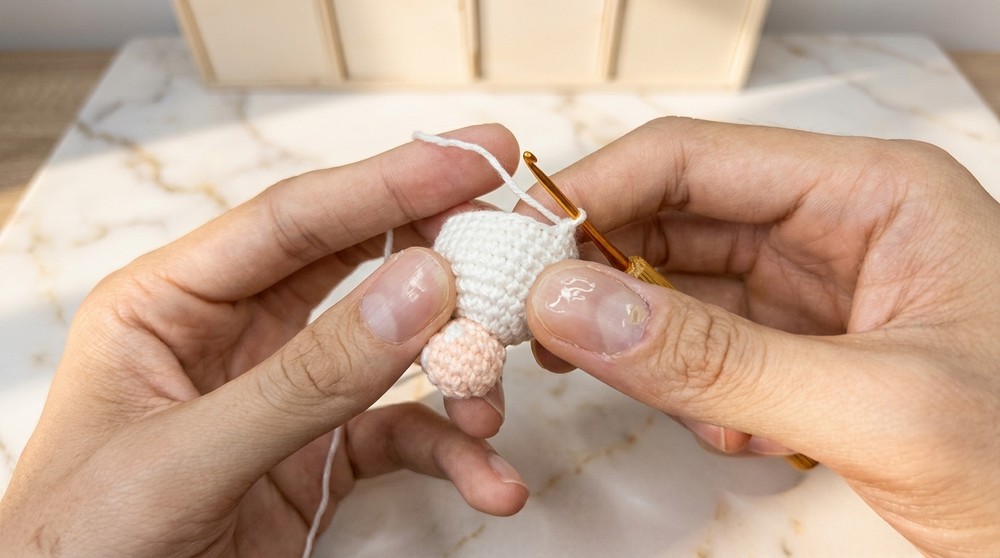
- Round 10: Begin shaping by alternating dec and sc until the head narrows to 12 sc.
- Final Round: Stuff the head and work dec around, leaving 6 sc. Fasten off and sew closed.
The head attaches neatly to the body. Massage the stuffing gently to maintain a round shape.
5. Bunny Ears
- Round 1: Create a magic ring and crochet 6 sc into it.
- Round 2: Inc in each stitch for 12 sc.
- Rounds 3-5: Sc in each stitch for the full height of the earlobe (12 sc per round).
- Round 6: Alternate 1 sc, dec for a total of 6 sc.
- Flatten the ear and crochet across the opening to close. Leave a long tail for sewing.
Create two identical ears and position them symmetrically on the bunny's head.
6. Embroidered Face
- Eyes:
- Using black thread or embroidery floss, embroider small oval eyes between rounds 4 and 5 of the head.
- Use 3-4 passes with the floss to achieve a neat width.
- Nose:
- Use pink yarn to add a triangle-shaped nose between the eyes.
- Extend stitches slightly outward to suggest soft cheeks.
Optional: Add a light blush to the cheeks for extra charm.
7. Assembly
- Attach Ears: Sew the ears onto the head, positioning them between rounds 2 and 3. Flatten as needed to shape them into teardrops.
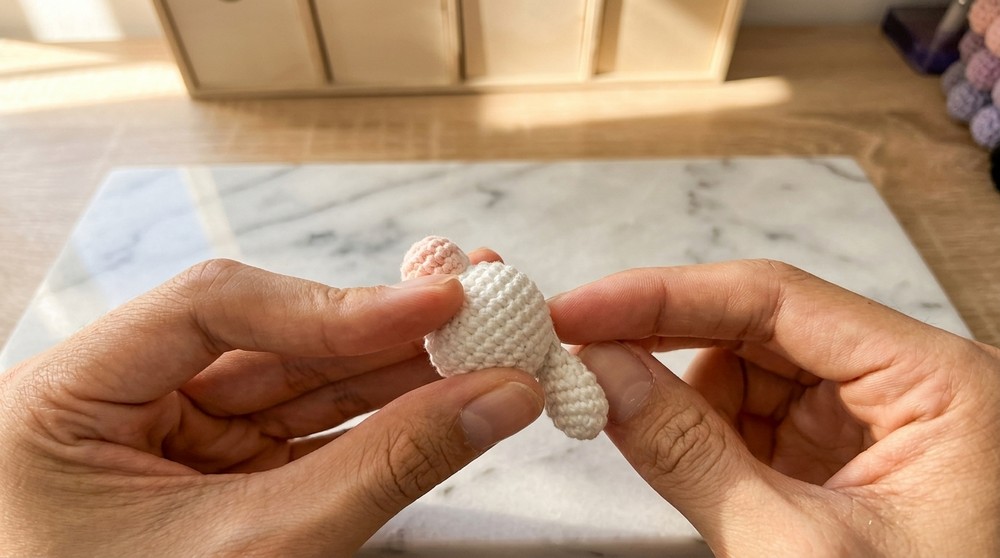
- Sew Head to Body: Align and securely stitch the base of the head to the top of the body.
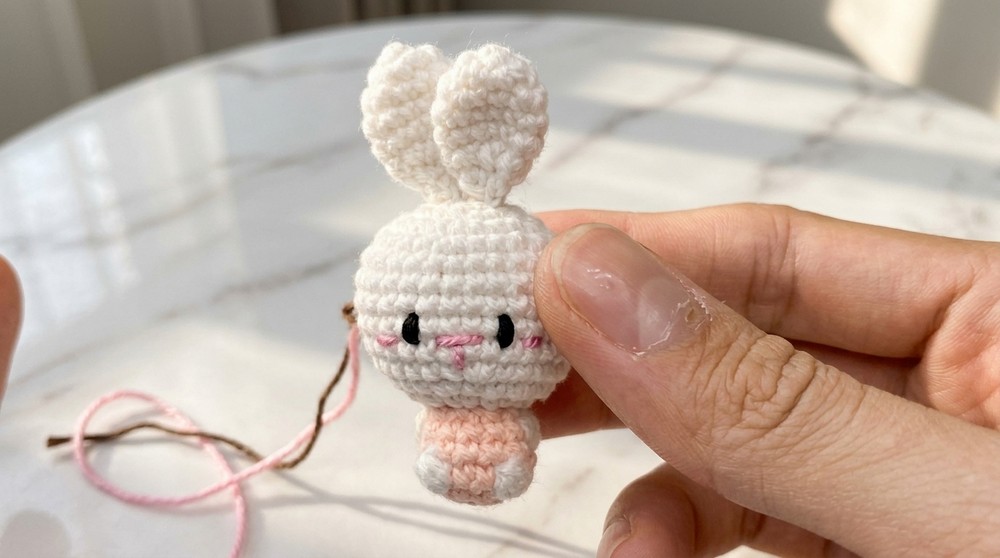
- Add Pendant/Keyring: Attach a keyring or pendant fixture to the top of the bunny's head using pliers.
Assembly is straightforward. Position each part carefully for symmetry.
8. Optional Bow Tie
- Create a small bow using 15-20 chains. Stitch the bow onto the bunny's body or ears for a playful touch.
What You'll Learn
- Core Amigurumi Techniques: Magic ring, single crochet, increases, decreases, and shaping.
- Color Changes: Switching seamlessly between yarns for a clean design.
- Decorative Embroidery: Adding facial features with thread.
- Customization: Adapt this pattern for other small animals like bears, mice, or cats by adjusting colors and ear shapes.
Finishing Touches
- Add keychains, pendants, or other embellishments.
- Use leftover yarn to crochet flowers or other accessories.
- Experiment with yarns to create different-sized bunnies.
Crocheting this lovely bunny is a fun and satisfying project that's great for beginners and offers room to experiment for experienced crocheters. It's a delightful addition to your handmade creations!