
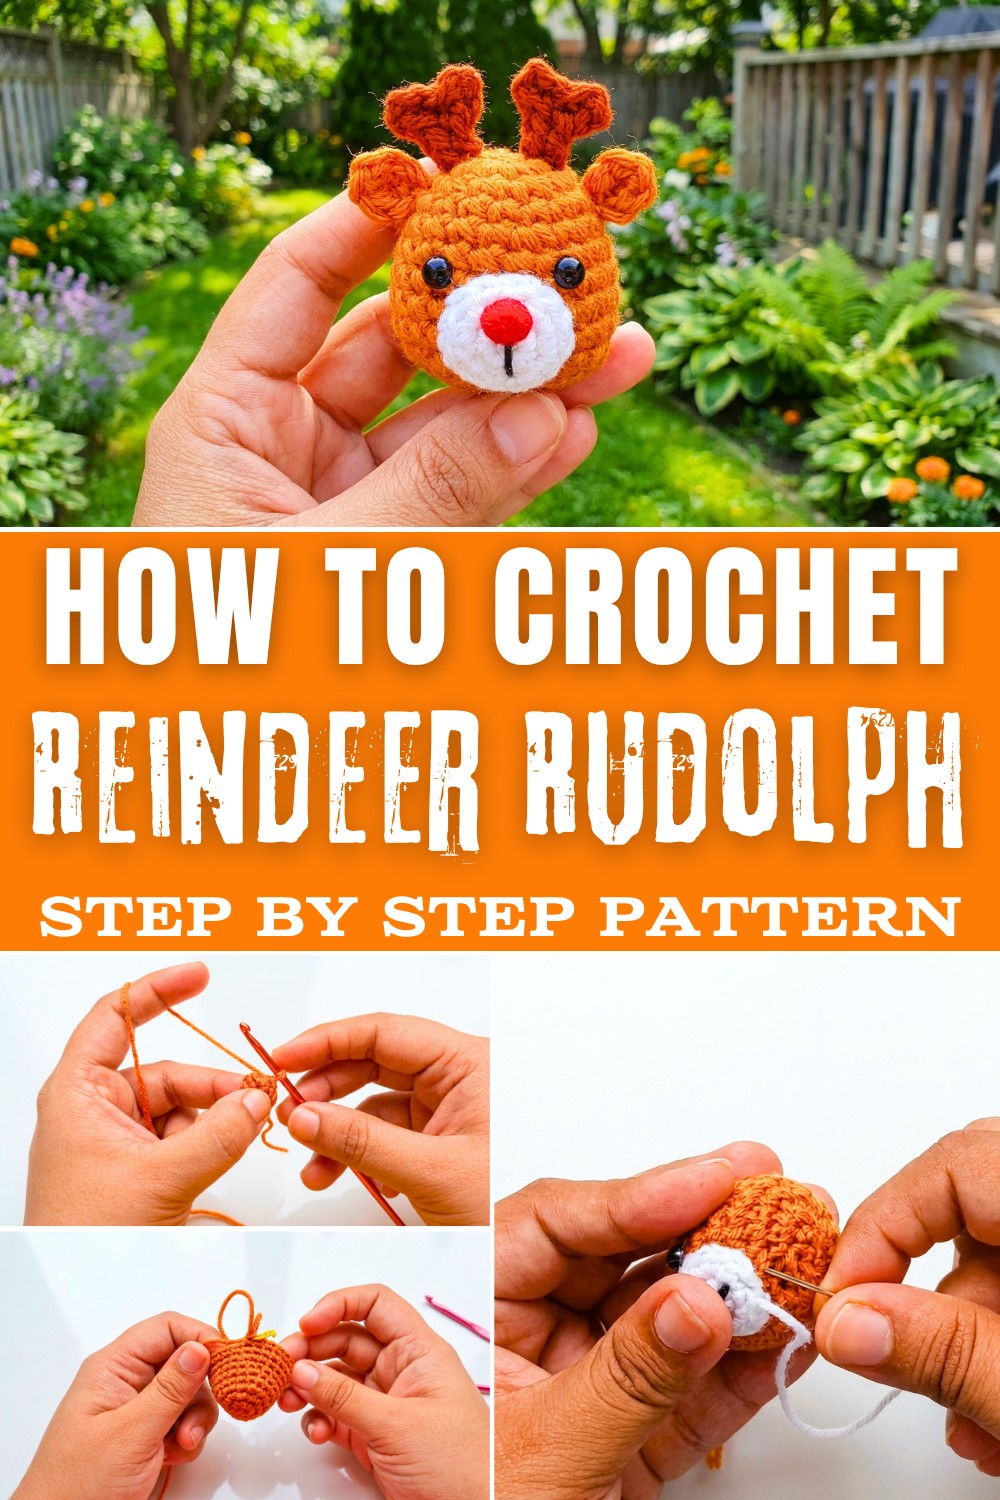
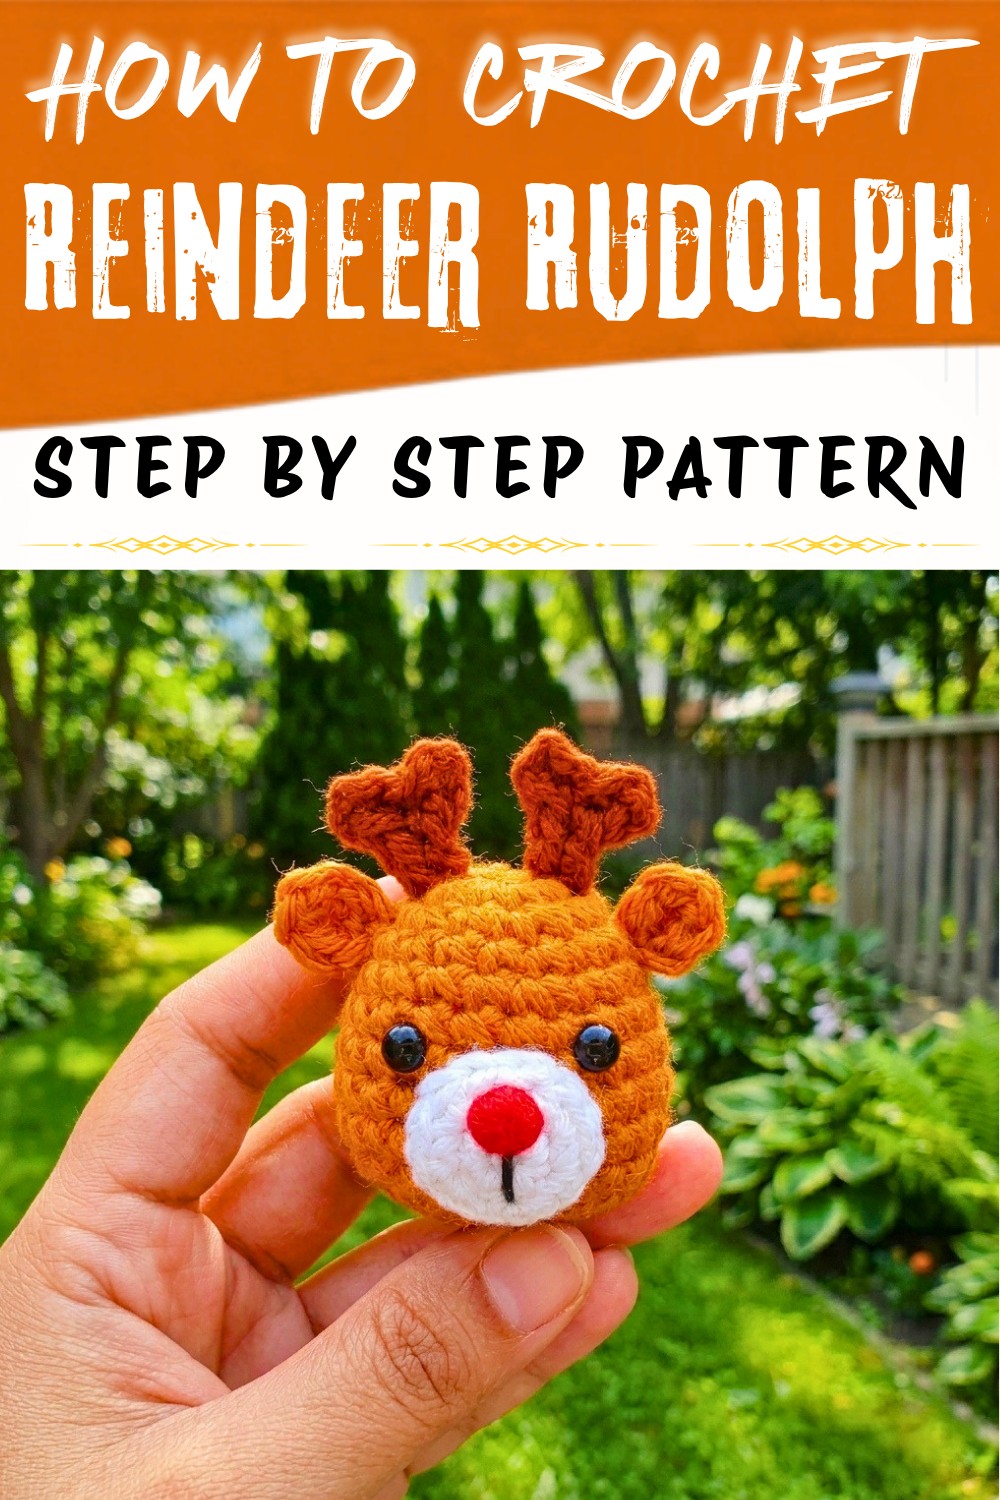
Solve your holiday decor worries using this Free Crochet Reindeer Rudolph Amigurumi Pattern for adorable seasonal home accents.
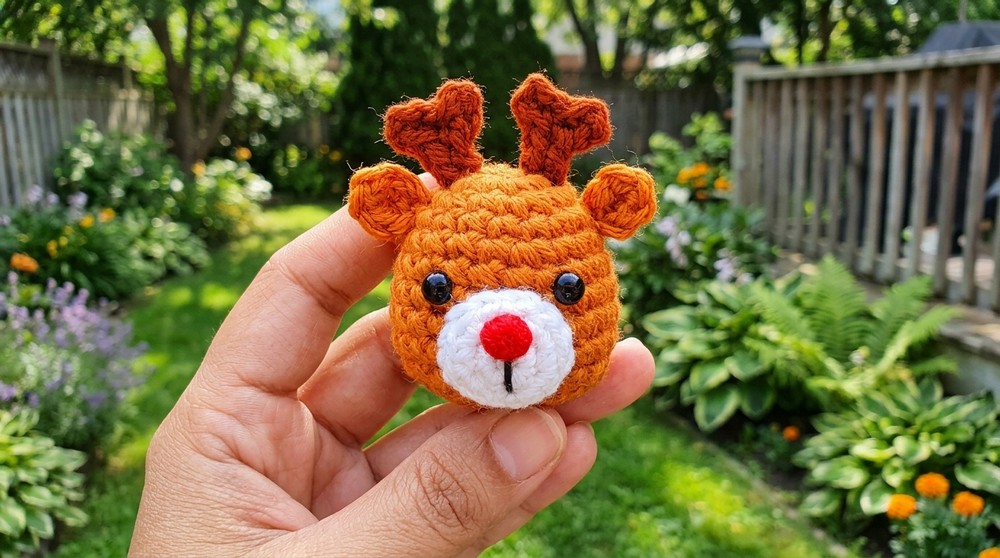
When I came across this crochet reindeer pattern, I couldn't help but fall in love with its cuteness and charm. This adorable Rudolph amigurumi stands out as the perfect festive addition to your Christmas tree, gift wrapping, or a unique handmade keychain. The rich color palette features orange for the body and antlers, paired with bright red for the signature Rudolph nose, black for the eyes, and white for added accents. With beautifully stuffed proportions, every detail from the tiny antlers to its rounded belly makes this little reindeer a delightful holiday treasure.
Festive Free Crochet Reindeer Rudolph Amigurumi Pattern You'll Love
The beauty of this pattern lies in its simplicity. It incorporates beginner-friendly stitches like the single crochet, along with techniques like the magic circle to create smooth and gap-free beginnings. You'll also learn invisible decreases for clean shaping, which adds finesse to the overall design. These versatile stitches and techniques don't just work for Rudolph, as you can imagine crafting bears, snowmen, penguins, or even cute crochet hearts using similar skills. Personalization adds charm too. You can easily swap the red nose for a gold or silver one for a unique twist, or add a festive scarf to complement Rudolph's look.
With this pattern, you'll not only create an adorable holiday decoration but also learn valuable skills to expand your crochet repertoire. Here is a quick summary of what you gain:
- Learn magic circle, single crochet, invisible decrease, working in rounds, and assembling crochet pieces.
- These techniques can be used to create snowmen, penguins, gingerbread men, or tiny crochet ornaments.
- This pattern is beginner-friendly and results in a charming handmade project that is great for gifting or decorating during the holidays.
Stunning Crochet Rudolph Reindeer Pattern
Materials Needed
- Yarn:
- Orange yarn (for the head and body)
- Dark brown yarn (for antlers)
- White yarn (for snout)
- Small amounts of red yarn (for nose)
- Small amounts of black yarn/thread (for mouth embroidery)
- Tools:
- Crochet hook (recommended size: 3 mm)
- Yarn needle
- Stitch marker (e.g., paper clip or contrasting yarn)
- Scissors
- Additional items:
- Stuffing material
- Two 4 mm safety eyes
- Keychain ring (optional, for turning it into a keychain)
Important Notes:
- Use a crochet hook size smaller than recommended for your yarn. This ensures tight stitches so the stuffing doesn't show through.
- The pattern is worked in continuous rounds (spirals). Use a stitch marker to mark the last stitch of each round.
Step-By-Step Pattern Instructions
Head
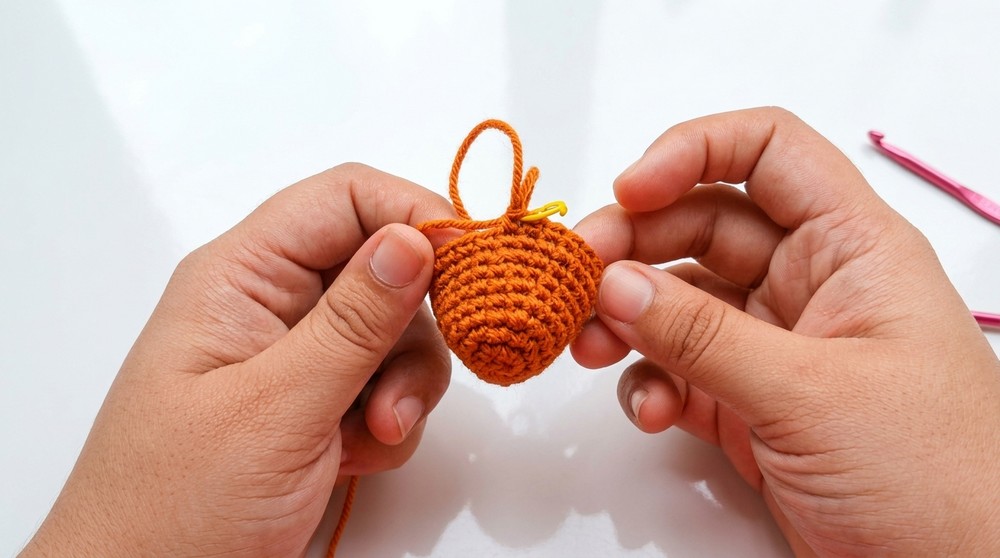
- Round 1:
- Start with a magic circle: Wrap the yarn over your finger to form a cross at the front. Insert your hook under the cross, pull through the yarn, yarn over, and pull through the loop. Remove the loop from your finger.
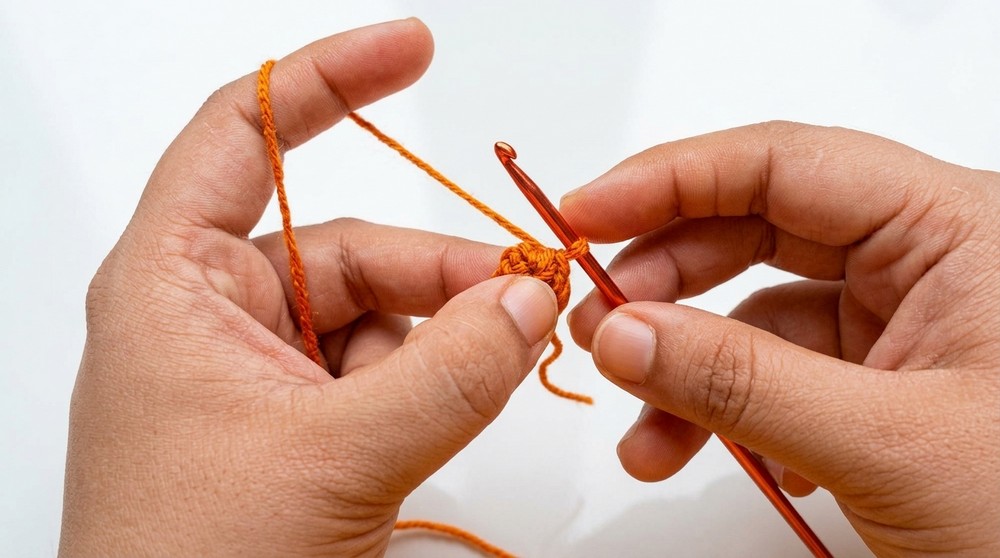
- Chain 1 (does not count as a stitch).
- Make 6 single crochets (SC) into the magic circle. Pull the tail tight to close the circle.
- Round 2:
- Increase Round: Make 2 SCs into each stitch (12 SCs total).
- Round 3:
- Alternate Increase Round: Make 1 SC into the first stitch, then make an increase (2 SCs into the next stitch). Repeat this sequence (1 SC, increase) all the way around (18 SCs total).
- Round 4:
- Even Round: Make 1 SC into each stitch around (18 SCs total).
- Round 5:
- Make 1 SC into the first 5 stitches, then make an increase. Repeat this sequence (5 SC, increase) three times (21 SCs total).
- Round 6:
- Make 1 SC into each stitch around (21 SCs total).
- Make 1 SC into each stitch around (21 SCs total).
- Round 7:
- Make 1 SC into the first 6 stitches, then make an increase. Repeat this sequence (6 SC, increase) three times (24 SCs total).
- Rounds 8 to 9:
- Make 1 SC into each stitch around (24 SCs total for each round).
- Make 1 SC into each stitch around (24 SCs total for each round).
- Adding Safety Eyes:
- Count from the top, locating rounds 6 and 7. Insert the eyes between these rounds, spacing them 3 stitches apart. Secure the eyes with their backings.
- Round 10:
- Decrease Round: Make 1 SC into the first 2 stitches, then make an invisible decrease: Work into the front loops of the next two stitches, yarn over, and pull through. Repeat this sequence (2 SC, decrease) all the way around (18 SCs total).
- Round 11:
- Make 1 SC into the first stitch, then make an invisible decrease. Repeat this sequence (1 SC, decrease) all the way around (12 SCs total).
- Round 12:
- Make a decrease in every stitch around (6 SCs total).

- Make a decrease in every stitch around (6 SCs total).
- Finish the Head:
- Cut the yarn, leaving a long tail for sewing. Fasten off and weave the tail through the front loops of the final round. Pull the tail tight to close the opening.
Ears (Make 2)
- Start with a magic circle. Chain 1.
- Make 5 SCs into the magic circle. Pull the tail to close the circle.
- Fasten off, leaving a long tail for sewing.
Snout
- Round 1:
- Start with a magic circle, chain 1, and make 6 SCs into the circle. Pull the tail to close. Slip stitch into the first SC to join the round.
- Round 2:
- Chain 1 and make 2 SCs into each stitch around (12 SCs total). Slip stitch into the first SC to join.
- Embroidery:
- Using black thread, embroider the mouth between rounds 1 and 2. Create a curved line by stitching across the circle.
- For the red nose, make a French knot: Wrap the yarn around the needle a few times, then insert the needle back into the same hole.
- Fasten off, leaving a long tail for sewing.
Antlers (Make 2)
- Make a slip knot and chain 4.
- Work into the back bump of the chain: Skip the first chain, make a slip stitch into the second chain to create the first branch.
- Chain 2 for the second branch. Skip the first chain and make a slip stitch into the back bump of the second chain.
- Slip stitch into the back bumps of the remaining chains to finish.
- Fasten off, leaving a long tail for sewing.
Assembly Instructions
1. Attach the Snout
- Position the snout between the safety eyes. Sew all the way around the snout using an outer loop from the snout and a loop from the head.
2. Attach the Antlers
- Position the first antler above round 2. Bring one tail between round 2 and 3, and the other tail between round 1 and 2. Repeat on the opposite side for the second antler. Secure the tails at the back with knots, weave them in, and hide them.
3. Attach the Ears
- Pinch the base of an ear, make one stitch to secure the pinch. Sew the ears above round 3, slightly below the antlers. Ensure symmetry between the two ears. Bring the tails to the back and tie knots.
4. Keychain Loop or Ornament Loop (Optional)
- Use the remaining yarn tail at the top of the head to create a loop. Secure the loop with a knot.
Final Words and Tips
- Stuffing: Ensure the head is firmly stuffed to give it shape. Use your fingers to keep the stuffing away while working on decreases.
- Symmetry: Carefully position the antlers, snout, and ears to ensure symmetry. Use pins before sewing if needed.
- Cleaning and Maintenance: Handwash the amigurumi if necessary and let it air dry.
By following this pattern, you'll create a charming reindeer that makes a wonderful holiday gift or decoration.