
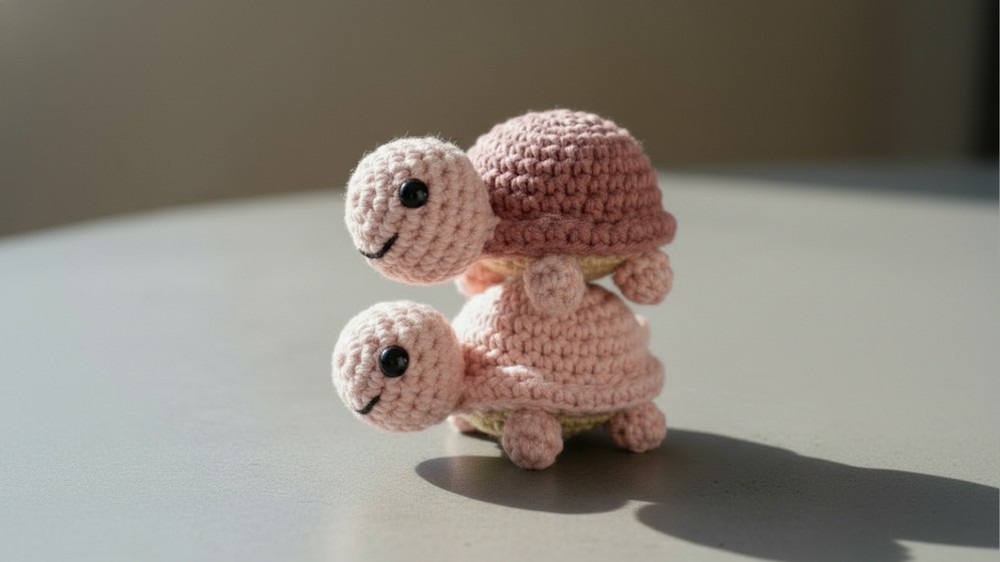
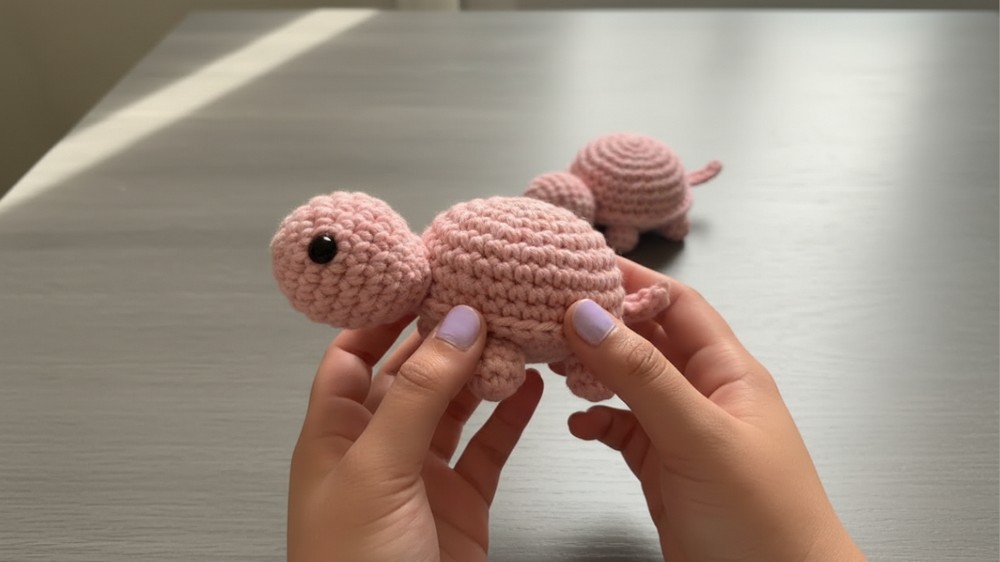
Add a touch of charm and creativity to your crochet projects with this timeless design. A turtle pattern brings a unique appeal, perfect for creating playful toys, cozy decor items, or meaningful keepsakes. Its versatility allows you to experiment with colors and yarn textures, making each creation truly personal.

The turtle's rounded shapes and intricate detailing offer both relaxation and fun as you work on them. Perfect for gifting, these creations can brighten any child's room or complement beach-themed decor. With its engaging design, this pattern encourages mindfulness while celebrating nature's beauty, ideal for both seasoned crocheters and beginners.
Materials Needed
For this crochet turtle, you'll need:
- Yarn:
- Body (Pink): Worsted weight yarn, such as 1-pound yarn.
- Shell (Blush Pink): Worsted weight yarn, like Sugar and Cream for color variation.
- Crochet Hook:
- 5 mm (US size H-8).
- Safety Eyes:
- 6 mm or your preferred size.
- Embroidery Thread:
- Black for creating the smile (optional).
- Fiberfill:
- For stuffing the turtle.
- Scissors:
- For trimming yarn.
- Glue Gun:
- For attaching parts (optional-sewing can be done instead).
- Stitch Marker:
- To track rounds.
Gauge
Gauge is not critical for this project, as it is decorative, but for consistency:
- 7 single crochet stitches (sc) x 8 rows = 2 inches using worsted-weight yarn and a 5 mm hook.
Special Techniques
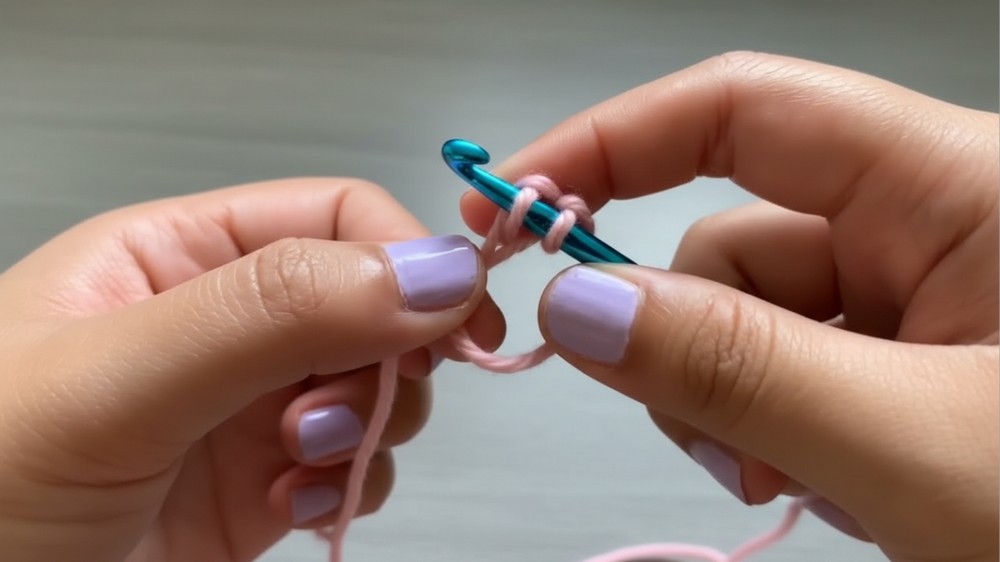
Magic Circle:
- Used to begin the shell, head, and legs.
How-To: Wrap yarn around fingers, insert the hook into the loop, pull up a loop, chain 1, and crochet into the circle.
Invisible Decrease:
- Smooth decrease for shaping the head and shell.
How-To: Insert hook into the front loops only of two consecutive stitches, yarn over, pull up a loop, yarn over again, and pull through all three loops.
Working into Back Loops Only:
- Creates a flat edge for the shell bottom.
How-To: Insert hook into the back loop of the stitch (not both loops).
Pattern Instructions
1. Shell
- Round 1:
- Start with a magic circle.
- Work 6 single crochets (sc) into the circle.
- Slip stitch (sl st) into the first stitch to close the round. Insert a stitch marker.
(6 stitches total).
- Start with a magic circle.
- Round 2:
- Work 2 sc into each stitch (increase in every stitch).
(12 stitches total).
- Work 2 sc into each stitch (increase in every stitch).
- Round 3:
- Alternate increase (2 sc) in the first stitch, followed by 1 sc in the next stitch. Repeat.
(18 stitches total).
- Alternate increase (2 sc) in the first stitch, followed by 1 sc in the next stitch. Repeat.
- Round 4:
- Switch starting with 1 sc into the first two stitches, followed by increase into the next stitch. Repeat for a balanced circle.
(24 stitches total).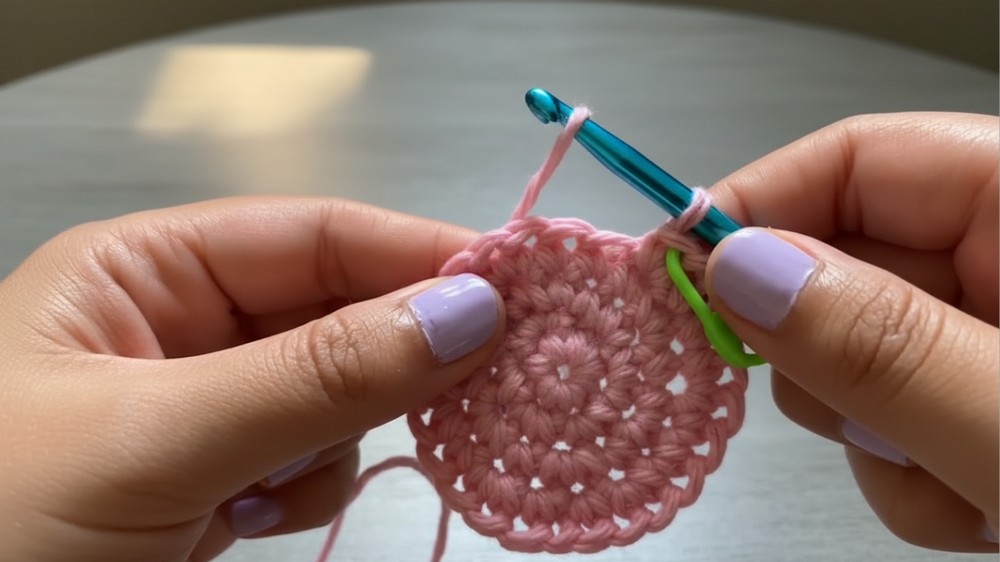
- Switch starting with 1 sc into the first two stitches, followed by increase into the next stitch. Repeat for a balanced circle.
- Round 5:
- Alternate increase in the first stitch, followed by 1 sc into the next three stitches. Repeat.
(30 stitches total).
- Alternate increase in the first stitch, followed by 1 sc into the next three stitches. Repeat.
- Round 6:
- Alternate 1 sc into the first four stitches, followed by increase into the next stitch. Repeat.
(36 stitches total).
- Alternate 1 sc into the first four stitches, followed by increase into the next stitch. Repeat.
- Rounds 7-11:
- Work 1 sc into each stitch to create the shell's height.
(36 stitches per round).
- Work 1 sc into each stitch to create the shell's height.
- Round 12 (Back Loops Only):
- Invisible decrease into the back loops of the first stitch, followed by 1 sc into the next four stitches. Repeat.
(30 stitches total).
- Invisible decrease into the back loops of the first stitch, followed by 1 sc into the next four stitches. Repeat.
- Round 13:
- Normal decrease, followed by 1 sc into the next three stitches. Repeat.
(24 stitches total).
- Normal decrease, followed by 1 sc into the next three stitches. Repeat.
- Round 14:
- Normal decrease, followed by 1 sc into the next two stitches. Repeat.
(18 stitches total).
- Round 15 & Closing:
- Work decreases into every stitch until the shell is closed. Stuff firmly before completing. Use the final yarn tail to weave stitches together for a smooth finish.
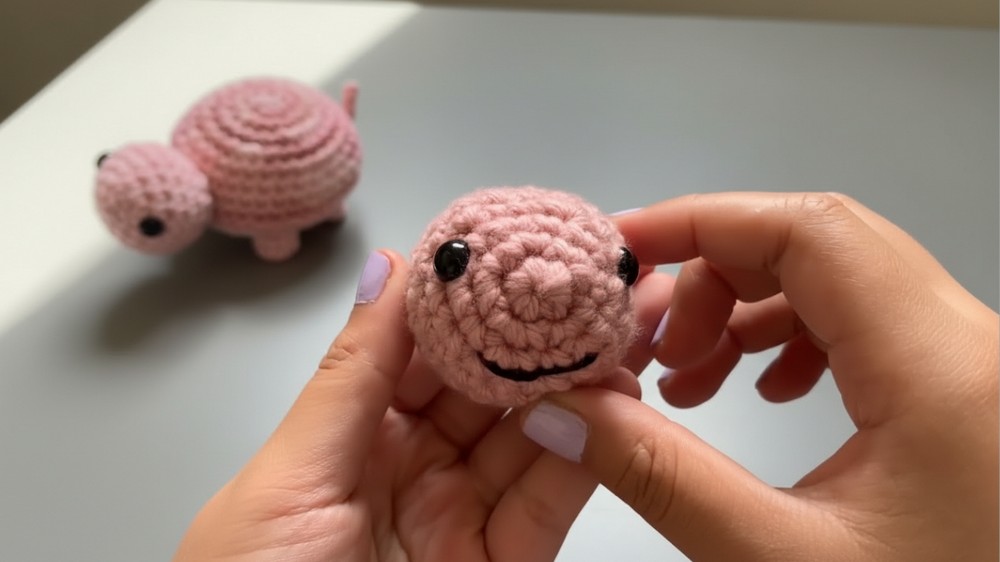
2. Head
- Round 1:
- Create a magic circle and work 5 sc into the circle.
- Slip stitch into the first stitch. Insert a stitch marker.
(5 stitches total).
- Round 2:
- Increase into every stitch (2 sc per stitch).
(10 stitches total).
- Increase into every stitch (2 sc per stitch).
- Round 3:
- Alternate 1 sc into the first stitch, followed by increase into the next stitch. Repeat.
(15 stitches total).
- Alternate 1 sc into the first stitch, followed by increase into the next stitch. Repeat.
- Round 4:
- Alternate increase into the first stitch, followed by 1 sc into the next two stitches. Repeat.
(20 stitches total).
- Alternate increase into the first stitch, followed by 1 sc into the next two stitches. Repeat.
- Rounds 5-7:
- Work 1 sc into each stitch.
(20 stitches per round).
- Work 1 sc into each stitch.
- Round 8:
- Begin decreasing with invisible decrease, followed by 1 sc into the next two stitches. Repeat.
(15 stitches total).
- Begin decreasing with invisible decrease, followed by 1 sc into the next two stitches. Repeat.
- Round 9:
- Alternate 1 sc into the first stitch, followed by invisible decrease into next stitch. Repeat.
(10 stitches total).
- Alternate 1 sc into the first stitch, followed by invisible decrease into next stitch. Repeat.
- Round 10 & Finishing:
- Decrease into every stitch until the head is closed. Stuff firmly before completing.
- Attach safety eyes and embroider a smile before closing.
3. Legs (Make 4)
- Round 1:
- Create a magic circle and work 6 sc into the circle.
(6 stitches total).
- Create a magic circle and work 6 sc into the circle.
- Rounds 2-3:
- Work 1 sc into each stitch.
(6 stitches per round).
- Work 1 sc into each stitch.
- Finishing:
- Close the bottom of each leg using your yarn tail, leaving it slightly flat.
4. Tail
- Slip Knot:
- Create a slip knot.
- Chain 5:
- Adjust length for desired tail size.
- Row 1:
- Single crochet (sc) into the second chain from hook and across.
(4 stitches total).
- Single crochet (sc) into the second chain from hook and across.
- Finishing:
- Cut yarn and fasten off. Attach to the shell using a simple tie.
Assembly
Once all pieces are complete:
- Head:
- Use glue or sew the head to the front center of the shell.
- Legs:
- Attach the legs under the shell. Position slightly inside or along the edges for balance.
- Tail:
- Tie or glue the tail to the back of the shell.
- Tie or glue the tail to the back of the shell.
Customization Ideas
- Colors:
- Experiment with different shell colors (e.g., bright rainbow, pastel variegated) for unique looks.
- Patterns:
- Add surface embroidery to the shell for decorative patterns (like spirals or flowers).
- Size:
- Adjust head size with extra rounds (increase proportionately) for a larger turtle.
Conclusion & Final Remarks
Congratulations on finishing your crochet turtle! Through simple but effective techniques, you've created a whimsical and adorable creature. Whether used as a decorative piece or gifted to someone special, this turtle will surely be cherished.