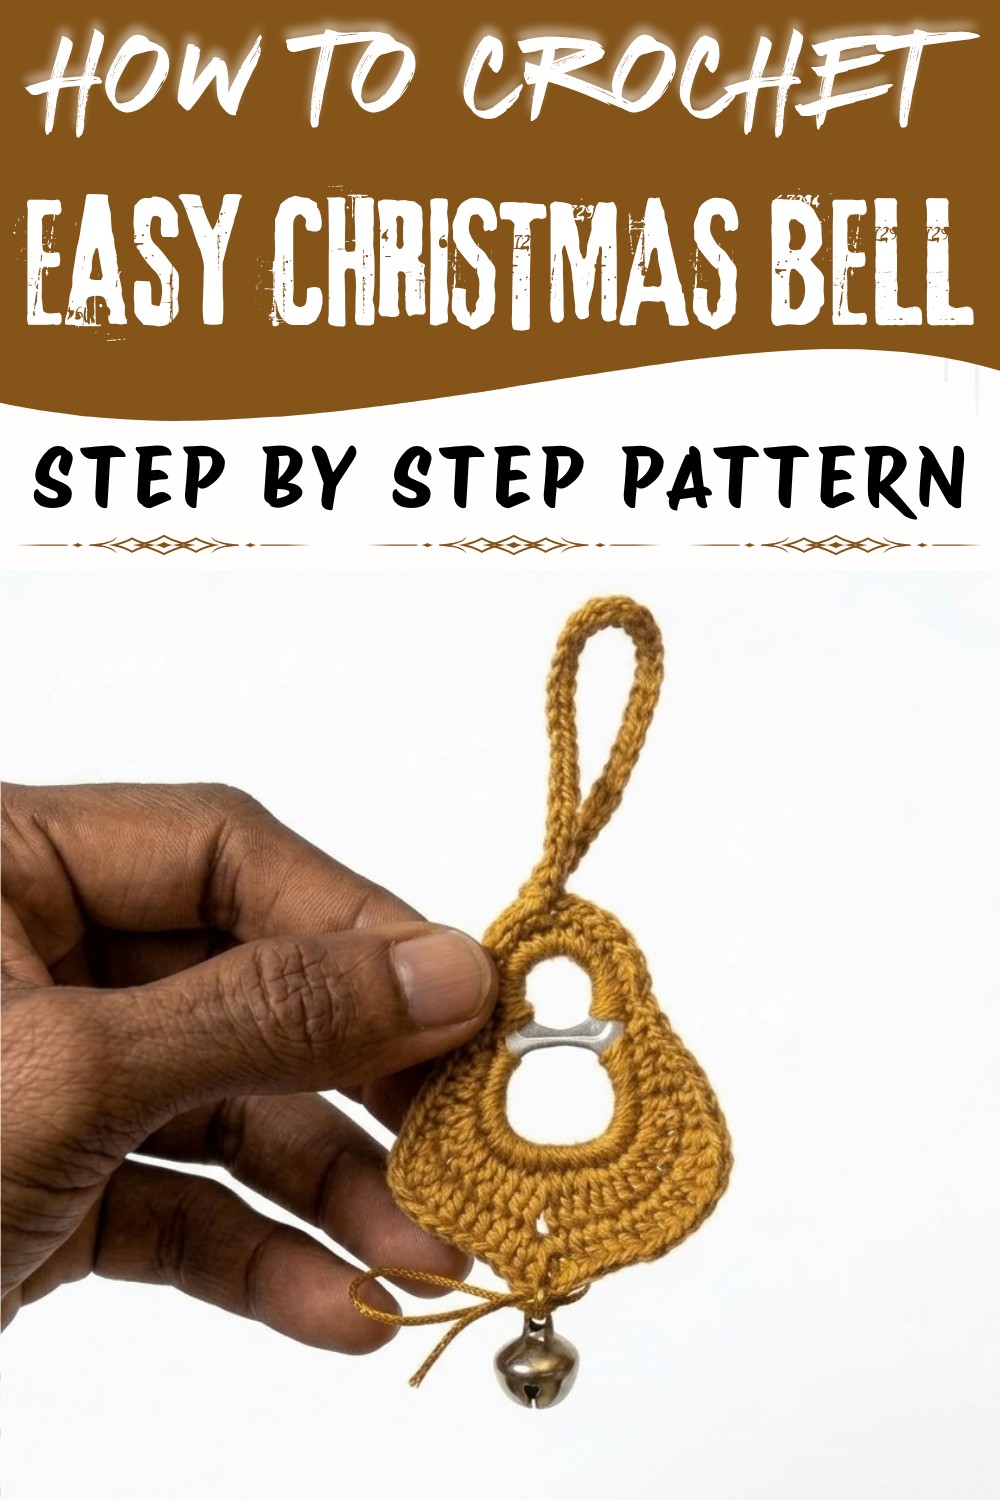
Share a lovely holiday fun with the Crochet Christmas Bell Free Pattern, a cute hanging ornament that adds warmth to your festive home.
There's something truly magical about the holiday season that inspires people to create and share festive decorations. Imagine adding a charming touch to your Christmas tree or gift wrap with a delicate and delightful bell that looks both classic and graceful. This beautiful project is brought to life thanks to the wonderful tutorial by Nancy a crochet on YouTube, who shares clear and easy-to-follow steps to make this lovely piece. If you're looking to try something special this year, the Crochet Christmas Bell Pattern is a perfect choice - it's quick to make, requires very little material, and offers a unique blend of decoration and heartfelt gifting potential.
Beautiful Crochet Christmas Bell Free Pattern to Try This Winter
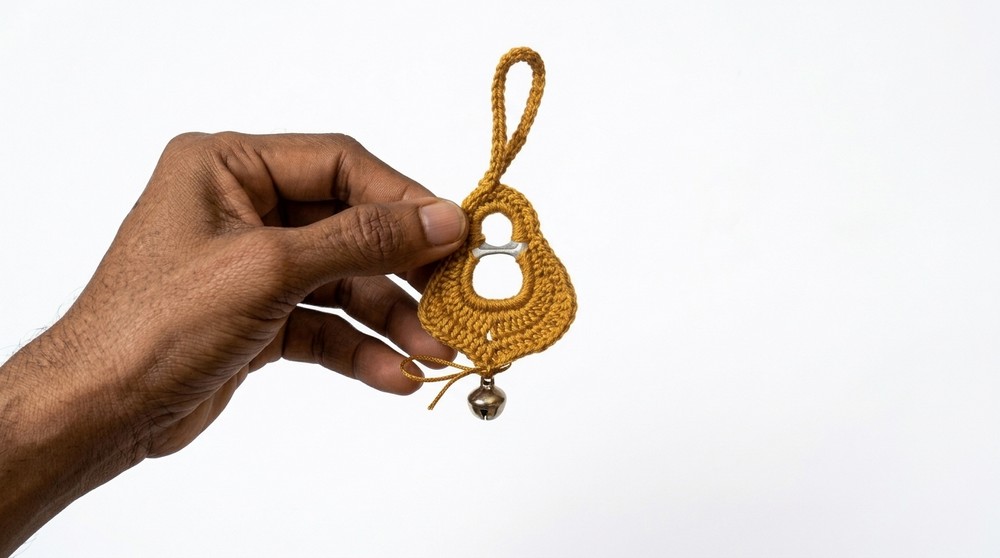
This Crochet Christmas Bell is a small, elegant ornament shaped like a traditional bell, featuring a smooth, rounded body that gently tapers at the top, ideal for hanging on branches or door knobs. Using fine mercerized cotton yarn and a thin 1.5mm hook, the texture is soft yet refined, providing a delicate look that catches the eye without being overly bulky. The design's standout feature is the intricate series of half double crochets and elegant stitch increases which create a subtle curve and charming details that mirror the bell's natural shape. Because it is lightweight and compact, it makes a thoughtful gift ornament - a handmade symbol of warmth and joy that recipients can treasure or use as seasonal decor.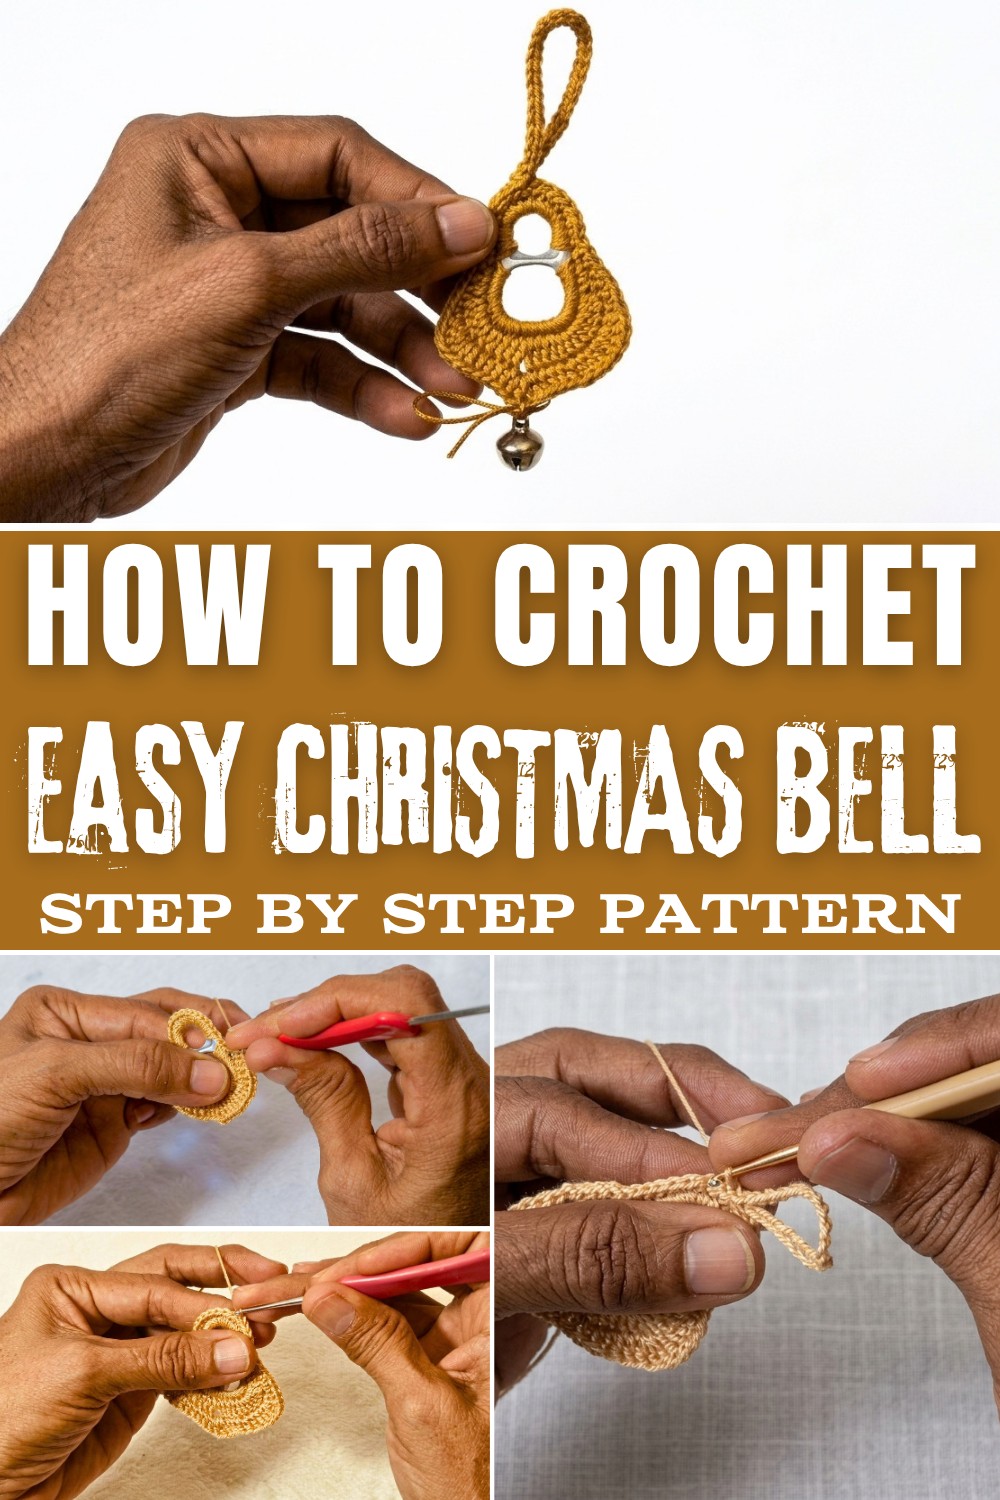
Whether you want to adorn your own home or share holiday cheer with friends and family, this bell offers versatile uses. Hang it on Christmas trees, decorate mantelpieces, or attach it to gift packages for that extra special touch. Its classic style works beautifully with traditional and modern décor alike, making it a timeless piece that enhances the festive spirit wherever it goes.
Quick Crochet Christmas Bell Free Pattern
Aluminum can pull-tabs, usually discarded without a second thought, serve a new purpose in this innovative approach to holiday decorations. This project highlights both resourcefulness and respect for the environment by repurposing everyday materials into something decorative and meaningful. A small amount of mercerized cotton yarn, a simple crochet hook, and basic supplies are all that is needed to transform recycled metal into a festive bell ornament. With careful stitching and attention to form, the metal rings are covered and shaped into a classic bell silhouette, providing both structure and visual appeal. These ornaments are lightweight, durable, and suitable for hanging on Christmas trees, using as gift toppers, or decorating indoor spaces. The addition of a bell, rattle, or charm inside ensures a pleasing jingle, while the visible crochet work adds a handmade touch to seasonal displays and gatherings.
Quick Overview Of Pattern
- Reuse two aluminum can pull-tab rings (one smaller, one larger) as a mold for the bell's form.
- Cover the rings with crochet stitches to create a striking base.
- Build the bell's body with defined increases and decreases, producing a recognizable bell silhouette.
- Add texture and structure via slip stitching in the back loops.
- Finish with a loop and charm to hang, rattle, or jingle as desired.
Notes
- This pattern requires some basic metal preparation: smooth any sharp edges from pull-tabs before use.
- Work tightly around the rings for a neat, secure covering.
- The bell can be customized: use different color yarns, charm styles, or even multiple bells together.
- While this project produces a sturdy bell, always check your finished ornament for loose yarn ends or sharp metal before gifting.
Skill Level
Intermediate (Confident Beginner):
Familiarity with working around non-yarn objects (rings), crocheting in the round, increases, slip stitching, and basic color changes is helpful.
Materials
- Recycled Material: 2 aluminum can pull-tabs (preferably large types from food cans; use a small and a large one)
- Yarn: Mercerized cotton yarn, approx. 1 mm thick (color of choice)
- Crochet Hook: 1.5 mm
- Finishing Touch: Small bell, rattle, or charm
- Scissors & tapestry needle
- Optional: Sandpaper to smooth any rough edges on tabs
Measurements / Sizing
- Bell Height: Approx. 4-5 cm (including hanging loop)
- Bell Width: Approx. 3.5-4.5 cm at base
(Size will vary slightly depending on ring/tab size and stitch tension)
Gauge
- No strict gauge is required; focus on tight, even stitches that fully cover and hold snug to the metal rings.
Stitch Abbreviations
| Abbreviation | Stitch |
|---|---|
| ch | chain |
| sl st | slip stitch |
| sc | single crochet |
| hdc | half double crochet |
| dc | double crochet |
| inc | increase (2 sts in same st) |
| BL | back loop |
Special Stitches
- Safety Stitch: A slip knot that is attached tightly to the ring before beginning the first round.
- Back Loop Only (BL): In edge round, work into only the back loop to create raised texture.
The Crochet Pattern
Preparing and Covering the Base Rings
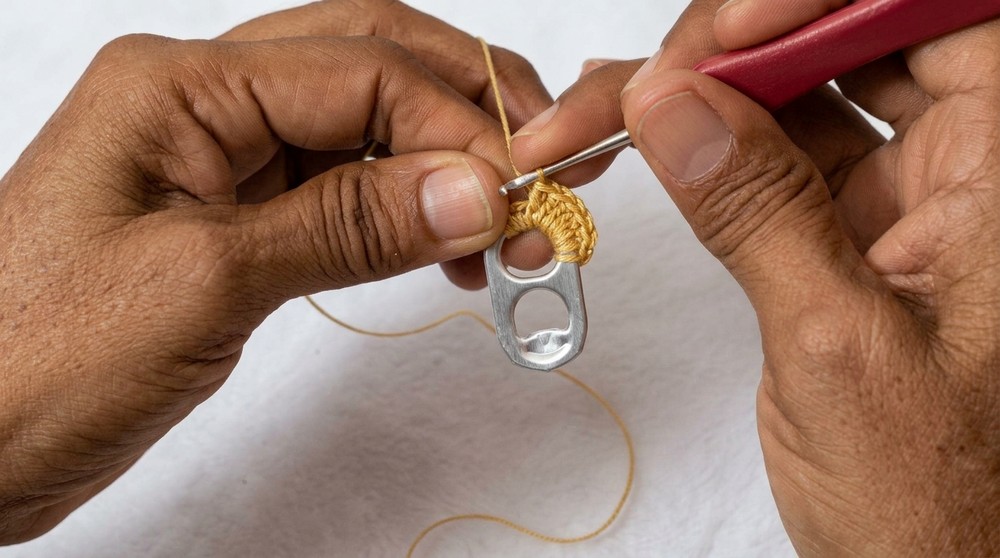
Round 1: Cover the Smaller Ring
- Make a safety stitch by creating a slip knot and securing it around the smaller ring.
- Crochet half double crochets (hdc) all around the ring until it is completely covered, gently pushing the stitches together as needed.
- Join with a slip stitch (sl st) to secure the round.
Round 2: Cover the Larger Ring
- Hold the larger pull-tab ring and join your yarn at one side.
- Work 24 hdc evenly spaced along the longer/straighter side of the tab.
- Rotate the ring, then work 15 hdc along the curved/shorter side (usually the opening side of the tab).
- You should have a total of 39 hdc when both sides are complete.
- Slip stitch to the initial stitch to join the round.
Shaping the Bell Body
Round 3: First Side of Bell
- Start at the base where the two rings join. Create a small loop.
- Work 1 sc in the next stitch.
- Work a second sc in the following stitch.
- Next, 1 dc in the next stitch after the two sc.
- Curve increases:
- At the natural curve in the ring, work 3 increases in dc (i.e., 2 dc in each of the next 3 stitches).
- Continue with 3 dc (1 dc in each of the next 3 stitches).
- Creating the Peak/Loop Point:
- In the next stitch, work [1 dc, ch 2, 1 dc] all into the same stitch to form the top point of the bell.
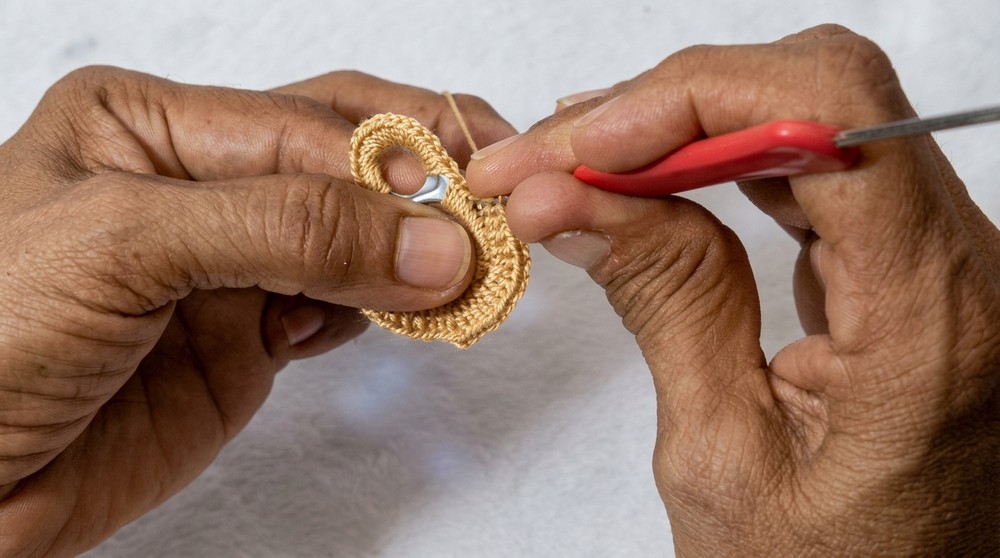
Round 4: Second Side of Bell
- Mirroring down the opposite side, 3 dc (each in one stitch).
- Next, 3 increases in dc (2 dc in each of the next 3 stitches-mirroring the curve increases).
- Complete the lower side with the remaining hdc stitches (1 in each) and finish off with 2 sc in the last two stitches, just as at the start.
- Slip stitch to the first stitch to secure.
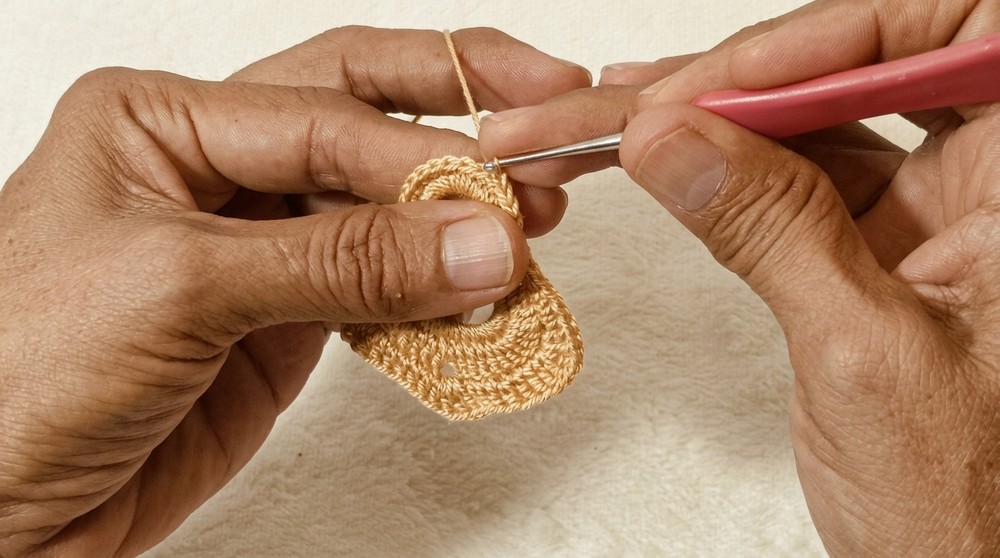
- Continue with 15 hdc along the remaining edge of the larger ring, connecting back to the base.
Adding Texture and Structure
Round 5: Edge Slip Stitch Detailing
- With your working yarn, do not cut; instead, work slip stitches (sl st) all the way around the bell's outer edge, being sure to select only the back loop (BL) of each stitch. This creates a raised, defined and textured finish.
Creating the Hanging Loop and Final Assembly
Round 6: Hanging Loop
- When you reach the top center (exact peak) of the bell's arch, chain 25-30 (adjust to your desired length for the hanging loop).
- Turn your work and slip stitch back down the chain, inserting your hook into the back loop of each chain for a smooth and consistent effect.
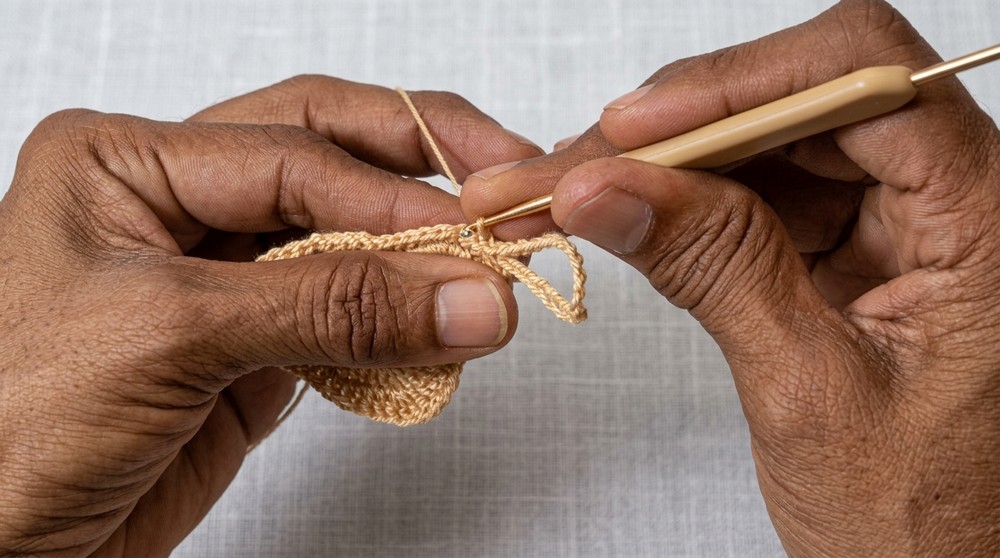
- Slip stitch down to the base of the chain at the bell's peak, then cut yarn and fasten off.
- Weave in all ends with a tapestry needle for a clean look.
Assembly & Finished Size
- Attaching the Charm:
- Pass a small bell, rattle, or decorative charm on a thread or thin wire through the exposed central hole formed by the rings.
- Tie off securely so the charm dangles in the middle of the bell.
- Check All Ends:
- Ensure all yarn tails are woven in and that no sharp metal is exposed.
- Shape and Hang:
- Block by hand as needed to even out stitches and open up the bell's arch.
- Hang your ornament and enjoy its cheerful sound and eco-friendly heritage!
Conclusion
Sustainable creativity has great impact, especially when it transforms discarded materials into lasting and beautiful objects. A bell ornament made from aluminum pull-tabs and cotton yarn demonstrates that practical skills and environmental awareness can enhance any celebration. Every detail, from the careful coverage of the rings to the choice of yarn color and the finishing bell inside, contributes to a festive atmosphere while keeping waste to a minimum. These ornaments serve as thoughtful gifts and cheerful reminders of how tradition and responsibility can intertwine. Placing these bells around the home or on a holiday tree instantly adds warmth and charm. Handmade elements often carry personal value, and each time these unique decorations are admired or gifted, they offer a small token of sustainable joy for the holiday season and beyond.