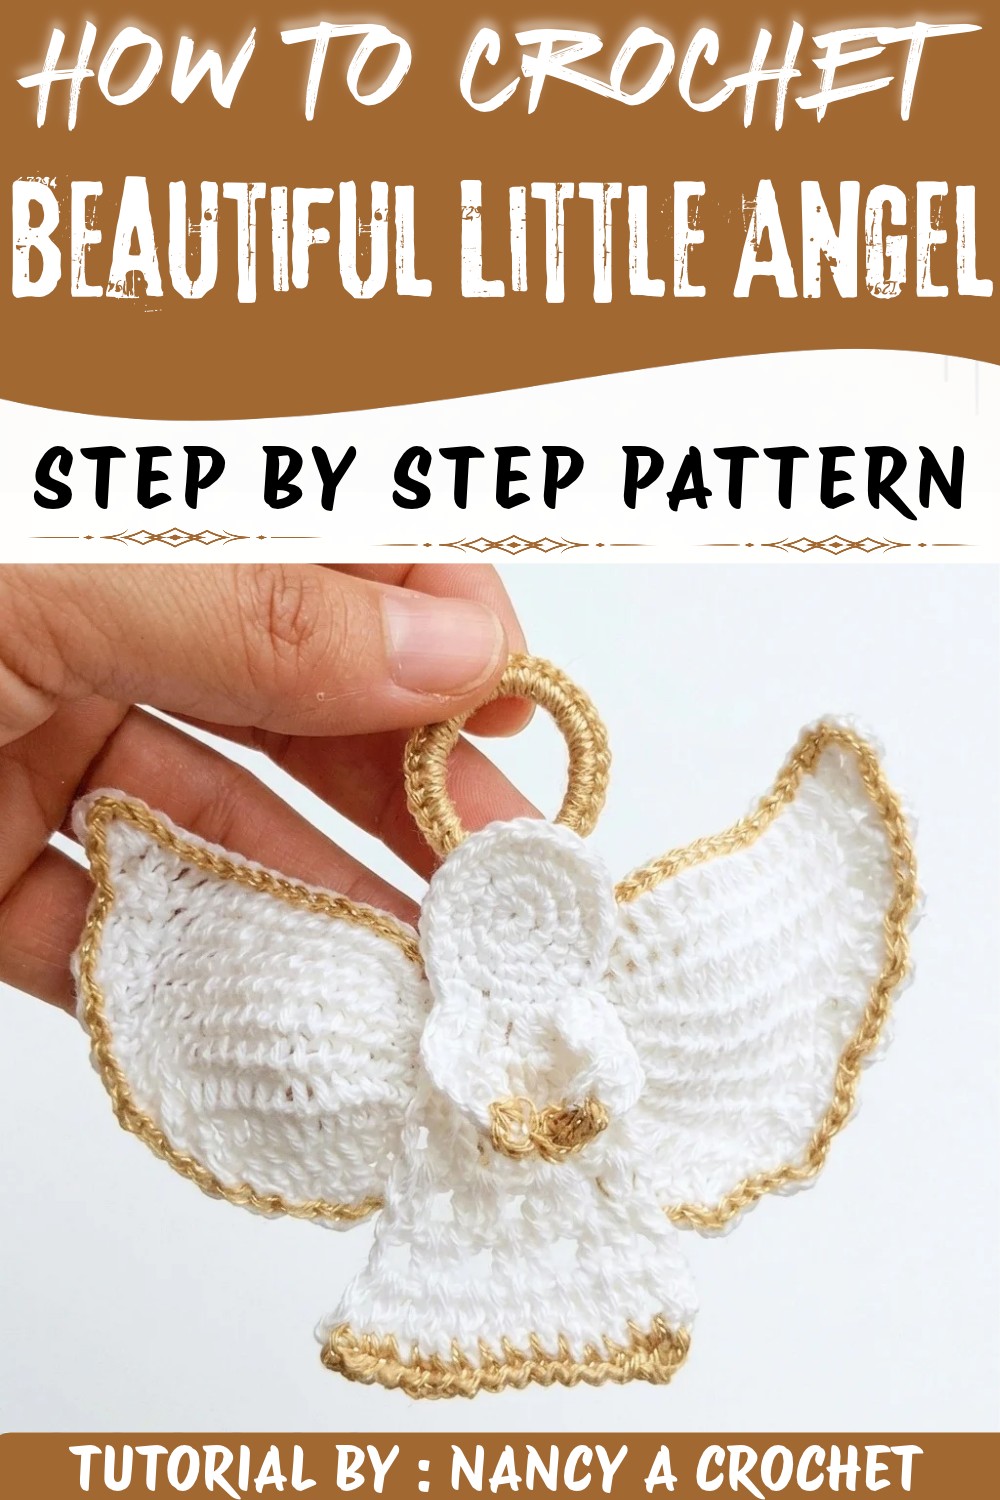
Hang a sweet decoration with the Crochet Little Angel Free Pattern, a tiny winged figure for Christmas trees & gift boxes
Find the enchanting world of delicate handiwork with this truly charming little angel design, brought to life by the talented Nancy of the YouTube channel "Nancy a crochet." This delightful project captures the essence of grace and whimsy, making it a perfect addition to your collection for any festive season or special occasion. Whether used as a heartwarming ornament, a thoughtful gift topper, or a gentle keepsake, it exudes a timeless beauty that complements both traditional and contemporary décor.
Festive Crochet Little Angel Free Pattern with Pretty Wings
The Crochet Little Angel Pattern offers a harmonious blend of softness and structure. Its snug fit ensures the angel holds its shape beautifully, while the choice of fine threads provides comfort in your hands as you create. Ideal for winter holidays such as Christmas or as a year-round symbol of peace and hope, this angel effortlessly enhances any setting - from hanging on a Christmas tree to brightening up a cozy nook or even paired with other handmade decorations.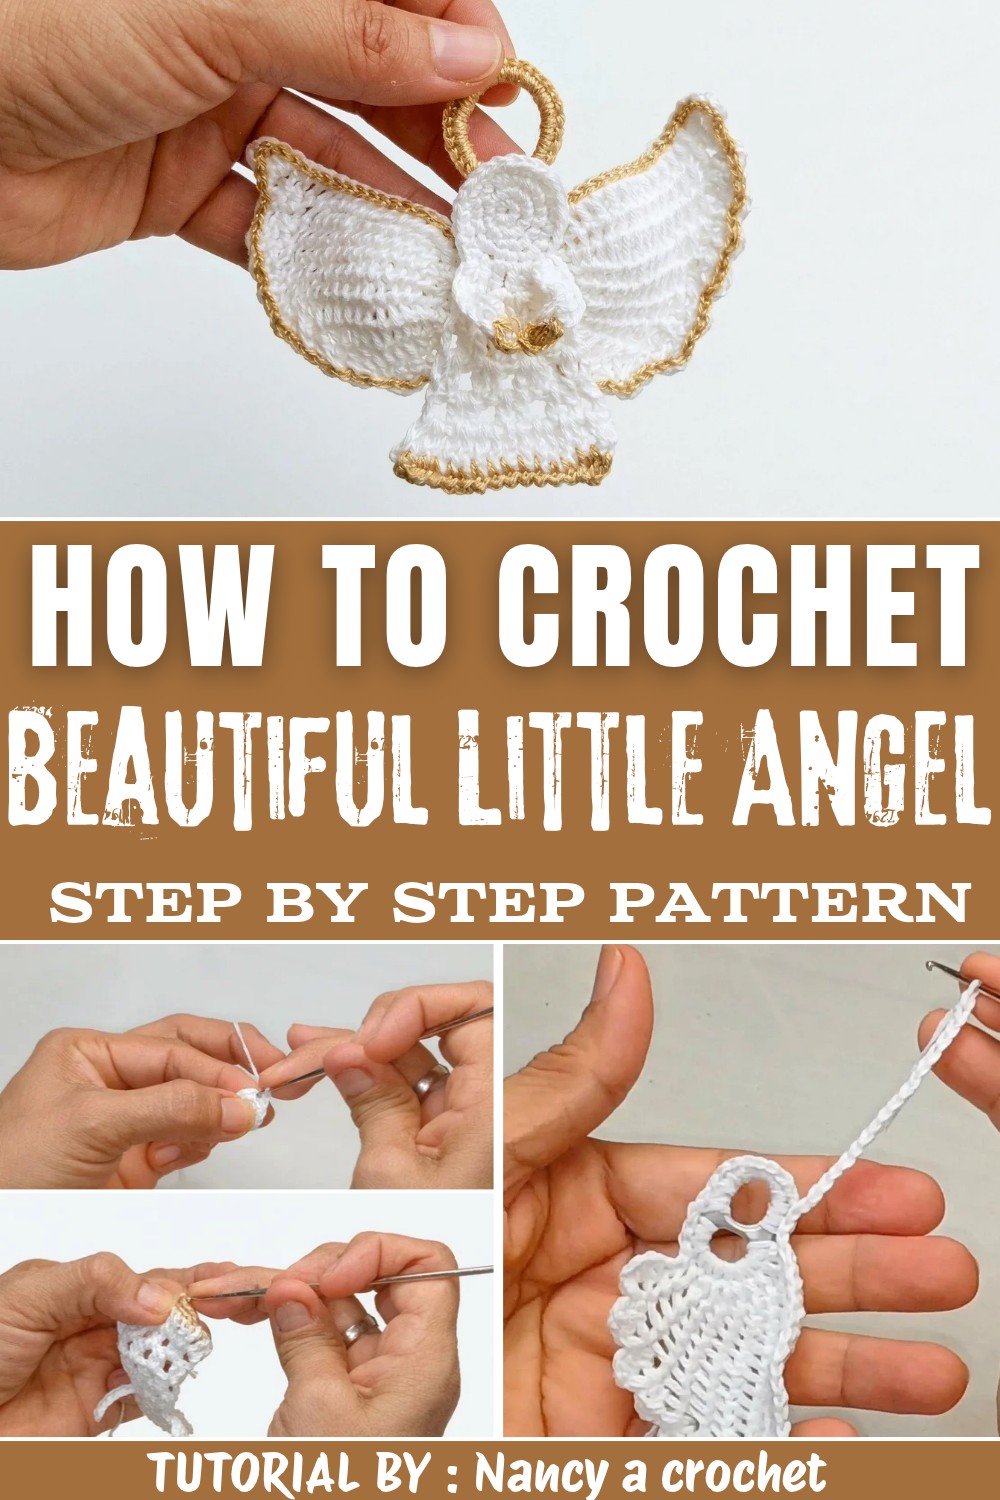
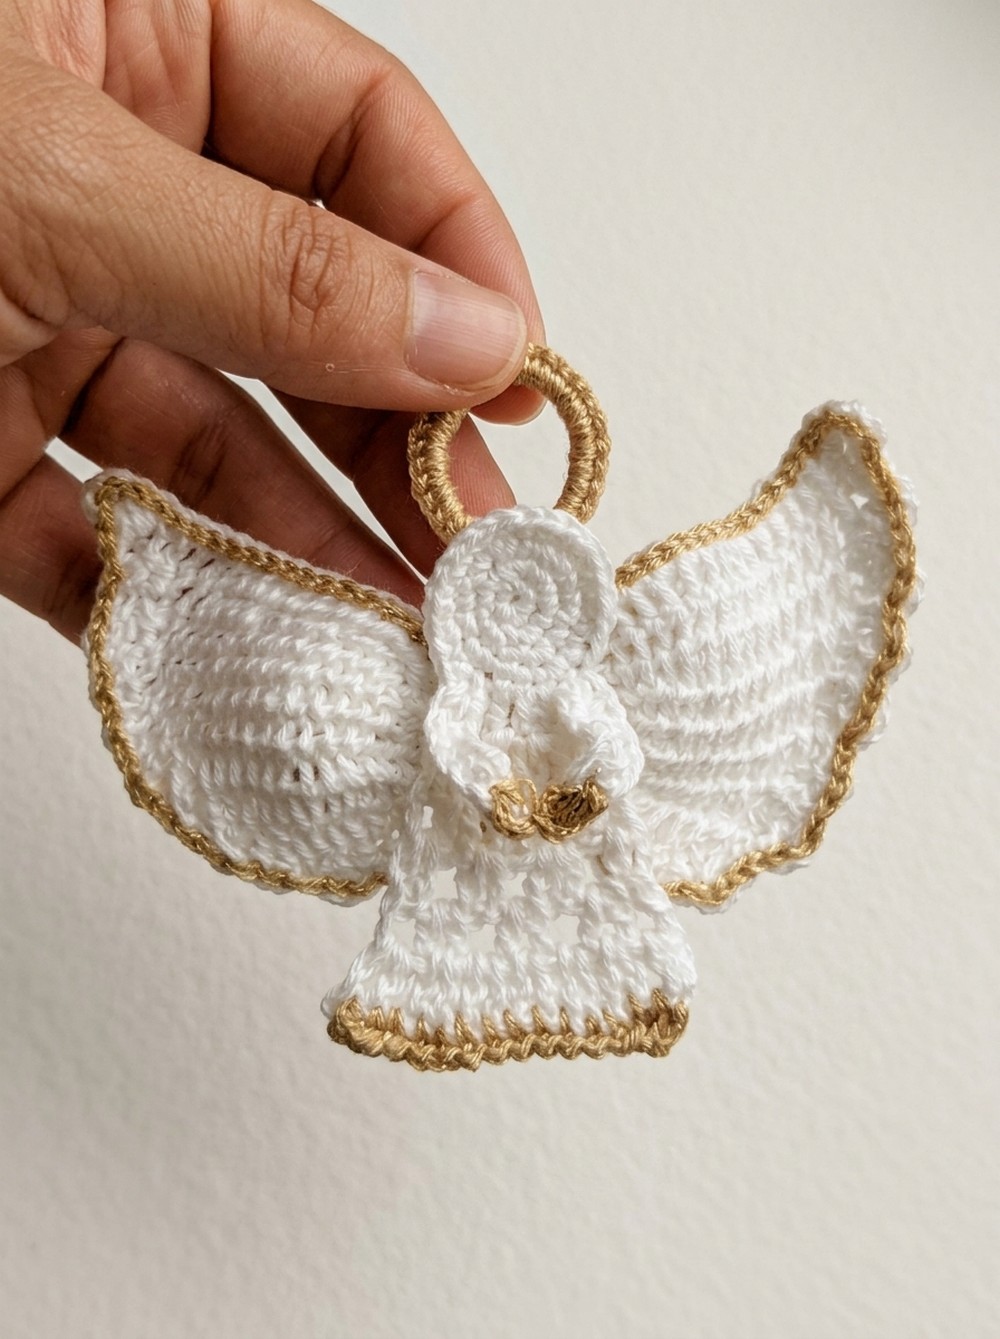
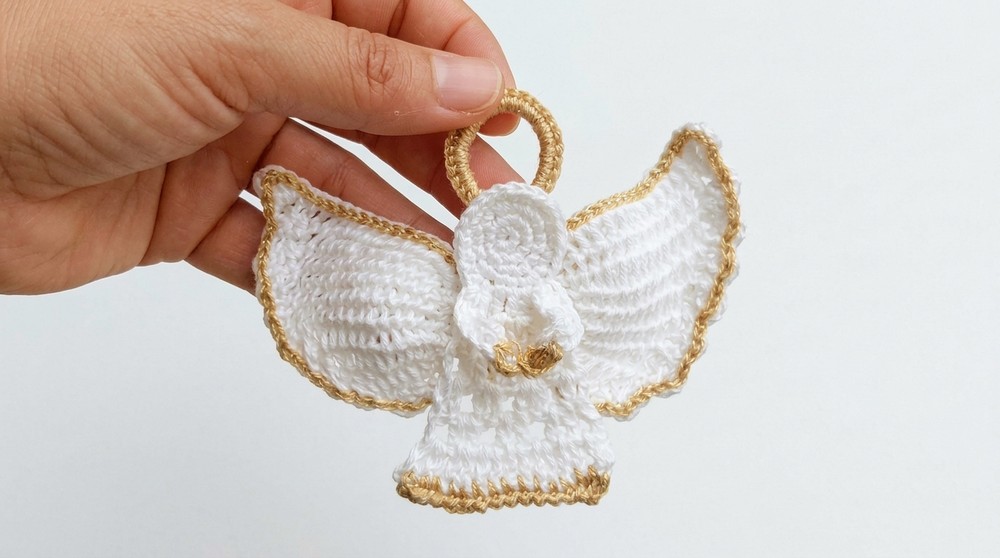
Texturally, this design boasts intricate detailing that invites closer admiration. The wings, crocheted with precision, feature delicate loops and layered stitches that give an airy, ethereal feel reminiscent of fluttering feathers. The body and head are smooth yet subtly contoured, creating a pleasing contrast against the ornate halo and accents. A touch of metallic thread edging adds a subtle sparkle, enhancing its elegance without overwhelming the gentle aesthetic.
With its charming silhouette and exquisite textures, this Crochet Little Angel Pattern not only inspires creativity but also invites you to infuse your space with warmth and spirituality. Dive into the full tutorial to unlock the step-by-step journey of creating your own angel, and experience the joy of bringing this beautiful design to life.
Graceful Crochet Little Angel Free Pattern
This guide walks through each phase of constructing a small crocheted angel ornament, using cotton yarn, metallic gold detail, and repurposed can tabs for the wings. Careful instruction is provided from the head and body, through arm and skirt formation, to the assembly of a halo and feathery wings. Each round and sequence is crocheted to provide clarity, accessibility, and elegance, ensuring the ornamental angel is sturdy yet intricate. Detailed shaping, decorative gold trim, and the clever use of can tabs result in a handmade keepsake suitable for festive décor or gifting.
Quick Overview of Pattern
- Amigurumi-style head and body worked in increasing rounds.
- Arms crocheted seamlessly into the body.
- Dress/skirt created with chained edges and double crochet to mimic flowing fabric.
- Halo constructed as a closed ring, sewn to the head.
- Wings shaped around can tabs, finished with fluffy feathered stitches.
- Metallic gold edging applied to add definition and festive flair.
- Assembly brings all elements together for a balanced final ornament.
Notes
- Always work with two strands of 1 mm cotton yarn unless otherwise stated.
- Consistency in stitch height and tension ensures a neat, uniform angel.
- The video demonstrates neat ways to finish and weave in ends-follow visual cues for best results.
- Double-strand yarn technique adds durability and structure.
- Gold yarn may be temperamental; handle gently and test for the desired effect.
Skill Level
Confident beginner to intermediate
Familiarity with amigurumi basics, working in the round, foundation rings, and simple colorwork recommended.
Materials
- White cotton yarn, 1 mm thick (worked using 2 strands)
- Metallic gold yarn (brand optional)
- Small can tabs from beverage cans (for wings)
- 1.7 mm crochet hook
- Yarn needle
- Scissors
Measurements / Sizing
- Angel height: approximately 6-7 cm (2.5-2.75 inches)
- Wingspan: governed by width of can tabs (approx. 3-4 cm each)
- Halo diameter: as preferred, typically 1-1.5 cm
Gauge
As this is an ornament, gauge is not critical. Ensure a firm, tight stitch to help maintain shape and prevent stuffing from showing.
Stitch Abbreviations
| Abbreviation | Stitch |
|---|---|
| MR | Magic Ring |
| ch | Chain |
| sl st | Slip Stitch |
| sc | Single Crochet |
| hdc | Half Double Crochet |
| dc | Double Crochet |
| inc | Increase (2 stitches in 1 st) |
| st(s) | Stitch(es) |
Special Stitches
- Crab Stitch: Reverse single crochet, worked from left to right to produce a twisted, corded edge-perfect for finishing.
- Feather Cluster: Yarn overs with loops drawn up in sequential stitches before being pulled through together, forming a puffy, 'cloud' effect.
- Gold Edging: Slip or single crochet bordering, topped with crab stitch.
The Crochet Pattern
1. Head and Body
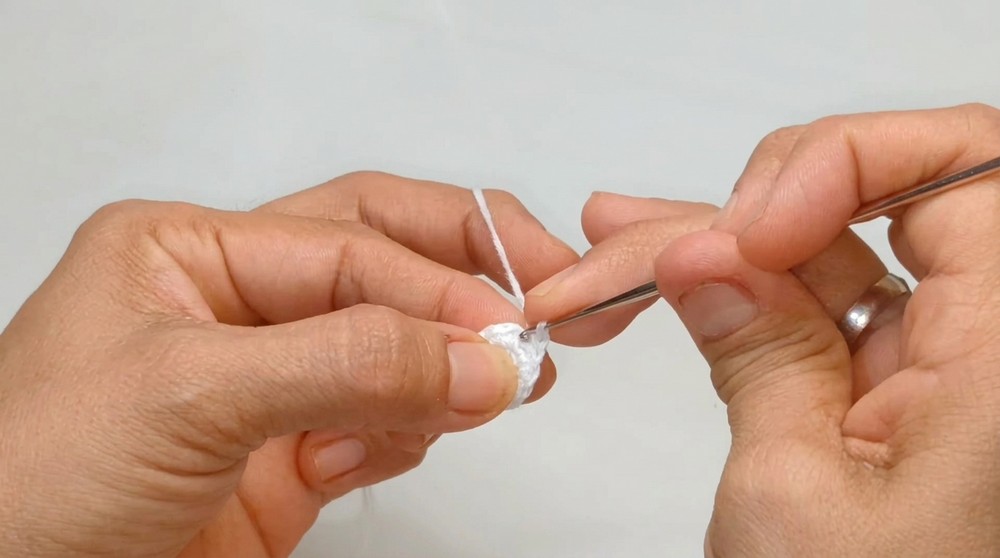
Magic Ring Foundation:
- Using two strands of 1 mm white cotton and a 1.7 mm hook, form a MR.
Round 1:
- Make a safety stitch.
- Work 6 sc (half double crochet) into the ring.
- Pull tight and close with a sl st. (6 sts)
Round 2:
- Ch 1 for height.
- Work 6 inc (2 sc in each st) around.
- Finish round with 12 sc. (12 sts)
- Use the yarn tail as a stitch separator.
Round 3:
- (1 sc, inc) repeat 6 times.
- Work around to end with 18 sc. (18 sts)
Round 4:
- (2 sc, inc) repeat all around.
- Work to complete 24 sc. (24 sts)
Shaping the Arms
First Arm:
- 7 sc along body edge.
- Ch 2 for arm length, count back to 2nd ch, and work 3 sc (using both strands as required).
- Continue with sc down the side until you reach the point at which the arm joins the body.
- Sl st to secure.
Second Arm:
- Work 2 sc, ch 1, skip a stitch, then 2 sc, sl st to anchor.
- 7 sc along edge for the other arm.
- Ch 2, count back to 2nd chain, work 3 sc as with first arm.
- Finish this round, sl st in the middle to anchor.
Dress/Skirt Edging
Turn the work so the lower edge is ready for the skirt flare.
Row 1:
- Ch 2 for height.
- Work dc, then add a ch 1 between sets of dc across the round base to set up a widening skirt.
- Alternate dc and ch 1 spacing to increase fullness.
Row 2:
- Turn, ch 3 to rise.
- Continue alternating dc and ch 1, skipping some base stitches if necessary to encourage flare.
- Work across to widen and add movement to the skirt.
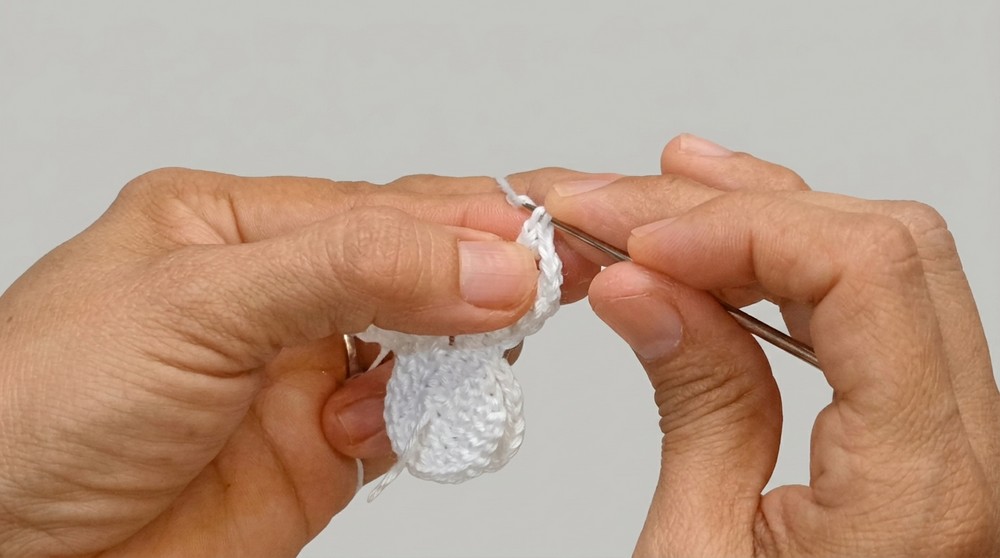
Row 3:
- Continue the previous pattern, placing dc and ch 1 all the way around, always working into open spaces from the prior row outline.
- Fasten off, cut your white yarn.
Halo Construction
- Wind white thread around your finger 5-6 times to form a small round loop.
- Fill the whole ring with sc packed closely, working around the loop until no base can be seen.
- Sl st to close, ch 1 to secure, and cut the thread.
- Position the halo atop the head and sew in place with your needle, hiding ends and securing tightly.
The Wings (Using Can Tabs)
Prepare Each Tab:
- With white yarn, make 12 sc into holes on one side of the can tab, then 12 sc on the opposing side (24 sc total around the tab's full loop).
- Sl st to close the round and sl st across next 3 sts to begin feathering.
Wing Feather Texture:
- Ch 4, yarn over, enter 3rd ch to make an unfinished dc-leaving the last loop on the hook.
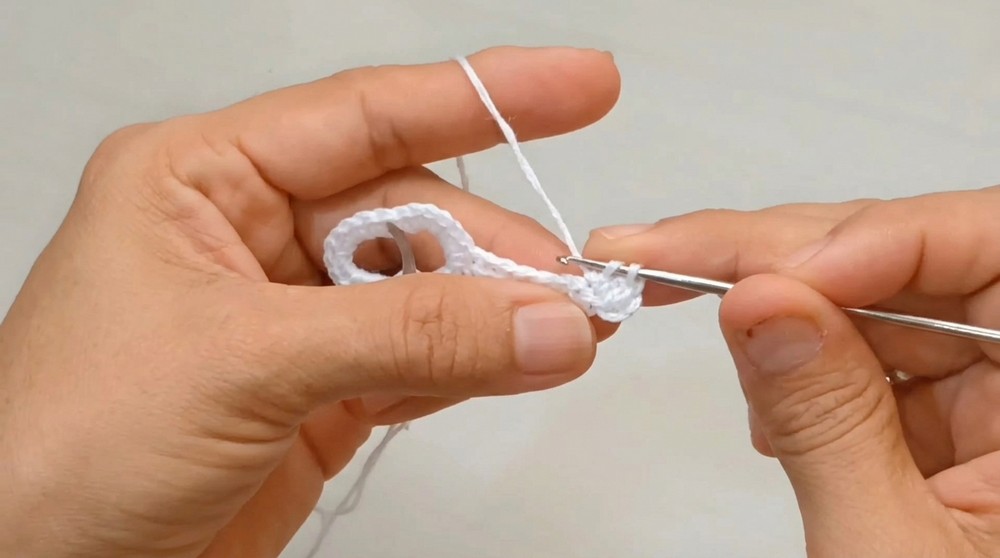
- Pick up further loops from behind as instructed, drawing them out sequentially, building up a cluster.
- Draw through all loops to complete the fluffy feather segment.
- Repeat this sequence (chain and cluster) across the curve, forming roughly 9-10 feathered 'cloud' shapes.
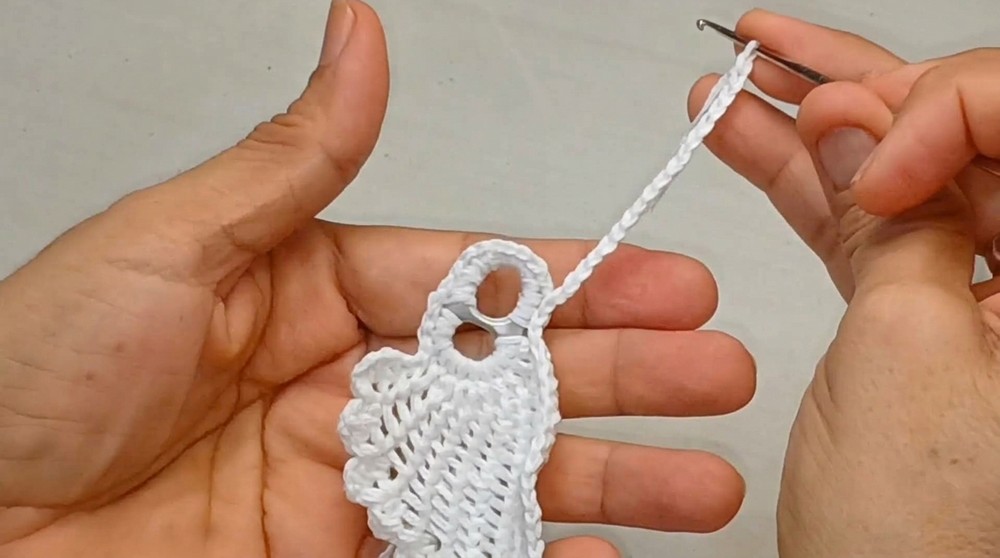
- For the second wing, start on the other side and/or reattach yarn as needed to ensure both wings' right sides match.
Gold Trim and Assembly
Gold Edging:
- Attach the gold metallic yarn to the outside edge of each wing and around the skirt's lower border.
- Work sl st or sc for the first round of decorative edging.
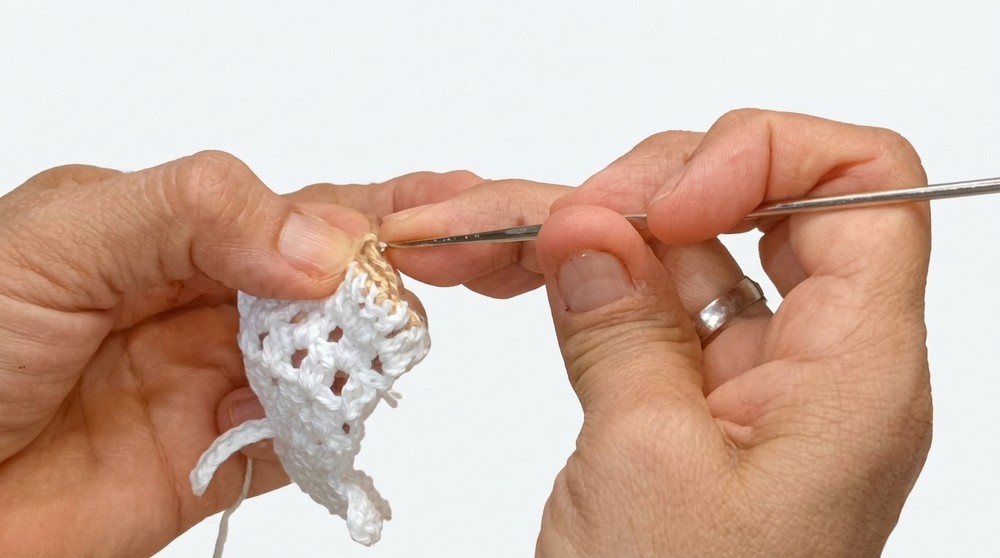
- Over this, add a round of crab stitch (reverse sc) from left to right for a distinguished, roped appearance.
- Fasten off, weave in any stray threads for a neat finish.
Assembly & Finished Size
- Place wings behind the angel's body, ensuring fluffed feather side faces outward.
- Fold or arrange wings neatly to preference.
- Sew wings firmly in place using white or gold yarn, with an even and concealed seam.
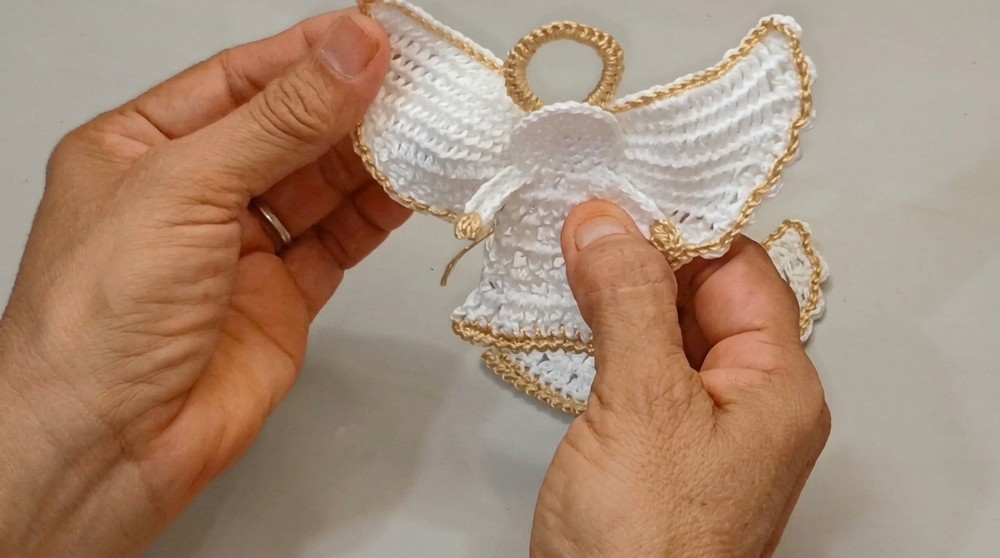
- Attach the halo by sewing to the head's crown.
- For ornament display, crochet a small loop chain or discretely attach a magnet for alternate use.
- Typical finished size: height 6-7 cm, wingspan 7-8 cm.
Conclusion and Ending Words
Through systematic rounds and textured techniques, this angel pattern guides every stage of assembly with clarity and attention to structure. By combining basic increases, sculpted details, and elegant gold trim, the result is a decorative piece showcasing both resourcefulness (with upcycled can tabs) and handmade finesse. Ornamentation such as the fluffy halo and feathered wings enhance the angel's character and grace, making the finished project both charming and substantial. Each section flows logically, providing confidence even for crocheters newer to sculptural or mixed-media projects. With steady hands, thoughtful transitions, and careful finishing, these angels become treasured accents for festive displays, gifts, or collections, embodying both the joy and tradition of handmade crochet.