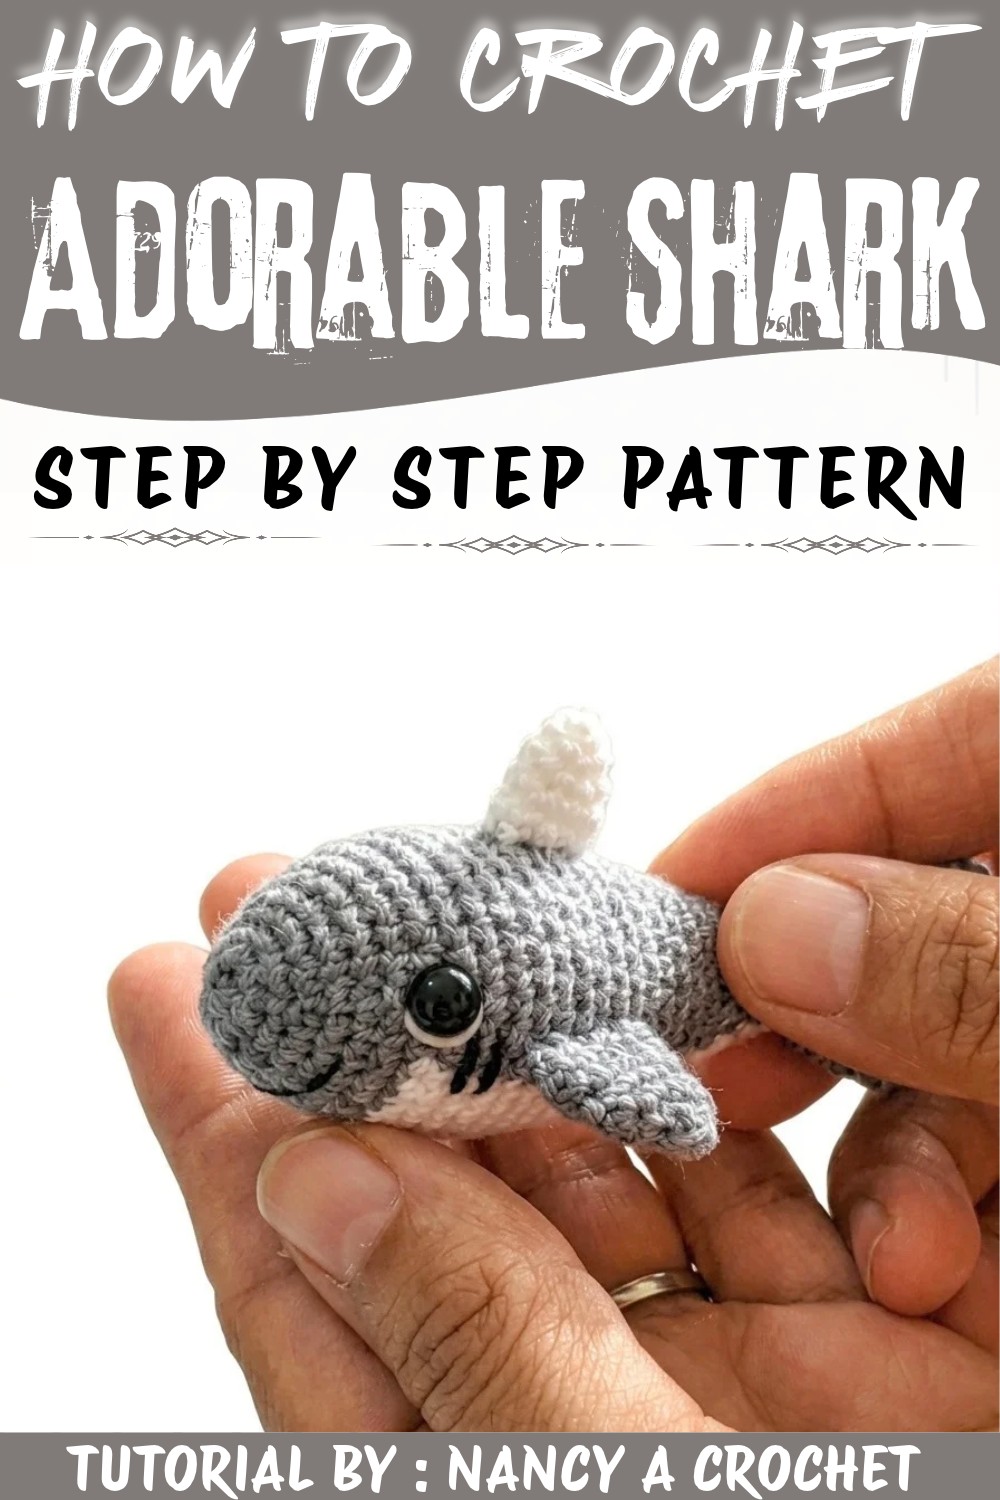
Try the Crochet Tiny Shark Free Pattern for a playful little swimmer with a cute tail, ideal for room decorations and birthday surprises.
Finding a delightful little companion that brings a splash of ocean charm right into your home or gift-giving routine. This is exactly what the Crochet Tiny Shark Pattern offers-a small, endearing shark made from yarn with a soft and inviting texture. Thanks to the detailed tutorial by Nancy a crochet on YouTube, this project is accessible and fun for anyone who enjoys creating unique decorative items. The Crochet Tiny Shark Pattern showcases a lovable and compact shark, perfect for brightening up any space or surprising a loved one with a thoughtful handmade gift.
Kawaii Crochet Tiny Shark Free Pattern With Cute Fins
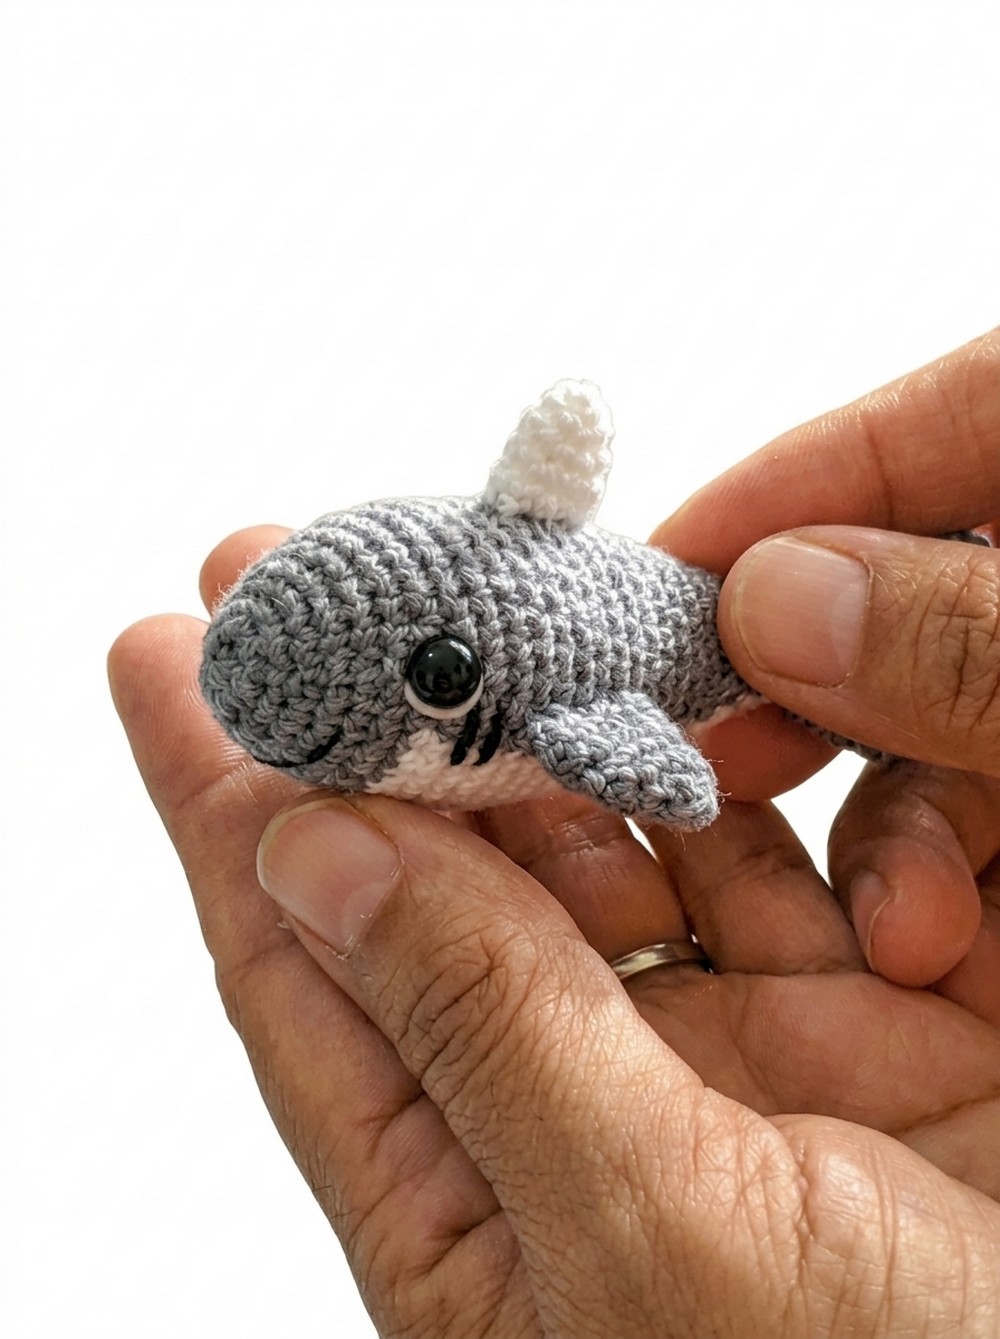
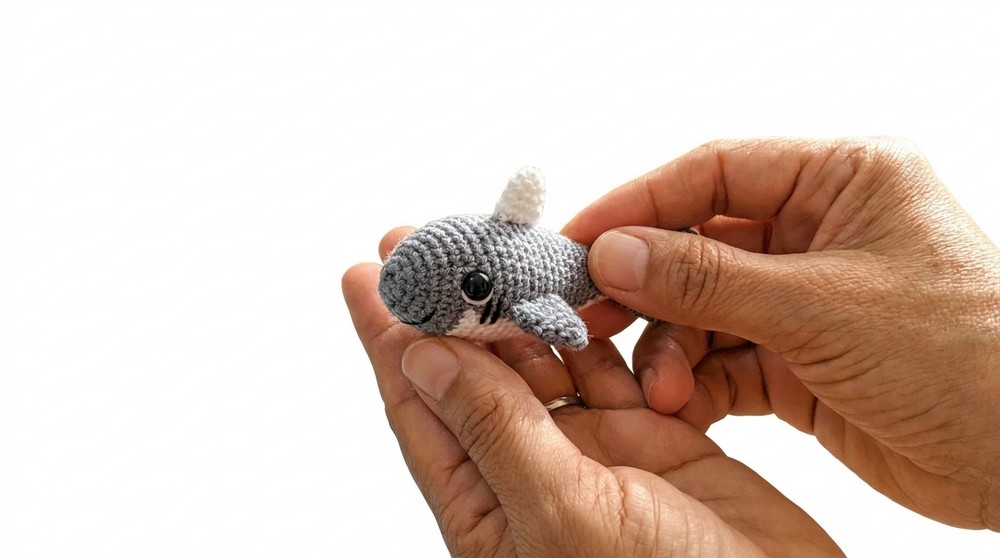
This tiny shark is beautifully designed with a rounded, plump body that fits comfortably in your palm, textured with neat, tight stitches that create a smooth but tactile surface. Its shape is charmingly realistic yet whimsical, featuring distinct fins and a tail that bring the little shark to life. The pattern's standout elements are the color changes that highlight the shark's underbelly and back, giving it a lively and dynamic appearance. Its size and softness make it a perfect buddy for children as a toy or a quirky, eye-catching decoration for shelves, desks, or nurseries.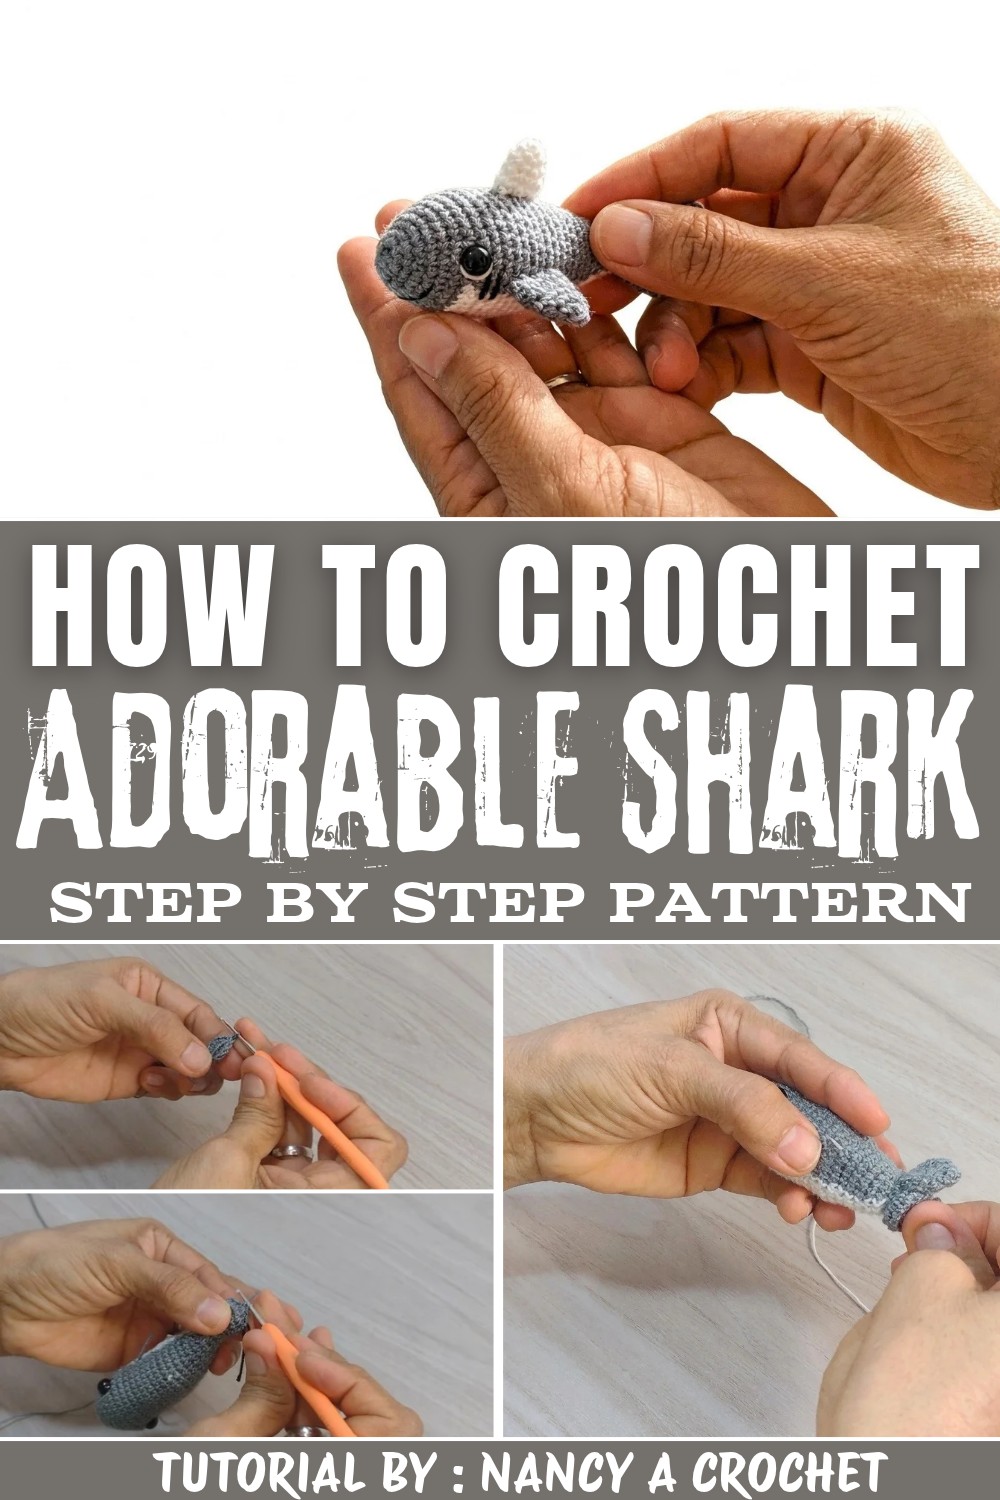
The Crochet Tiny Shark can brighten any occasion, from birthdays to baby showers, or simply act as a cheerful accent in your living room or office. Its compact size means it's easy to place almost anywhere, offering a touch of personality and warmth without overwhelming the space. This tiny fish also encourages creativity and joy, reminding us of the wonders of the ocean and the fun of handmade treasures. Whether as a playful keepsake or a cozy decoration, it truly adds a unique charm to everyday life.
Adorable Crochet Tiny Shark Amigurumi Free Pattern
This project demonstrates how to crochet a charming amigurumi shark, closely following the step-by-step instructions shown in Nancy's tutorial. The process begins with the construction of the main body using a magic ring, progresses through a seamless color change to shape the belly, and includes specific shaping for the tail, lateral, and dorsal fins. Notably, safety eyes are incorporated for facial detail, and the assembly method yields a final piece with structurally neat finishes and classic features.
Quick Overview Of Pattern
- Main body created in continuous rounds using half double crochet.
- Incorporated color changes for the white belly panel.
- Stepwise rounds introduce increases and later decreases.
- Tail is split and worked seamlessly in two flaps.
- Safety eyes are inserted during shaping for a professional look.
- Lateral (side) and dorsal (top) fins are crocheted separately and sewn to finish.
Notes
- Tight, even stitches help the shark maintain shape and keep fiberfill hidden.
- The color change is performed directly within a stitch, switching from gray to white for the belly.
- A stitch marker, or the yarn tail, keeps track of round beginnings.
- Safety eyes are anchored and secured on the inside before final decreasing.
- Use the same type and brand of yarn throughout for the best finish and proportions.
Skill Level
Confident Beginner to Intermediate:
Requires comfort with amigurumi basics, increasing, decreasing, color changes, and assembly of components.
Materials
- Yarn: Medium weight mercerized cotton or wool in gray and white
- Crochet Hook: 1.75 mm (as used in the tutorial); adjust for yarn thickness if necessary
- Accessories & Tools: Stitch marker, tapestry needle, scissors, fiberfill, safety eyes
Measurements / Sizing
- Completed shark length: approximately 12-15 cm
- Proportions may vary with your yarn and hook
Gauge
- Tight amigurumi-style; exact gauge not critical as long as stitches are firm and stuffing is well-contained
Stitch Abbreviations
| Abbreviation | Full Term |
|---|---|
| MR | Magic Ring |
| ch | Chain |
| sl st | Slip Stitch |
| sc | Single Crochet |
| hdc | Half Double Crochet |
| inc | Increase (2 stitches in same st) |
| dec | Decrease (2 stitches together) |
| st(s) | Stitch(es) |
Special Stitches
- Invisible Decrease: Insert hook in front loop of each of the next two stitches, yarn over, pull through two loops, yarn over, pull through final two loops.
- Color Change on the Last Yarn Over: Before finishing the last stitch before a color change, wrap the new color over and finish the stitch with the new yarn.
The Crochet Pattern
Main Body
Magic Ring & Base Rounds
- Form a Magic Ring: Place yarn on finger, form an "X", insert hook, pull yarn, and make a safety stitch.
- Work 6 sc into the magic ring.
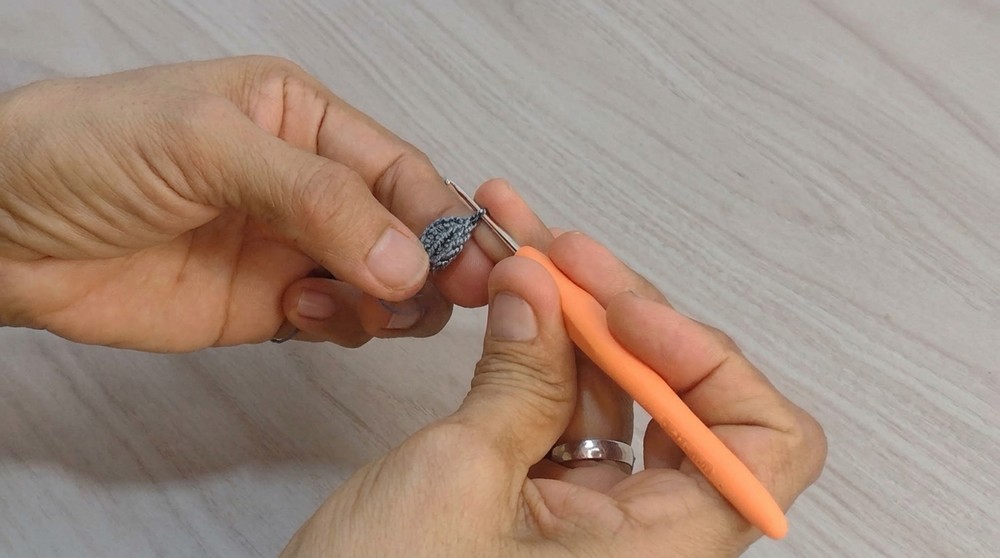
- Sl st to close. Ch 1 for height. Place a stitch marker in the first sc.
- Round 2: Work 6 inc (12 sc total): 2 sc in each st around.
- Round 3: 1 sc in each st around (12 sc).
- Round 4: (1 sc, 1 inc) repeat around-finish with 18 sc.
- Round 5: 1 sc in each st around (18 sc).
- Round 6: (2 sc, 1 inc) repeat-24 sc.
- Round 7: 1 sc in each st around (24 sc).
- Round 8: (3 sc, 1 inc) repeat-30 sc.
- Round 9: 1 sc in each st around (30 sc).
Round 10 (Color Change for Belly):
- Before finishing the last gray sc, switch to white yarn, finishing the stitch with the white to begin the color change.
- Work (4 sc, 1 inc) × 2 with white for the belly area (10 sts total), carrying gray along.
- Switch back to gray yarn, complete the remaining 20 sc in gray around the body. Close the last st with white yarn.
- Rounds 11-14: 1 sc in each st around in established color (gray on back, white on belly).
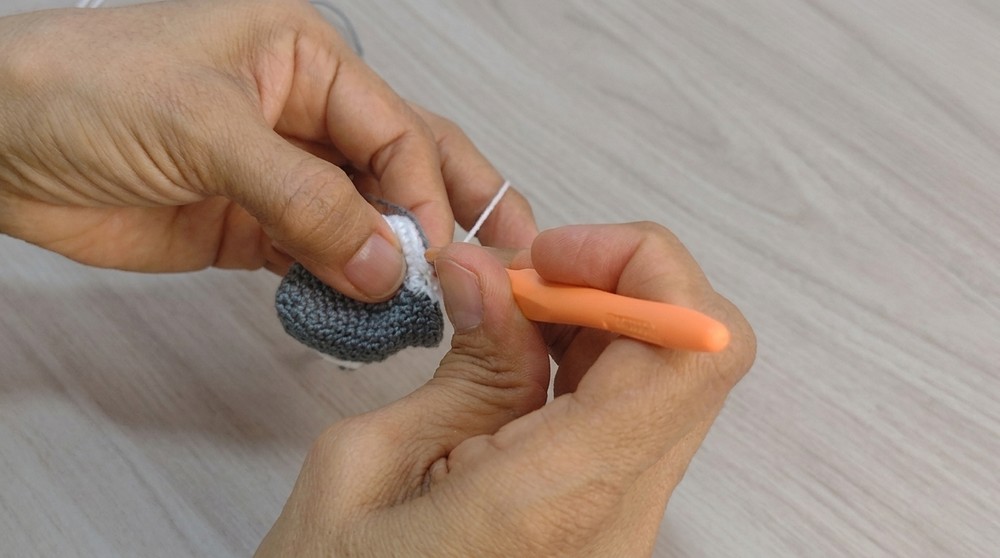
Round 15 (Start Decreases):
- On white area-4 sc, 1 dec, repeat once.
- Continue in gray, working decreases as needed to finish with 24 sc.
- Close the final stitch with white yarn.
- Rounds 16-17: 1 sc in each st around (30 sc).
Round 18 (Place Eyes and Further Shaping):
- Before decreasing, fold the body so white belly is centered underneath.
- Locate the start of the white segment, count upward 3 rows, and insert safety eyes on either side of the belly, securing by melting or fastening the washers inside.
- Switch to white yarn. Work (3 sc, 1 dec) around-ending with 24 sc.
- Rounds 19-20: 1 sc in each st around (24 sc).
- Rounds 21-23: Switch to white. (2 sc, 1 dec) around (18 sc).
- Rounds 24-26: (1 sc, 1 dec) around, finish with 12 sc after round 26. Stuff the body firmly, especially into the nose tip.
Tail Section (Posterior Tail)
Joining and Dividing:
- Flatten the opening so 12 remaining stitches become 6 per side.
- Use the hook to join across, dividing the tail into two equal flaps; cut the extra yarn and weave it in.
Tail Fin Flaps (Repeat for Both Sides):
First Side:
- Join yarn to one half. Work 6 sc evenly along the open edge.
- In next round: 2 sc in each st (inc) around-12 sc*.
- Rounds 2-4: 1 sc in each st (12 sc per round).
- Round 5: (1 sc, 1 dec) around to finish with 8 sc.
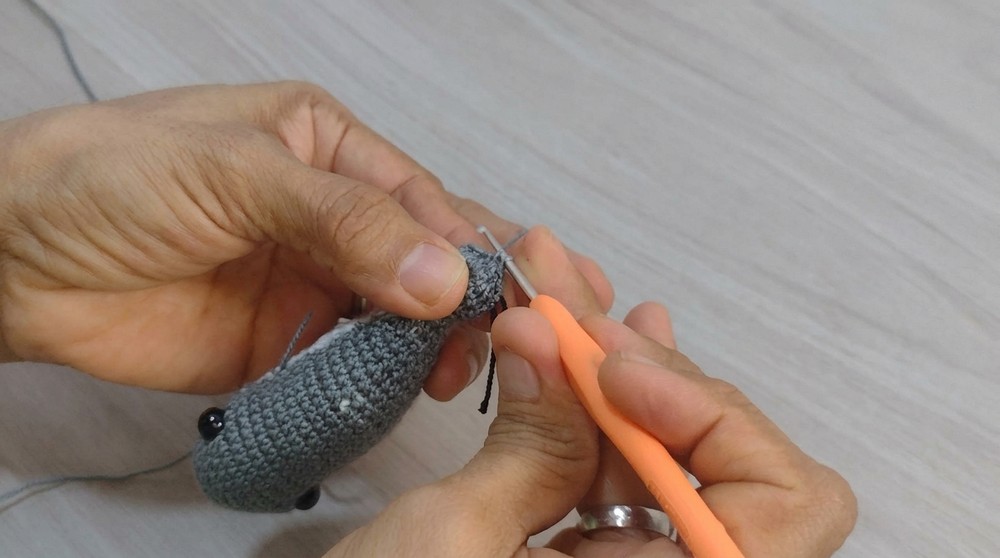
- Final finishing: 4 dec (invisible decrease) around, leaving 4 sc.
- Cut yarn, use tapestry needle to weave end in securely.
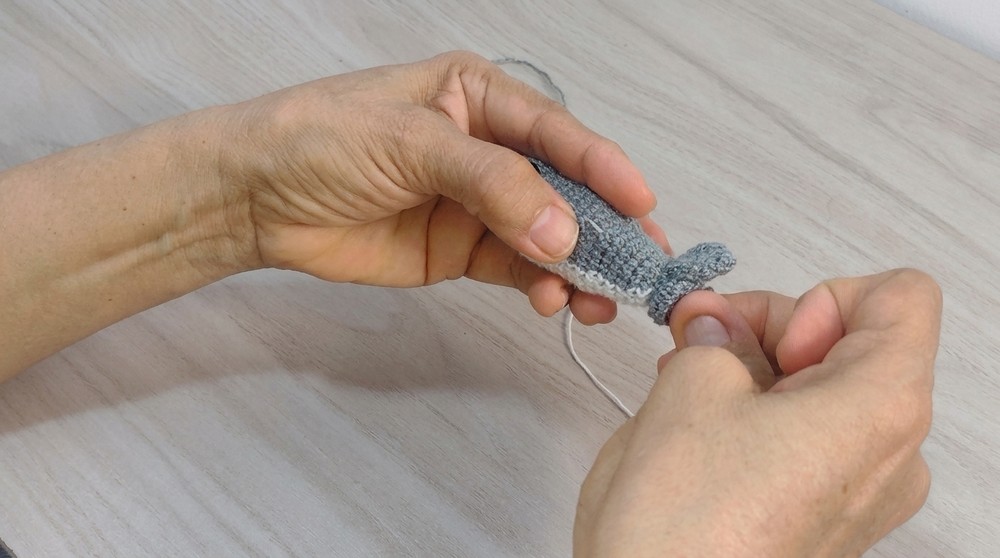
Repeat exactly for the other tail flap.
Lateral Fins (Make 2)
- Foundation: Magic ring; 6 sc into ring. Close with sl st, ch 1, place marker.
- Round 2: 6 sc in each st around (6 sc).
- Round 3: (1 sc, 1 inc) around-9 sc.
- Round 4: (2 sc, 1 inc) around-12 sc.
Rounds 5-6:
- 1 sc in each st around (12 sc per round).
- Close with sl st. Cut yarn, leaving a long tail for sewing.
- Repeat for second fin.
Dorsal Fin (Top Fin)
- Foundation: Magic ring, 5 sc into ring, pull tight, sl st to close.
- Round 2: (1 sc, 1 inc) around-7 sc.
- Round 3: (2 sc, 1 inc) around-9 sc.
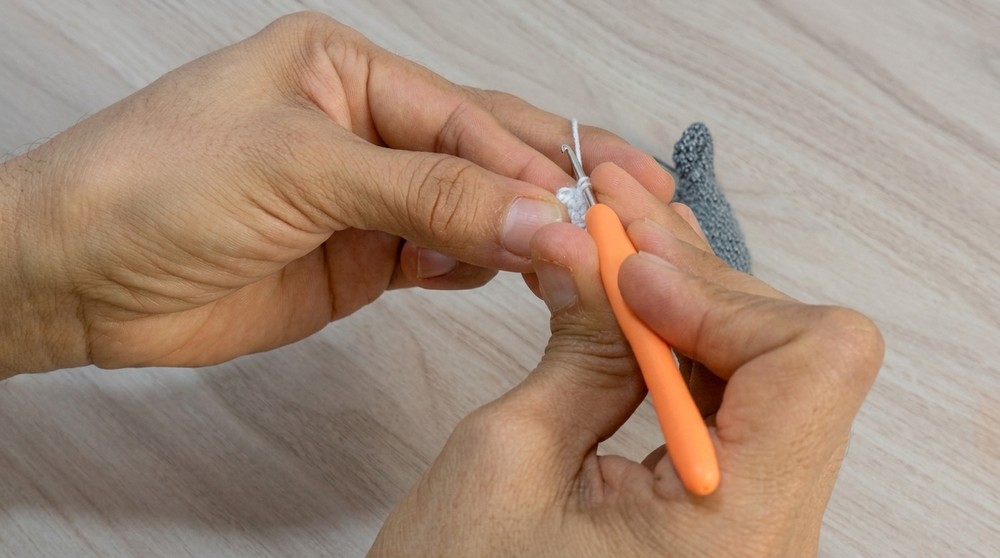
- Round 4: (3 sc, 1 inc) around-11 sc. Fasten off, leave long yarn tail for sewing.
Assembly & Finished Size
- Stuff main body and tail firmly.
- Sew lateral fins to each side, positioned about midway down the body.
- Attach dorsal fin at the precise top centerline.
- Secure any remaining ends, hide all threads for a neat result.
- The finished shark measures approximately 12-15 cm, depending on yarn, hook, and stuffing.
Conclusion and Ending Words
Clear attention to detail at each step provides a robust structure and ensures each feature of this amigurumi shark stands out distinctly. Executing secure color changes, mindful stuffing, and precise fin placement results in an appealing and expressive figure. By maintaining even tensions and following natural shaping guidelines, the project achieves a consistently neat finish and enjoyable proportions. Each component, from the seamless tail flaps to the firm dorsal fin, enhances both the tactile quality and playful appearance of the final shark. When completely assembled, the toy offers a cheerful presence as a desk accessory, gift, or playful handmade addition to any amigurumi collection. This pattern supports steady progress from foundational techniques to final assembly, resulting in an amigurumi project with lasting appeal.