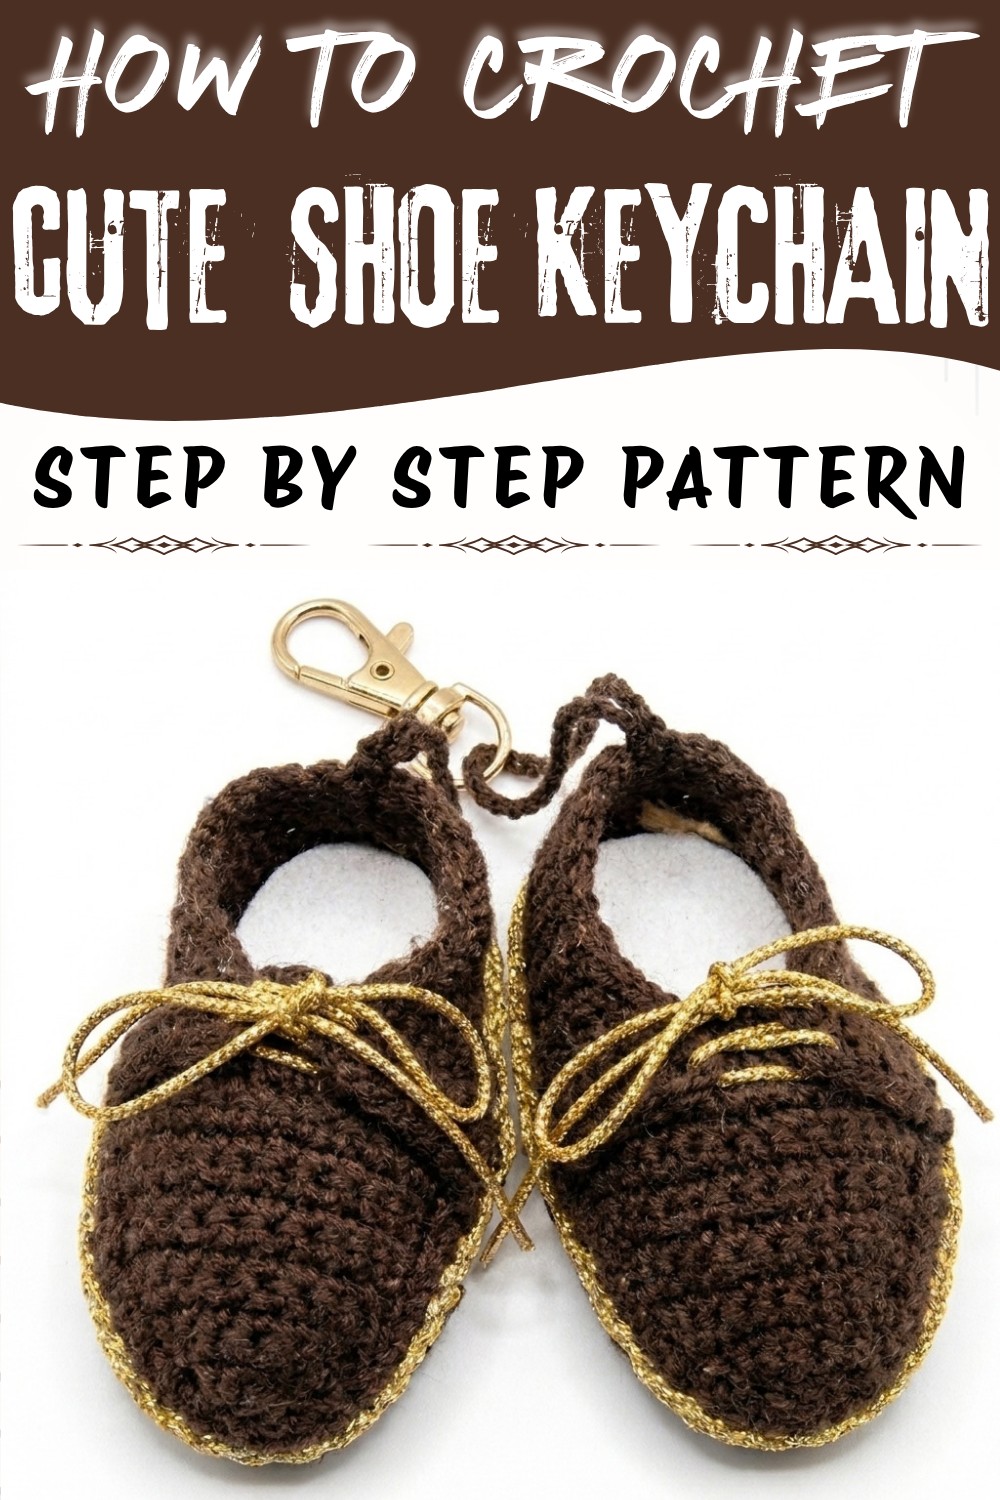
Give your keyring a playful update with this Crochet Shoe Keychain Pattern and enjoy a footwear charm that adds personality to your style.
Tiny and colorful, this crochet shoe keychain is a charming little piece that can brighten up your everyday items. Whether attached to your backpack, keys, or purse, it adds a touch of personality and cheer wherever it goes. With its cute shape, bright colors, and neat stitches, this mini sneaker-like shoe is both fun and functional, making it a delightful accessory for anyone who loves unique and playful touches in their daily routine.
Sweet Crochet Shoe Keychain Free Pattern with a Miniature Look
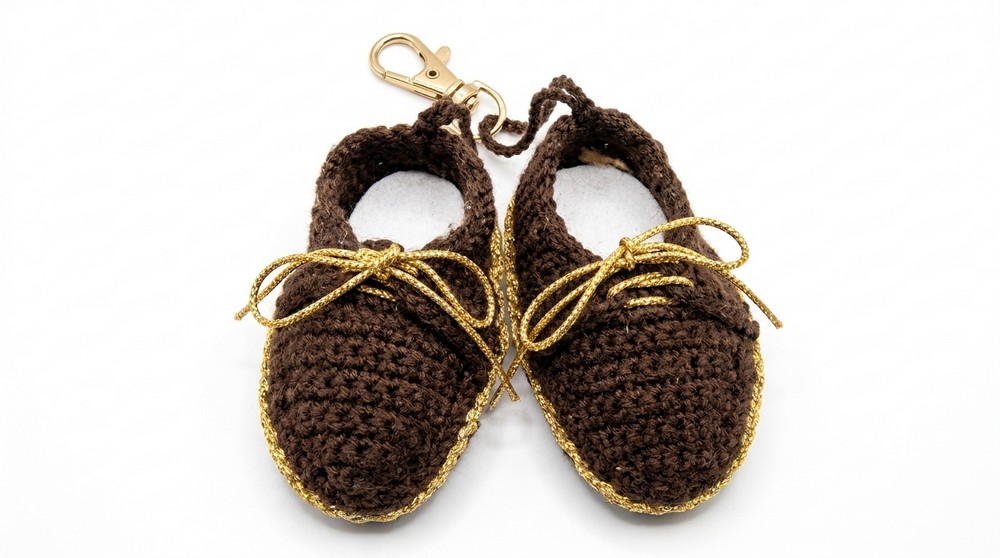
Nancy, from the channel Nancy a crochet, offers the Crochet Shoe Keychain Pattern that guides you through making one of these sweet little shoes. The finished product looks like a small tennis shoe with a well-formed sole, front, and back. Using this pattern allows you to pick your favorite colors and sizes to suit your style, whether you prefer bold hues or soft pastels, or even a mix of both. You can also personalize it further by adding small details like laces or simple decorations to make each shoe stand out.
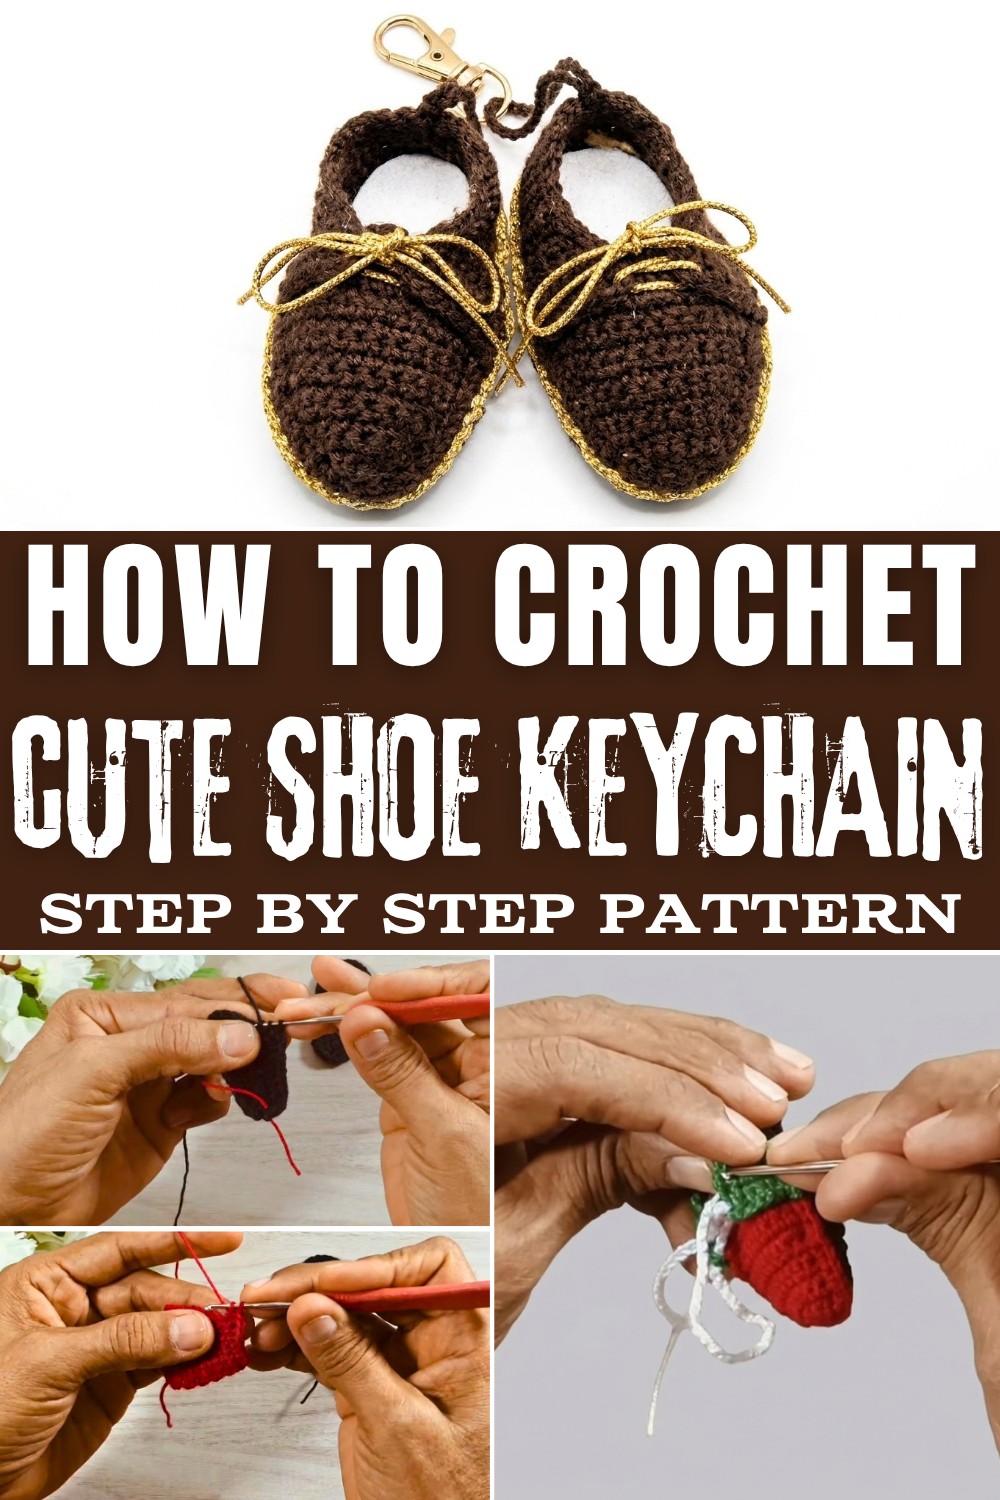
This shoe holds its shape nicely and is sturdy enough to hang on your keys without losing its appeal over time. Its tiny size makes it easy to carry around, and it can also be a cute, inexpensive present for friends or family members who appreciate handmade touches. Beyond its practical use as a keychain, it can be a sweet ornament for bags or even a fun tag to identify different sets of keys.
The small details in this shoe, such as the heel and the sole design, give it an authentic feel despite its miniature size. It's a friendly and enjoyable project for anyone interested in a simple and charming accessory that doubles as a keepsake. The neat craftsmanship in every stitch shows great care and adds to the overall charm of the item. Take a look at the free Crochet Shoe Keychain Pattern and start your own little fun project today. This pattern is a wonderful way to add a cheerful detail to your belongings or to share as a heartfelt little gift.
Crochet Shoe Keychain Free Pattern
In this pattern, a pair of miniature crochet shoes-ideal for keychains-are demonstrated in a detailed, step-by-step manner according to the procedures featured in the referenced video. Using fine cotton or acrylic thread, a small hook, and basic notions, the shoes are worked in traditional and elongated stitches to form a layered sole, dimensional toe, structural heel, and trim details. This pattern remains flexible regarding colors and allows optional reinforcement with cardboard or plastic for lasting shape and function. The instructions below accurately follow the spoken guide without deviation. Upon completion, the result is a decorative, practical accessory that captures the essential details and charm of classic sneakers on a small scale.
Quick Overview Of Pattern
- Construct two flat soles for each shoe, worked in turned rounds with structured increases and a border
- Form the front (toe) section worked in rows, with gradual increases, ending in an edged shape
- Build the elongated heel and strap, shaping the back and sides to wrap around the sole
- Optional: Craft three small heel tabs for structural detail and stability
- Create shoe laces and an espadrille-style sole trim
- Finish with hand sewing, gluing, and secure attachment for a keyring
Notes
- Black or dark thread may make stitches difficult to see; patience is recommended for identifying each loop.
- Maintaining careful counts for increases and decreases as outlined will preserve symmetry and achieve a realistic shoe shape.
- The form is easily altered by switching yarn colors to mimic various sneaker styles.
- Optional cardboard or plastic templates may be inserted between the sole pieces before complete assembly for enhanced firmness.
Skill Level
- Intermediate: Familiarity with basic and special crochet stitches (sc, hdc, dc, tr, edc), increasing, decreasing, working in the round and flat, and basic assembly are essential for best results.
Materials
- 1 mm (or 0.75 mm for smaller finish) crochet hook
- 1 mm thick 1-ply thread or fine yarn in at least two colors (classic combinations: Red, Green, Black, and White or Cream)
- Stitch marker or separator
- Scissors
- Darning or tapestry needle
- Silicone glue or hot glue gun (optional for assembly)
- Cardboard or plastic for optional sole stiffener
- Keyring for final attachment
Measurements / Sizing
- Finished shoe measures approximately 5-6 cm in length, depending on yarn and hook size.
- Adjust thread weight and hook for smaller or larger shoes.
Gauge
- Gauge is not critical, but shoes should fit evenly together and the sole must remain flat. Maintain even tension for neatness.
Stitch Abbreviations
- ch: chain
- sl st: slip stitch
- sc: single crochet
- hdc: half double crochet
- dc: double crochet
- edc: elongated double crochet (pull through 1, then 2, then 2)
- tr: treble/deep double crochet (yarn over twice)
- inc: increase (2 stitches in one stitch)
- dec: decrease (single crochet two together)
Special Stitches
- Elongated Double Crochet (edc): Yarn over, insert hook, pull up a loop (3 loops on hook), yarn over, pull through 1 loop; yarn over, pull through next 2 loops; yarn over, pull through final 2 loops.
- Treble (tr): Yarn over twice, insert hook, pull up a loop, yarn over, pull through 2 twice, then finish through last 2.
- Increase/Decrease: Work two stitches in the same base stitch (inc), or combine two stitches into one (dec).
The Crochet Pattern
Sole (Make 2 pieces per shoe)
- Foundation Chain:
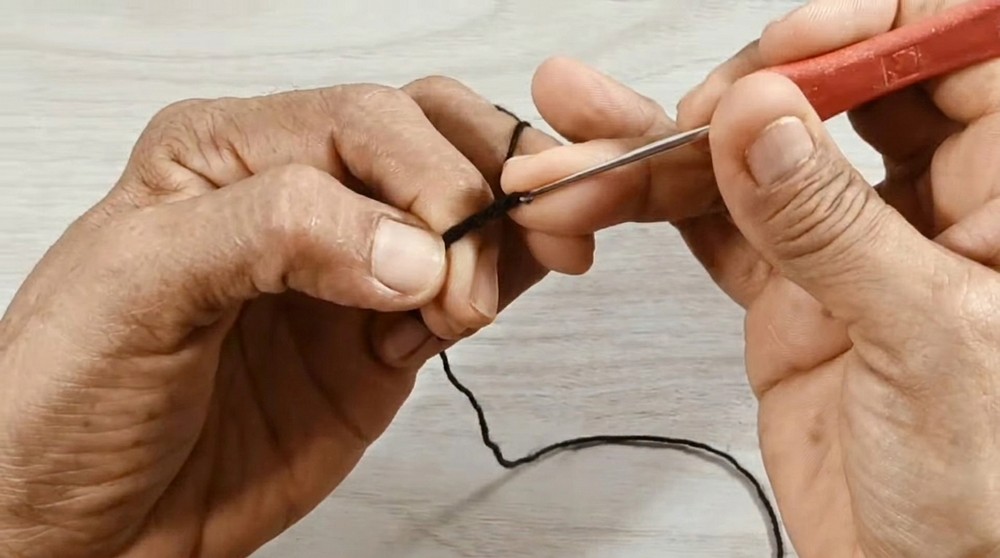
- Start with a slip knot, ch 15.
- Round 1:
- Begin in 2nd ch from hook.
- 1 inc (2 sc in that ch).
- 12 sc, one in each chain.
- 3 sc into last chain at tip.
- Now, working along opposite side of chain: 12 sc.
- 1 sc in base of initial inc.
- Place stitch marker to identify round's start and end. (Total: 30 stitches)
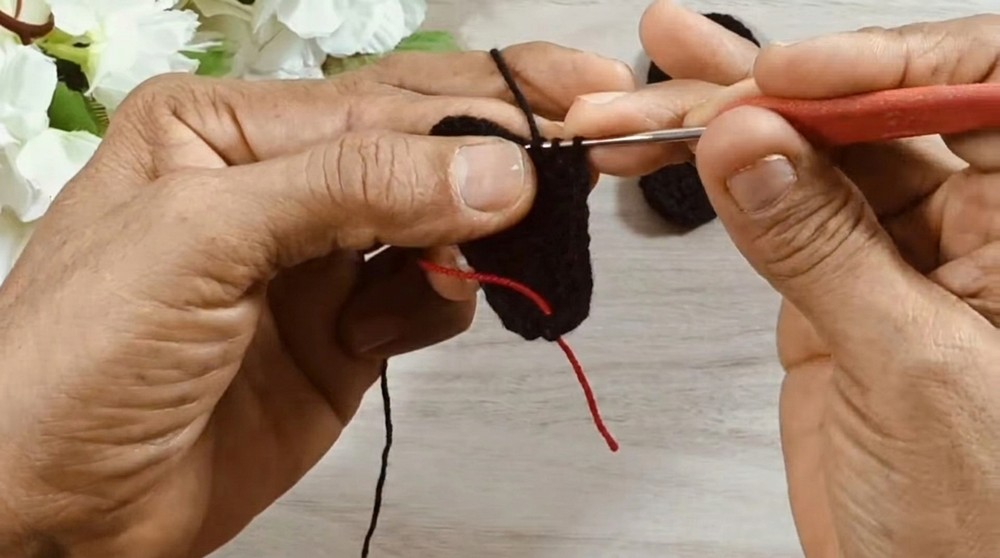
- Round 2:
- 1 inc (2 sc in same stitch),
- 3 sc,
- 1 hdc,
- 1 dc,
- 1 edc,
- 2 tr,
- 2 edc,
-
- 1 dc,
- 1 hdc,
- 1 sc,
- Work 2 inc (each an sc) at curve,
- 1 sc,
- 2 hdc,
- 1 dc,
- 3 edc,
- 1 dc,
- 1 hdc,
- 4 dc,
- 1 sc,
- 1 sc inc,
- 1 sc, sl st to join (Total: 34 stitches)
- Round 3:
- 2 sc inc,
- 5 sc,
- 1 hdc,
- 1 dc,
- 4 edc,
- 1 dc,
- 1 hdc,
- 3 sc inc at curve,
- 3 sc,
- 1 hdc,
- 4 dc,
- 1 hdc,
- 6 sc,
- 1 sc inc, sl st to close (Total: 42 stitches)
- Round 4 (Border):
- Work 42 sc evenly around edge to finish and firm up contour. Fasten off securely.
Shoe Front / Upper Toe
- Row 1:
- Magic ring, 4 sc into ring. Ch 1, turn.
- Row 2:
- 1 sc, 1 inc, 2 sc, ch 1, turn (6 sts)
- Row 3:
- 2 sc, 1 inc (in center), 2 sc, ch 1, turn (7 sts)
- Row 4:
- 2 sc, 2 inc (back to back), 2 sc, ch 1, turn (8 sts)
- Row 5:
- 8 sc, ch 1, turn
- Row 6:
- 4 sc, 1 inc, 3 sc, ch 1, turn (9 sts)
- Row 7:
- 9 sc, ch 1, turn
- Row 8:
- 3 sc, 3 inc, 3 sc, ch 1, turn (12 sts)
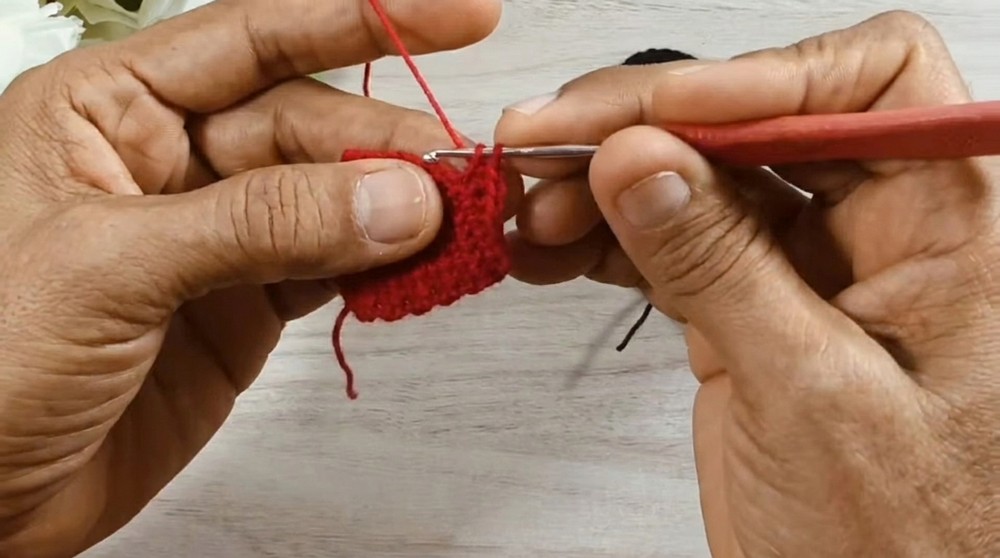
- Row 9:
- 12 sc, ch 1, turn
- Row 10:
- 4 sc, 2 inc, 6 sc, ch 1, turn (14 sts)
- Row 11:
- 5 sc, 2 inc, 7 sc, ch 1, turn (16 sts)
- Row 12:
- 4 sc, 1 hdc, 1 dc, 4 edc, 1 dc, 1 hdc, 4 sc, ch 1
- Edging:
- Work sc along the straight edge and base to create a neat finish. Place 2 sc at the tip to help corner, and continue sc evenly around. Fasten off and weave in any loose ends.
Shoe Back / Heel Strap
- Rows 1-4:
- Ch 7, starting in second ch, 6 sc per row, ch 1, turn. Complete 4 rows.
- Row 5:
- 1 dec (over first 2 sts), 4 sc. Ch 1, turn (5 sts)
- Row 6:
- 5 sc, ch 1, turn
- Row 7:
- 1 dec, 3 sc, ch 1, turn (4 sts)
- Rows 8-10:
- 4 sc each row, ch 1, turn
- Row 11:
- 1 inc, 3 sc, ch 1, turn (5 sts)
- Rows 12-20:
- 5 sc each row, ch 1, turn
- Row 21:
- 1 dec, 3 sc, ch 1, turn (4 sts)
- Rows 22-24:
- 4 sc each row, ch 1, turn
- Row 25:
- 1 inc, 3 sc, ch 1, turn (5 sts)
- Row 26:
- 5 sc, ch 1, turn
- Row 27:
- 1 inc, 4 sc, ch 1, turn (6 sts)
- Rows 28-30:
- 6 sc each row, ch 1, turn
- Edging:
- Work sc neatly along entire lower edge; fasten off.
Heel Tab Pieces (Make 3)
- Create two in shoe color, one in contrasting color (e.g., cream).
- Row 1:
- Ch 5, 4 sc, ch 1, turn
- Row 2:
- 1 inc, 2 sc, ch 1, turn (5 sts)
- Row 3:
- 1 inc, 2 sc, ch 1, turn (6 sts)
- Rows 4-6:
- 6 sc per row, ch 1, turn
- Edging:
- Work sc evenly around entire outer edge and fasten off.
Laces & Sole Chain Trim
- Laces:
- Chain 60 (or desired length), fasten off with small tails.
- Sole Espadrille Trim:
- Chain a length long enough to wrap the entire sole perimeter. Do not cut yarn until fit is checked.
Assembly & Finished Size
- Sole & Toe:
- Layer the toe piece at the front sole, aligning increases to create a rounded shape; hand-sew or glue to secure along the edge.
- Back / Heel:
- Position the heel strap around the rear of the sole and up the sides, overlapping front corners as demonstrated. Sew (or glue) securely in place.
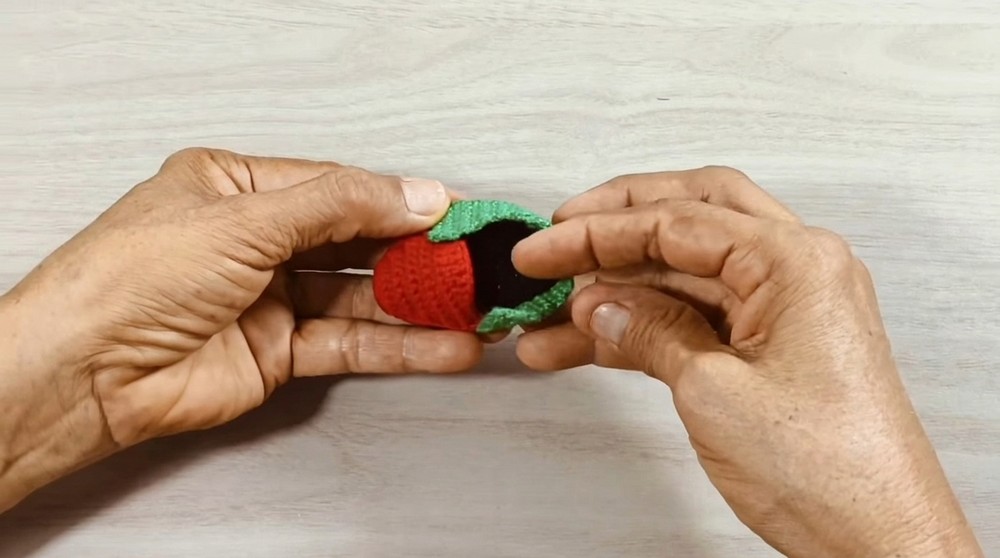
- Optional Sole Insert:
- Cut cardboard or plastic to match sole dimensions and insert between the two sole pieces for structure before closing.
- Heel Tab:
- Sandwich the white tab between the two colored ones and join securely; attach this tab vertically to the center heel by sewing or gluing.
- Sole Trim:
- Wrap espadrille-style chain trim along sole perimeter, using glue or neat stitching to affix.
- Laces:
- Thread chain laces through upper toe evenly and tie into a small bow.
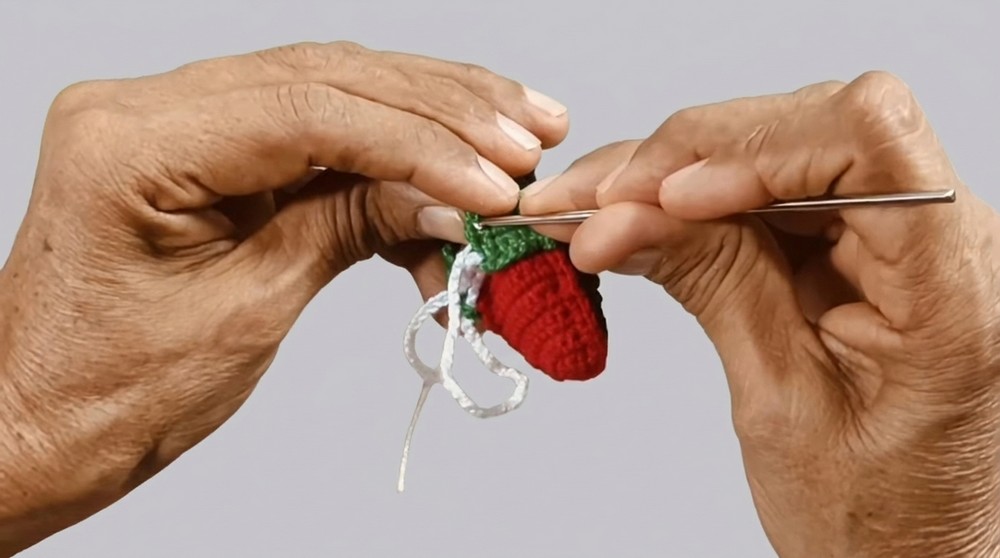
- Finish:
- Add keyring through the top of the heel tab.
Finished size: Each shoe approx. 5-6 cm long, depending on yarn and tension.
Conclusion and Ending Words
Following the stages and stitch counts outlined, the result is a charming miniature crochet shoe ideal for keychains or decorative use. The pattern presents not only a playful, attractive result but also structural durability, blending rows, rounds, and finishing touches for security and neatness. By carefully shaping each part-the versatile sole, contoured toe, firm heel, and detailed tab-the accessory maintains form over time. Finishing steps such as the chain-edged sole and tied laces refine the look. The pattern readily lends itself to experimentation in color, embellishments, or minor size adjustments for personal flair. As a functional accent or a thoughtful gift, this miniature shoe keychain pattern provides a clear, repeatable process for delightful handmade results.